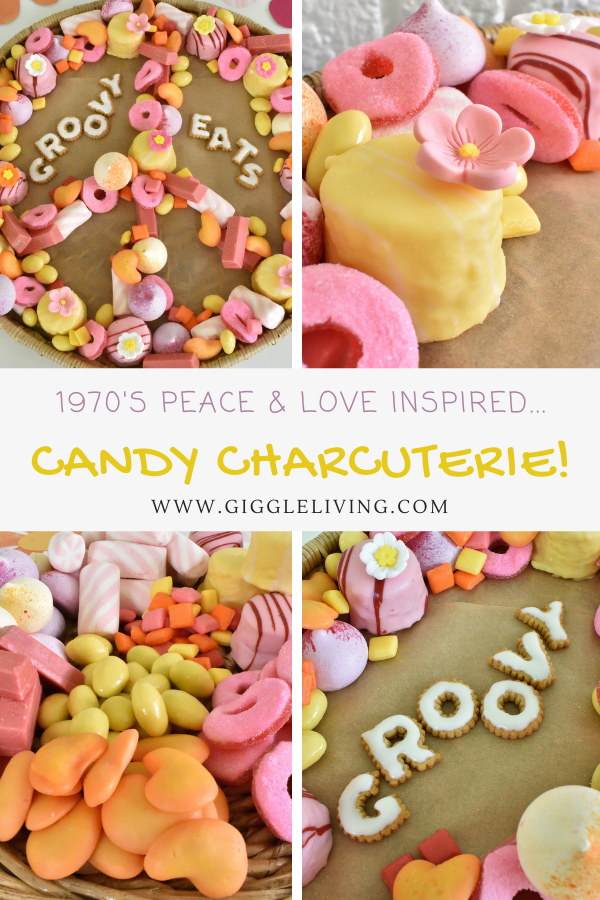
A candy charcuterie is a fun and delicious treat for any celebration! In addition, you can customize it to fit any party theme or color palette…and it’s the easiest to create! No baking required either, just a trip to your local grocer will supply you with all the goodies you need! I LOVE charcuterie boards of all kinds, and though I’ve shared several ideas in the past, this one is especially fun because it fits a particular theme. I want to share this easy tutorial and inspiration because you can use it to create a multitude of designs or colors with these basic steps. So I hope you enjoy this sweet treat and consider making one for your next party! Let’s get going with some sugary fun…
groovy candy…charcuterie style!
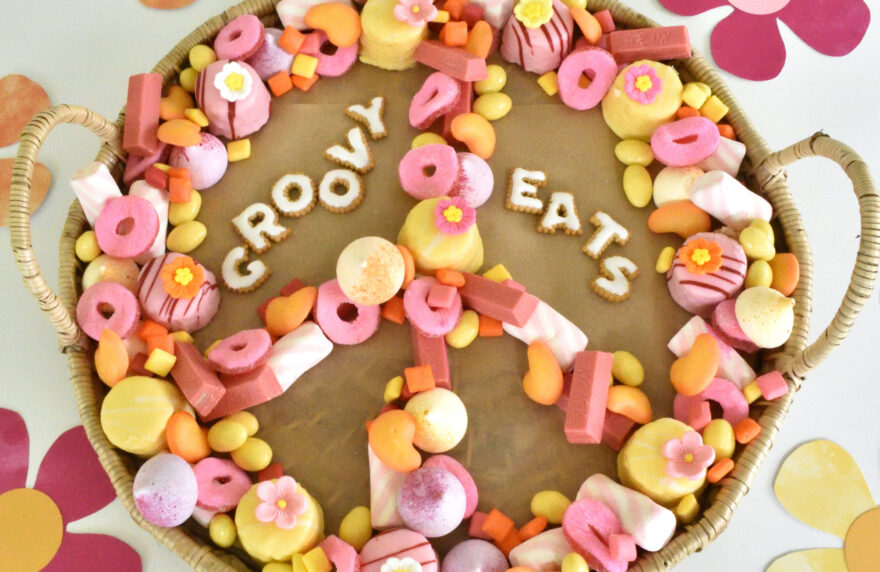
my family recently had a little gathering with a festive theme…1970s! “flower-power” and “peace & love” made their way onto the candy platter which was enjoyed by kids and adults alike!
here’s how you make it…
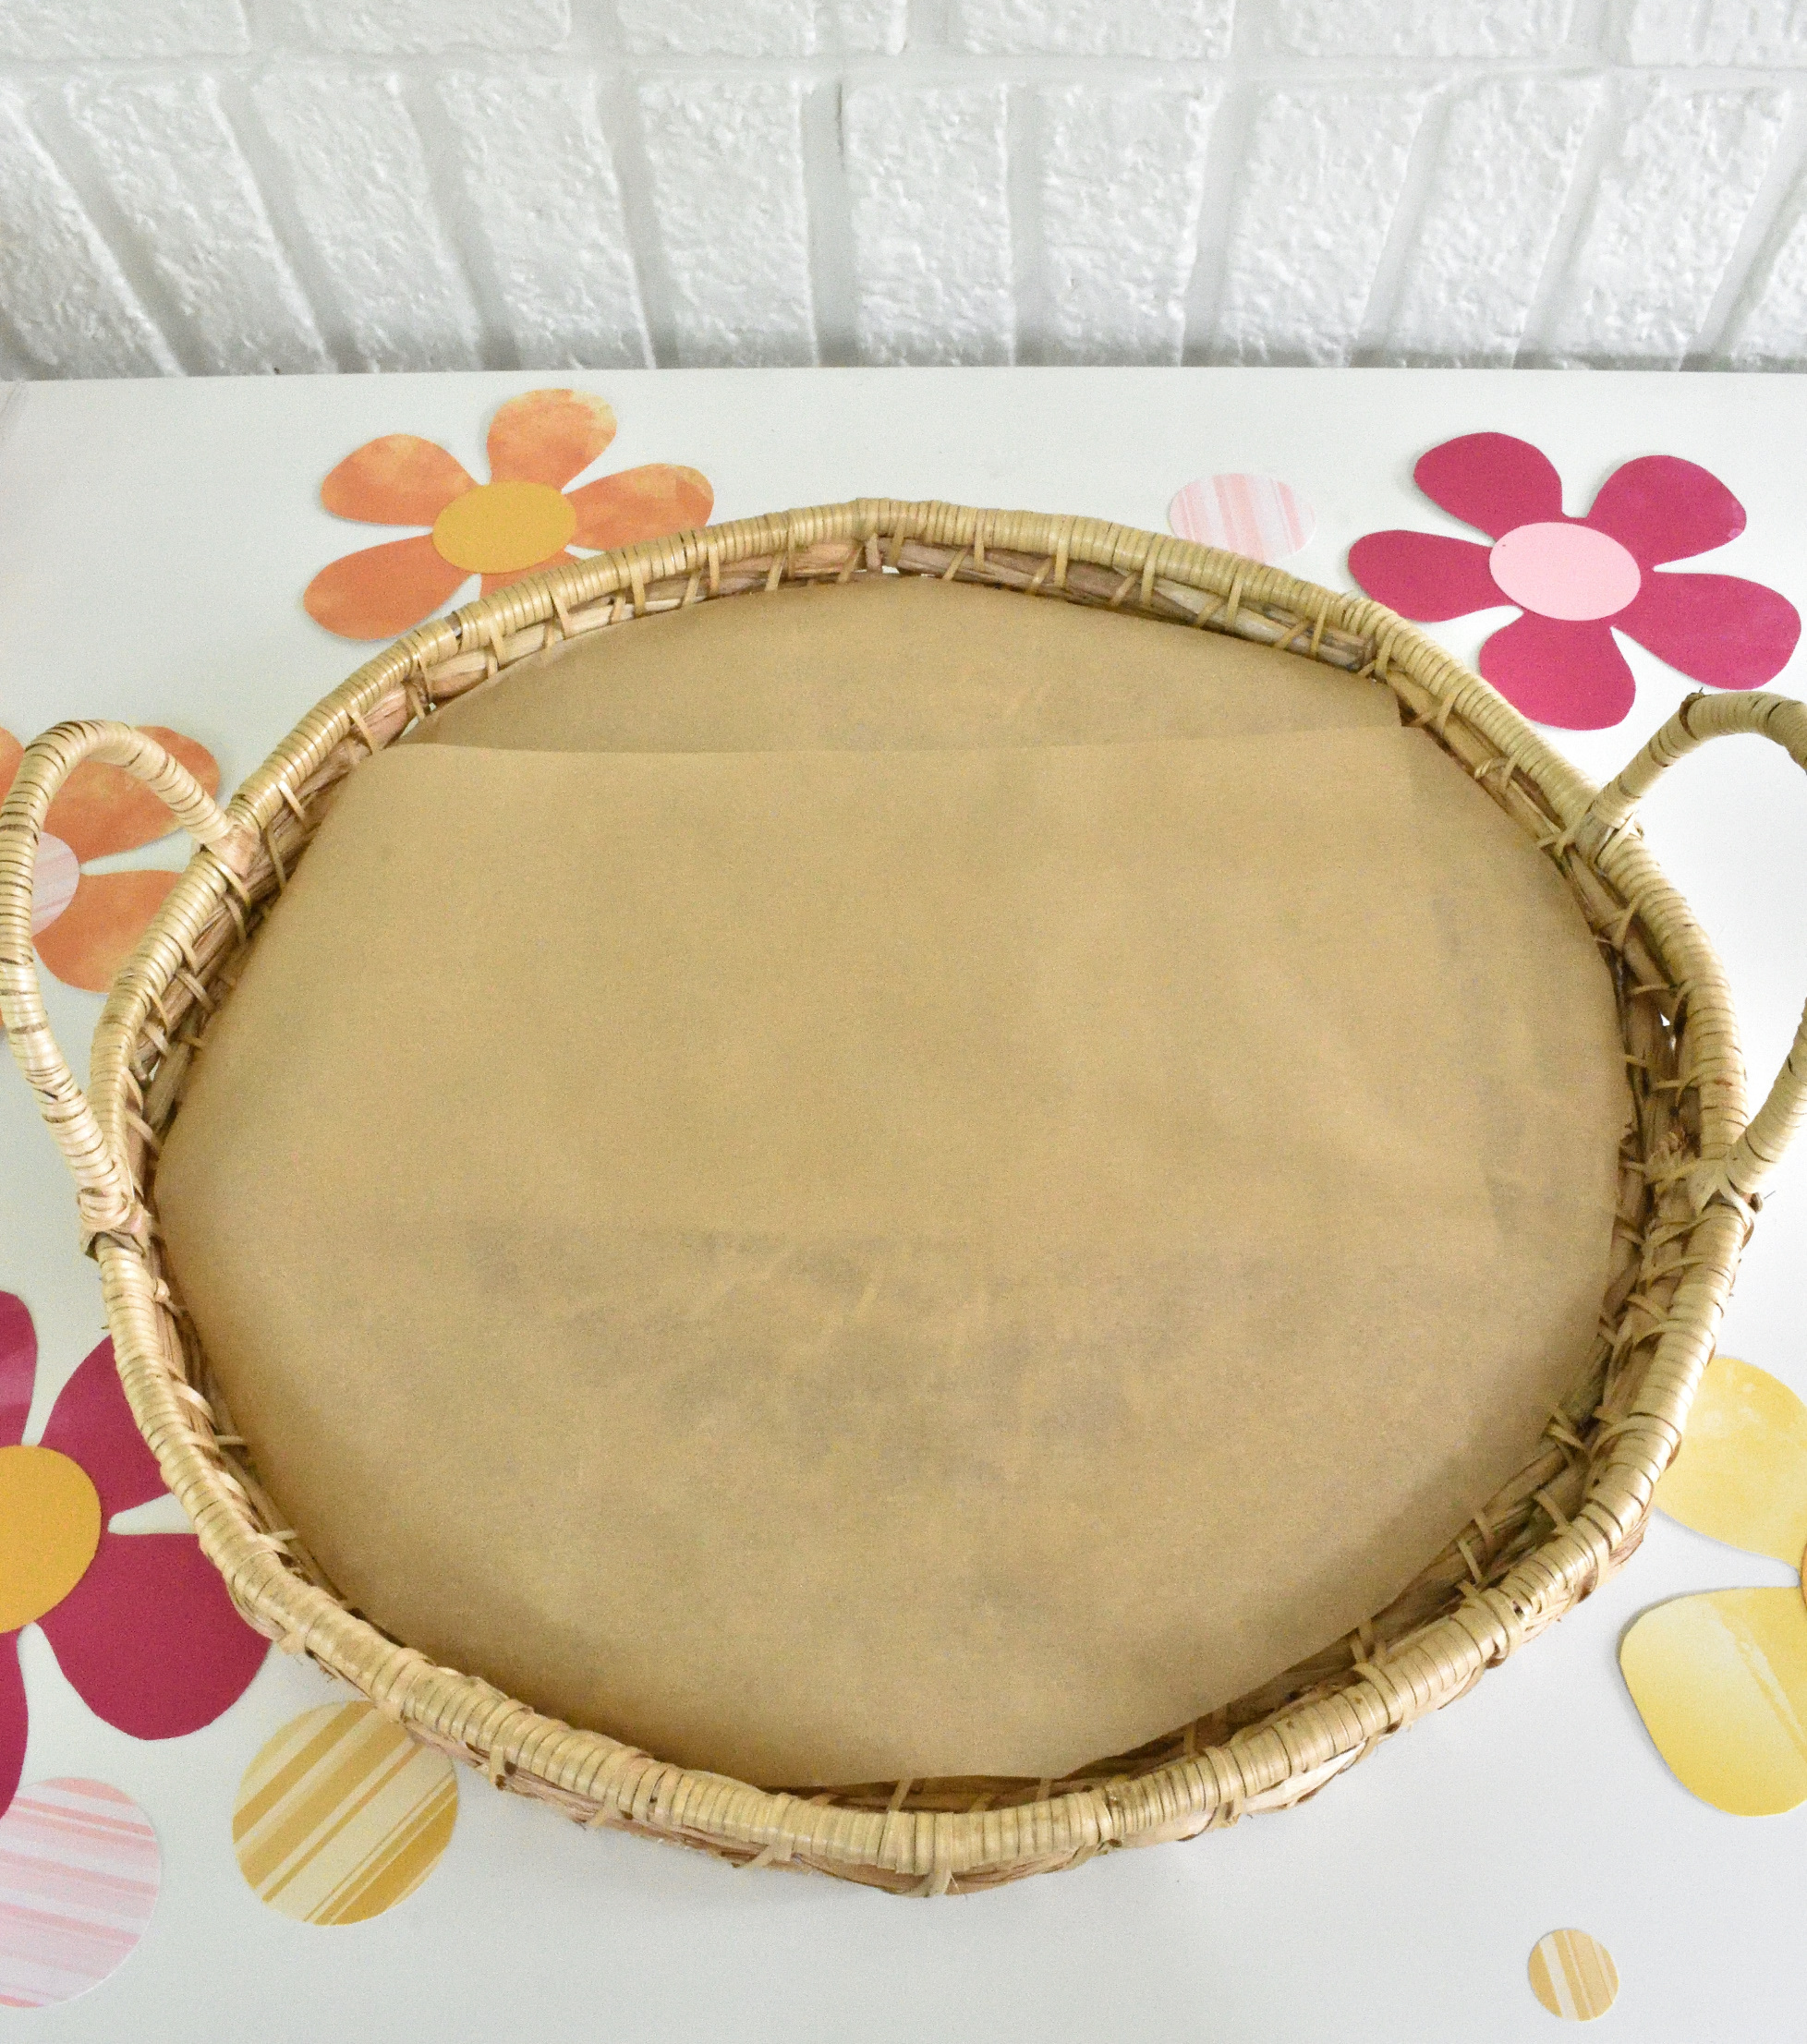
start with your plate, tray or board. if it’s not designed for placing food directly on it, cover it with parchment or wax paper…
now let’s talk candy…
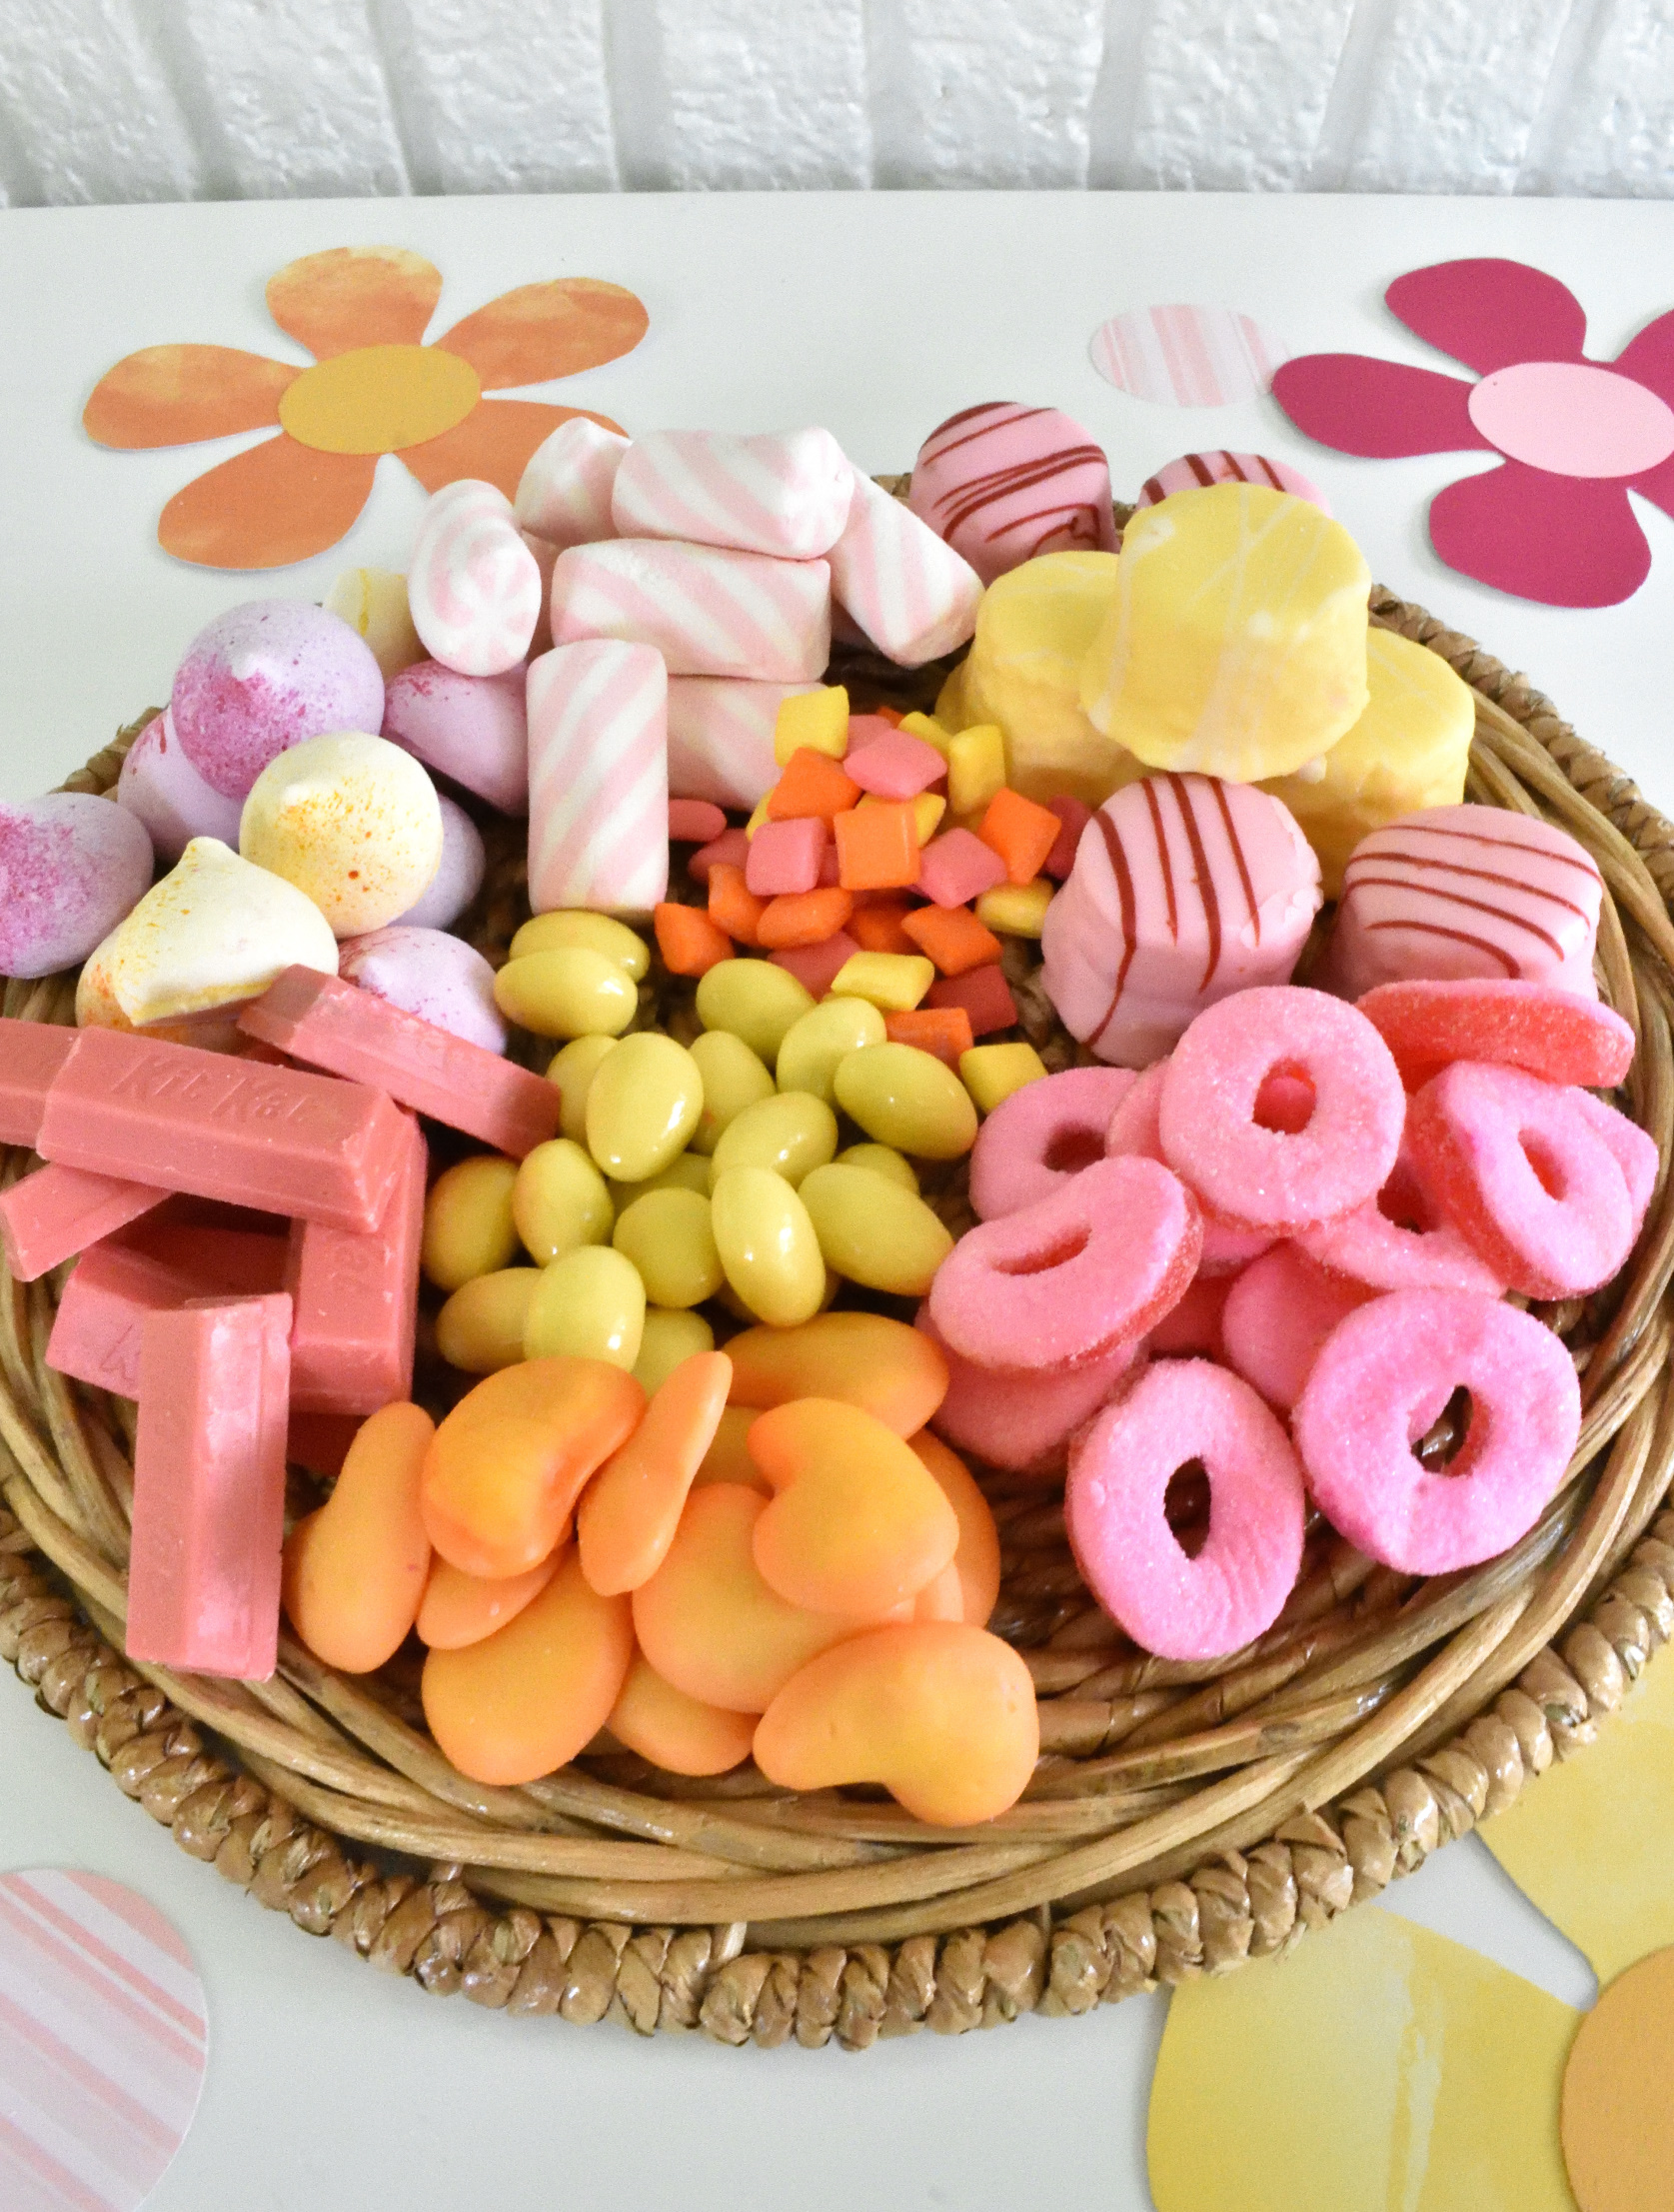
i chose summery colors for my party so shades of pink, orange & yellow made a cheerful palatte…
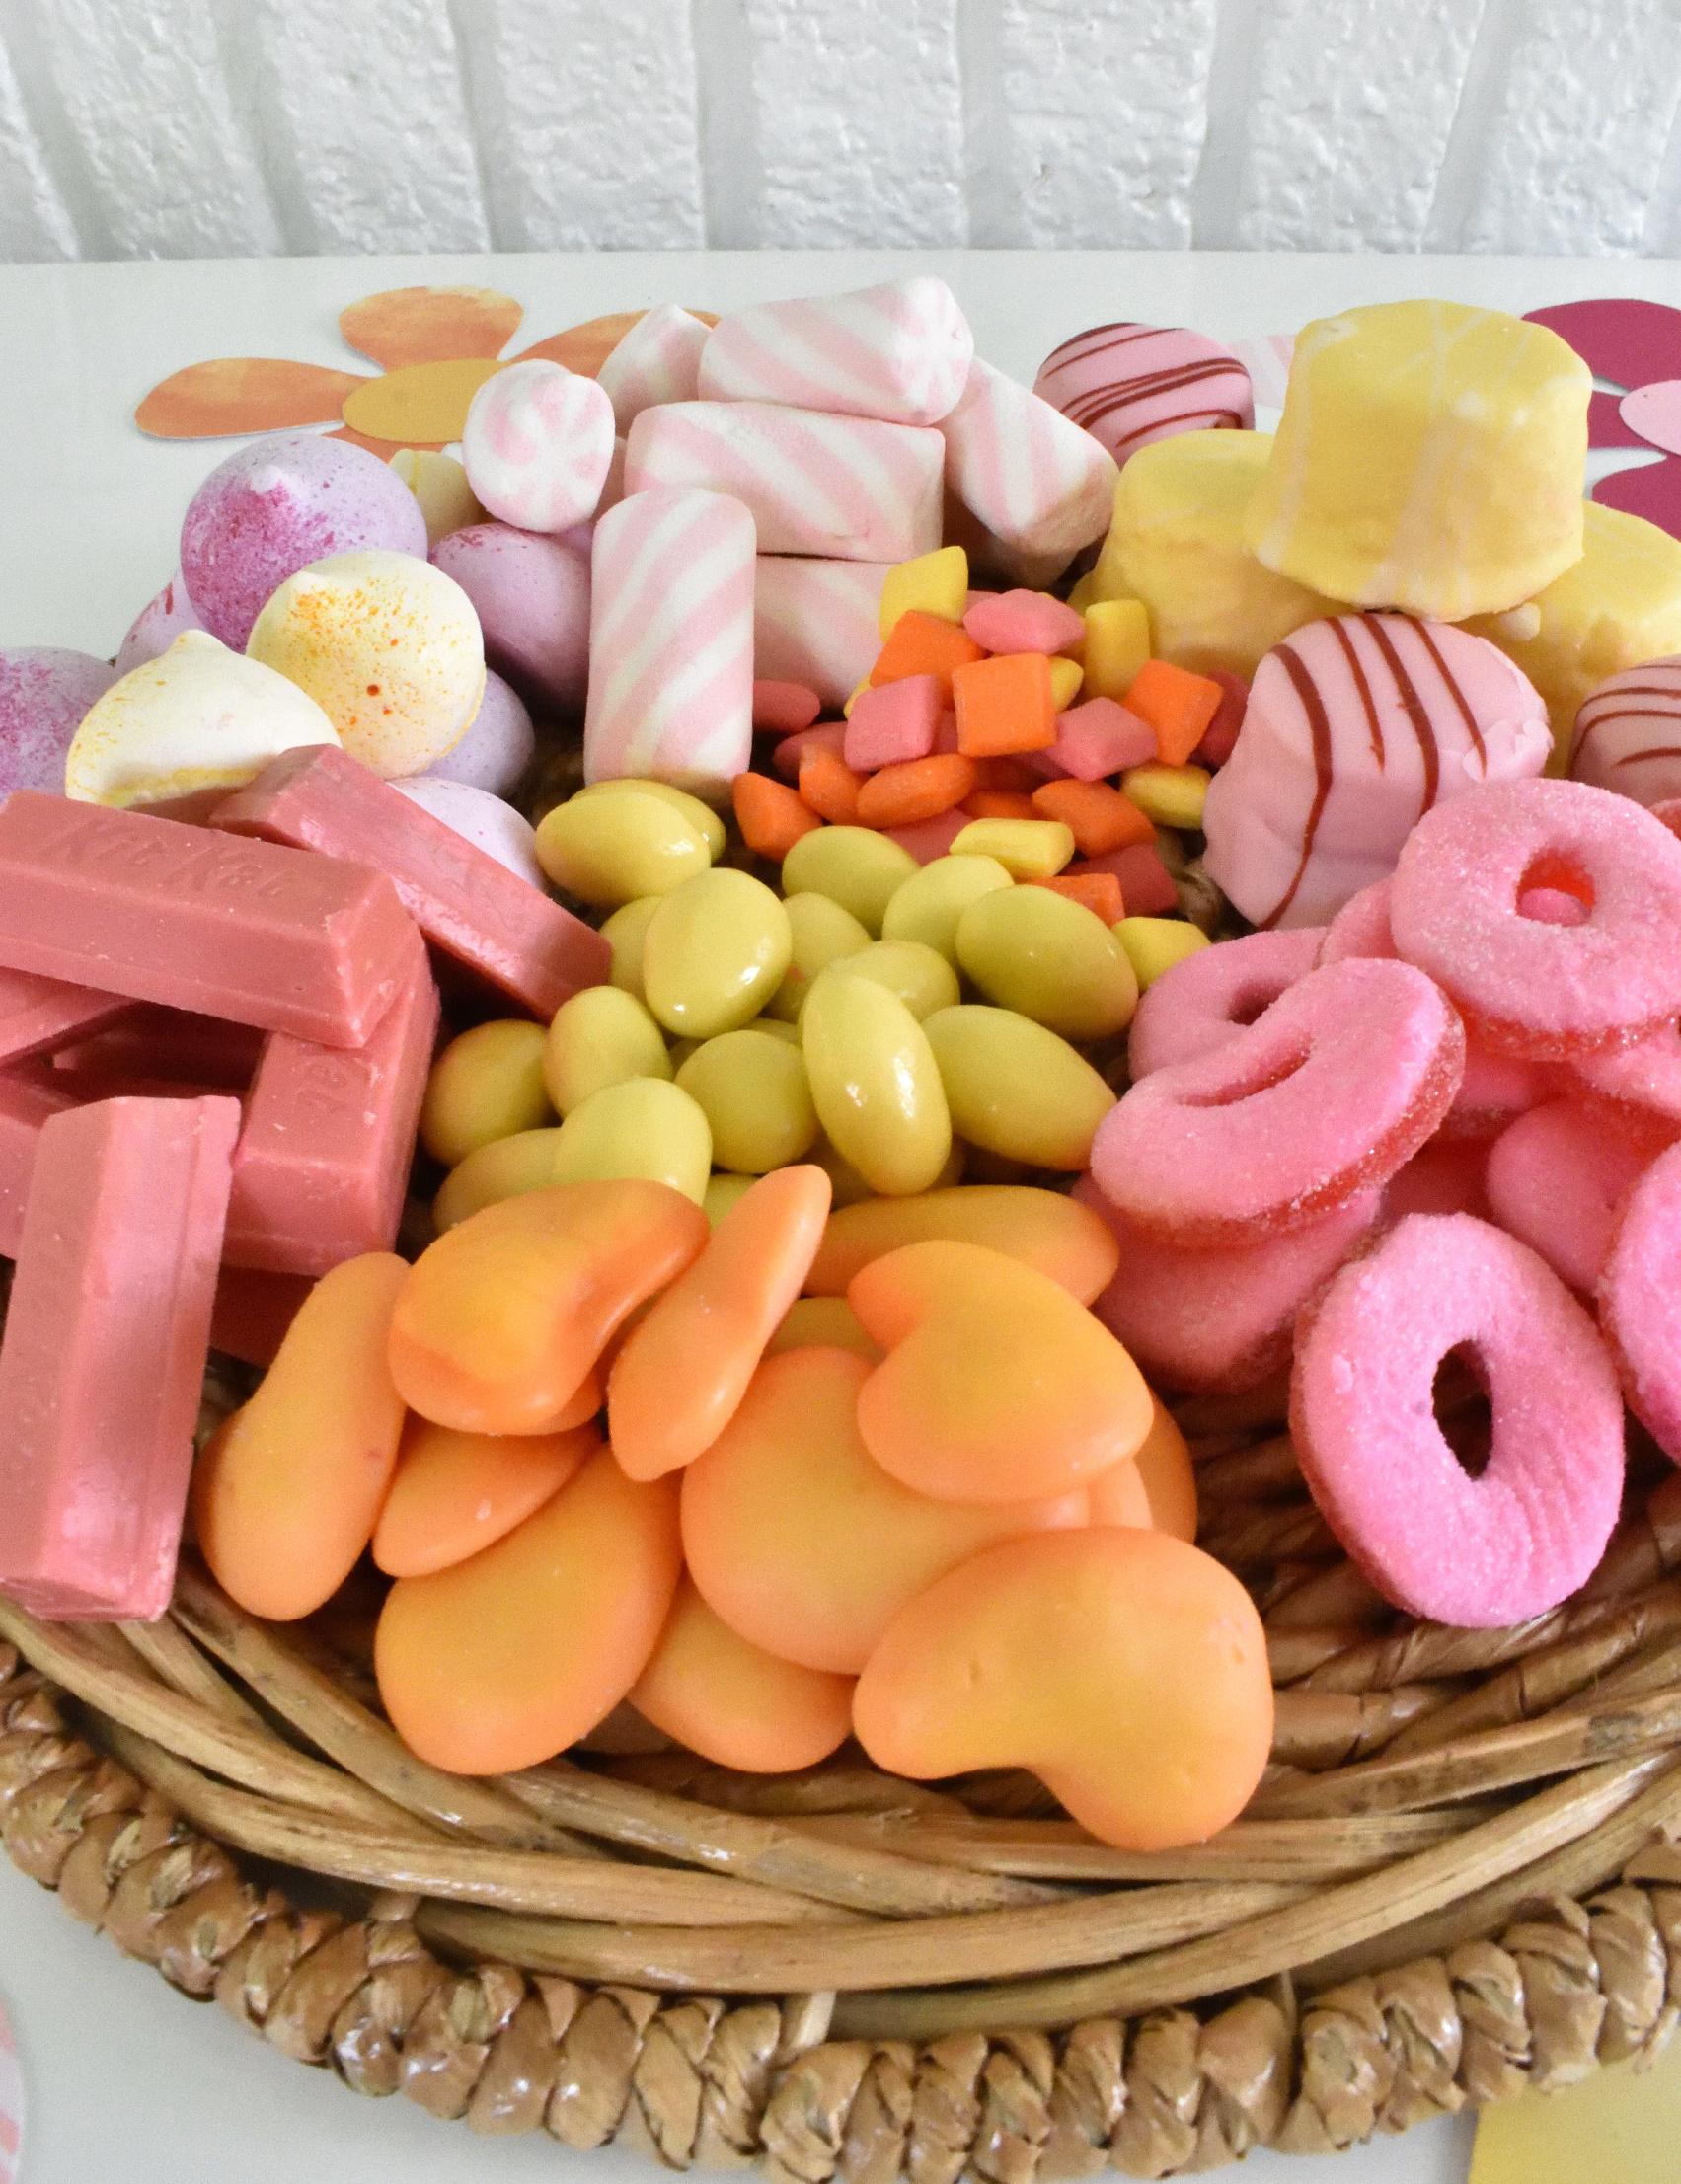
what i used:
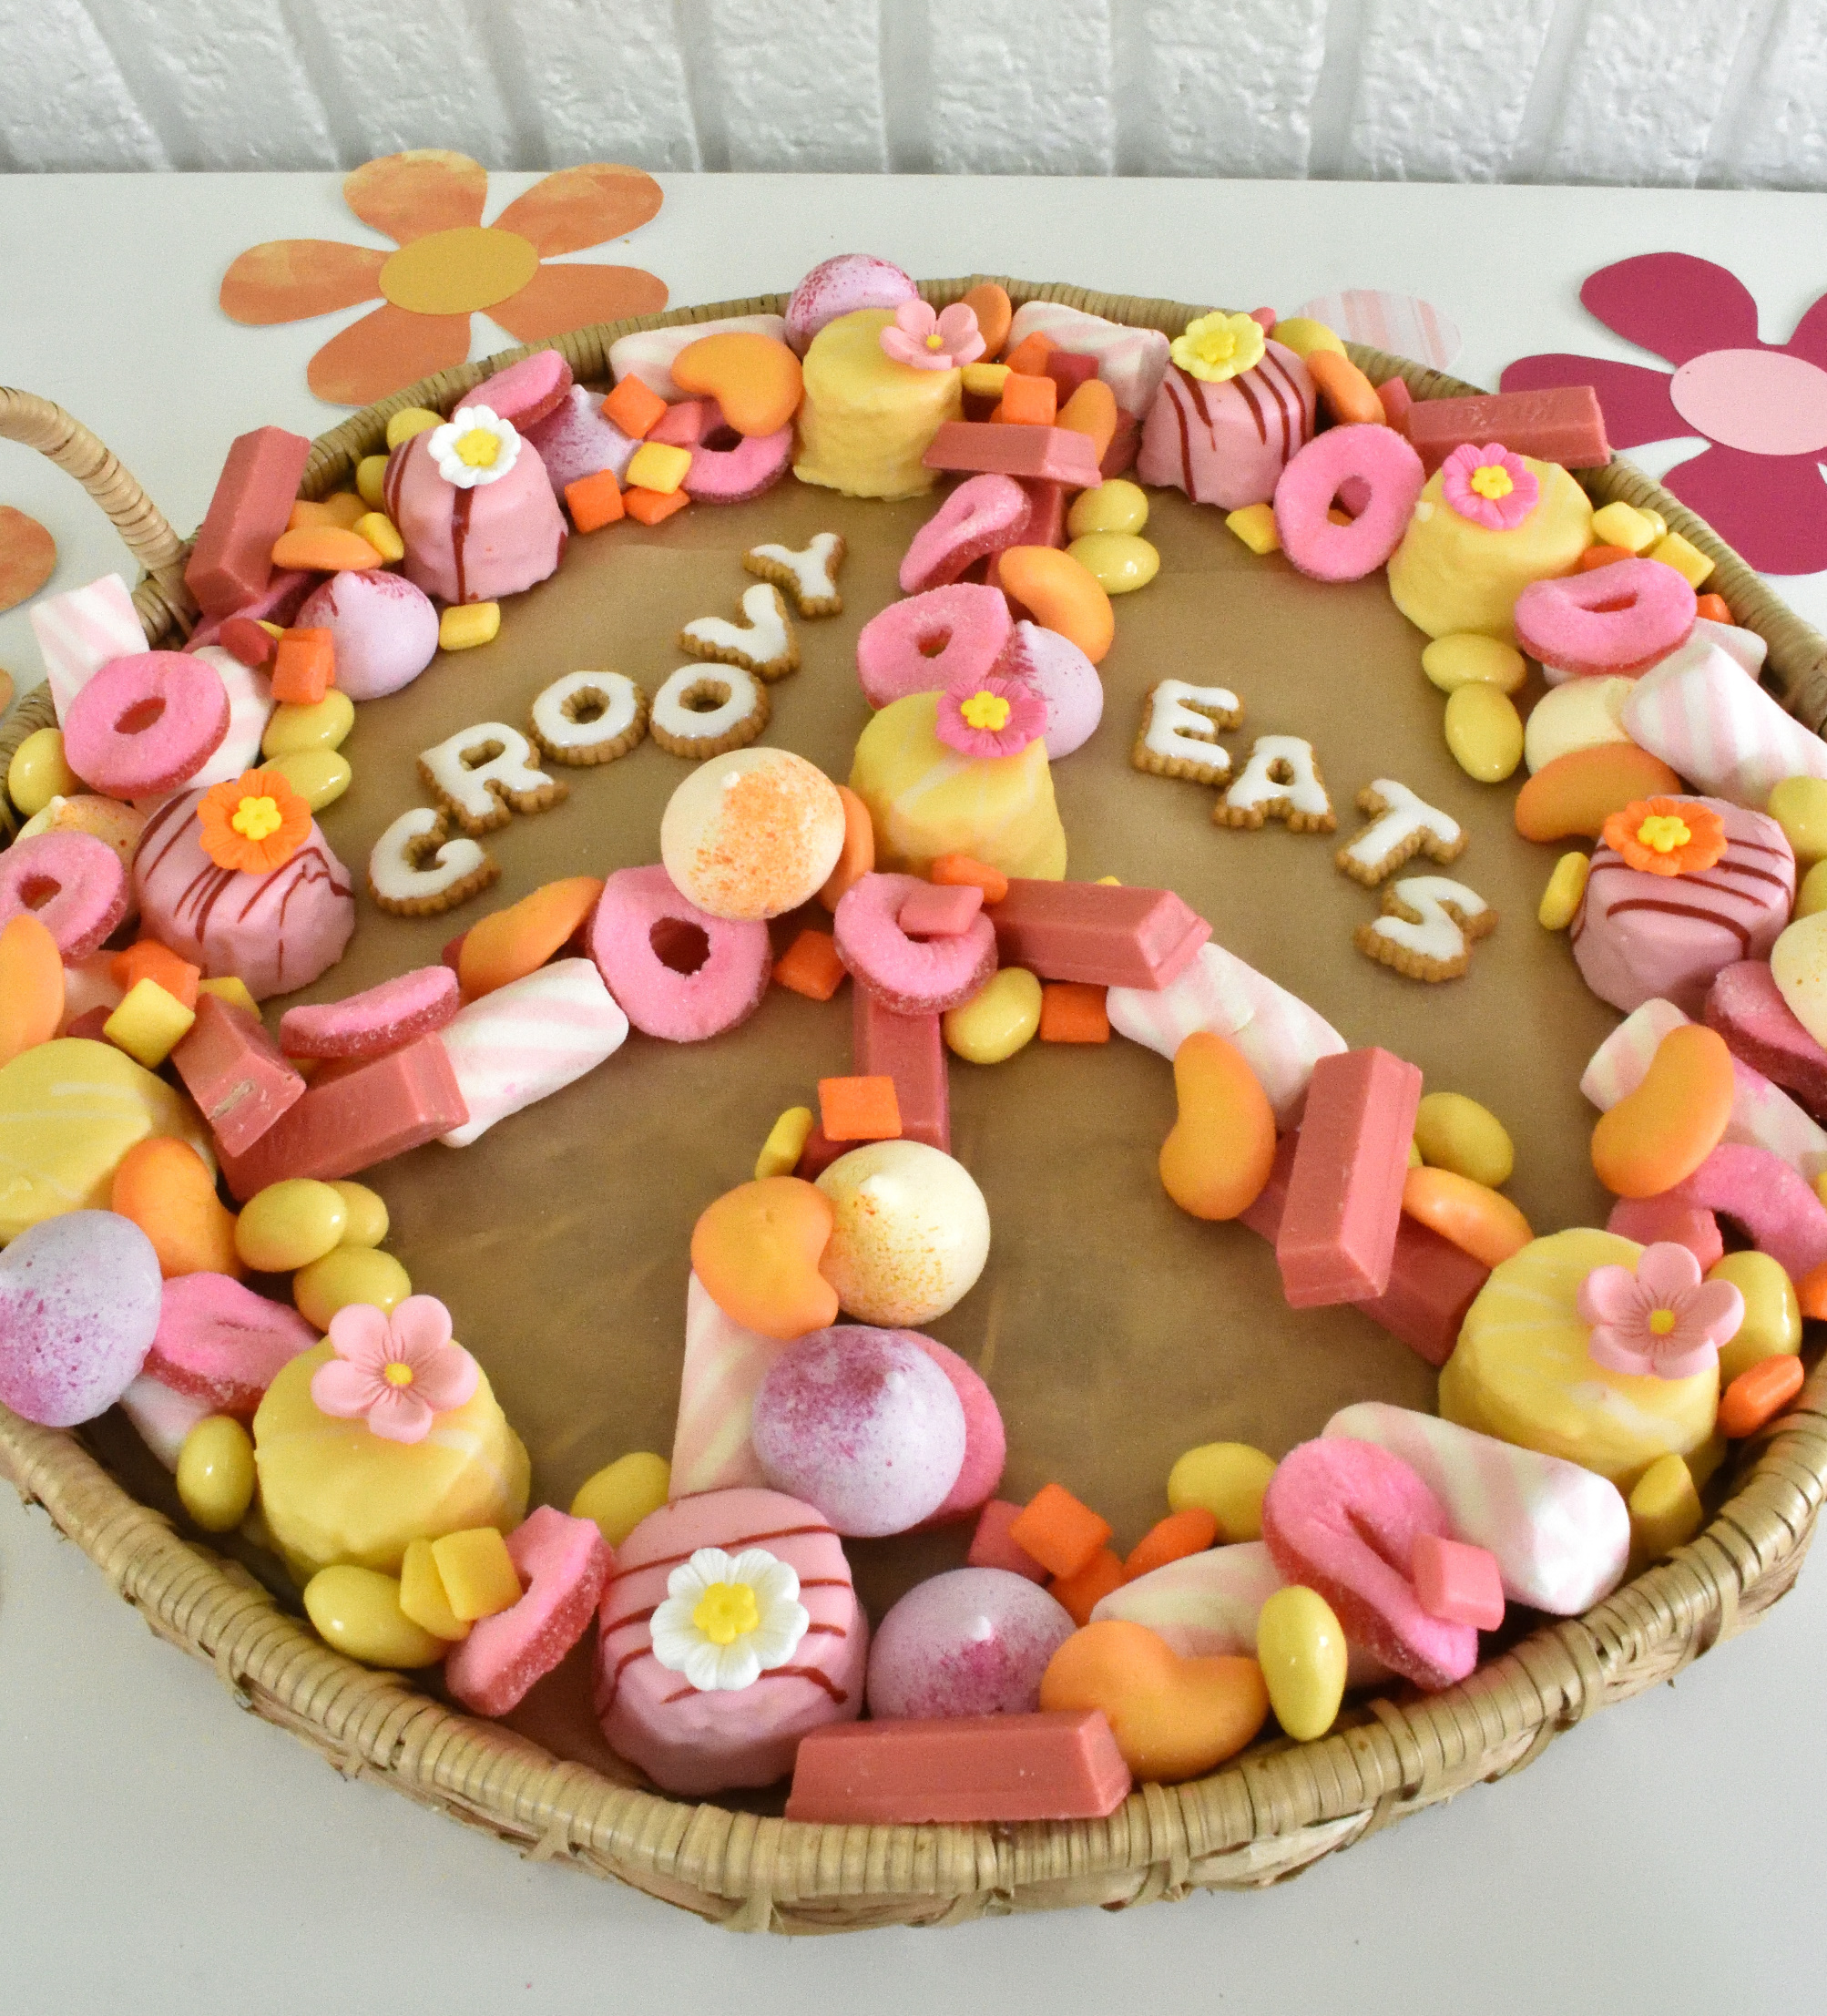
my combination included mini candy bars, petit fours, marshmallows, lemon almonds, watermelon rings, spicy mango gummies, meringues, mini starburst candies, alphabet cookies, and cake decoration embellishments. you can find a wide variety of candies in grocery store candy isles. don’t forget to check the baking isle and bakery too!
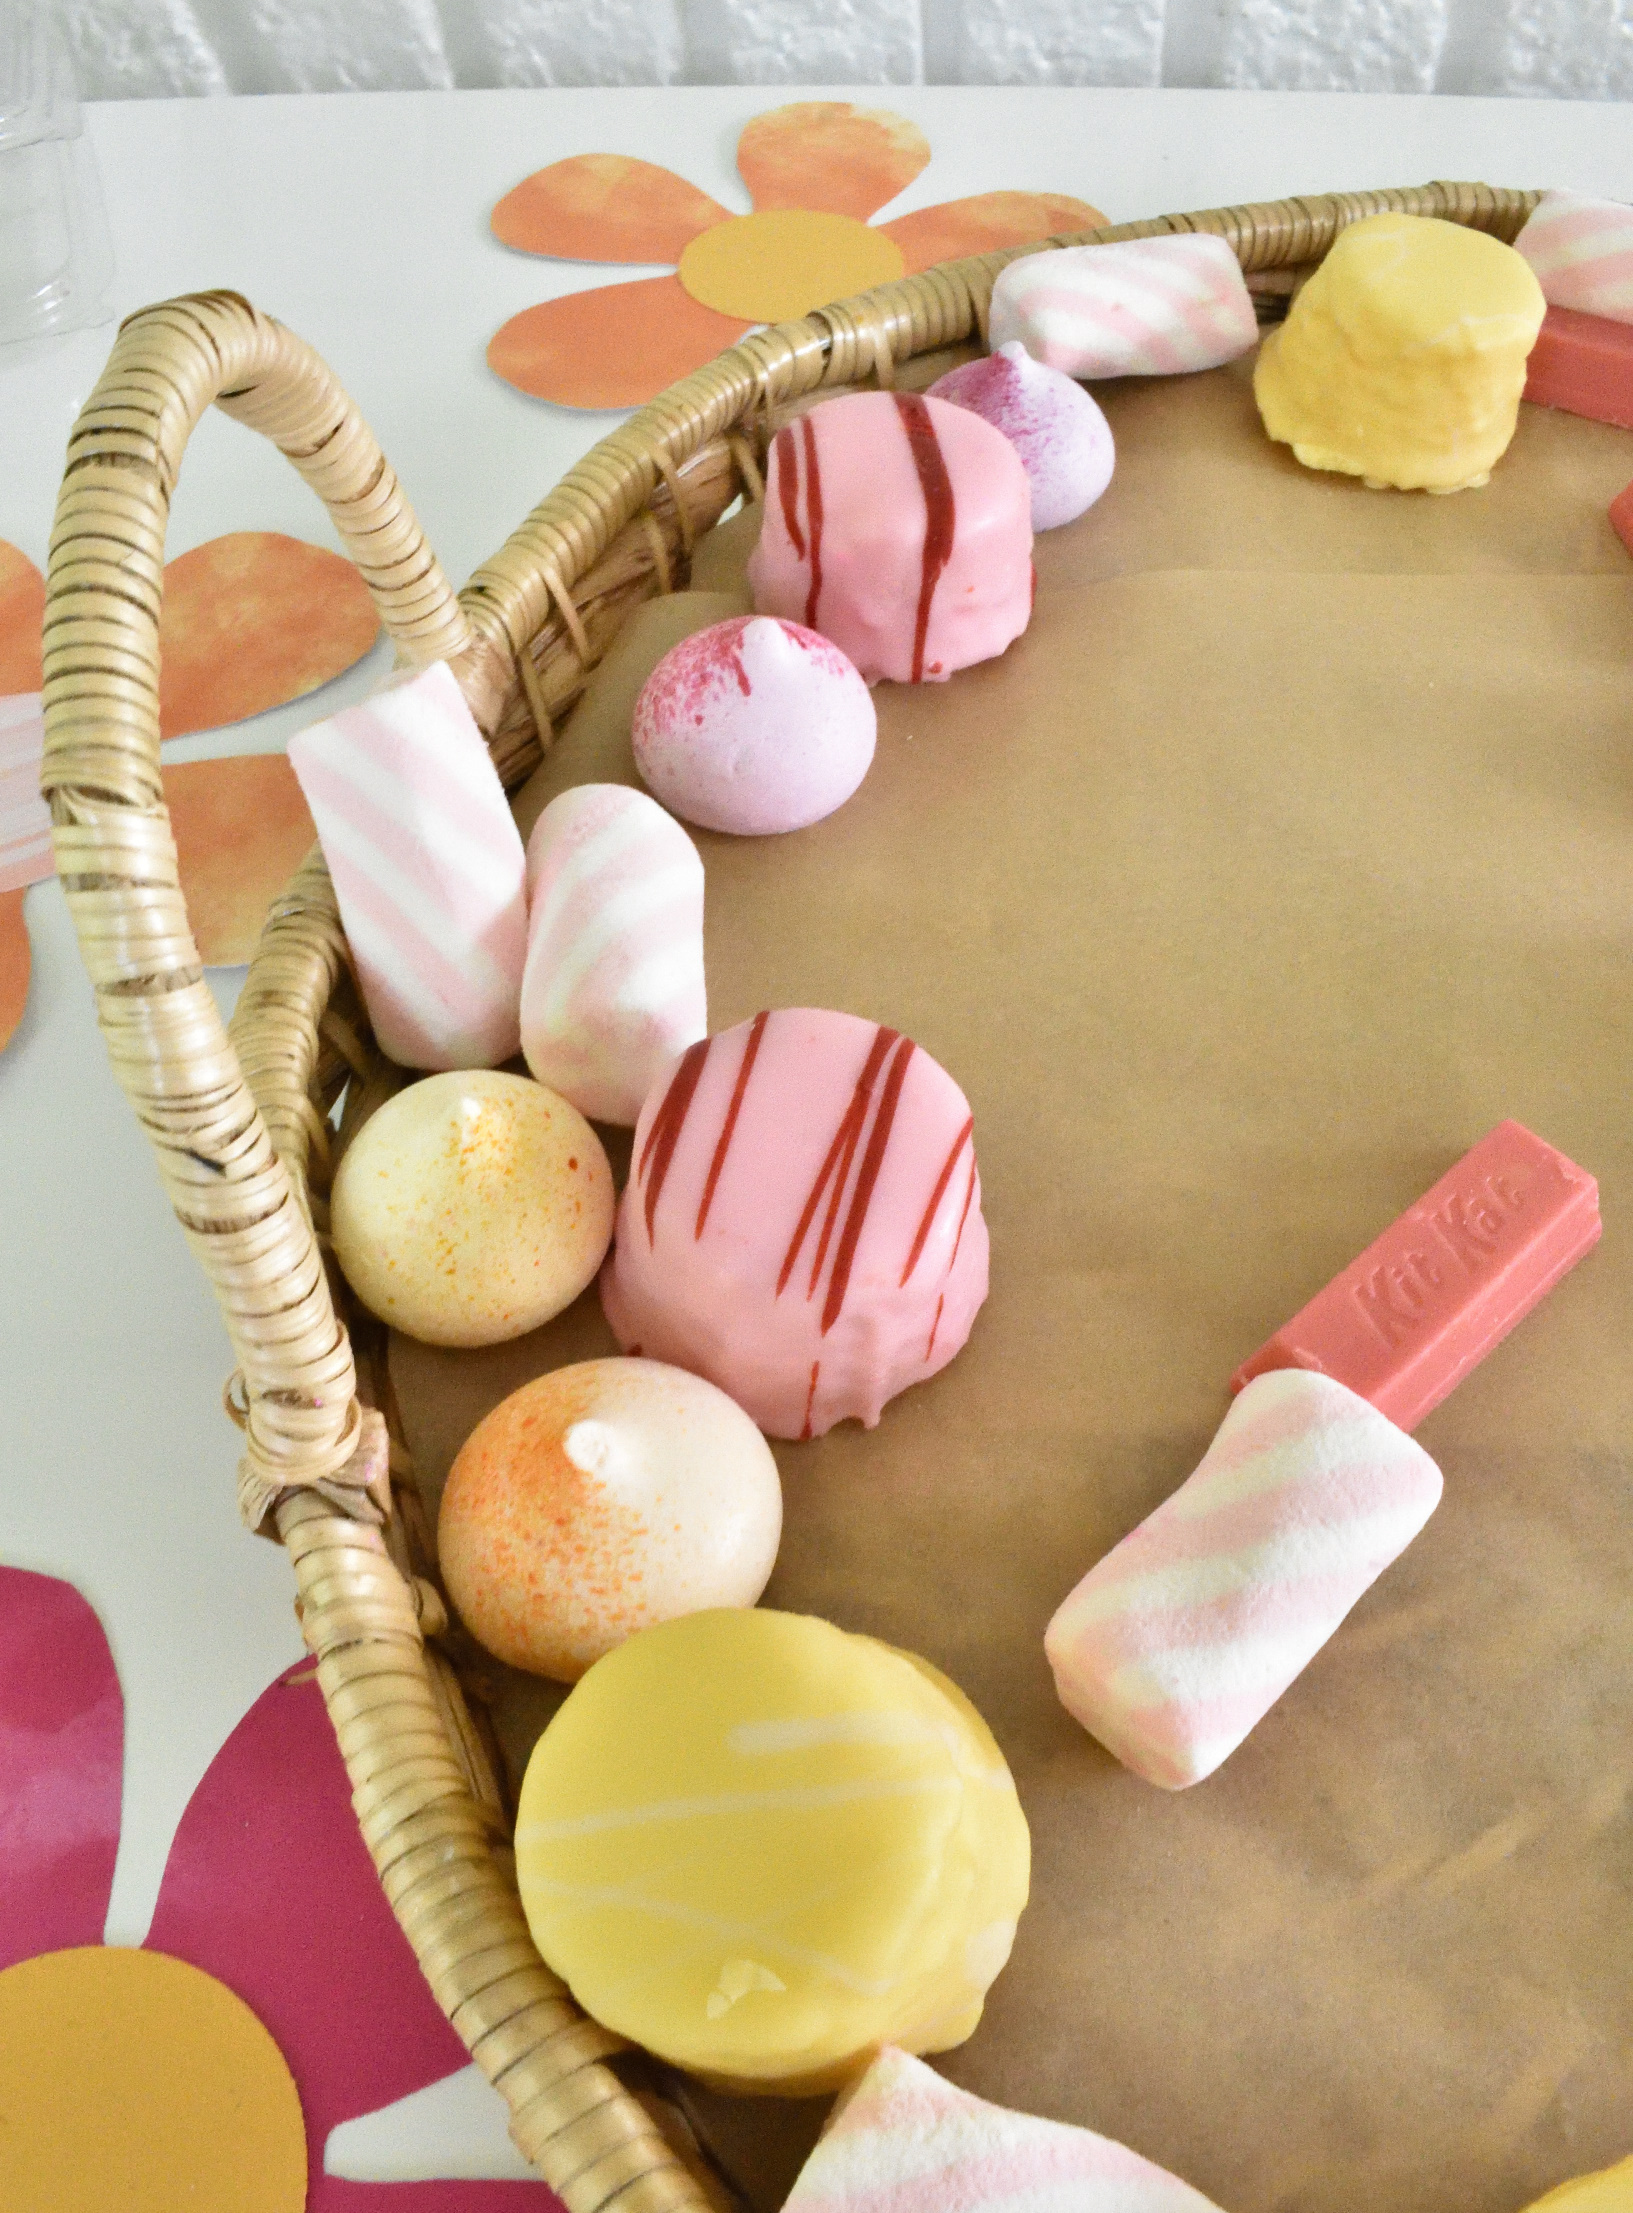
since i was creating a peace sign, i started placing my larger pieces around the edges of my round tray vaguely making my shape…
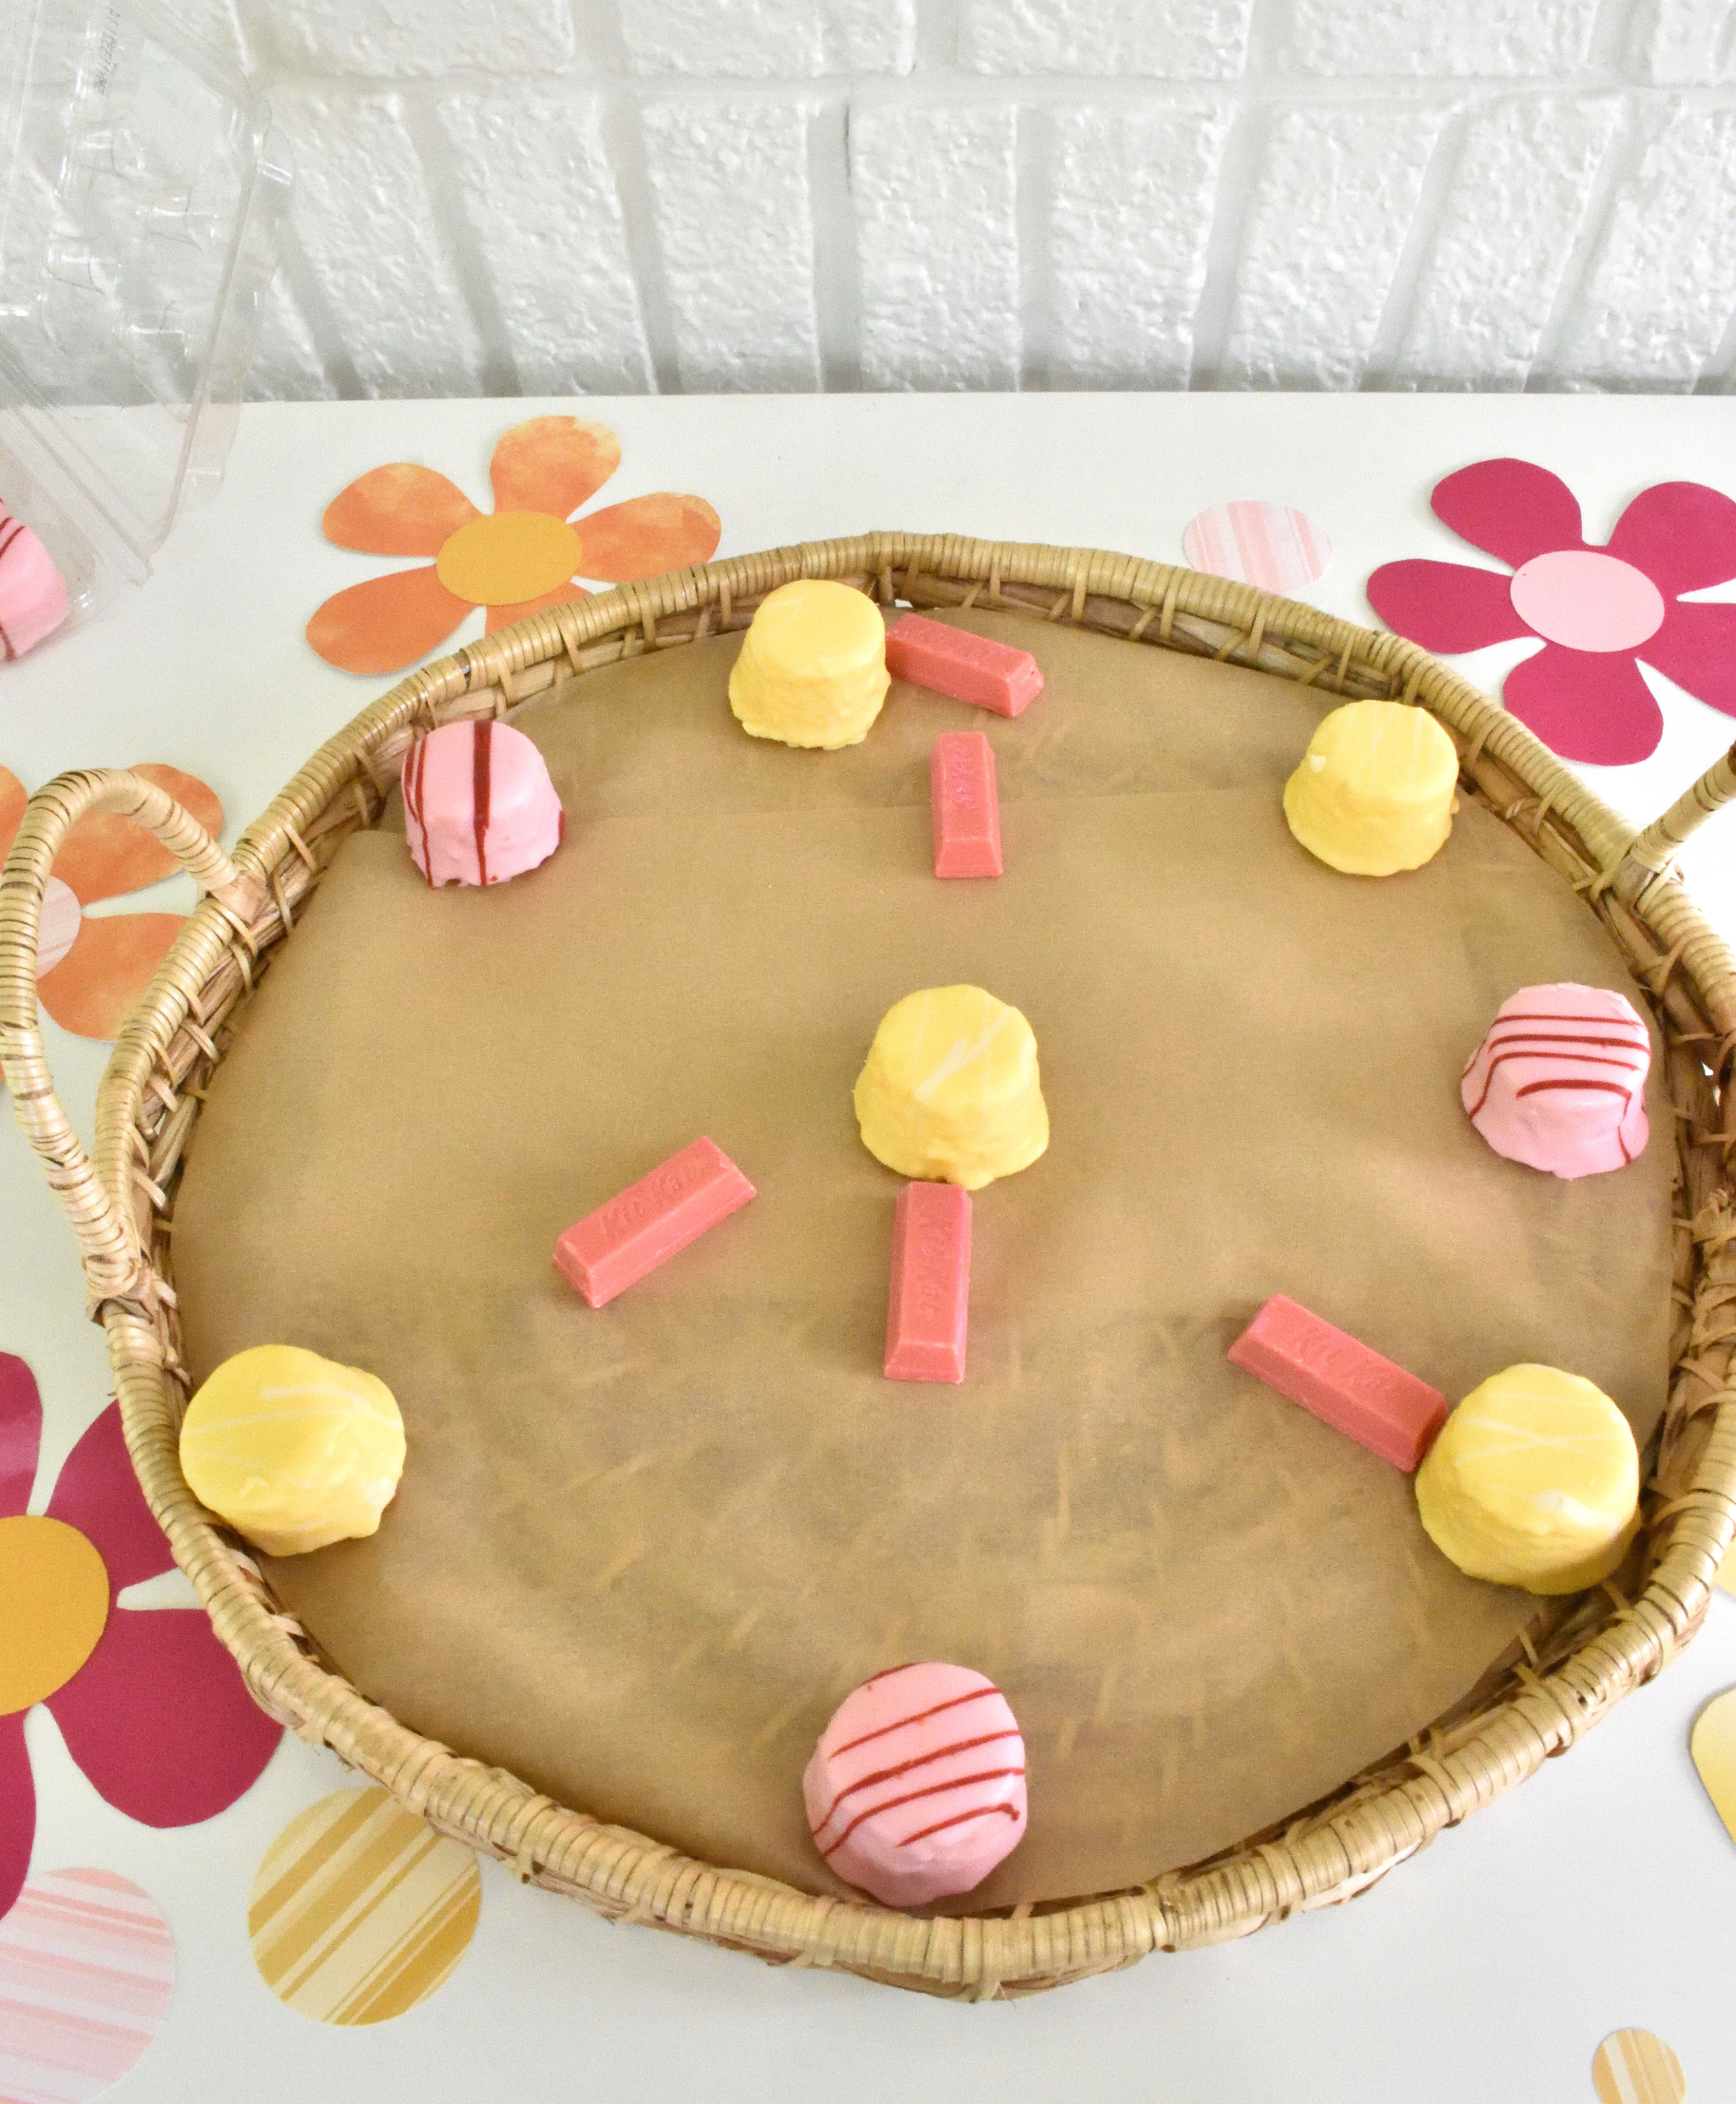
still using the larger pieces, i kept filling the outline…
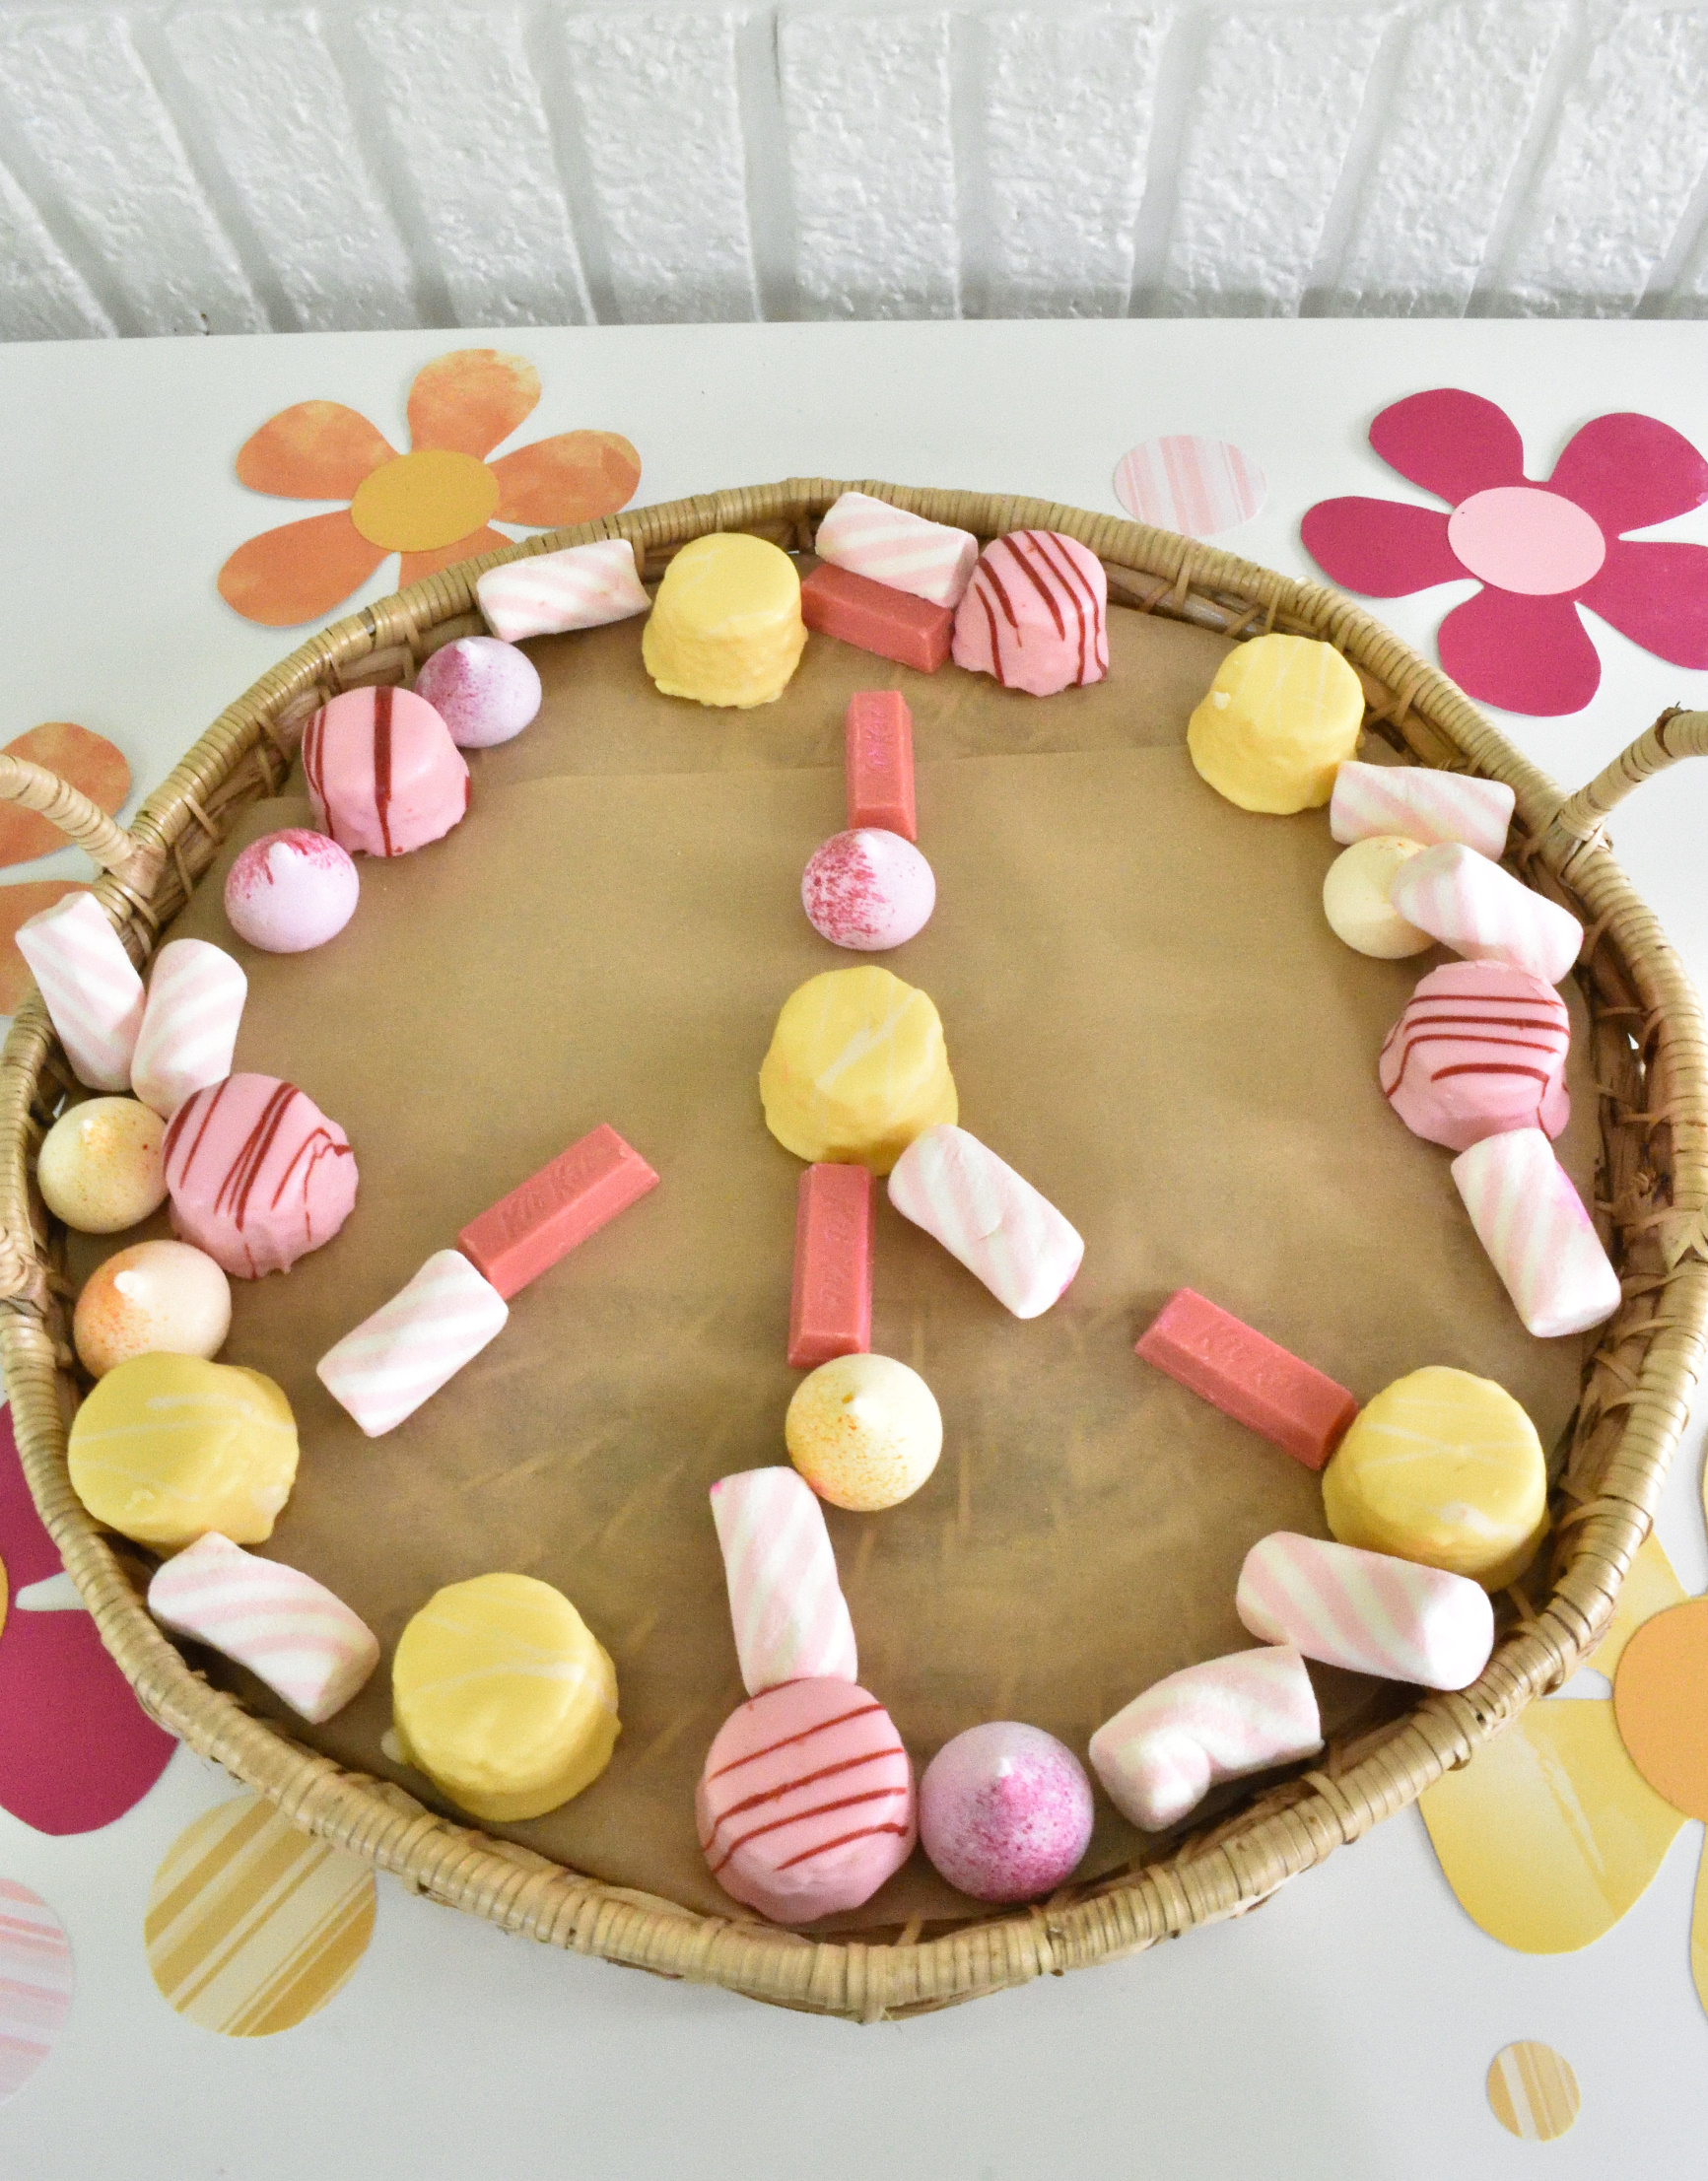
the bigger pieces will help create the recognizable shape before filling in with the smaller treats!
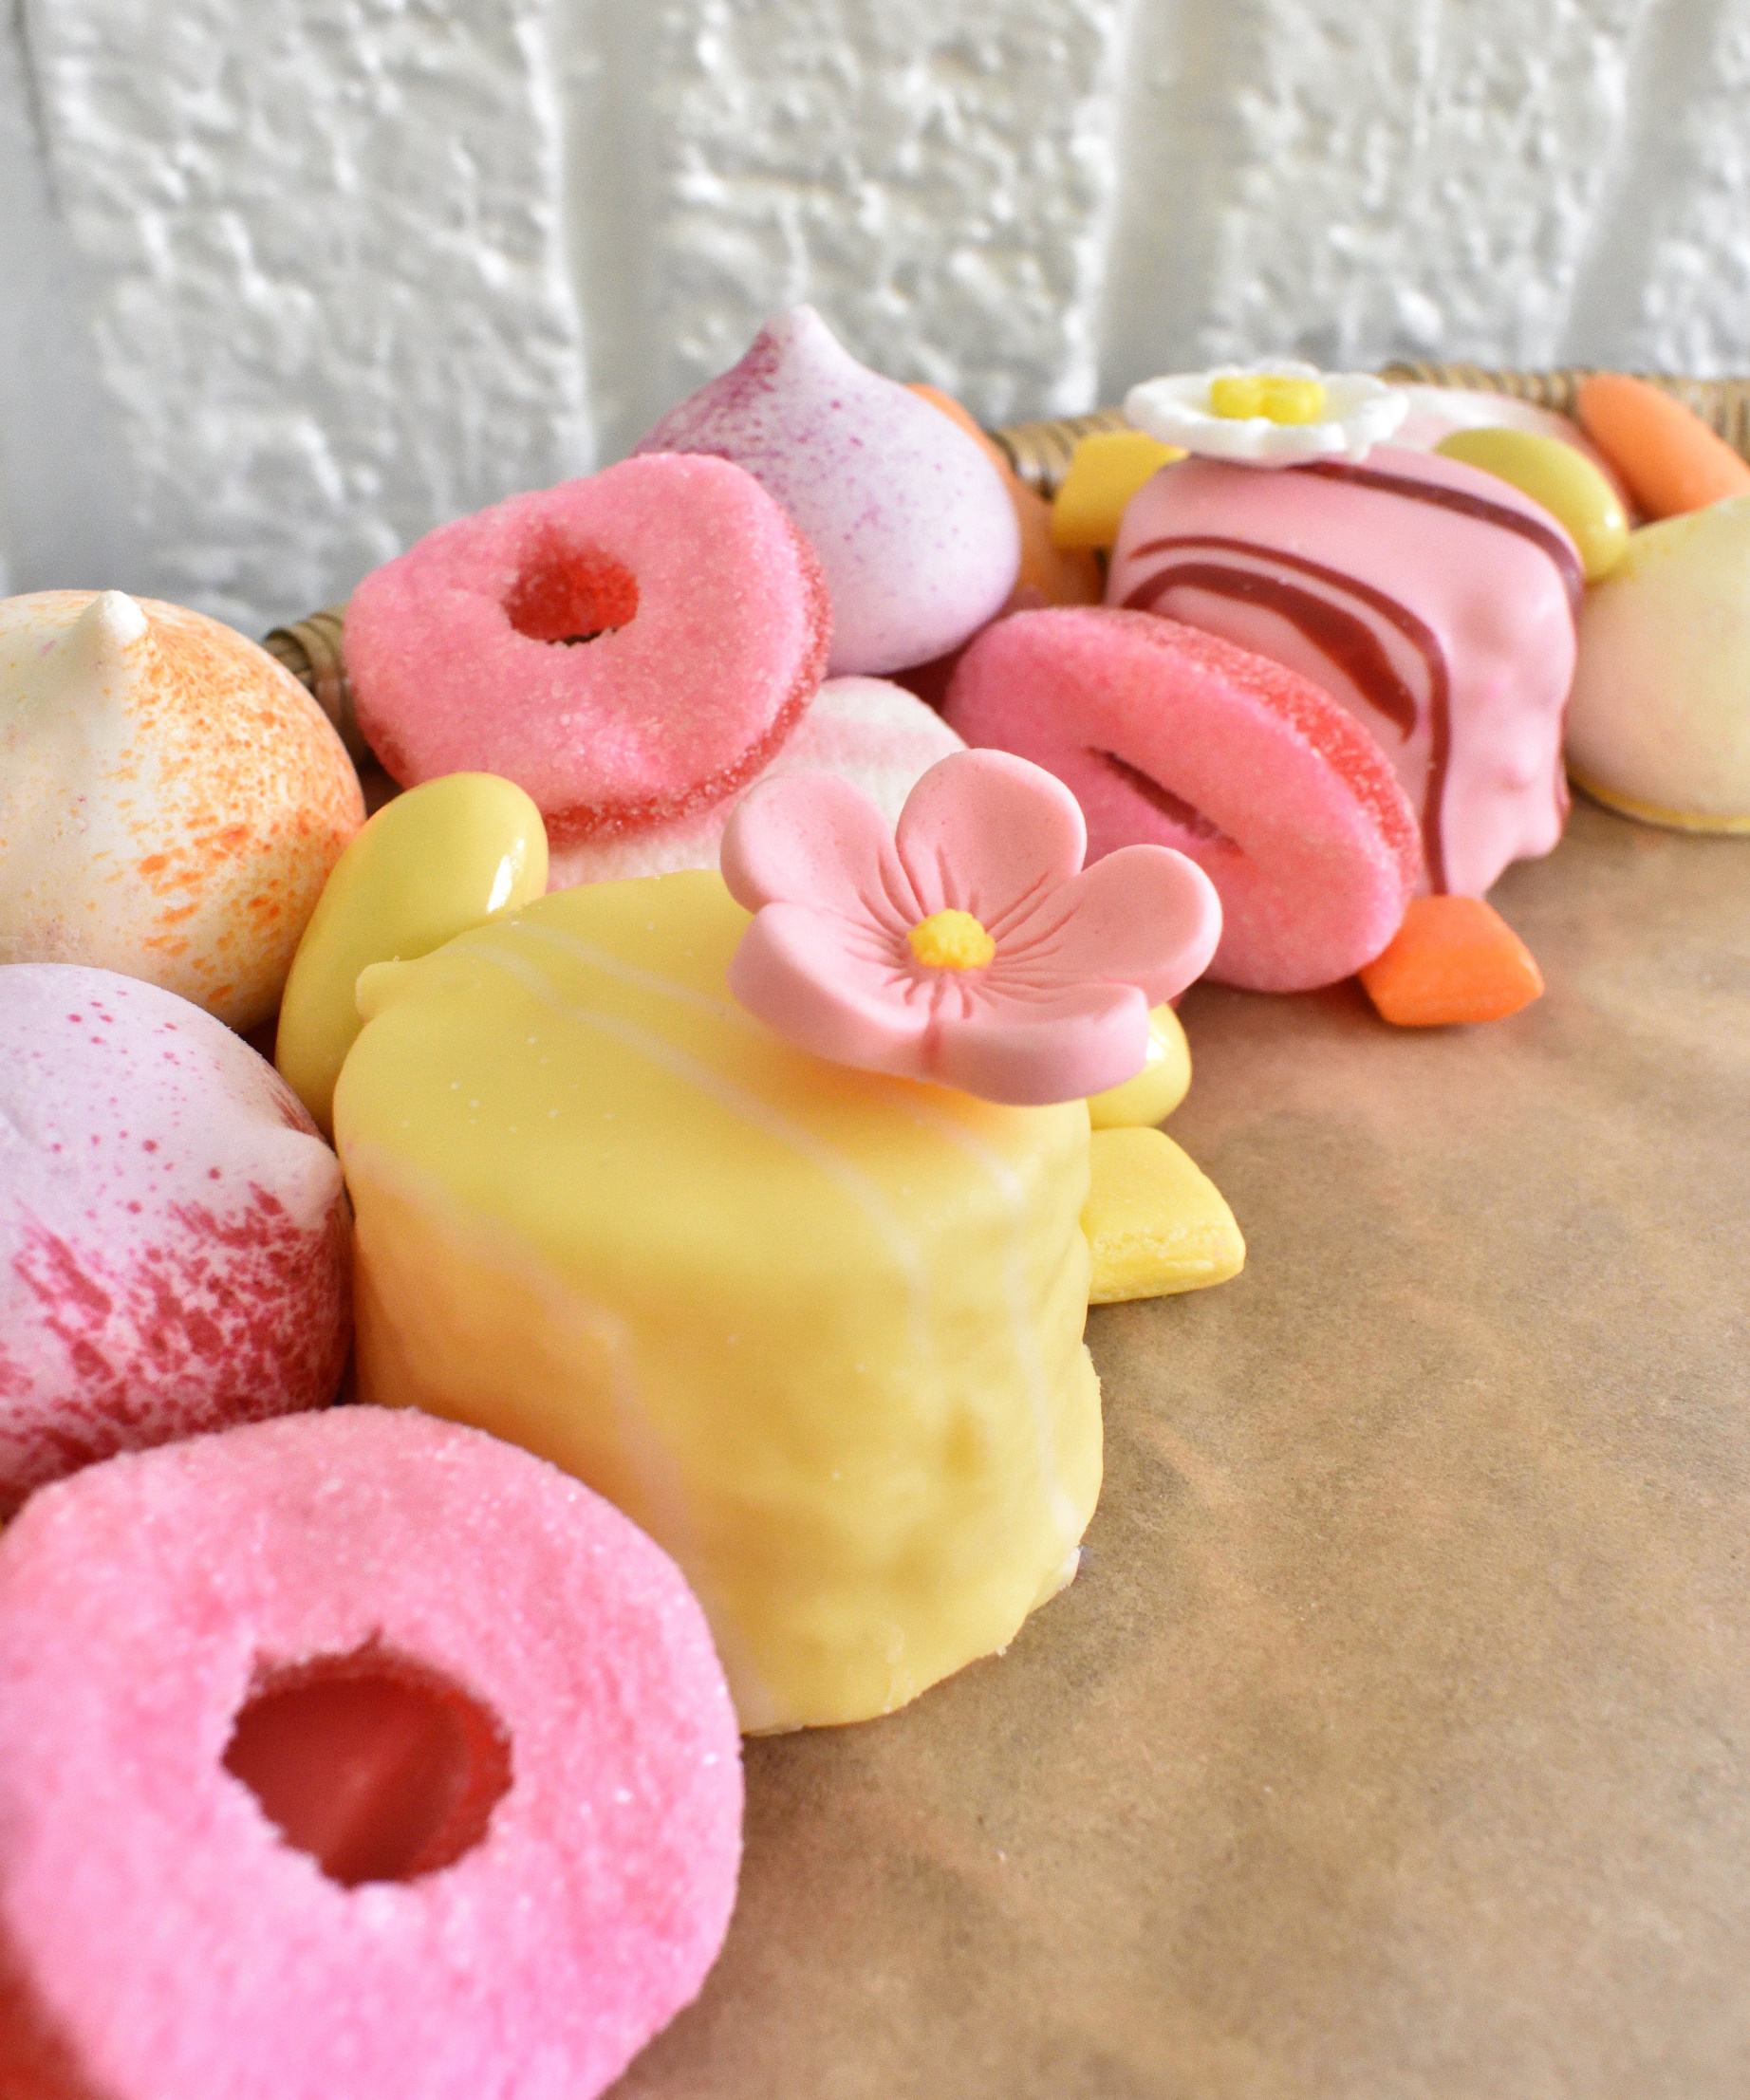
and since i had some “flower power” vibes going on, i embellished the petit fours with flowers of course. some cookie frosting held the cake decorations in place!
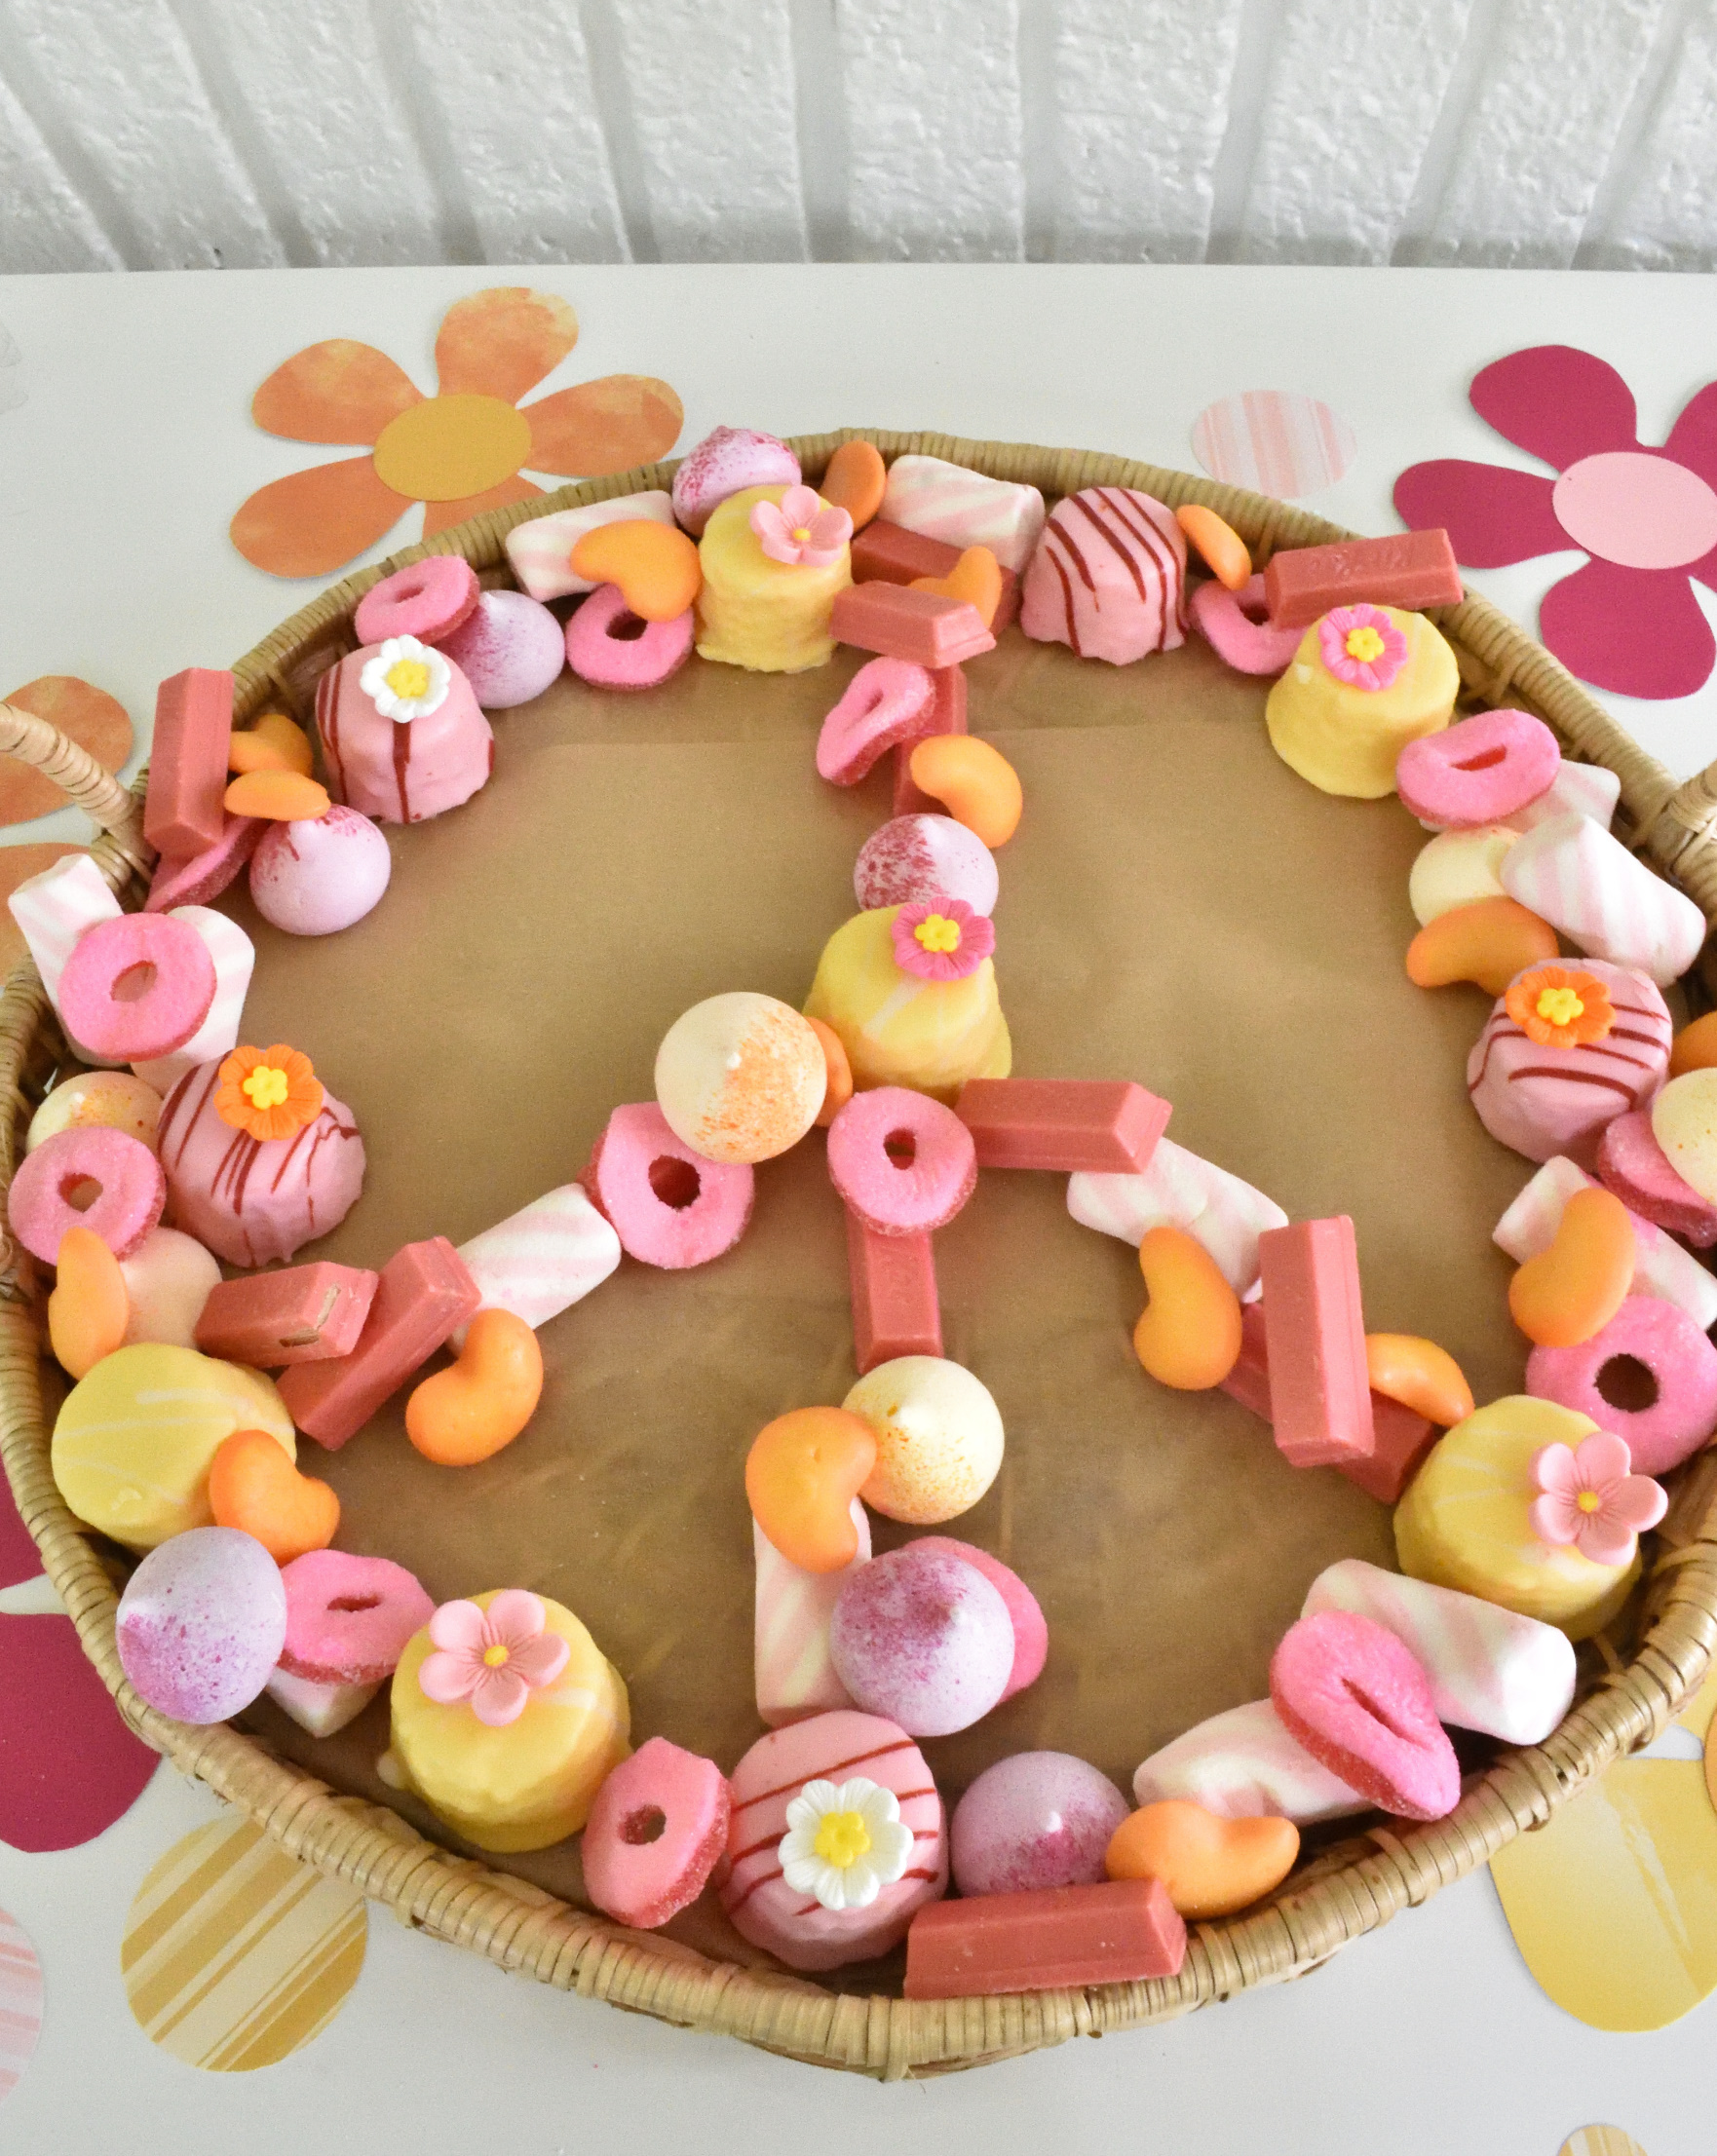
once you get your basic shape laid out you can add the medium sized candies…
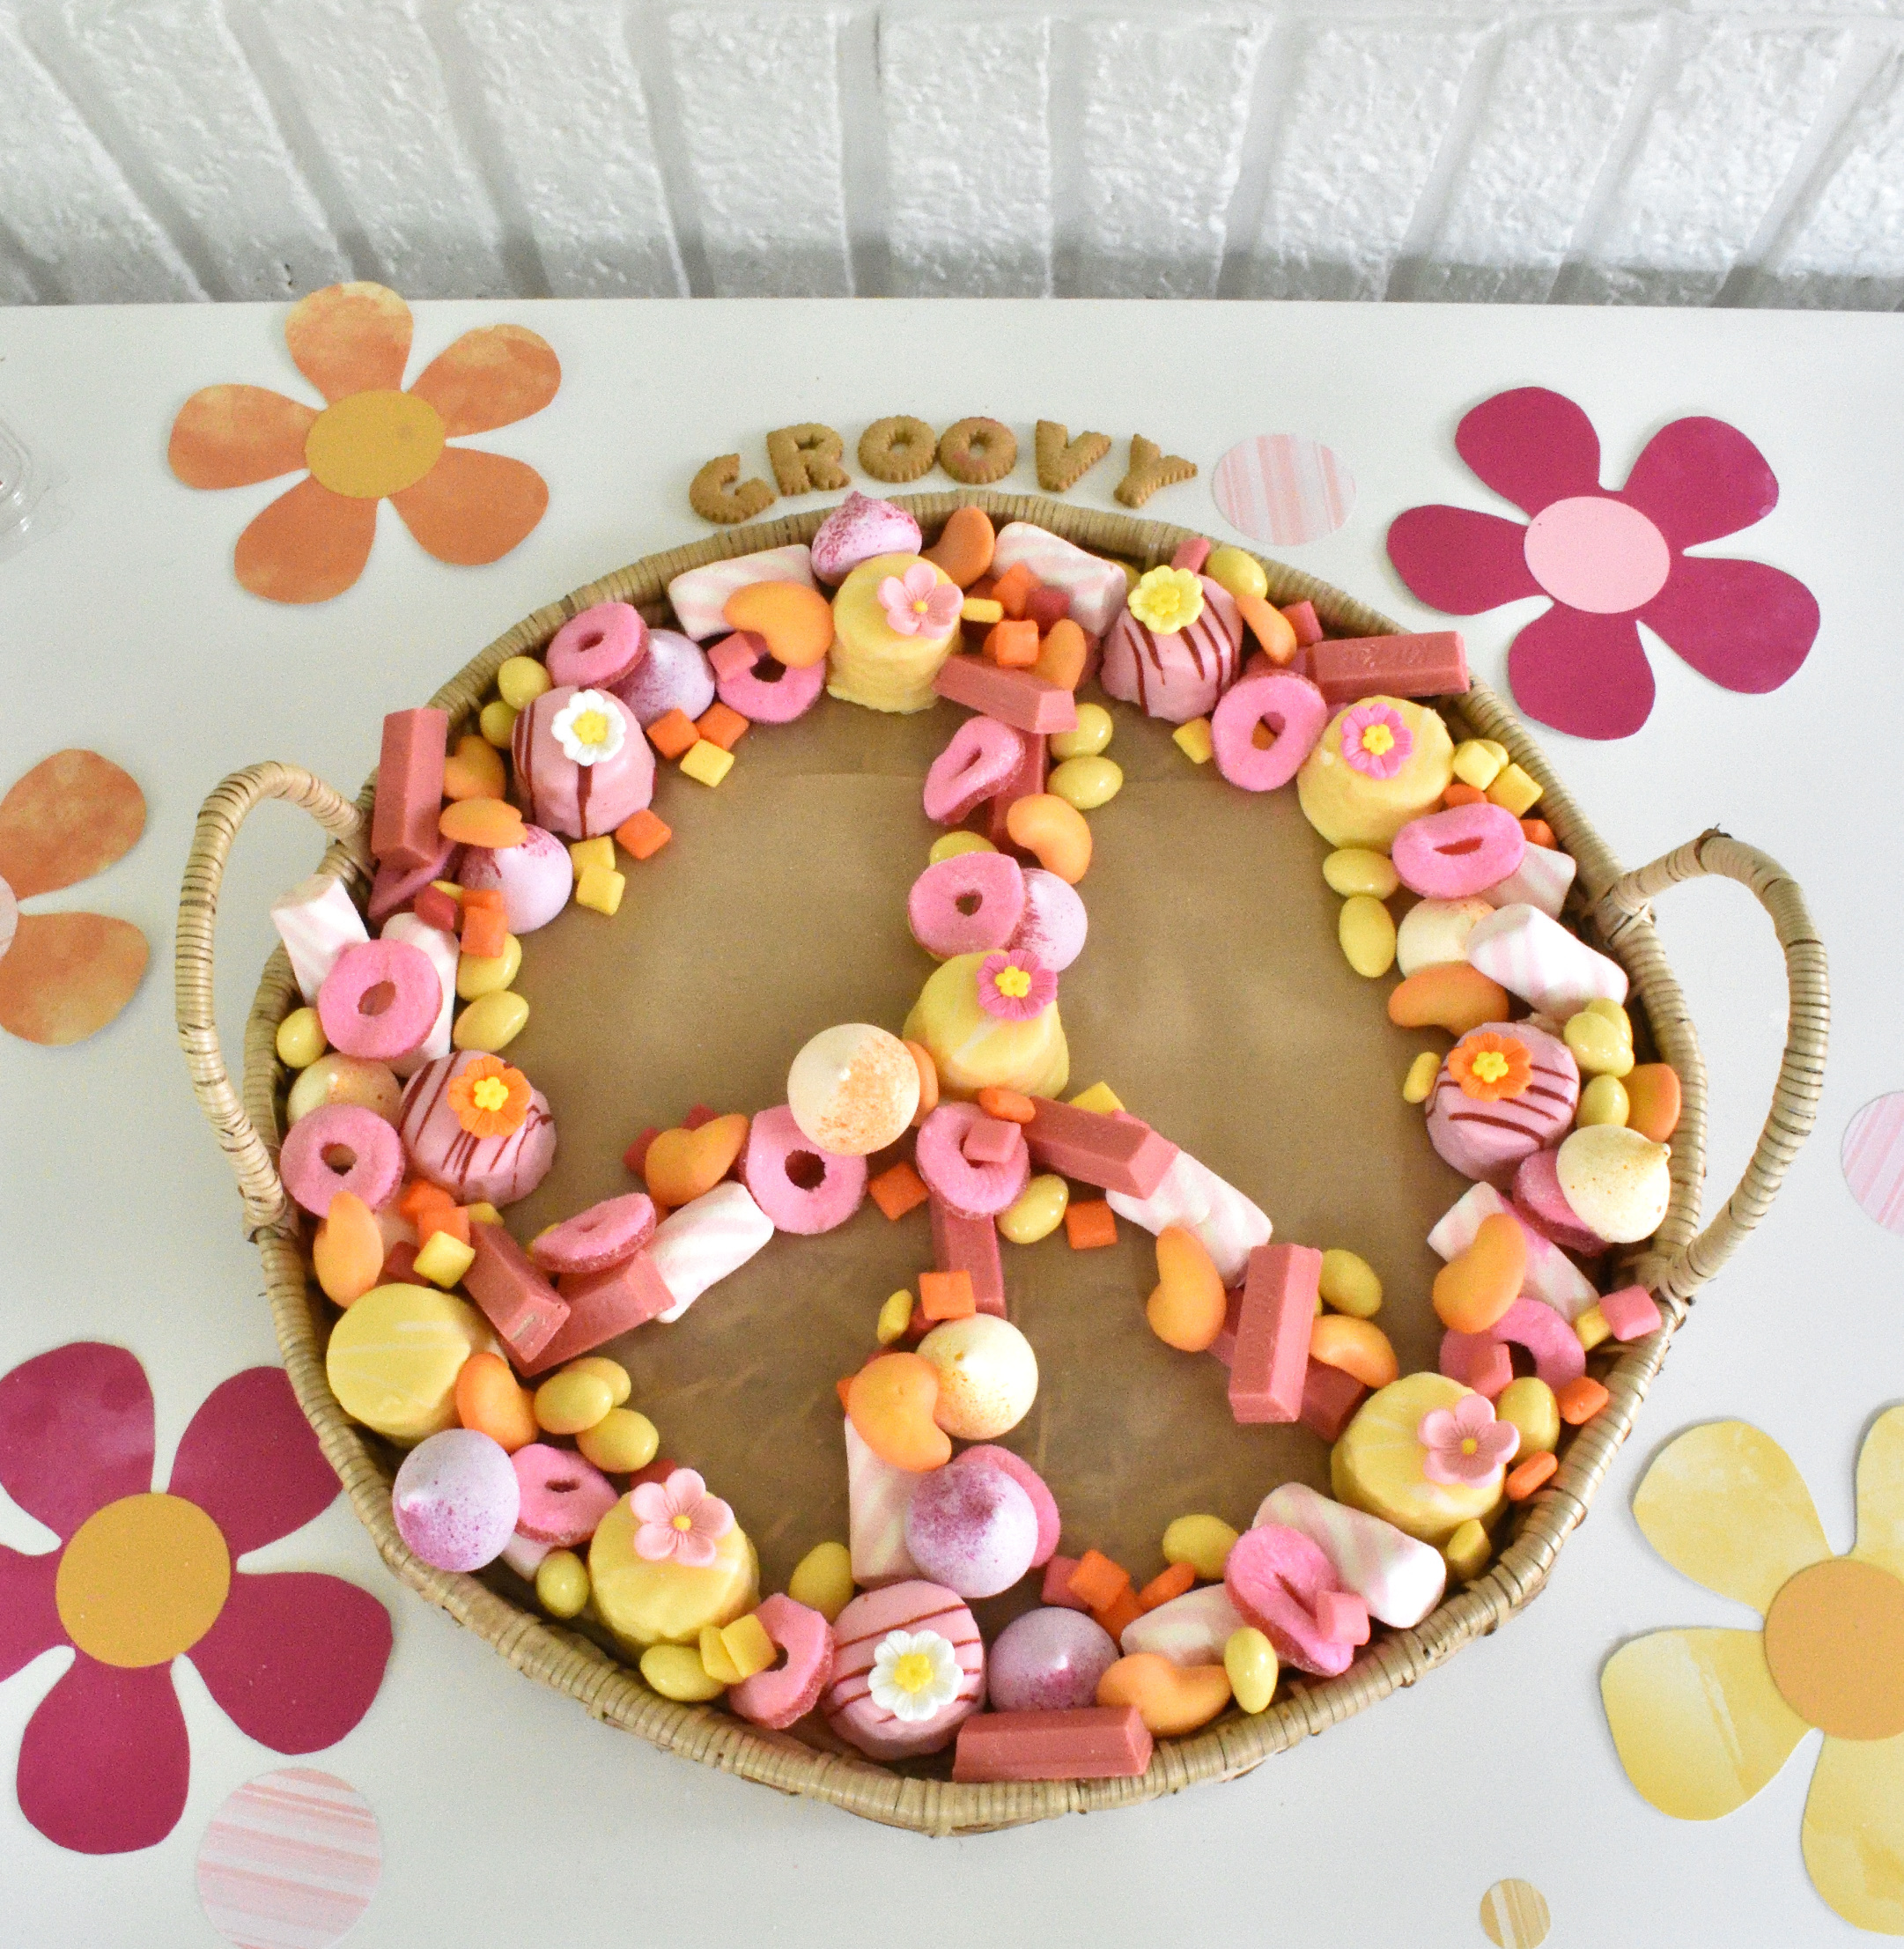
and finish with the smallest. now your shape should be complete!
party tip:
if a peace sign isn’t right for your party try making a heart, simple flower, geometric shape, or other simple holiday shapes! you can really get creative and follow almost any pattern if it’s not too intricate!
did you notice the cookie letters? i love keeping boxes of those on hand. i frosted a fun message and added it to my platter…
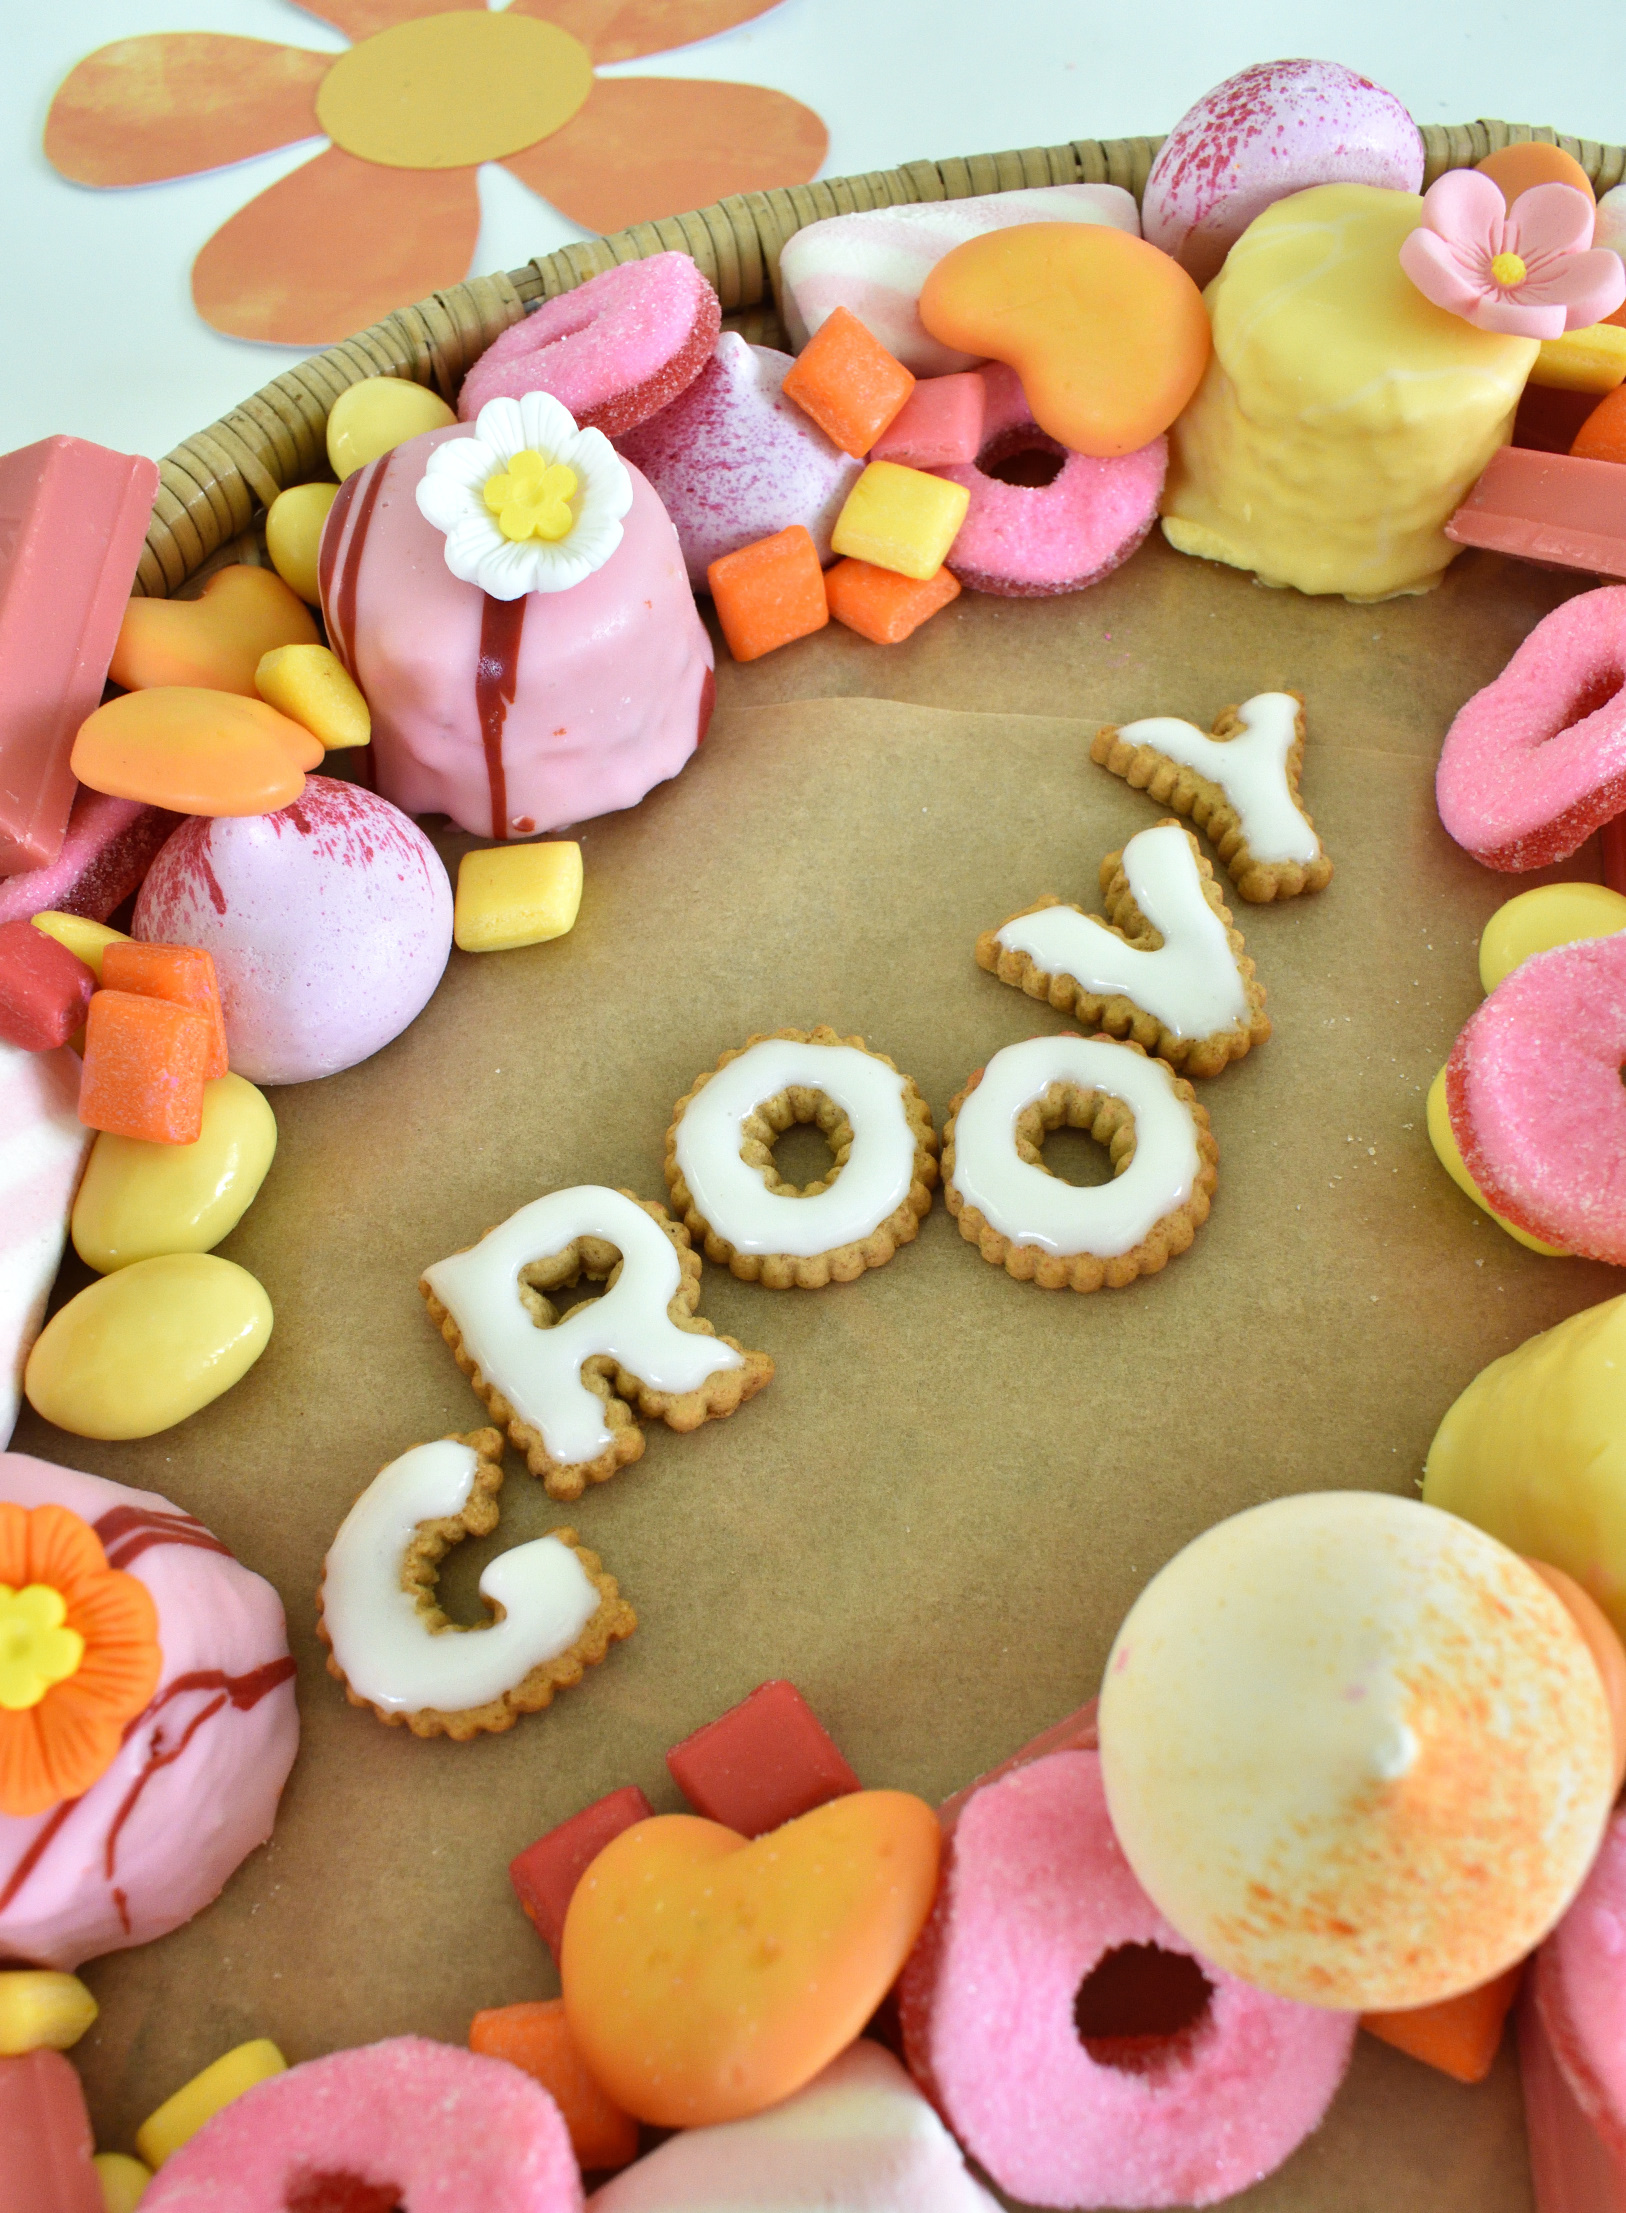
little details like this will make your guests smile for sure!
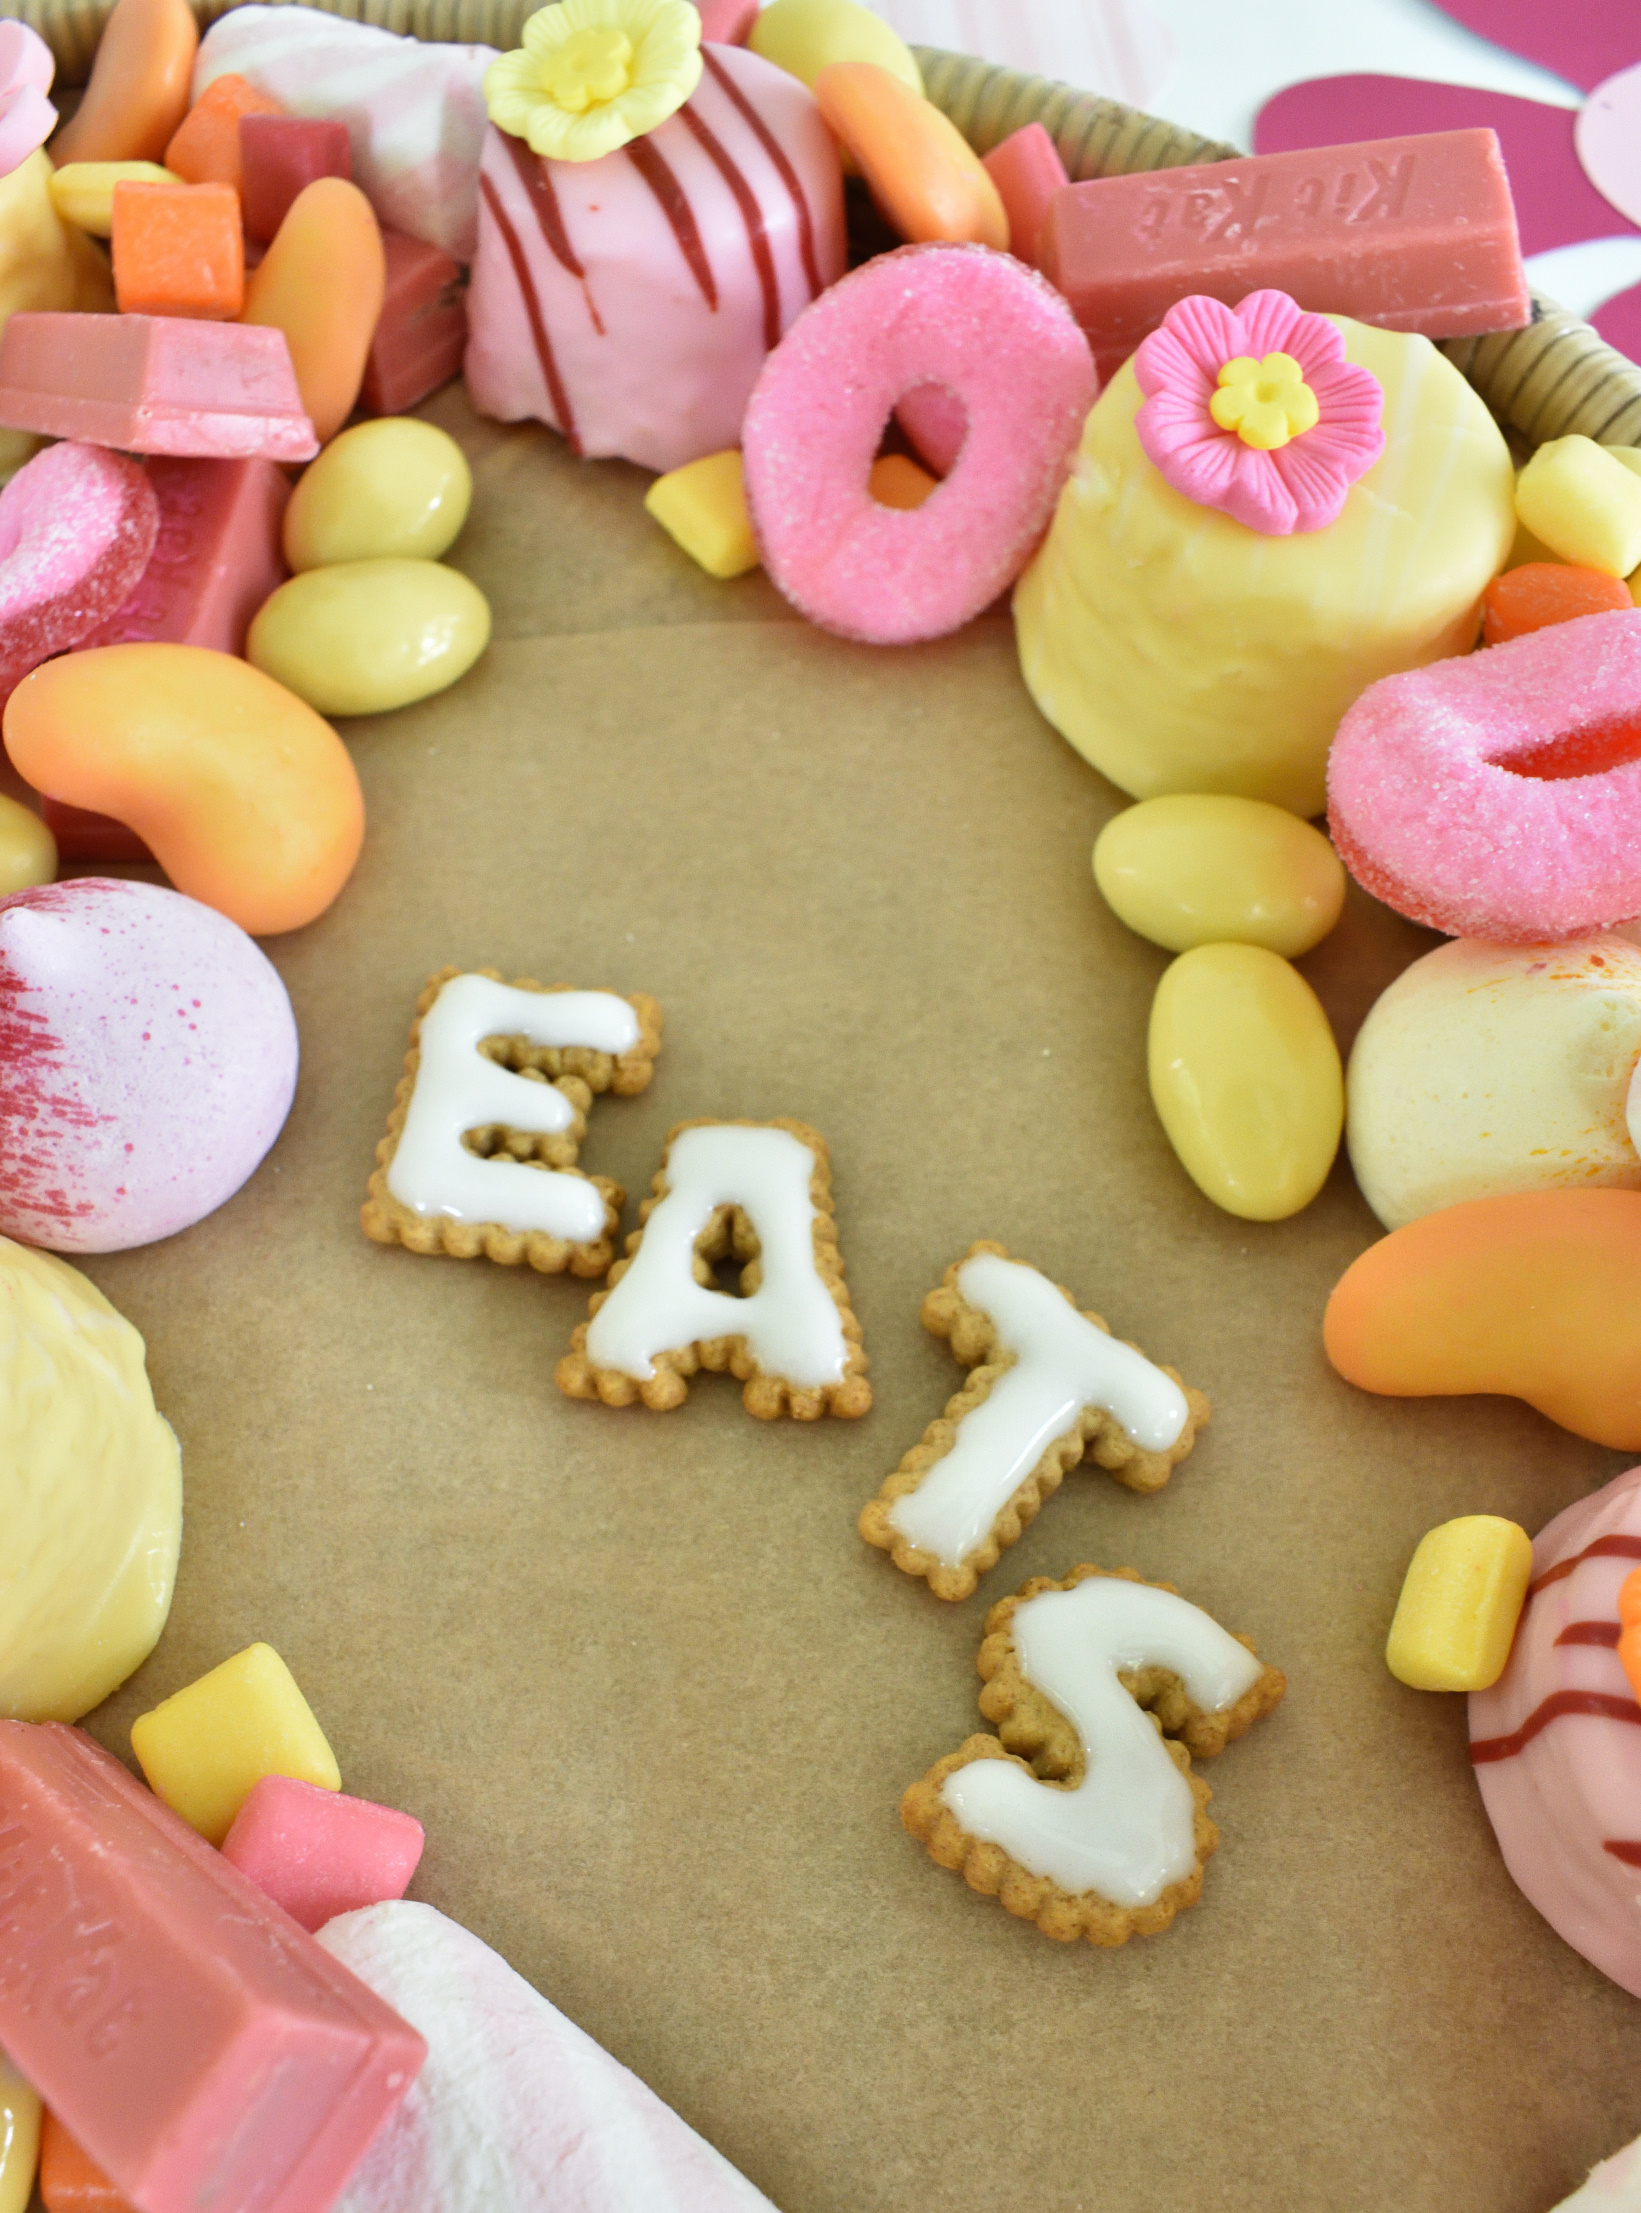
a fun dessert idea that might even give a cake a run for it’s money!
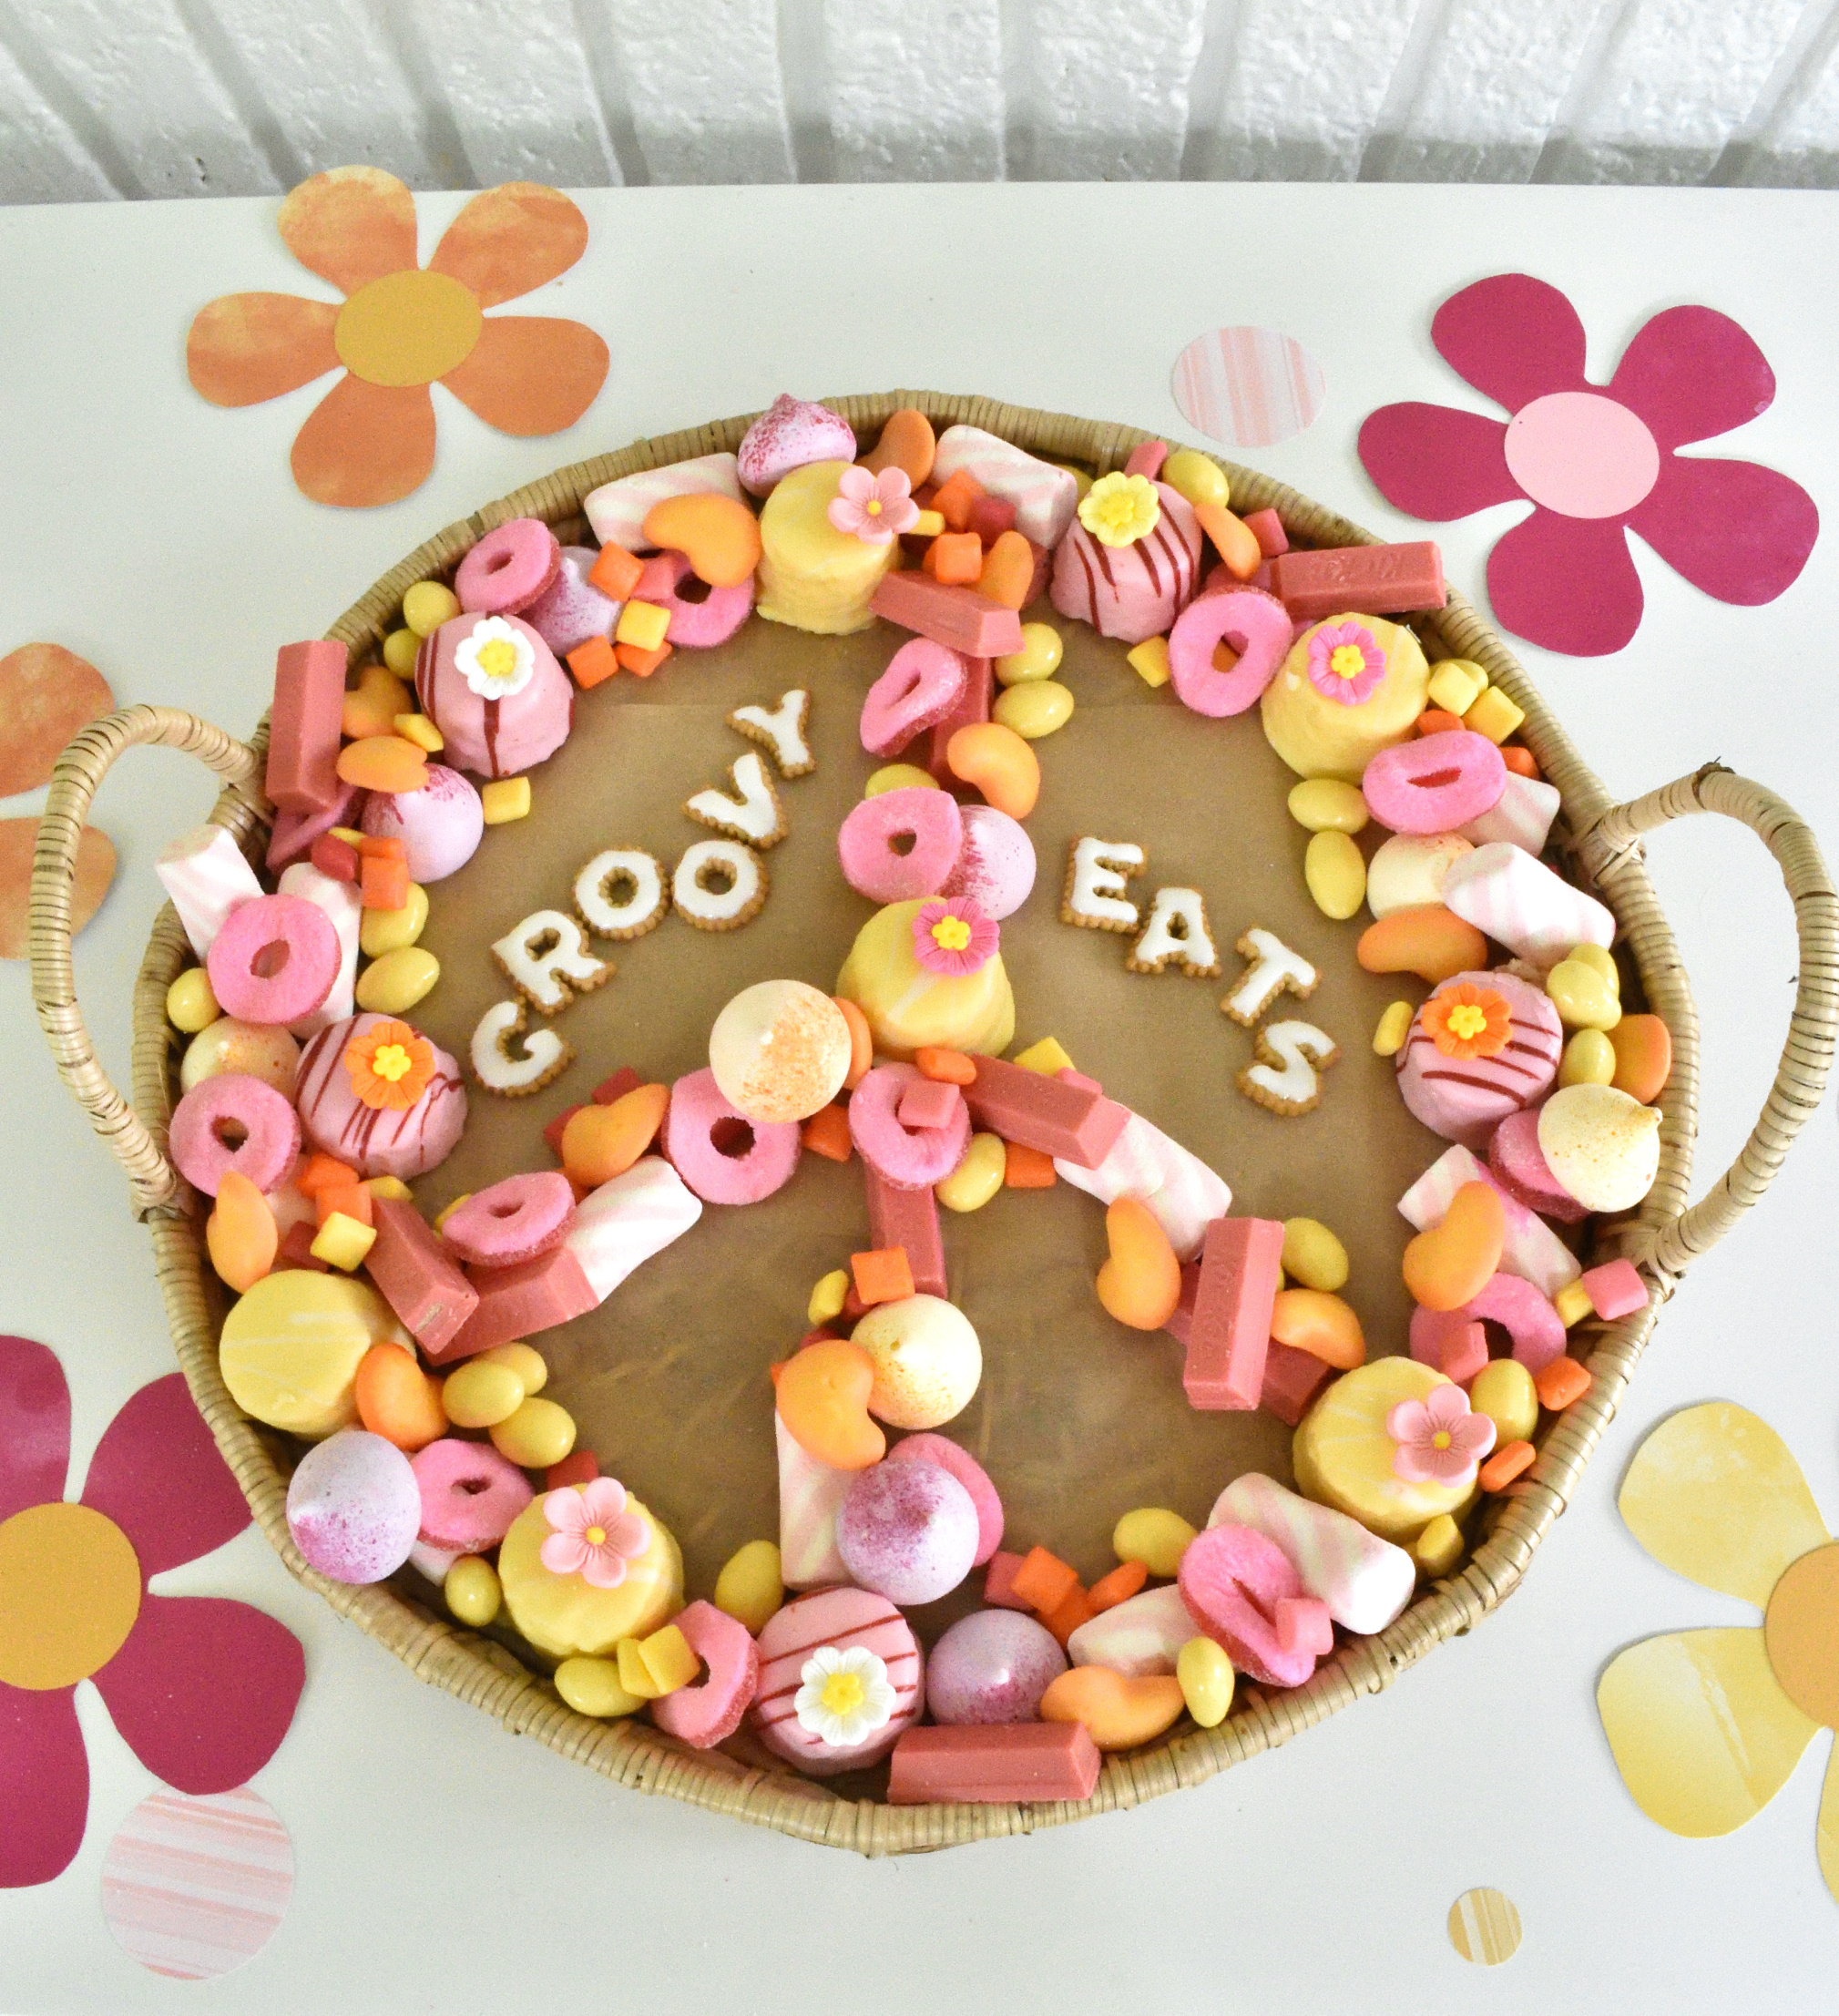
groovy eats for a party time treat!
pin for later~
