A pumpkin centerpiece is such a lovely thing to create for fall and even Halloween. It’s such a simple craft and you can find lots of goodies in the farmers markets and craft stores to make something that is unique to you! The best thing about this DIY project is that you can keep adding or removing elements that will allow you to enjoy your creation now and through the upcoming holidays! I published this post as a guest blogger last year and really want to share the easy details here at Giggle Living for this season. This is such an easy project and has elements of elegance making it really versatile for the seasonal fun! Let me share the simple steps…
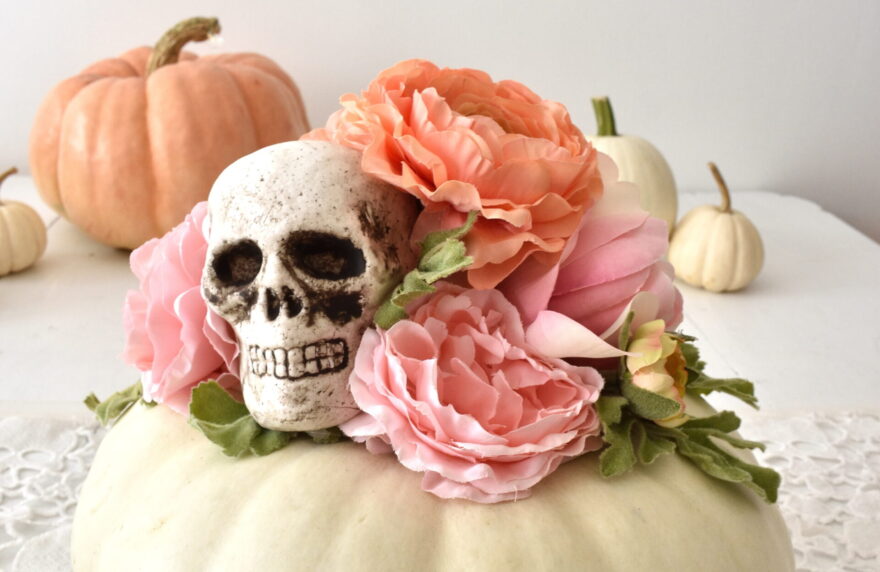
a pumpkin centerpiece…the soft side of spooky!
gather some pretty goodies & supplies and then get crafting!
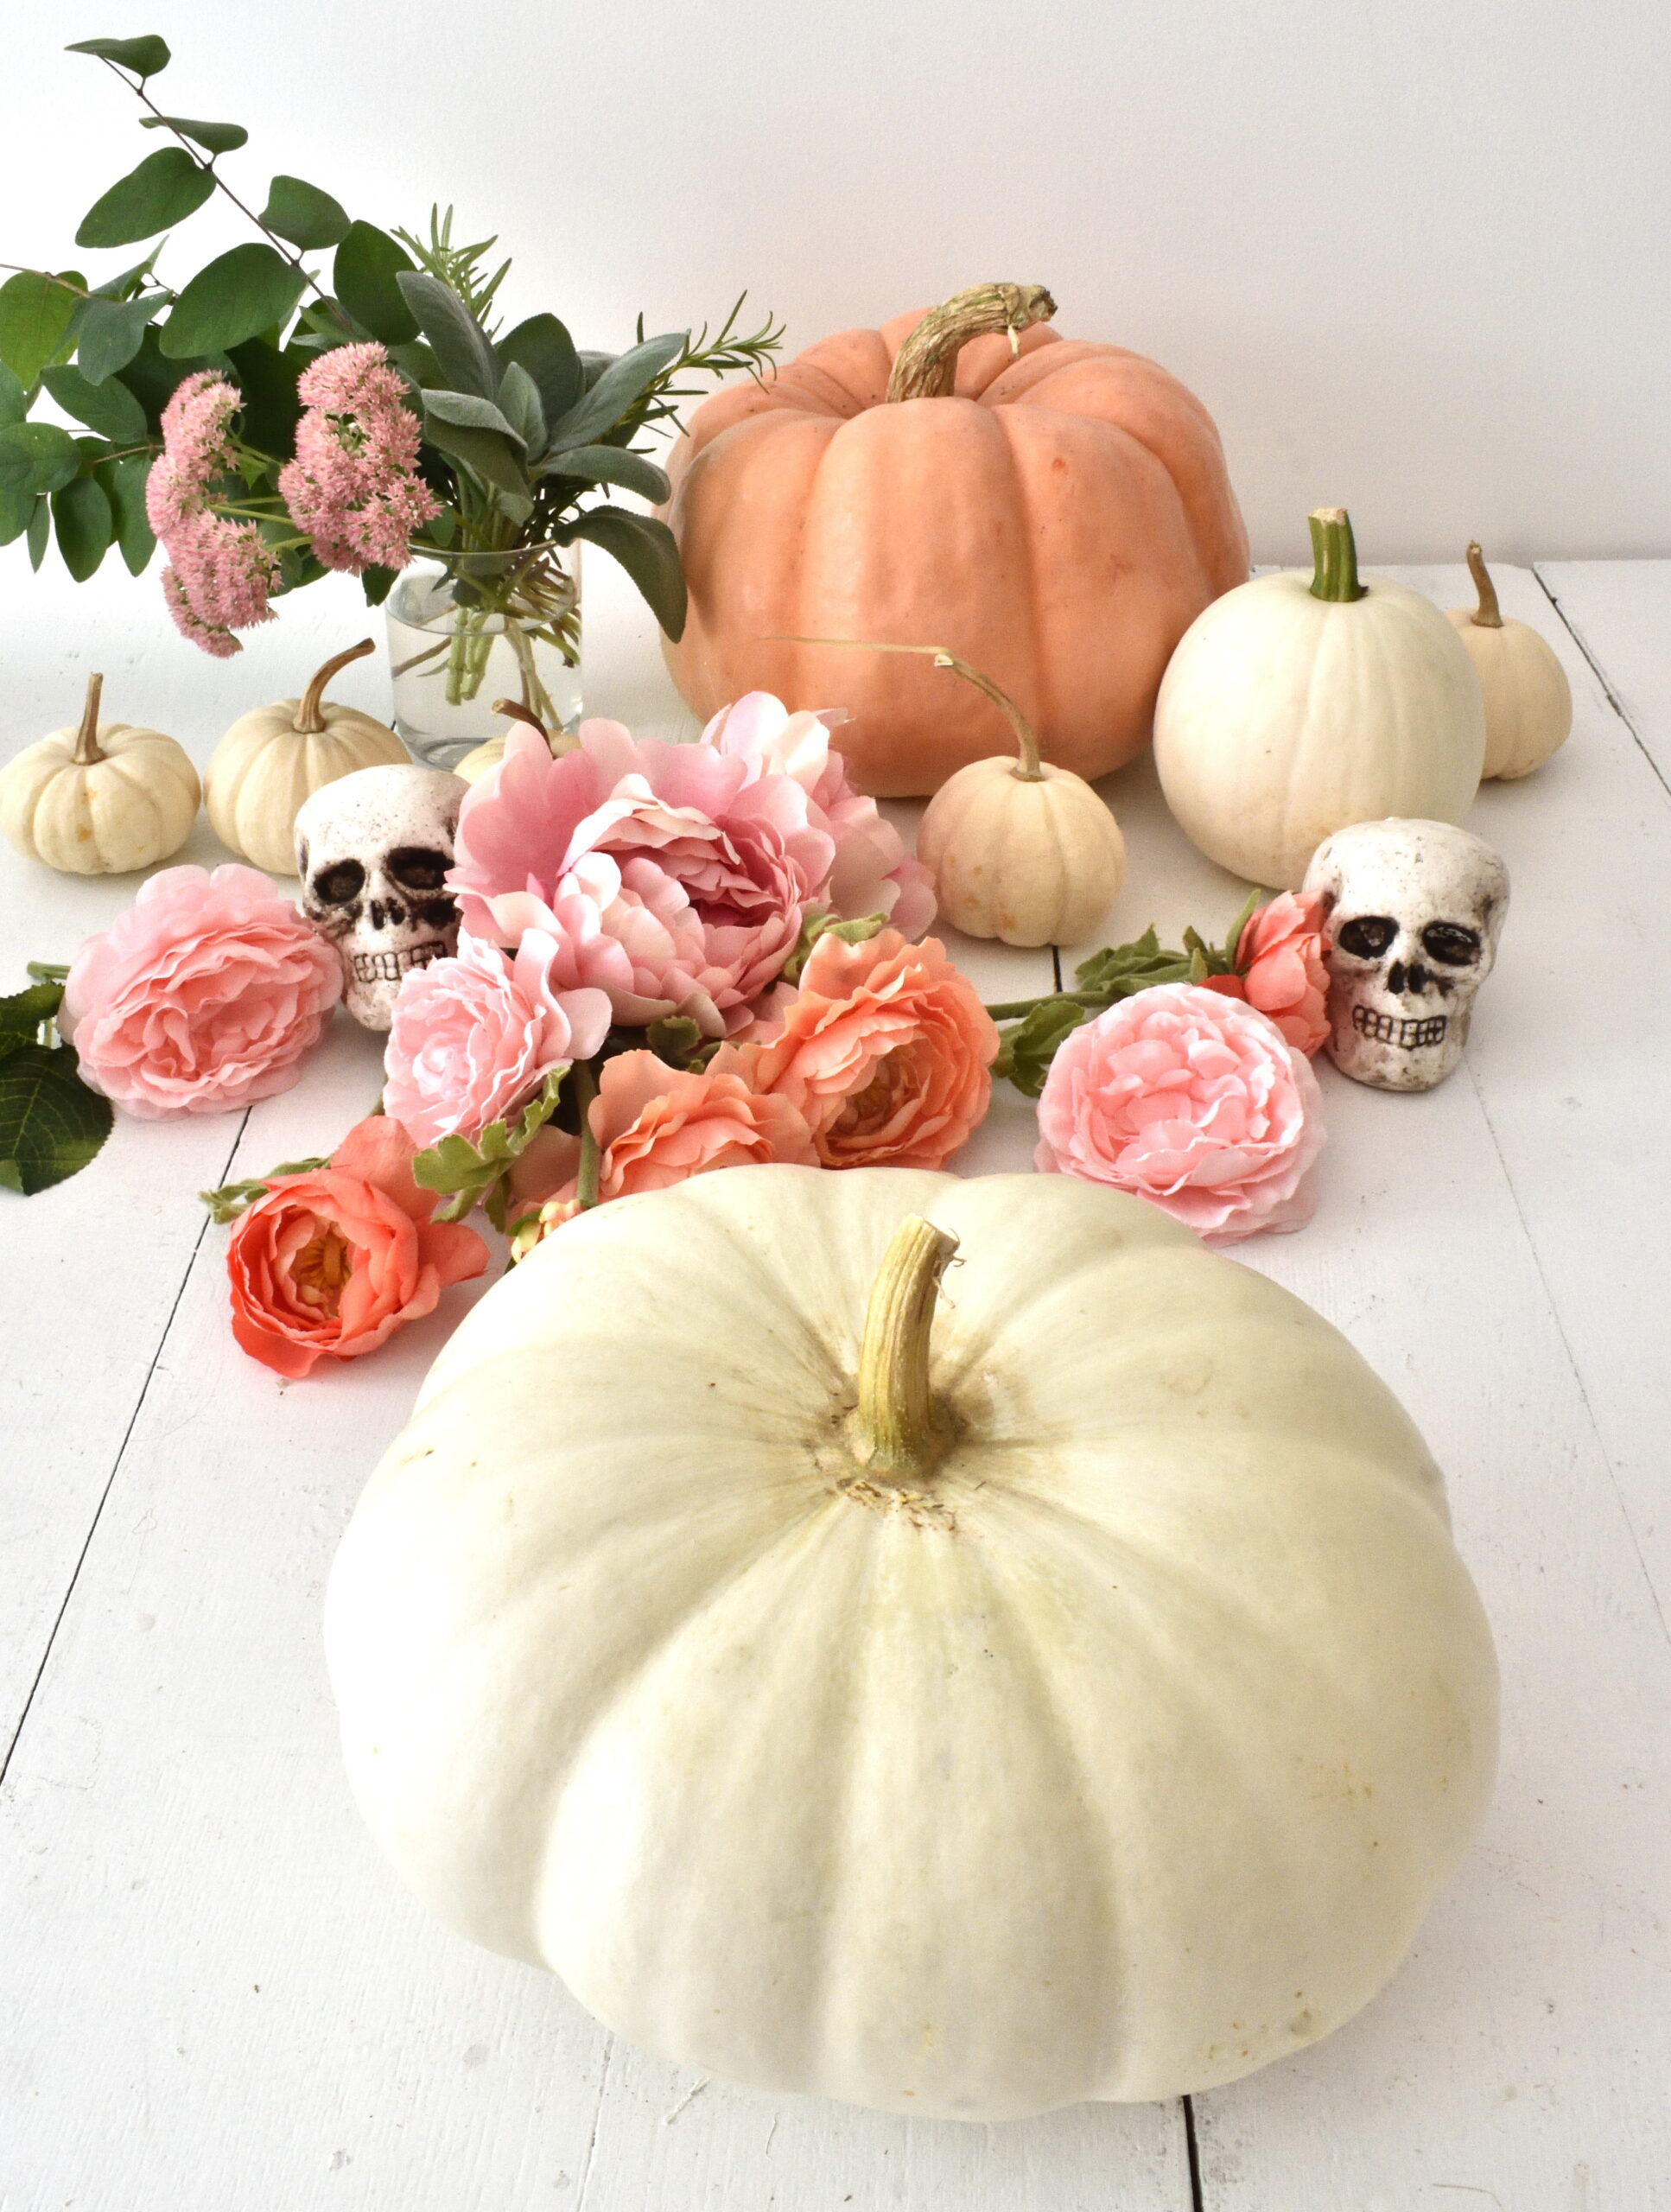
here’s what you need:
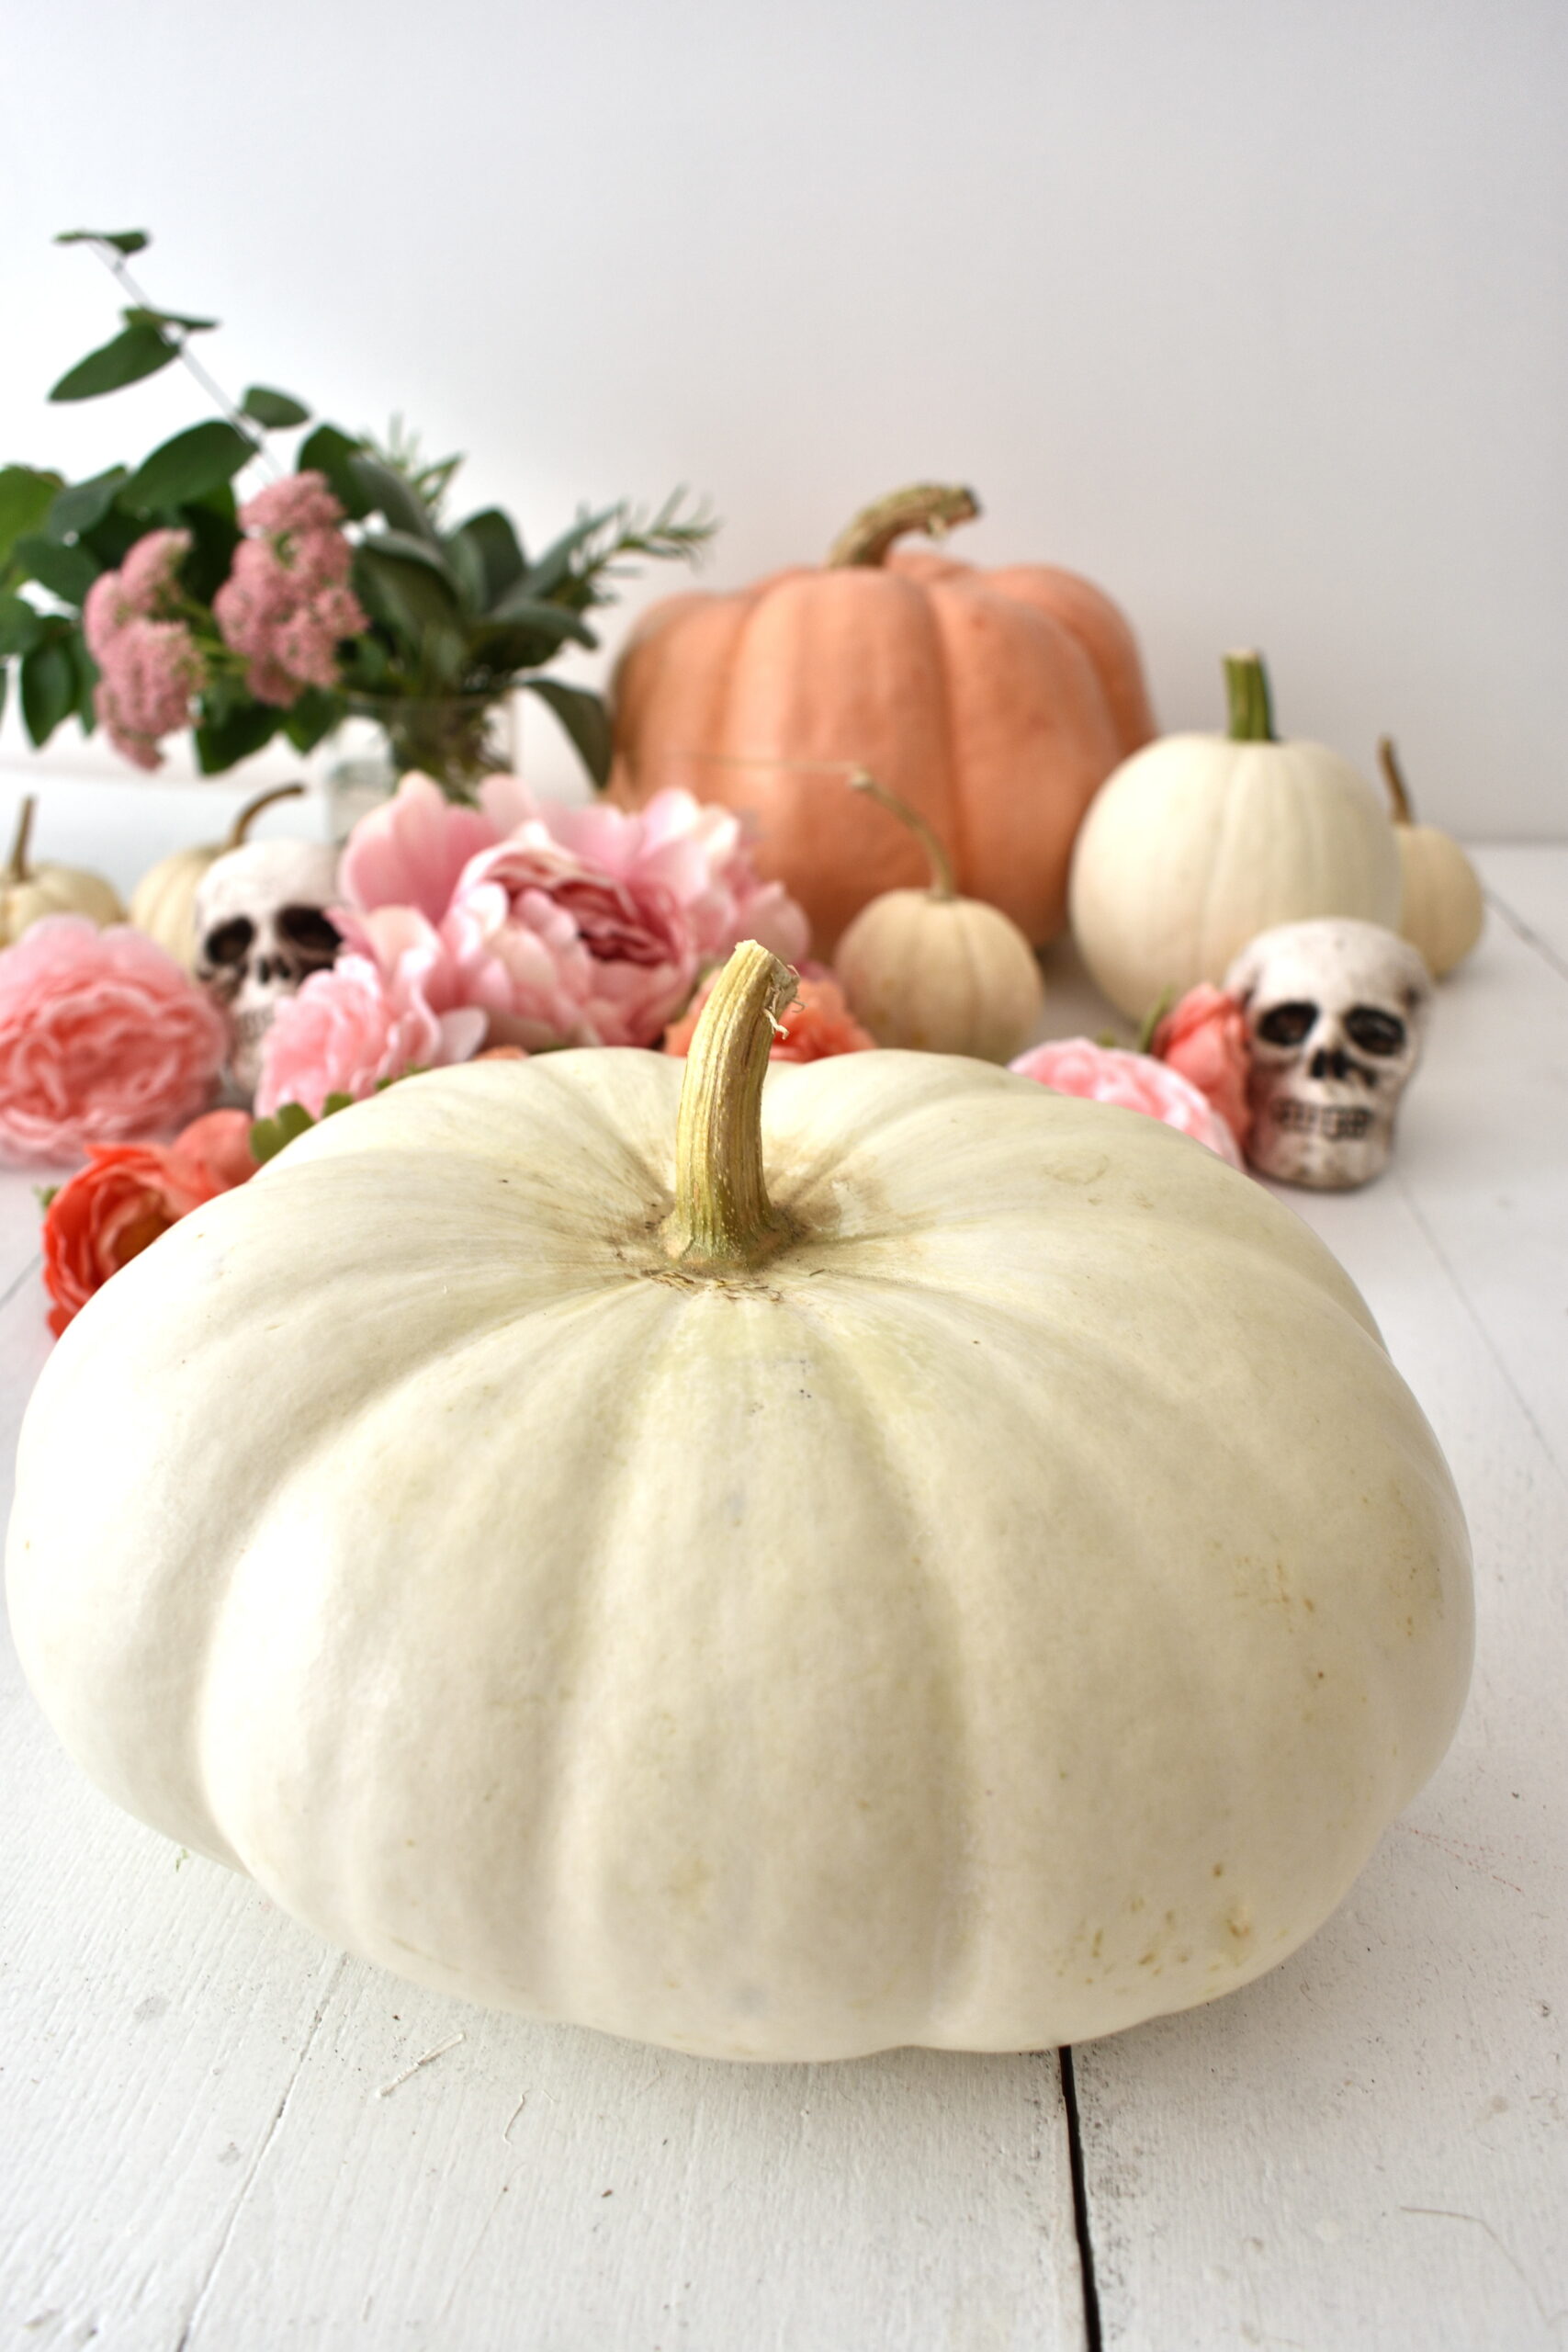
a pumpkin or gourd
artificial flowers
Halloween embellishments. i used foam skulls but other options could be small crows, mice, skeletons, bats or spiders.
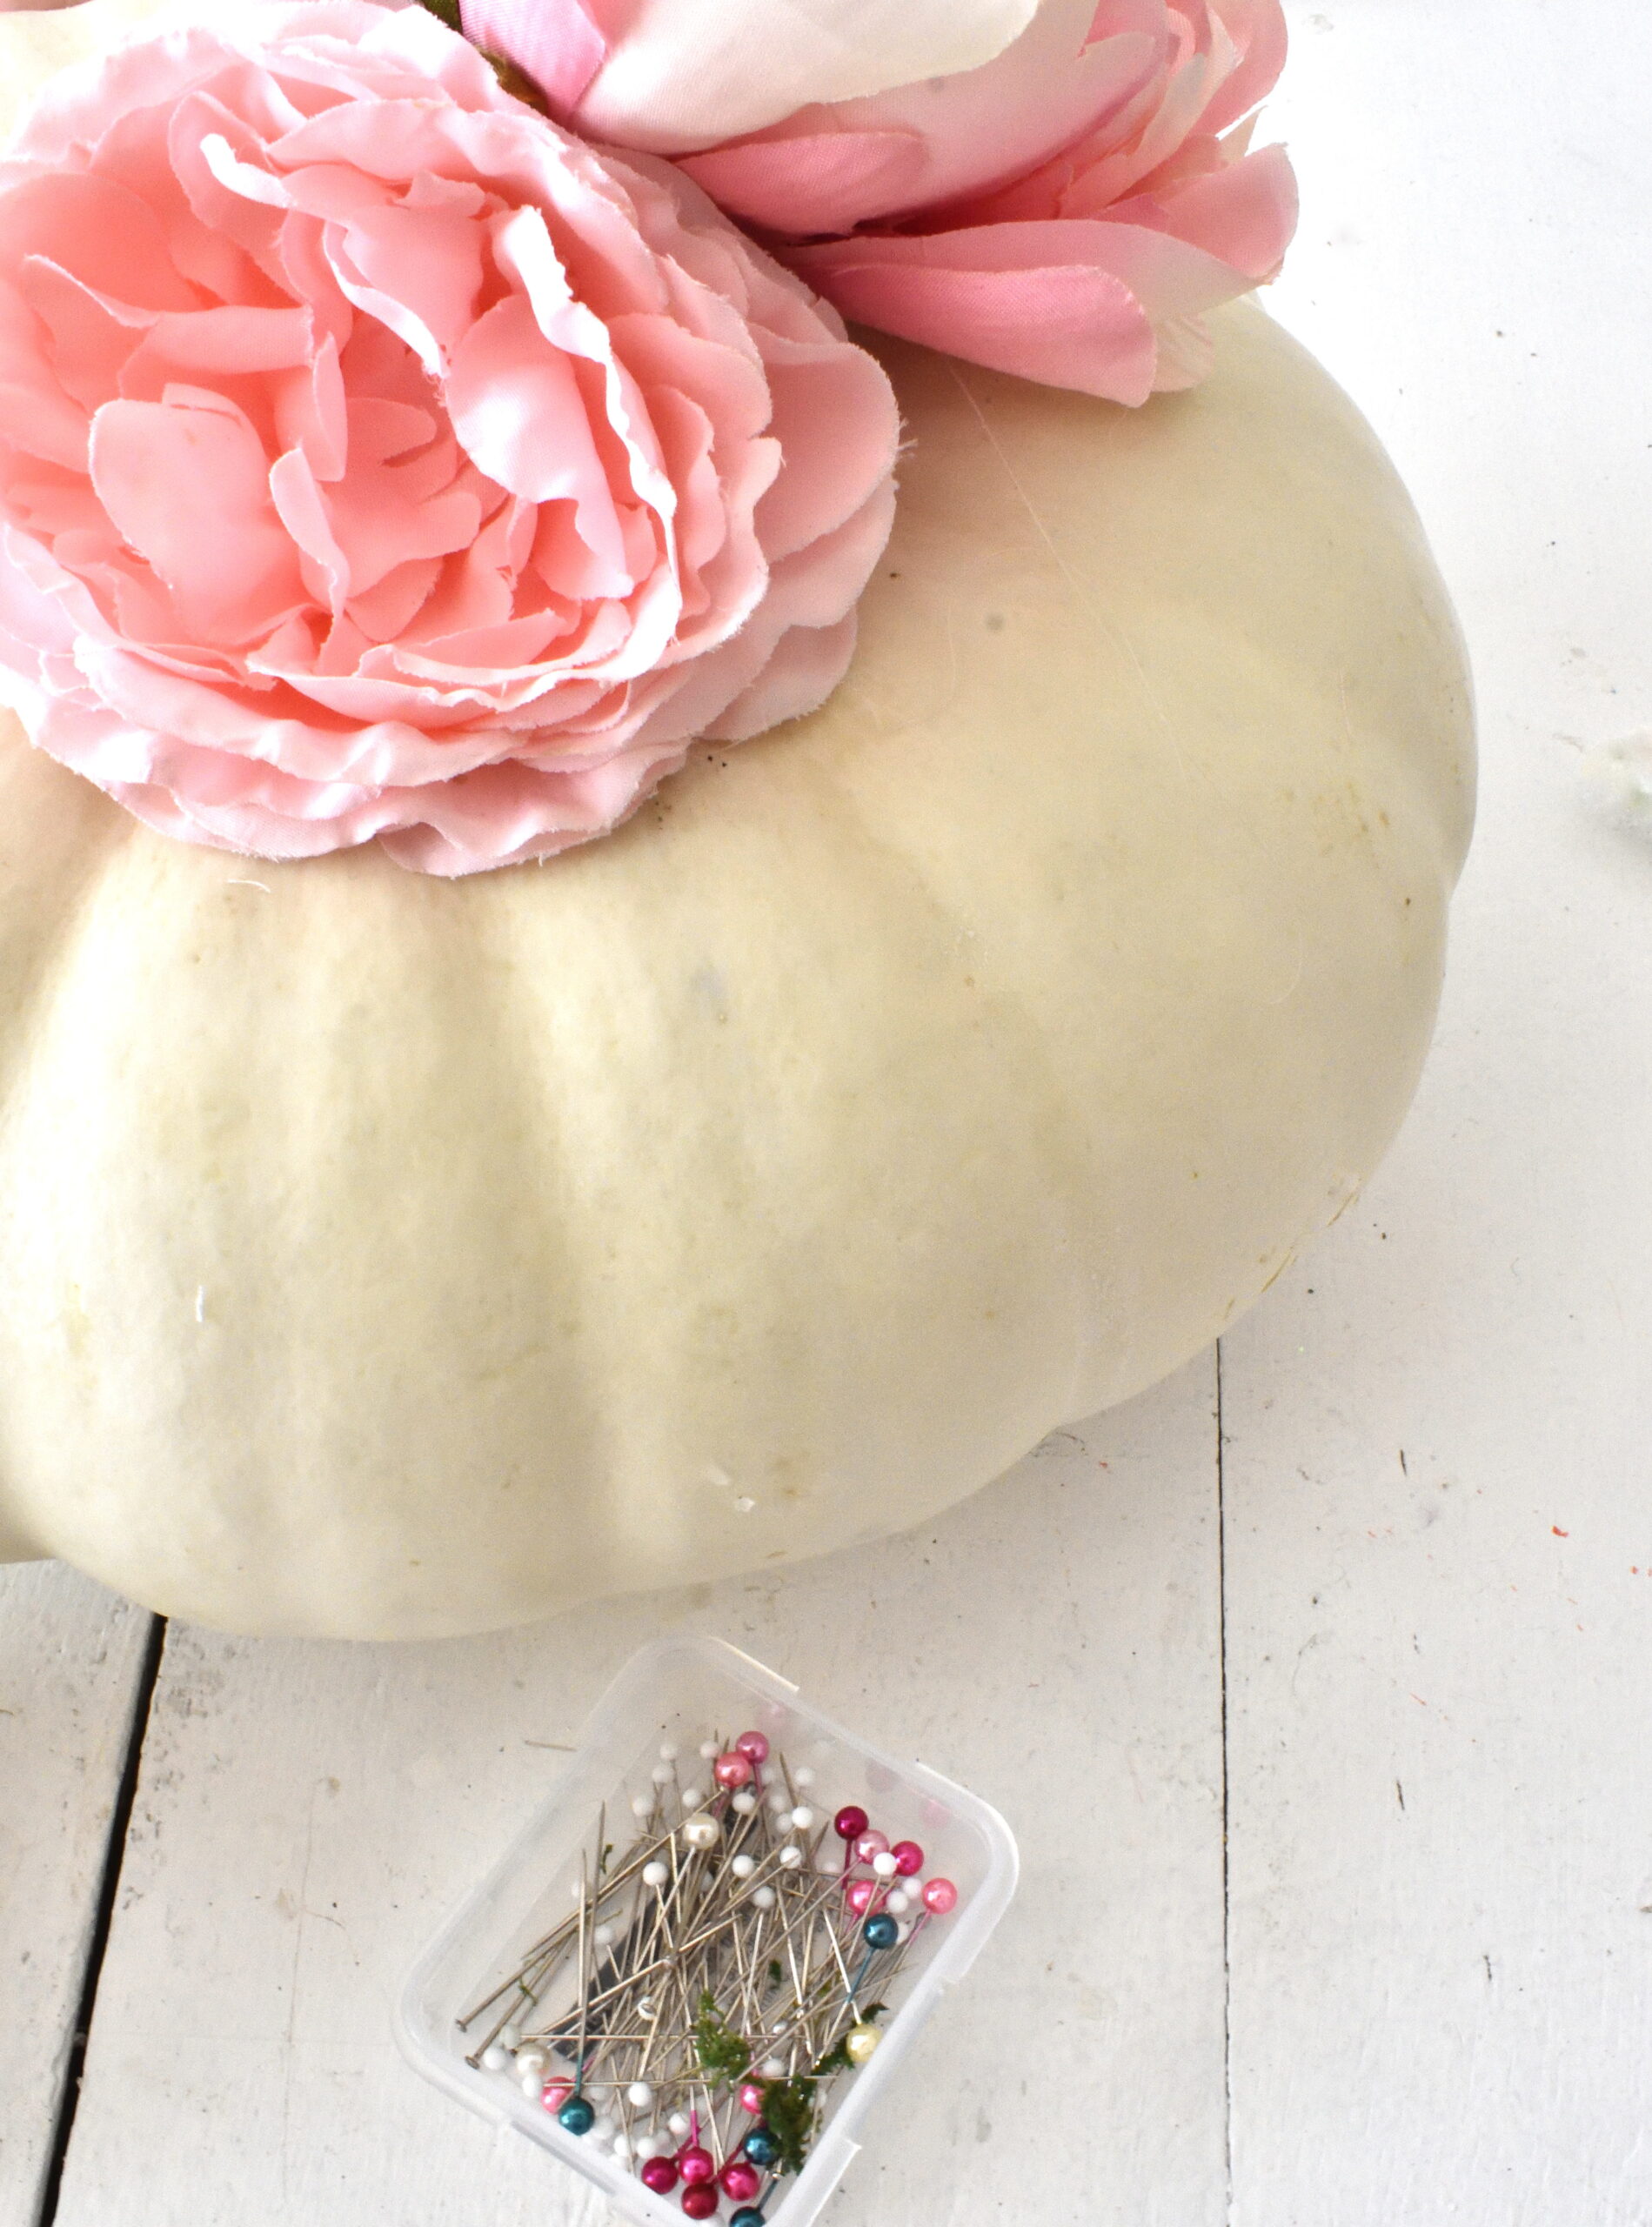
pins & corsage pins
fresh flowers & greens (optional)
glue gun (optional)
i chose a cinderella-style white pumpkin. the flat top makes a nice platform for the embellishments…but ANY round-ish pumpkin or gourd will work.
pop the blooms off the floral stems and begin pinning a few around the stem of the pumpkin…
secure the flowers by pinning some of the bottom petals to the pumpkin. the pin will be hidden inside the bloom…
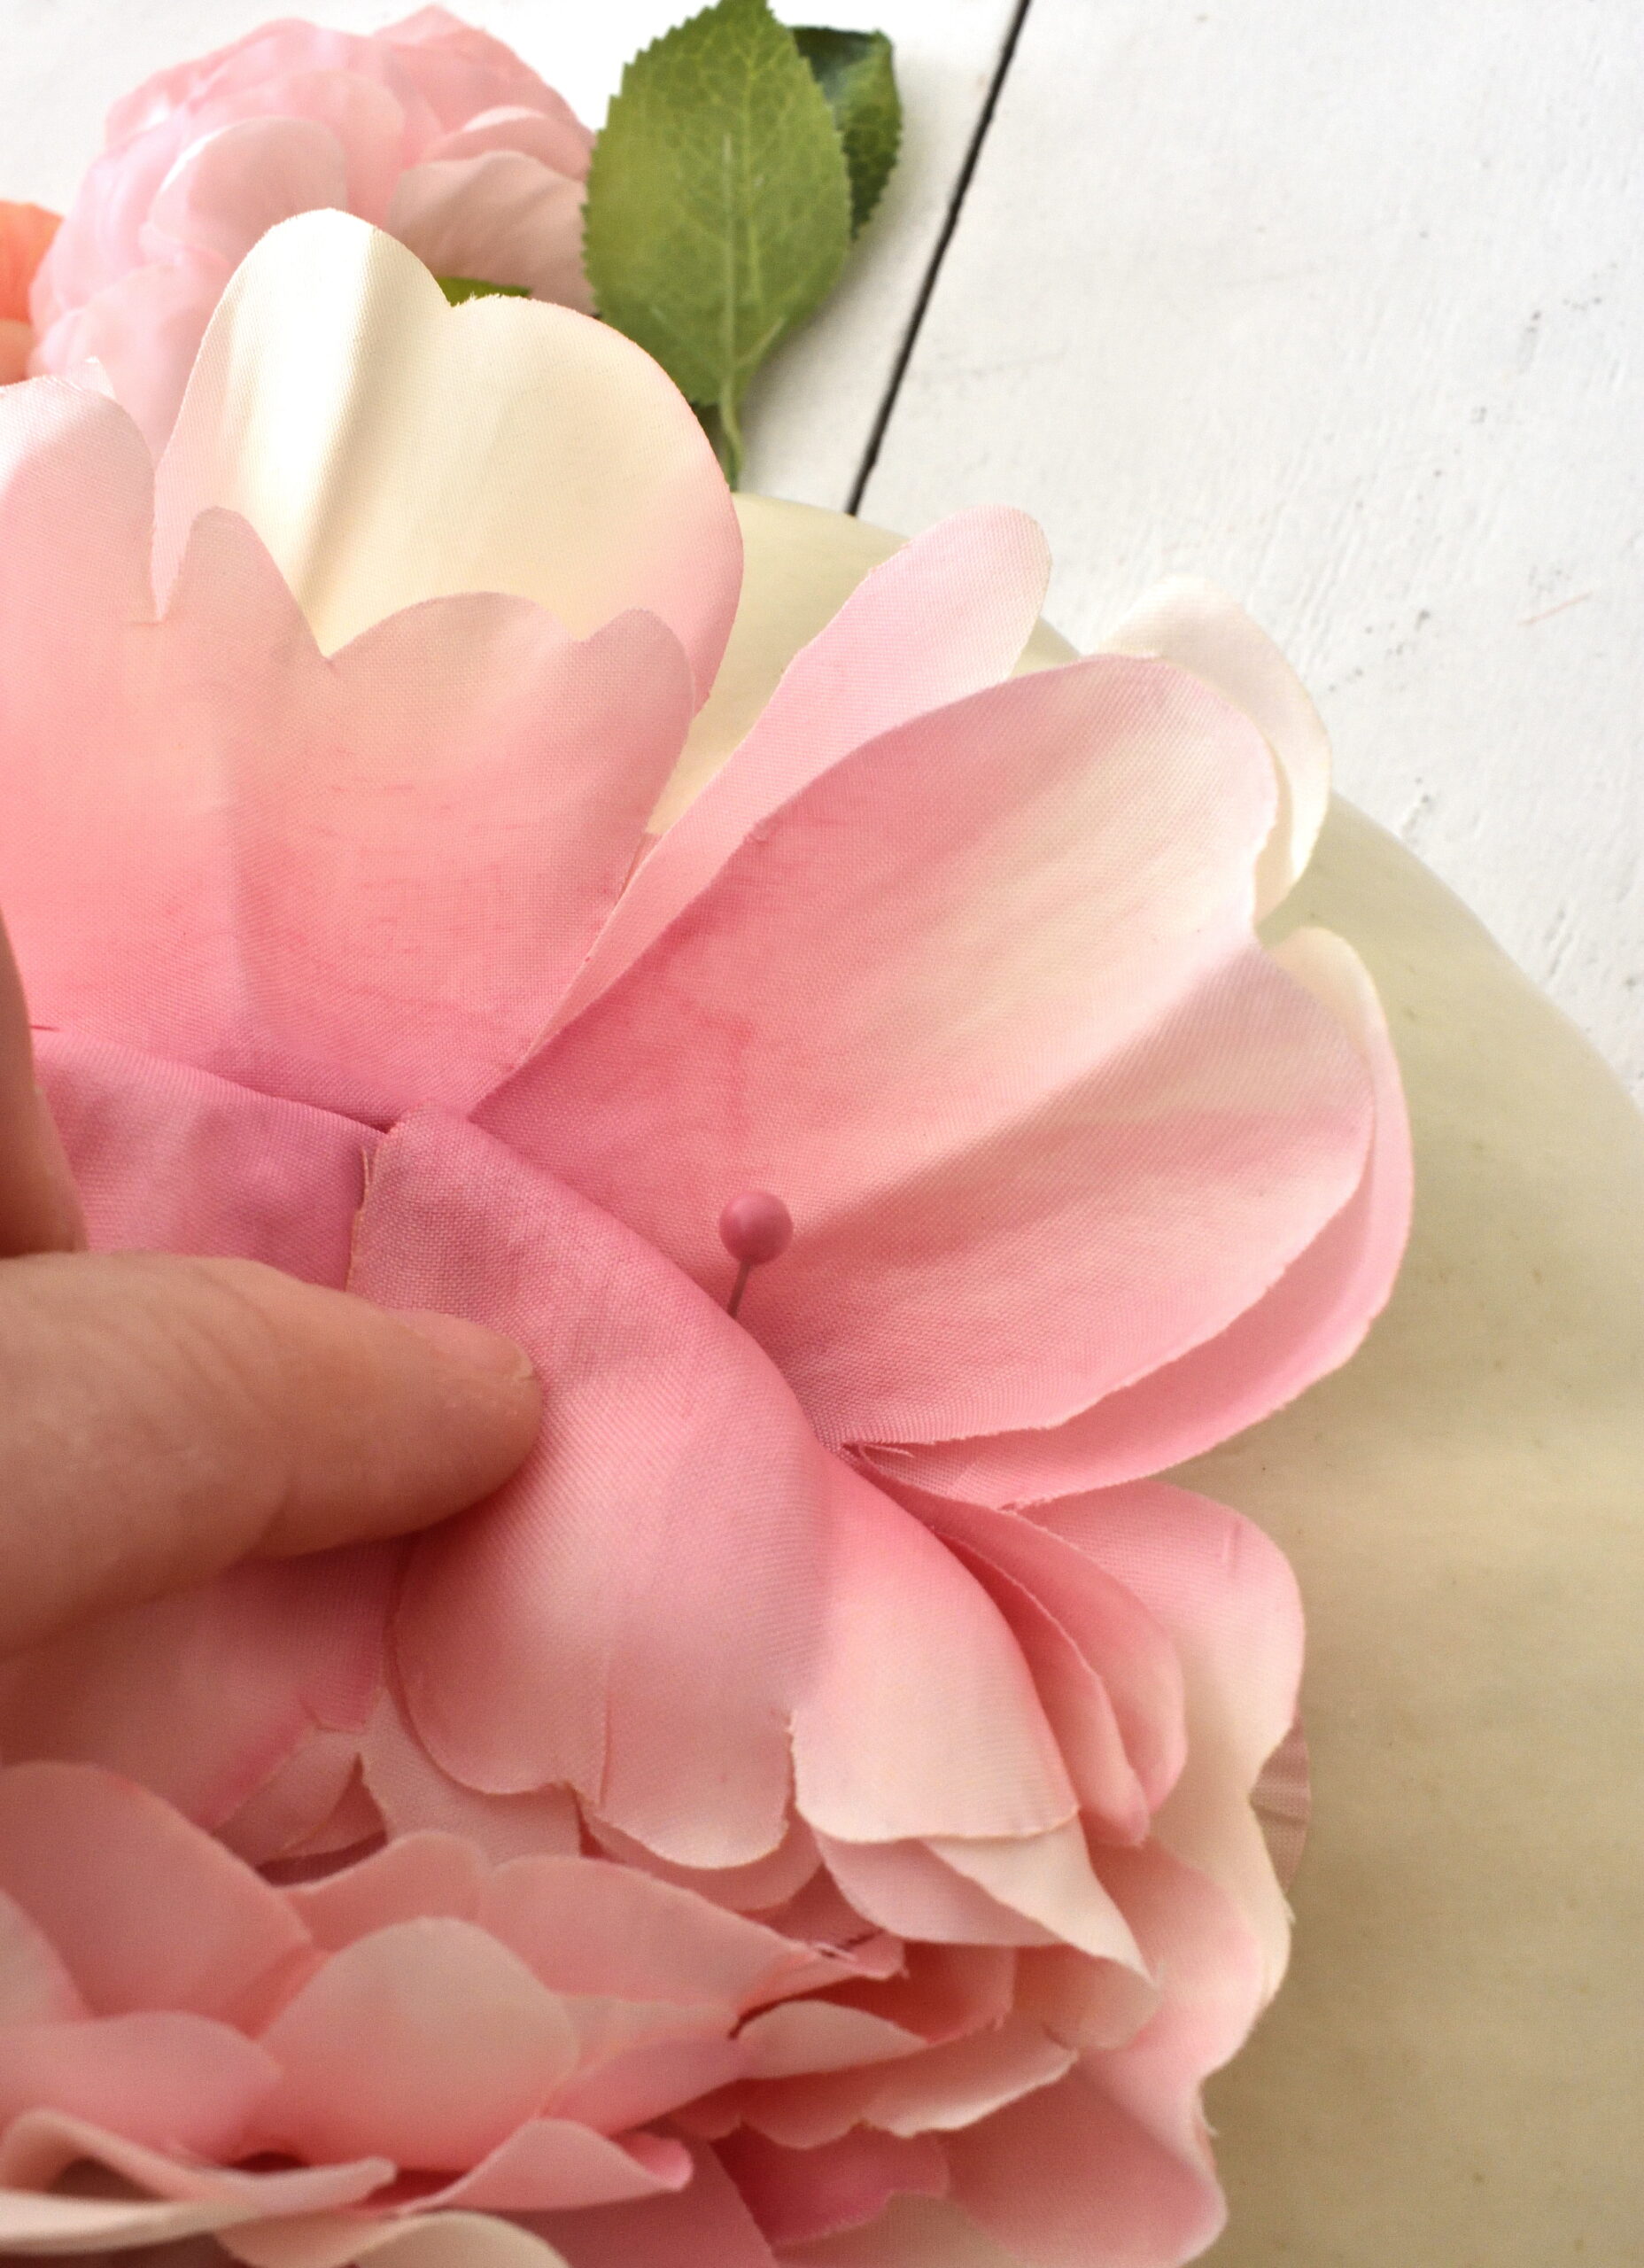
the pin is so small it won’t cause the pumpkin to deteriorate, and 1-2 pins per bloom is enough to hold it in place…
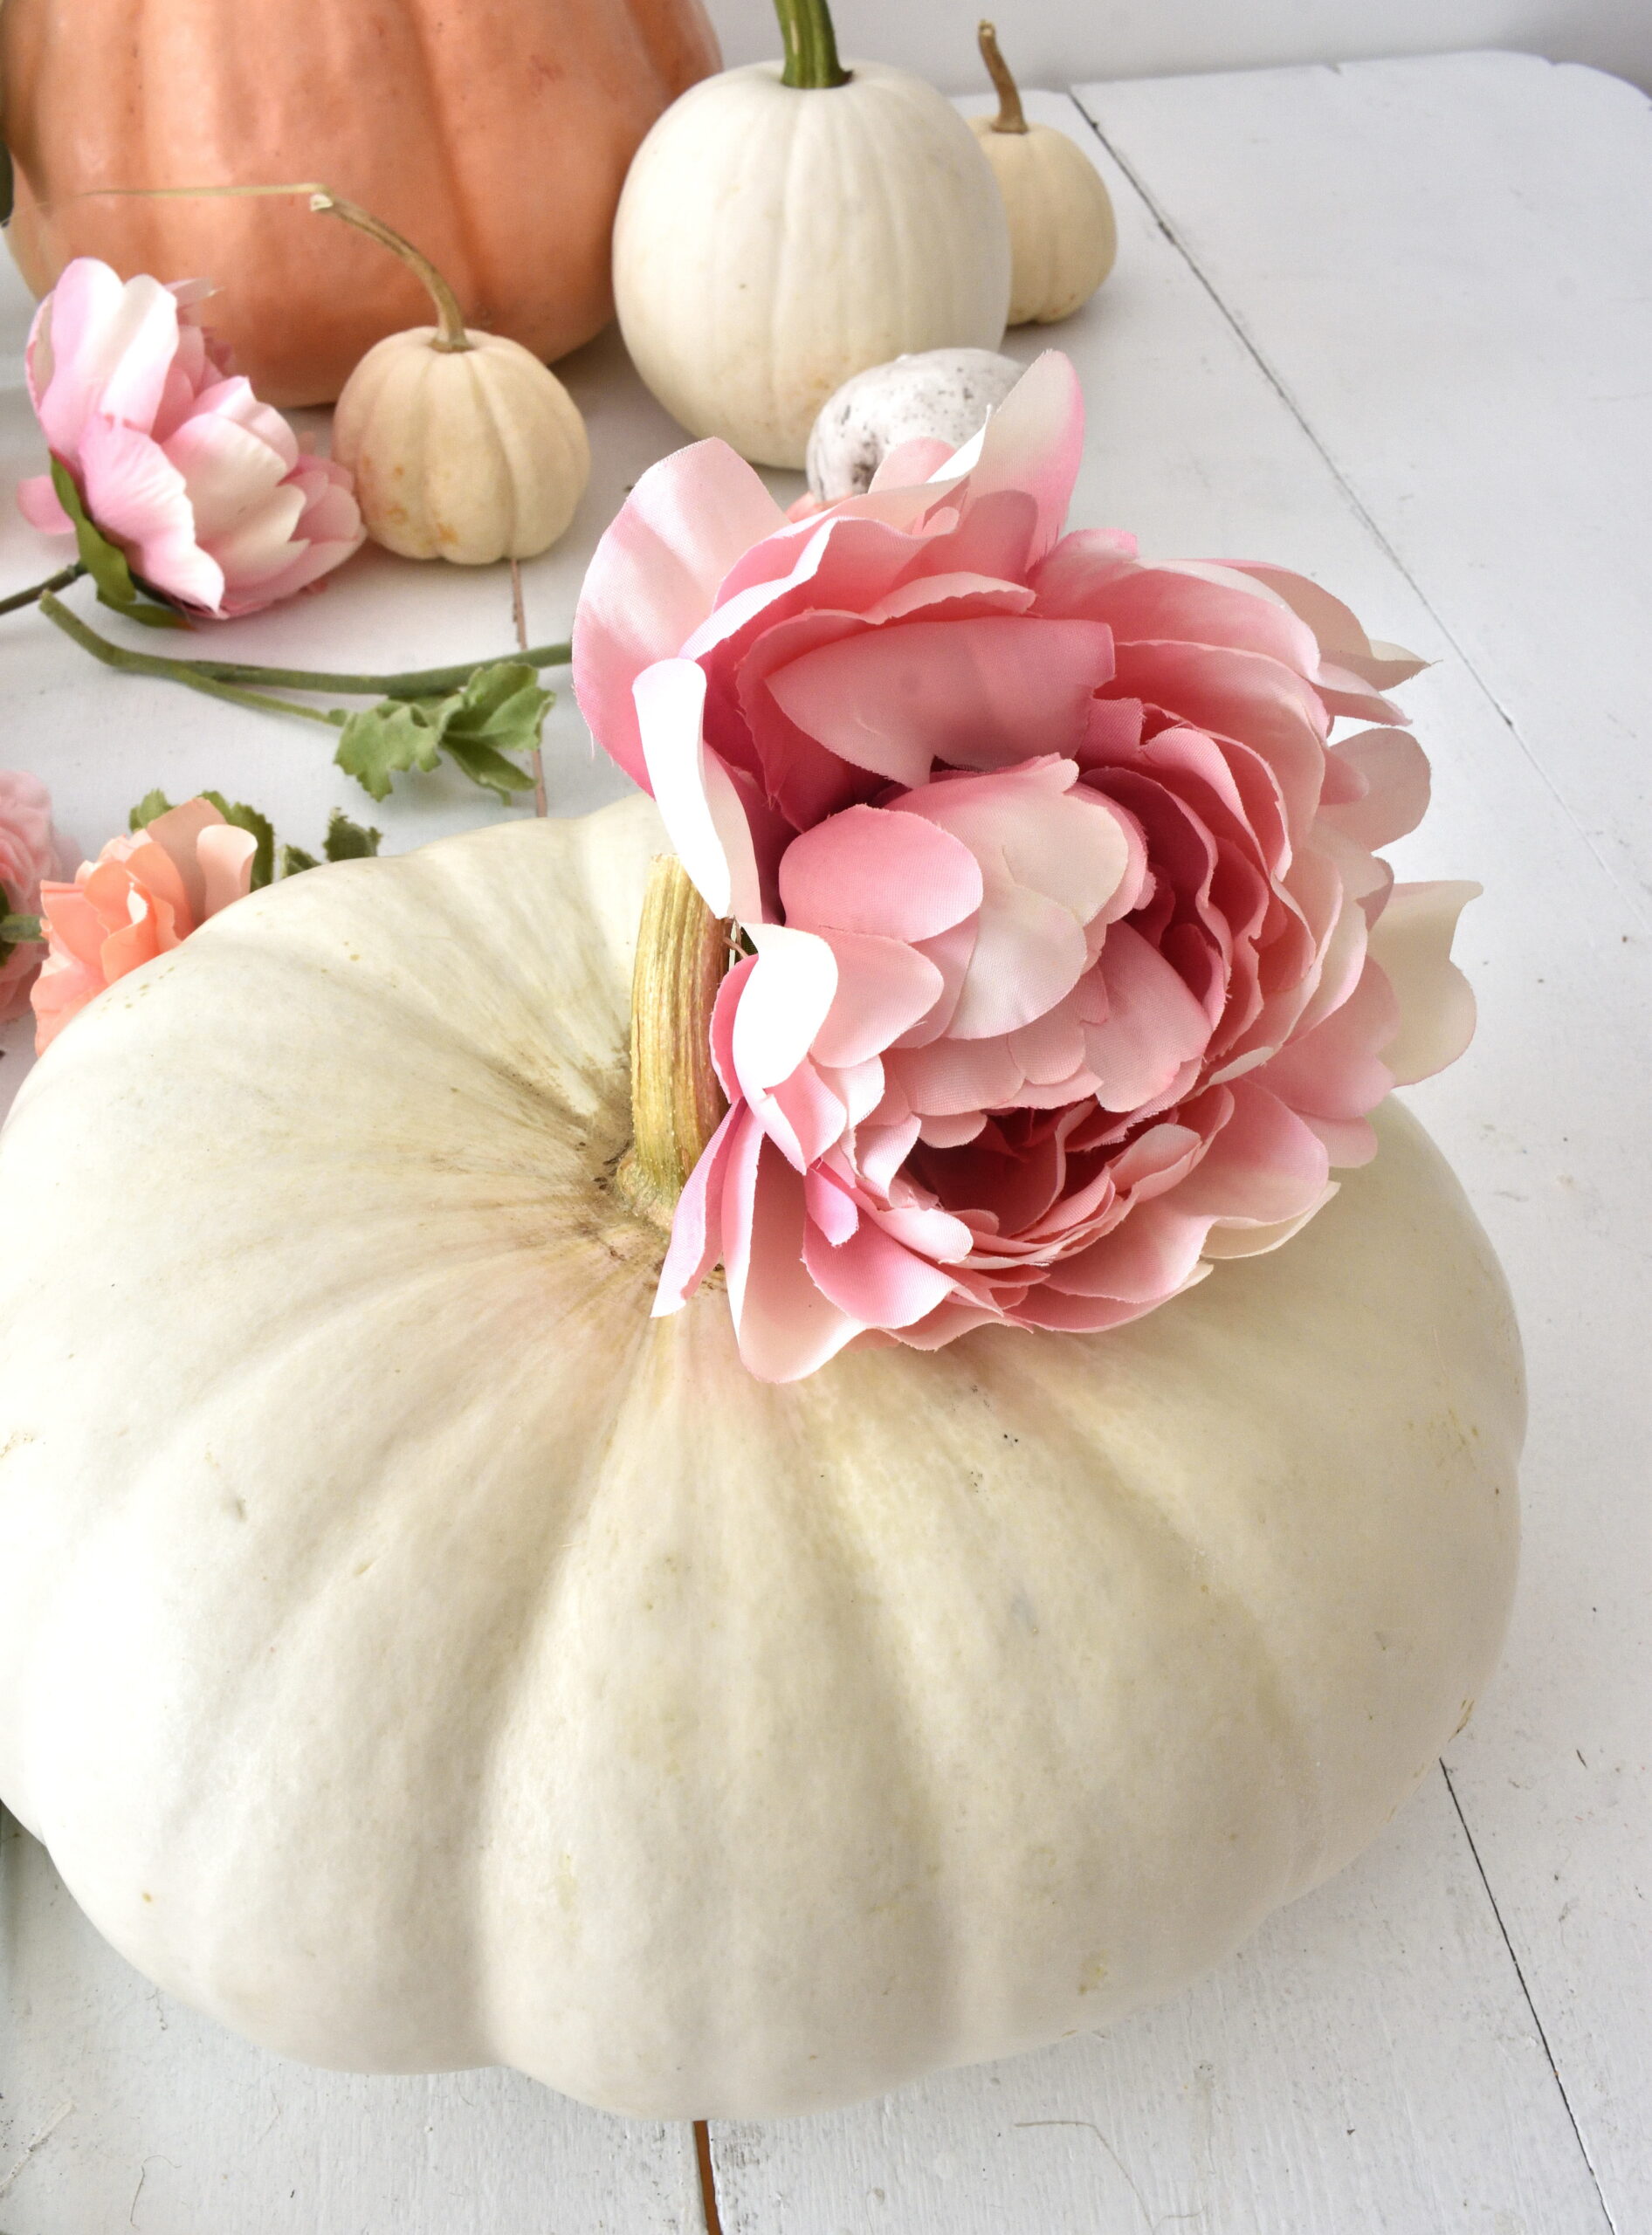
keep adding flowers around the stem…
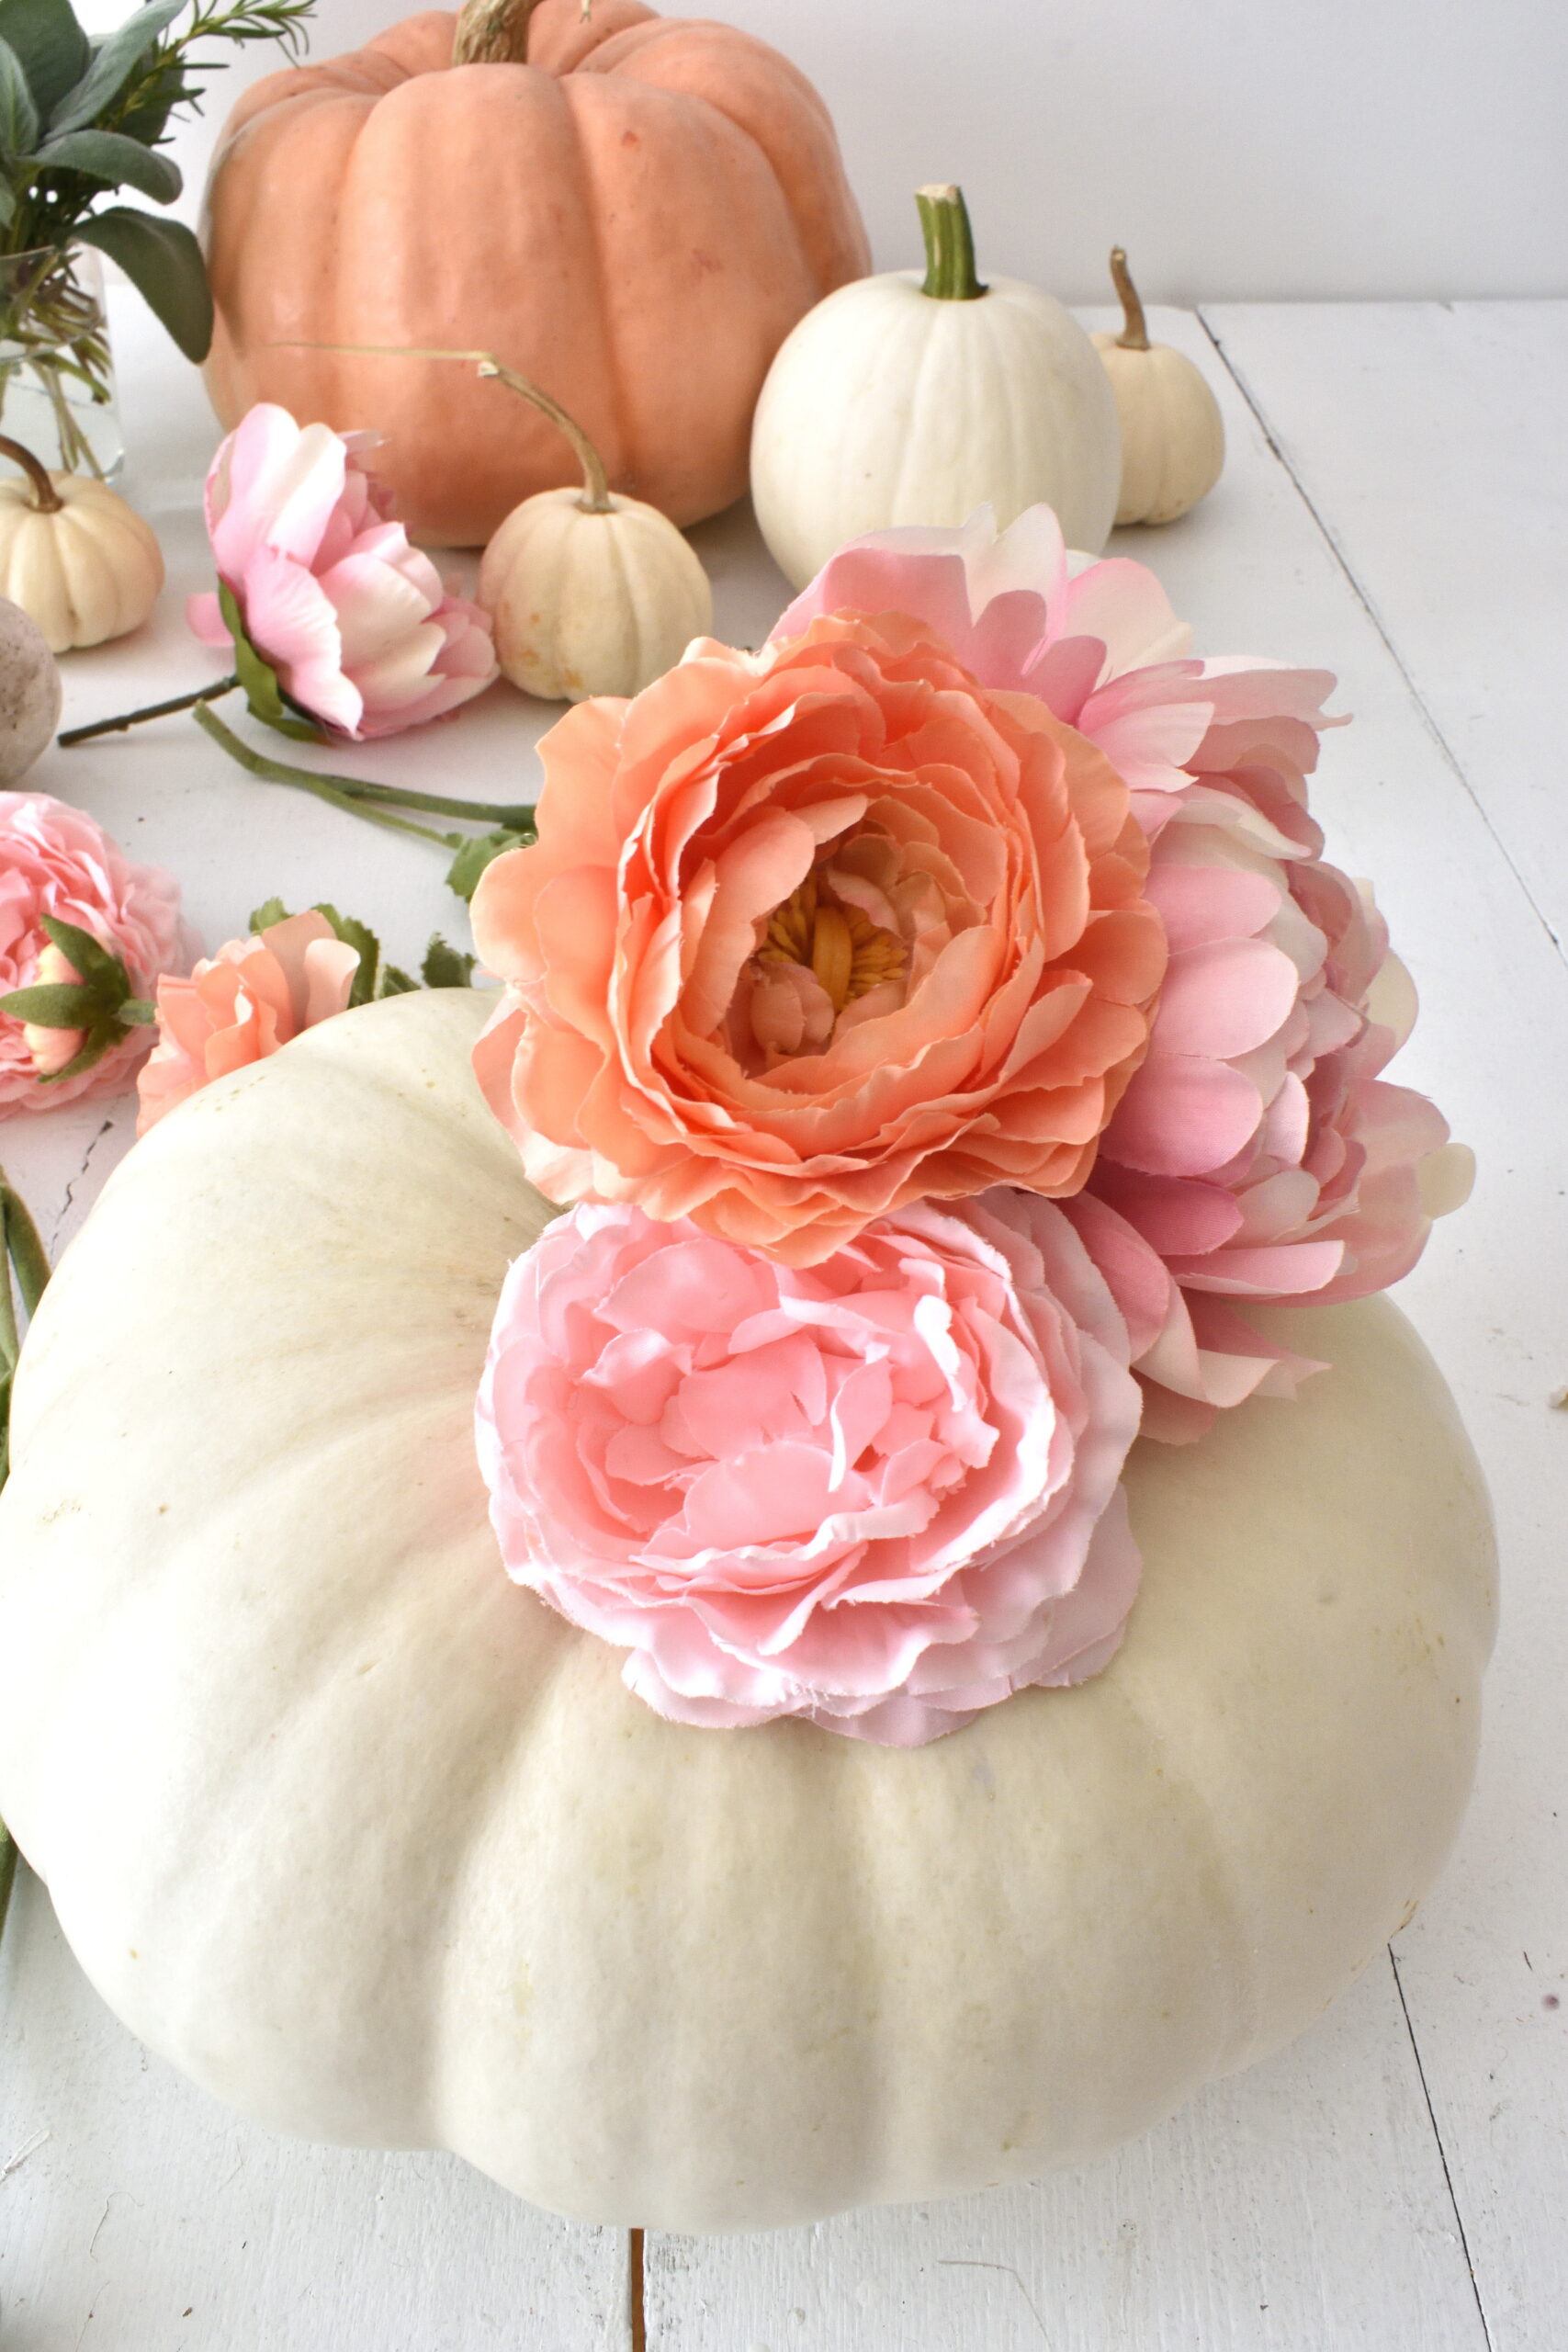
leave some space on one side to add your embellishment…
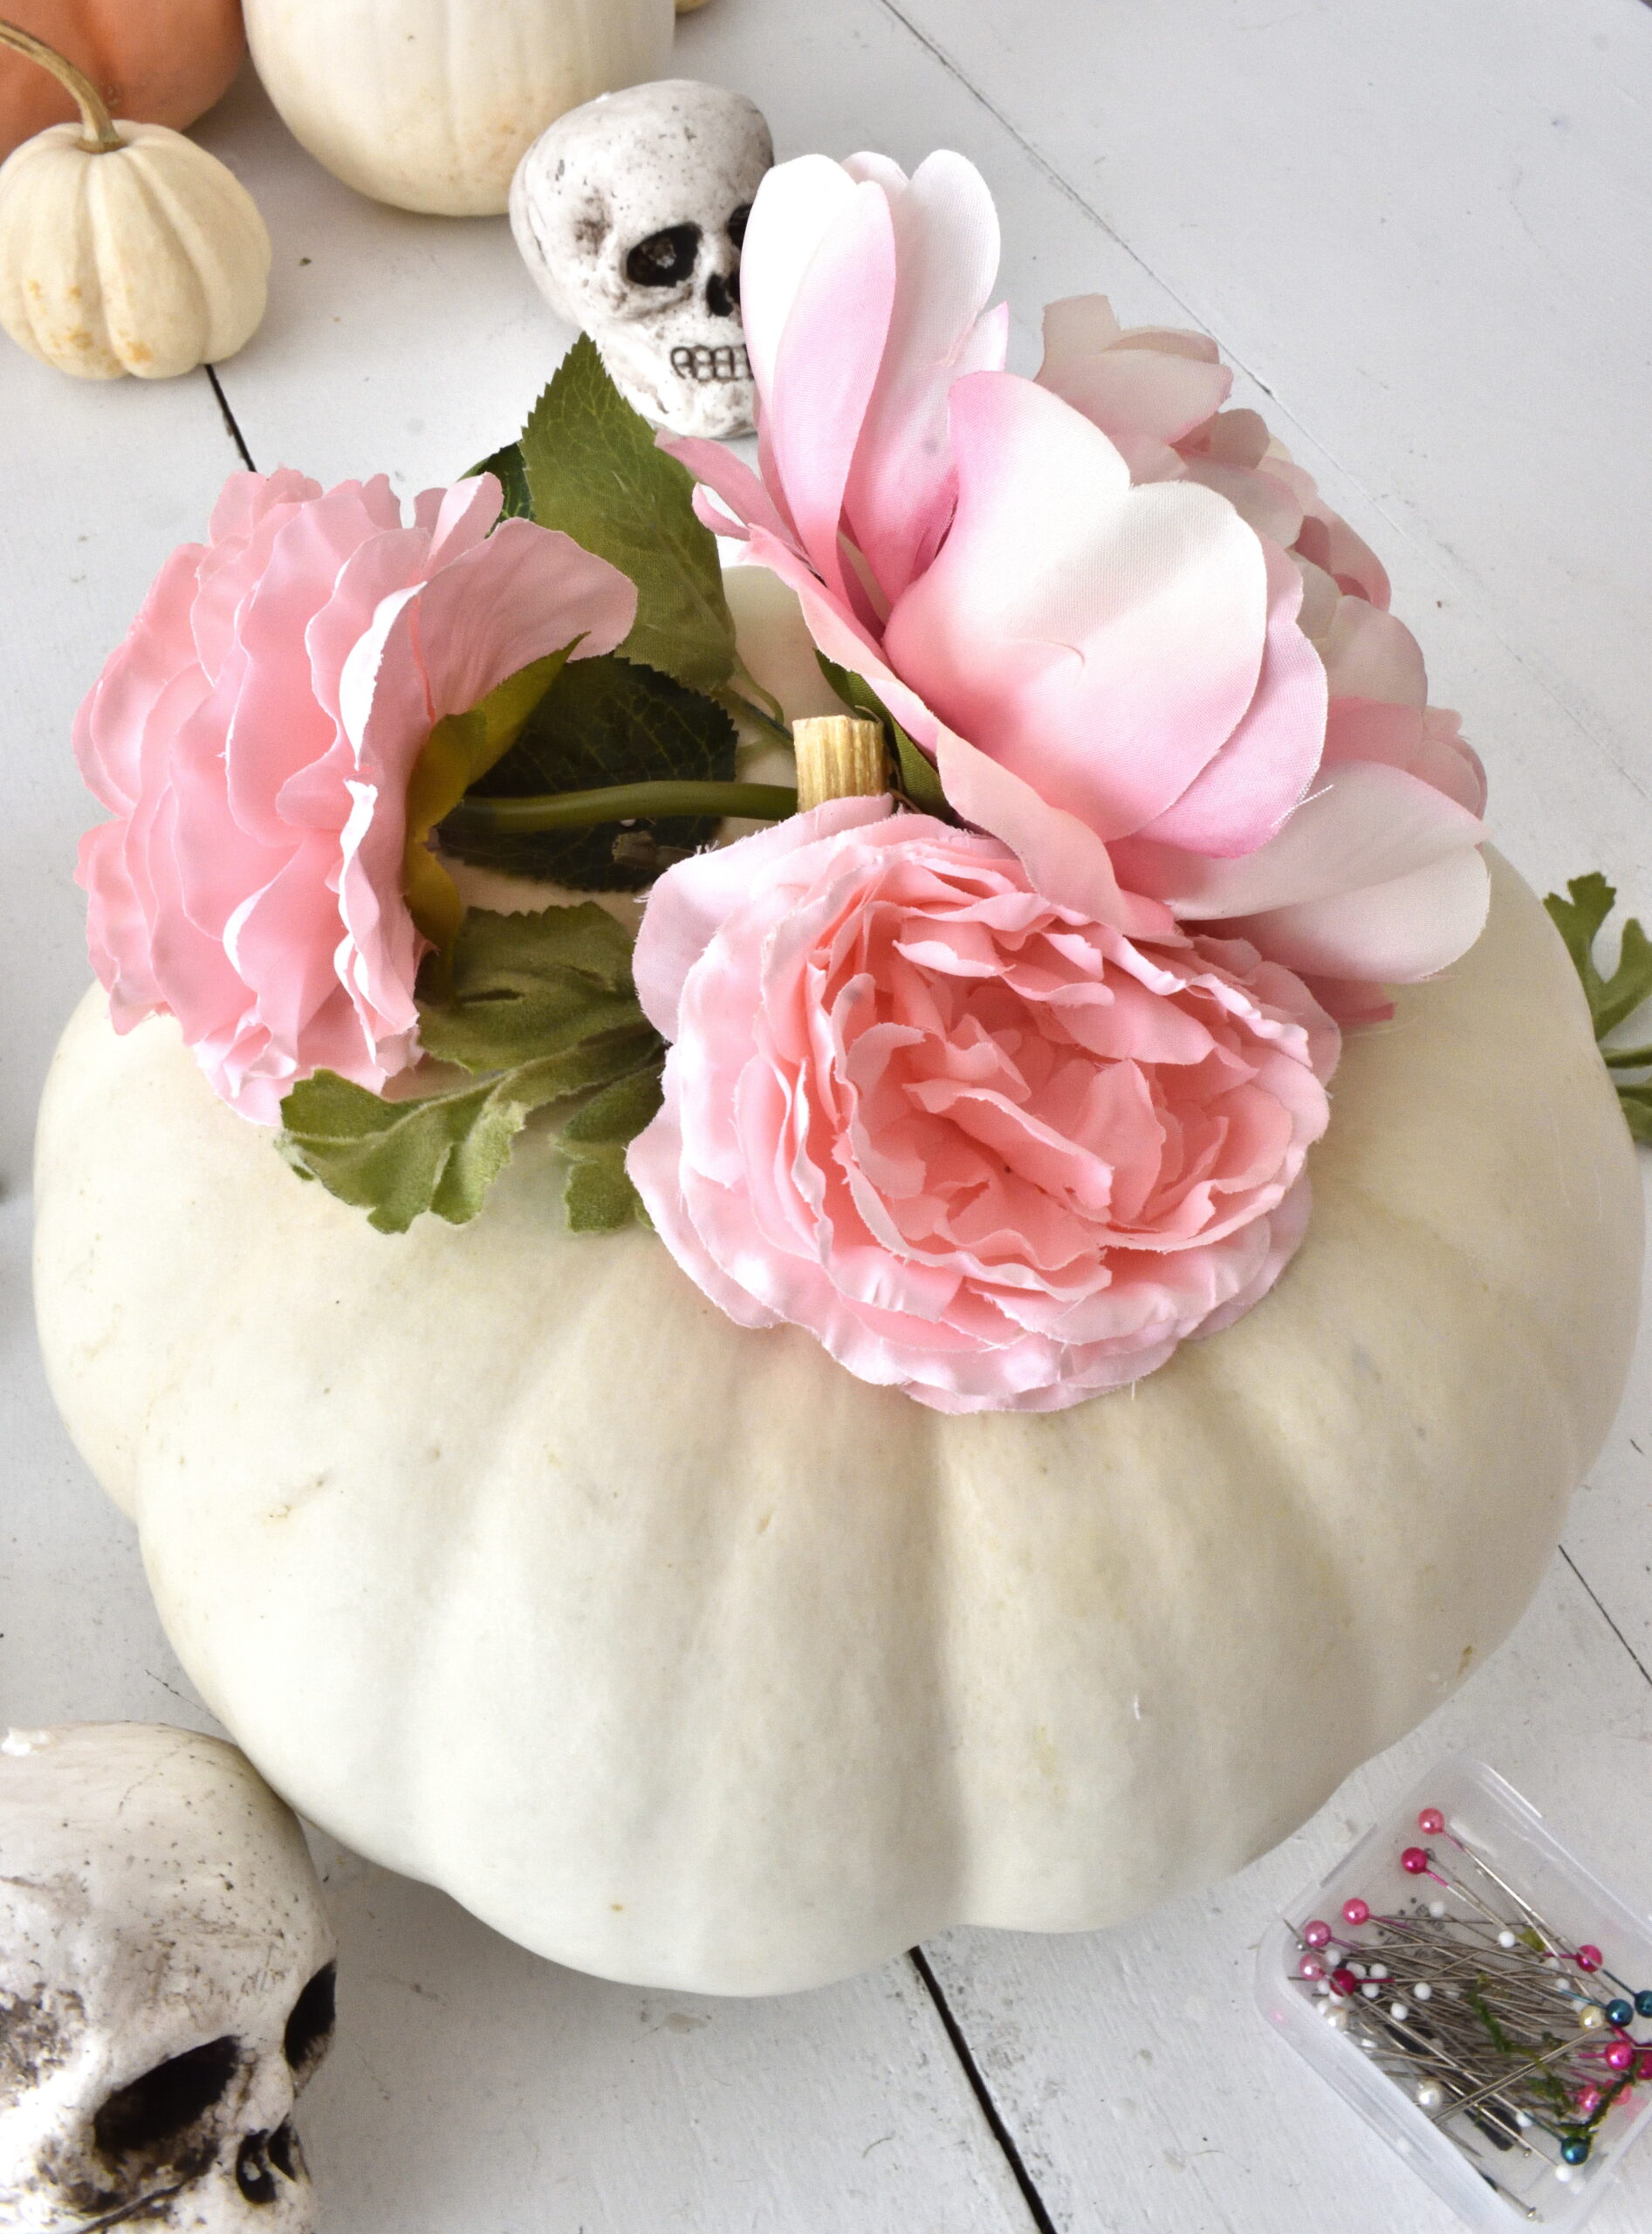
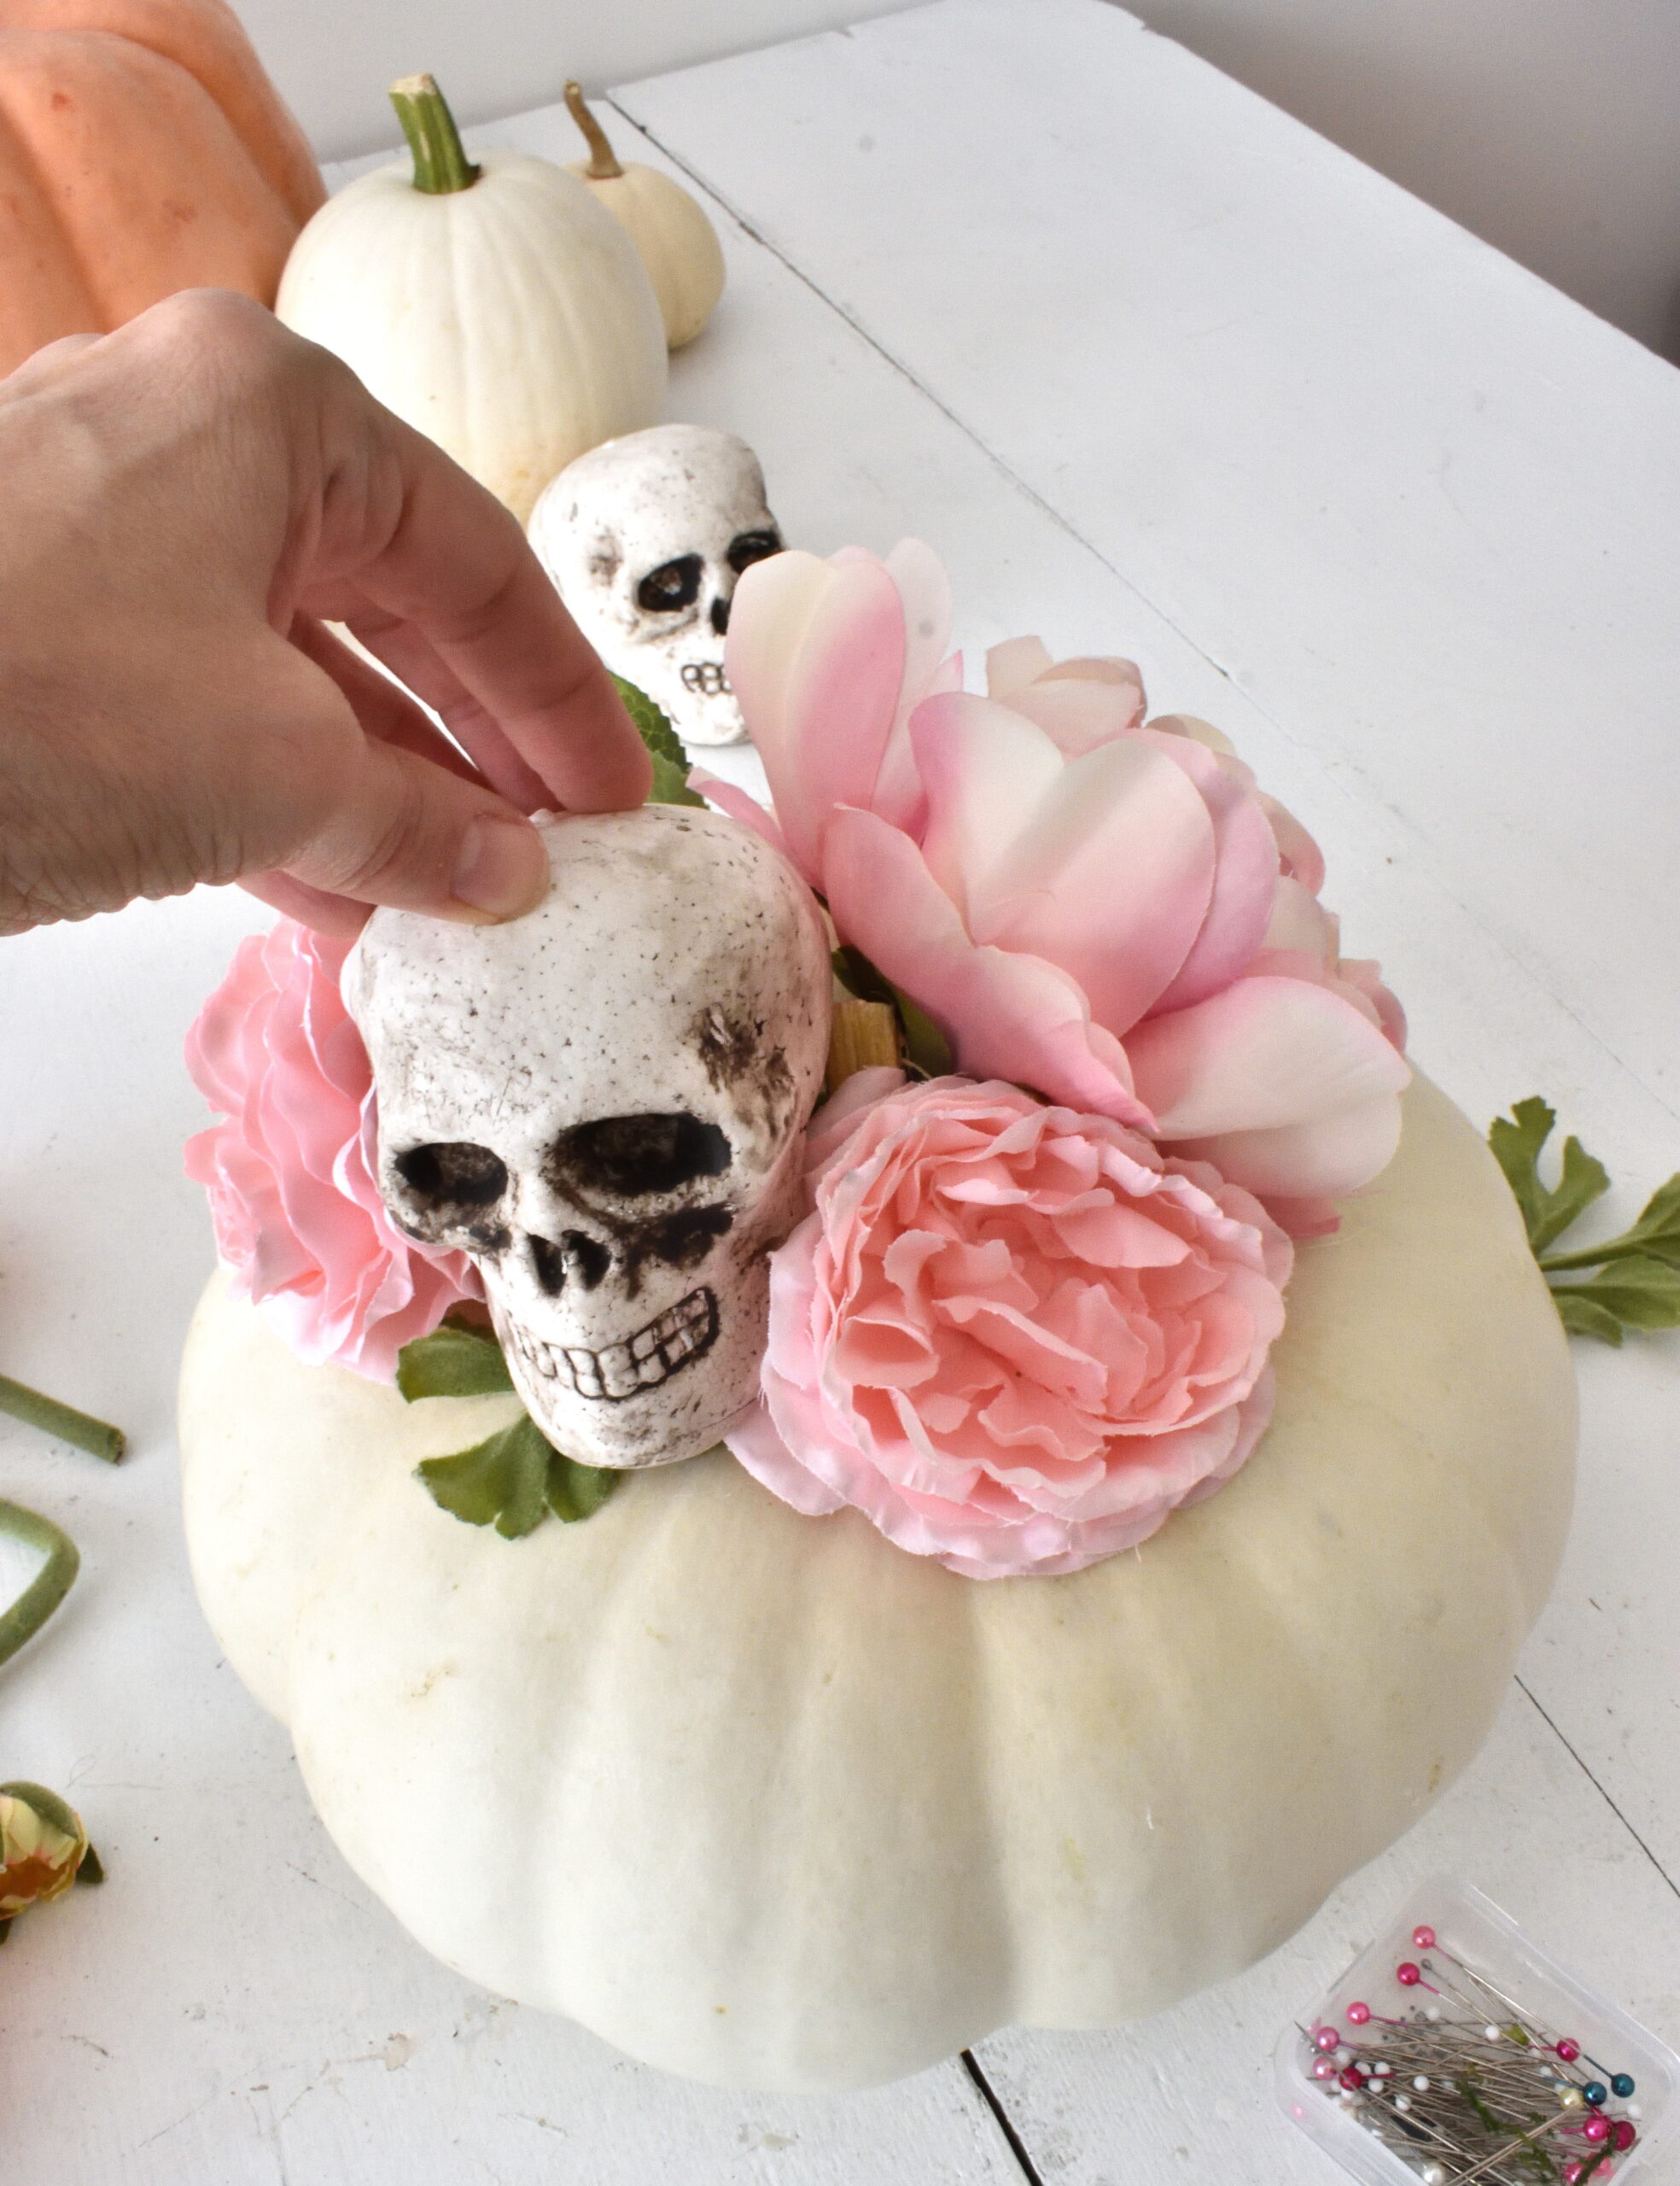
with a long corsage pin or some hot glue, add your Halloween decoration between the flowers…
tip:
many pumpkins and gourds from markets are treated with a waxy coating. hot glue will not adhere well to the surface so be sure to glue your embellishment to the flowers so it won’t pop off. a tiny dollop of glue is enough for a small or lightweight decoration.
once your embellishment is secure, you can add more flowers and extra greenery around it…
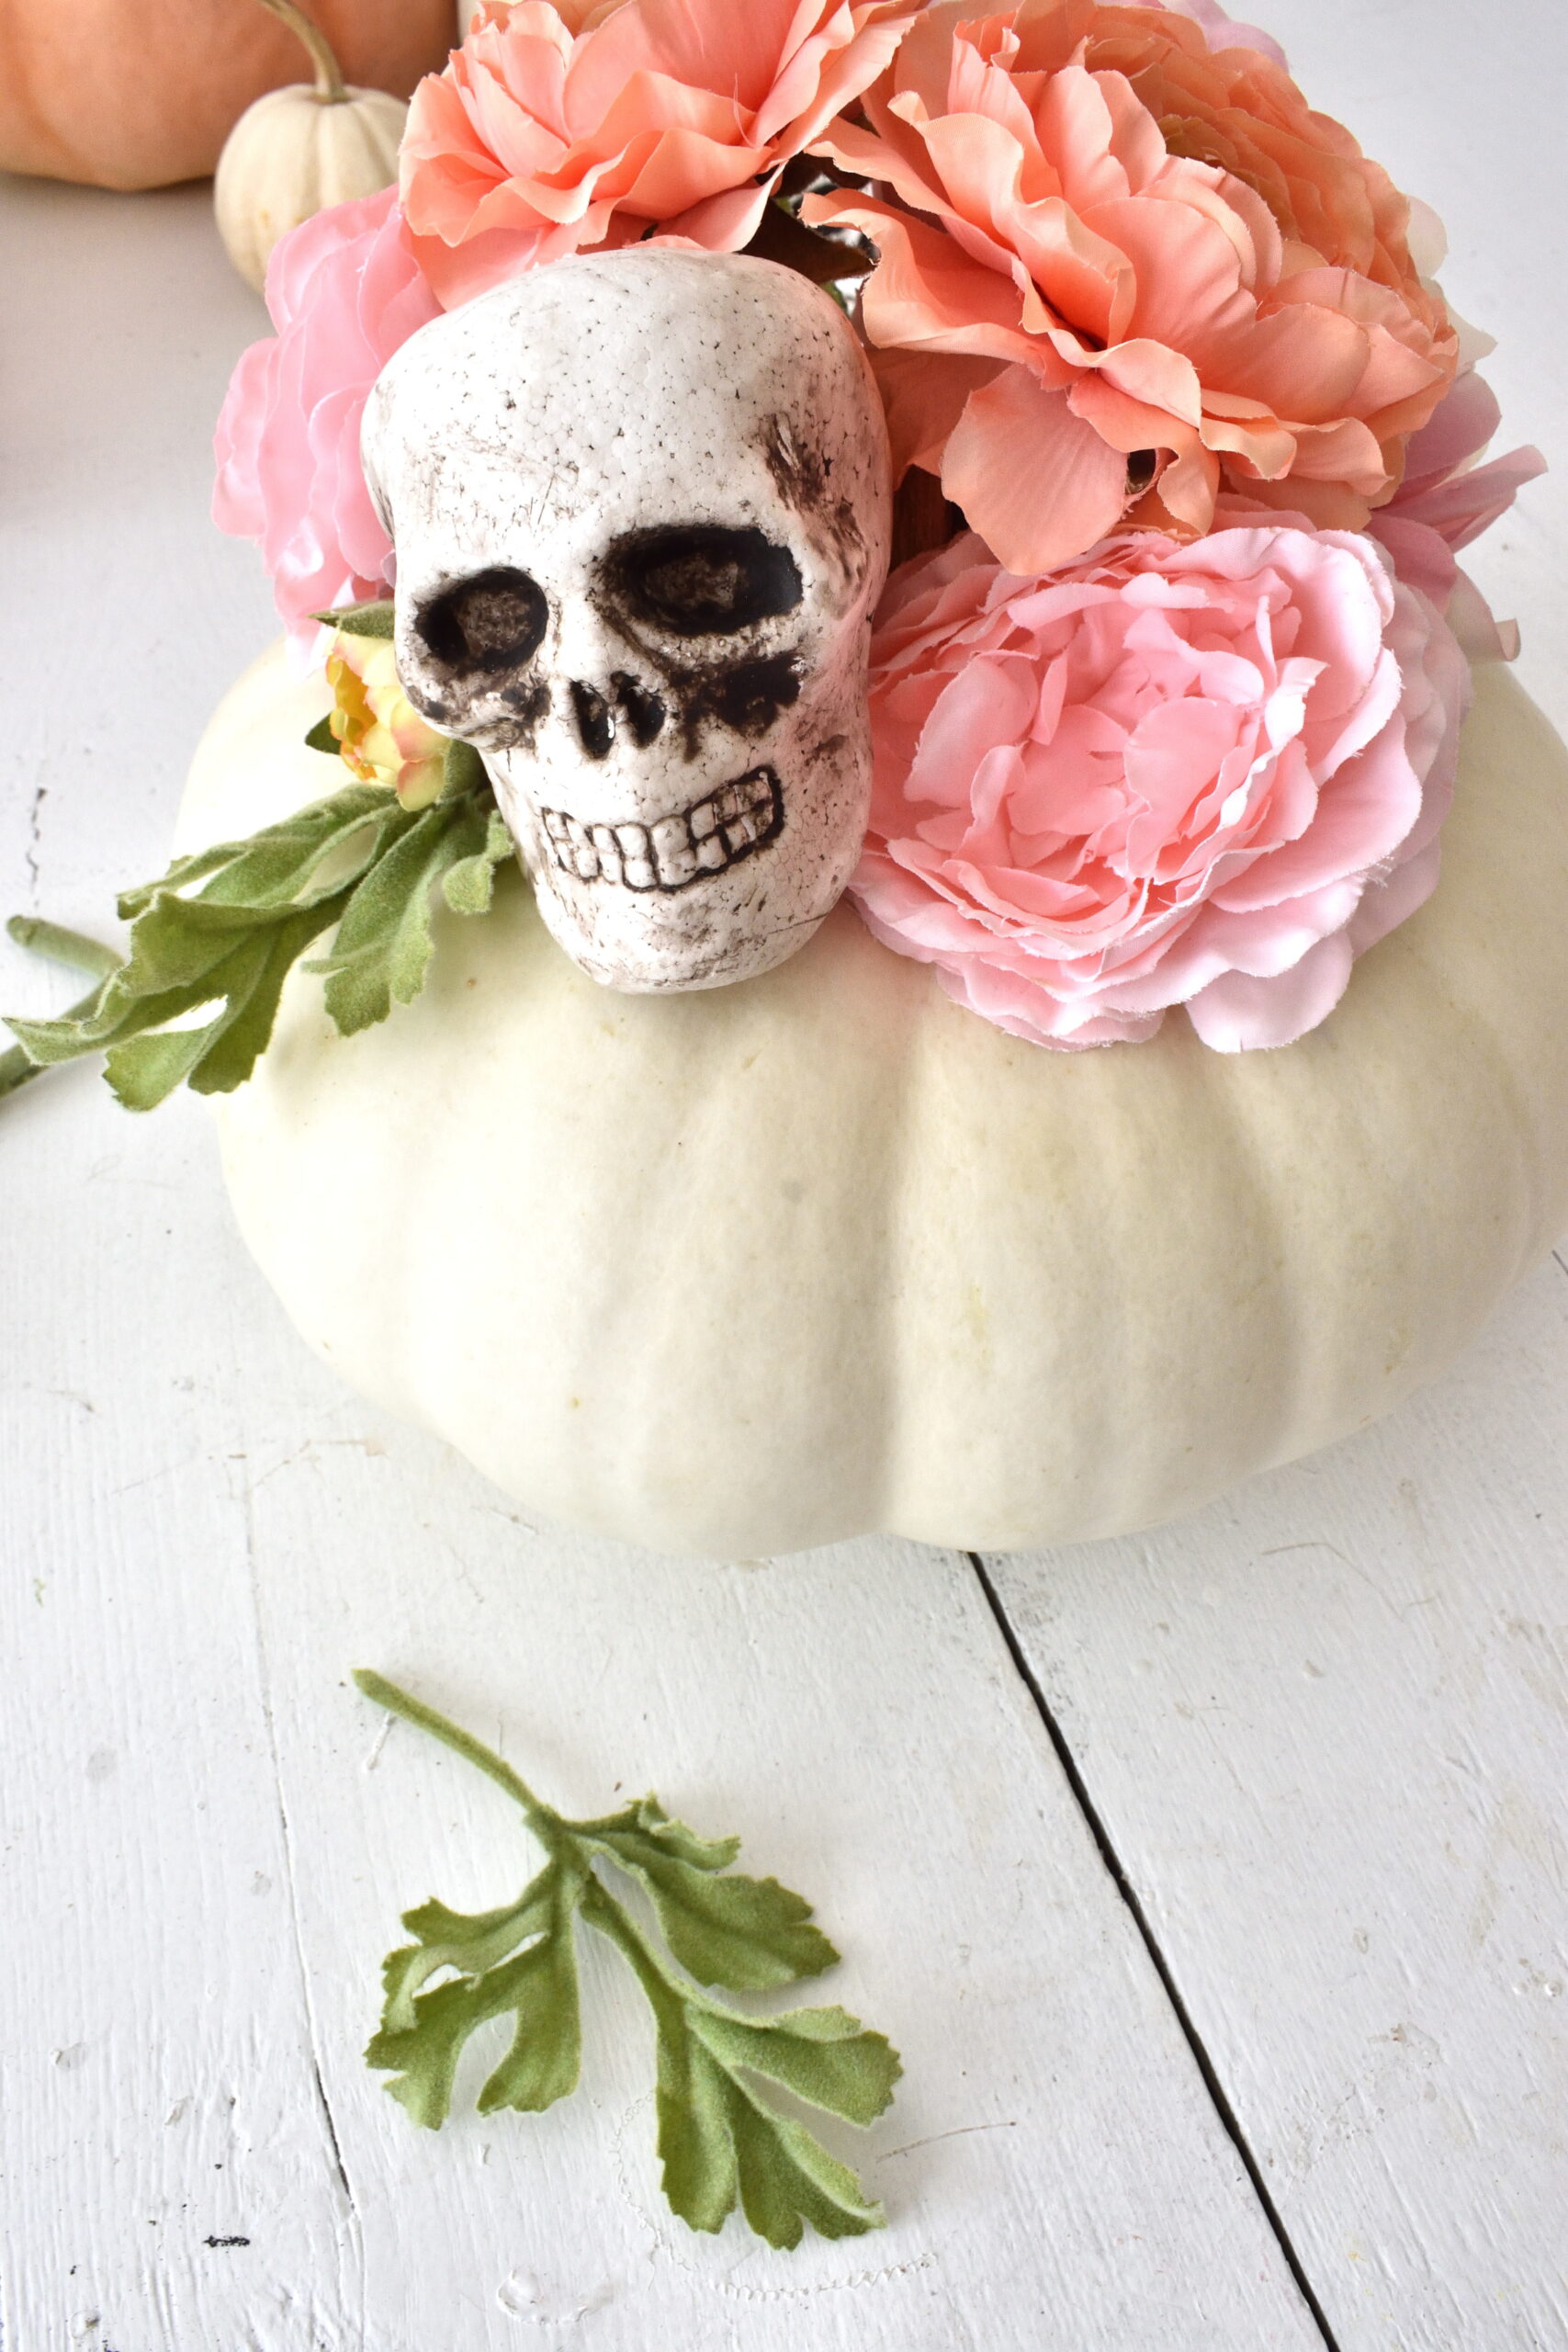
because the skull is made from styrofoam, i was able to pin extra blooms right to it…
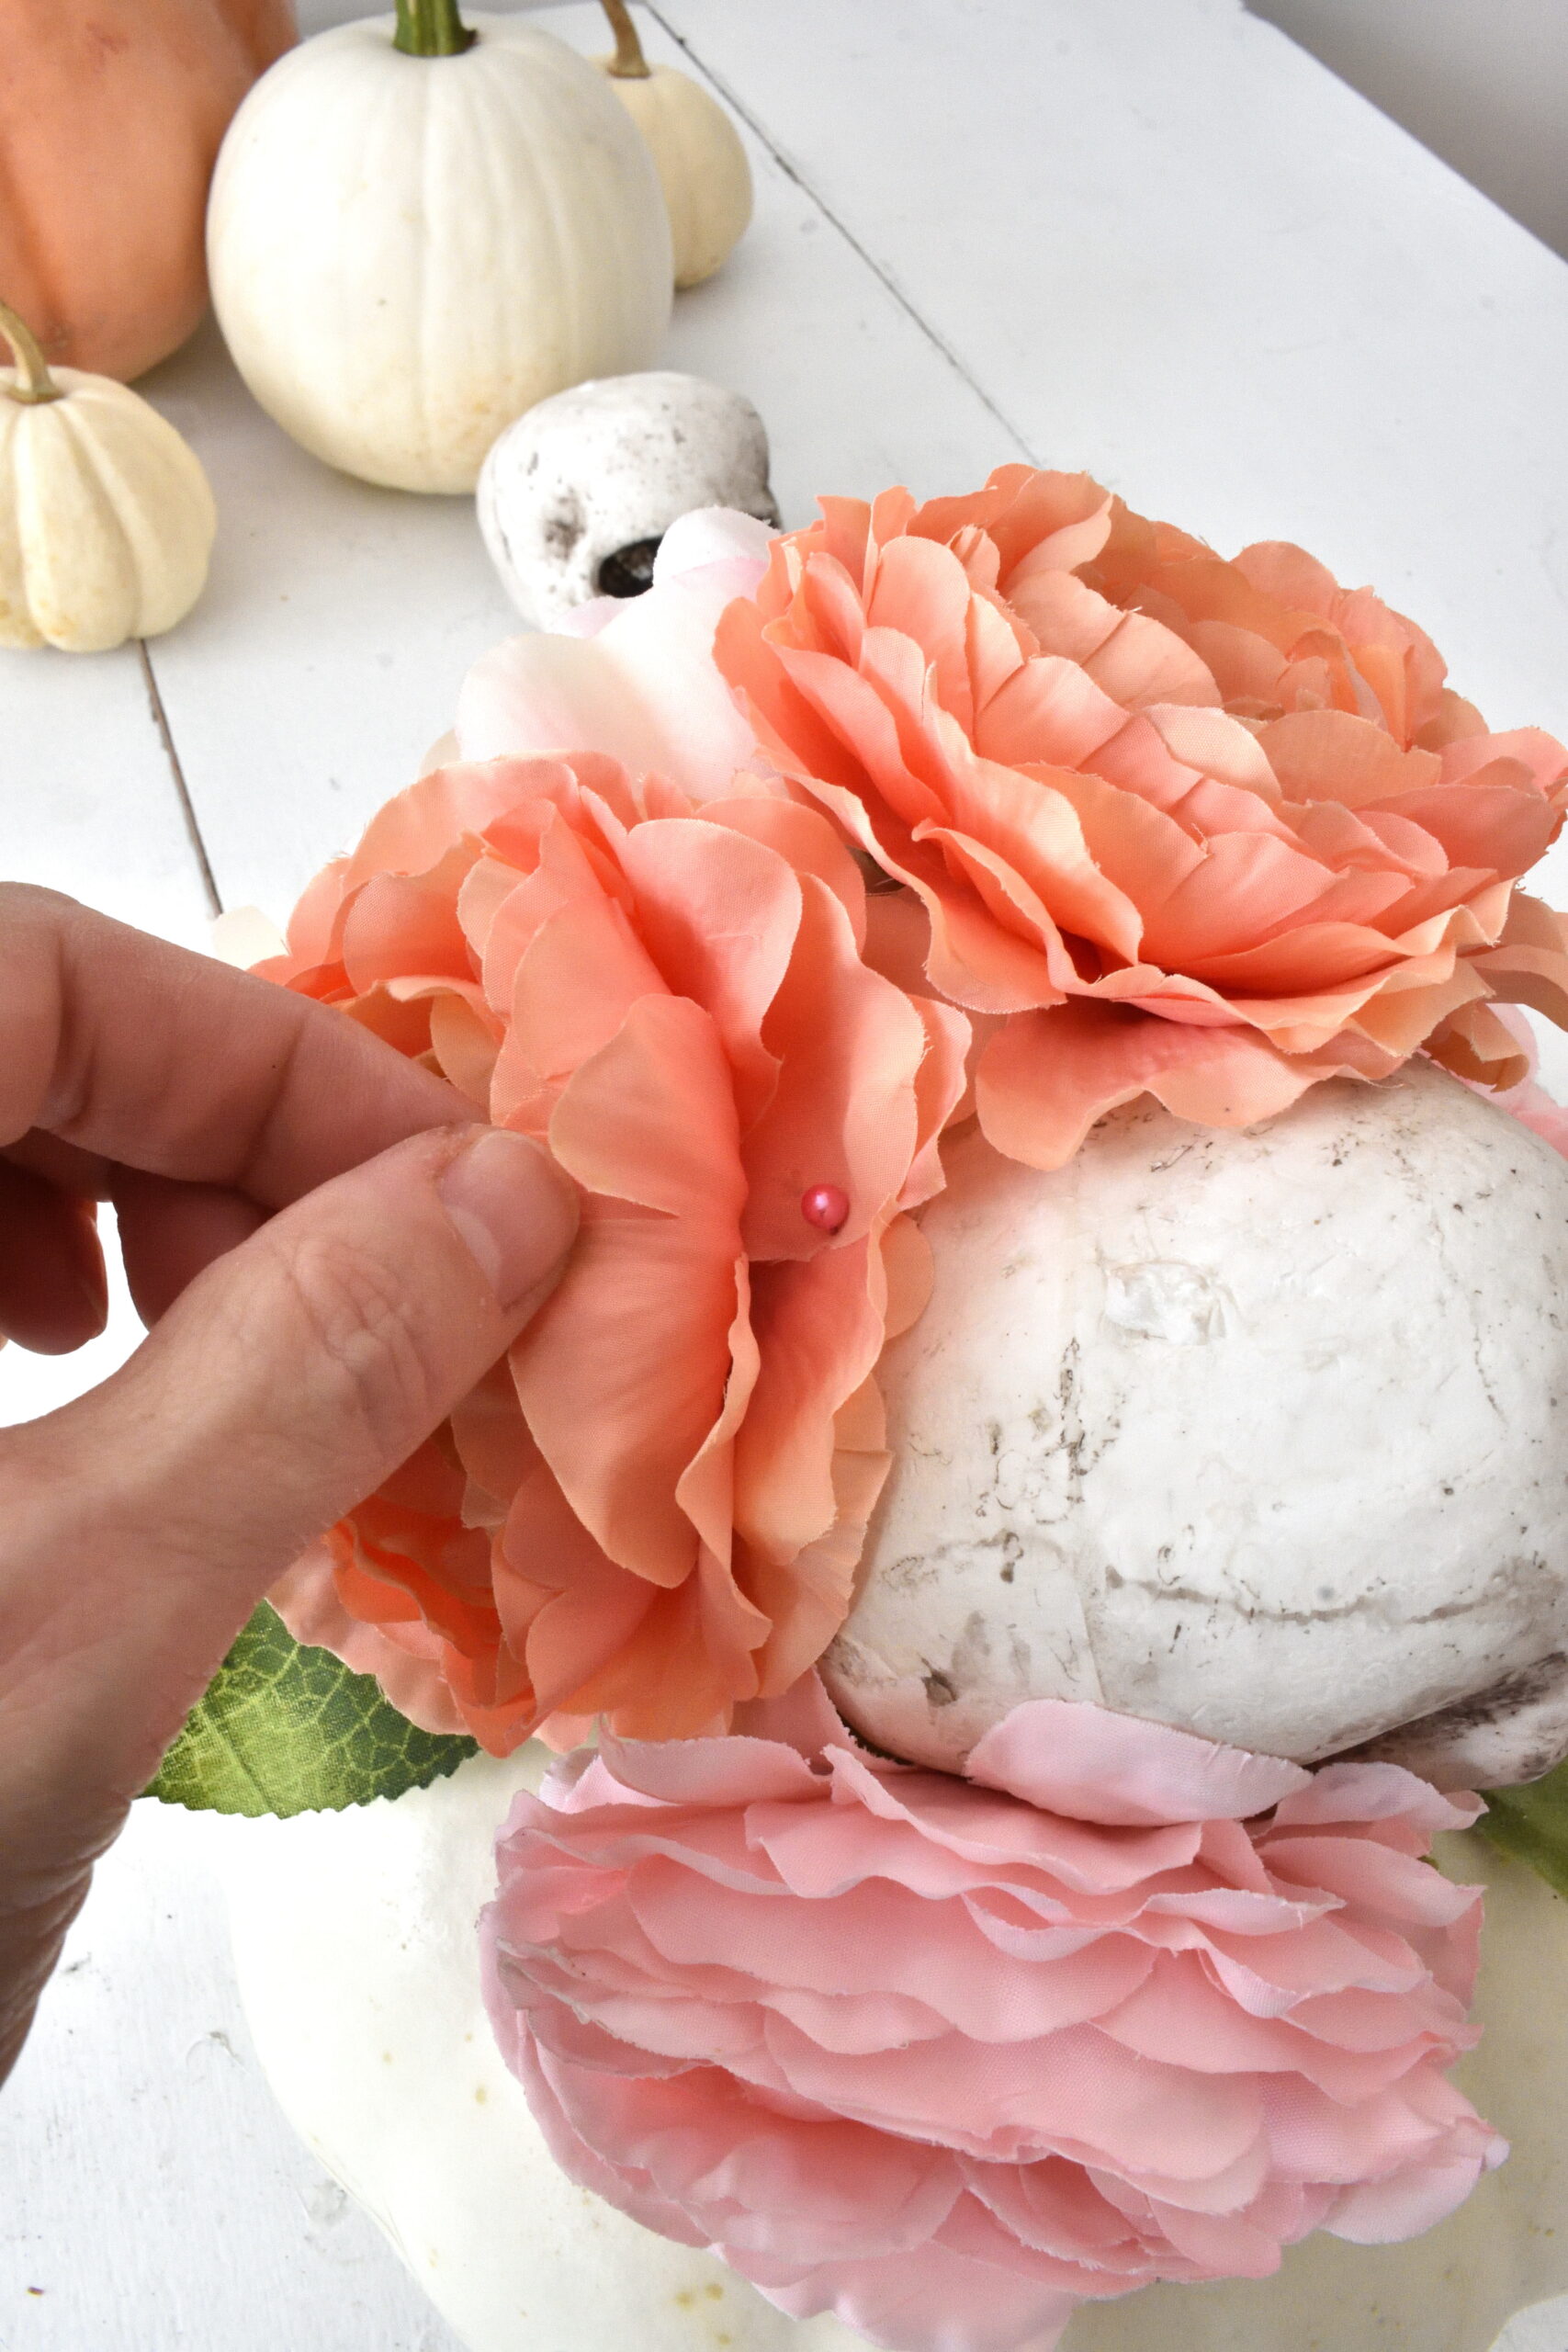
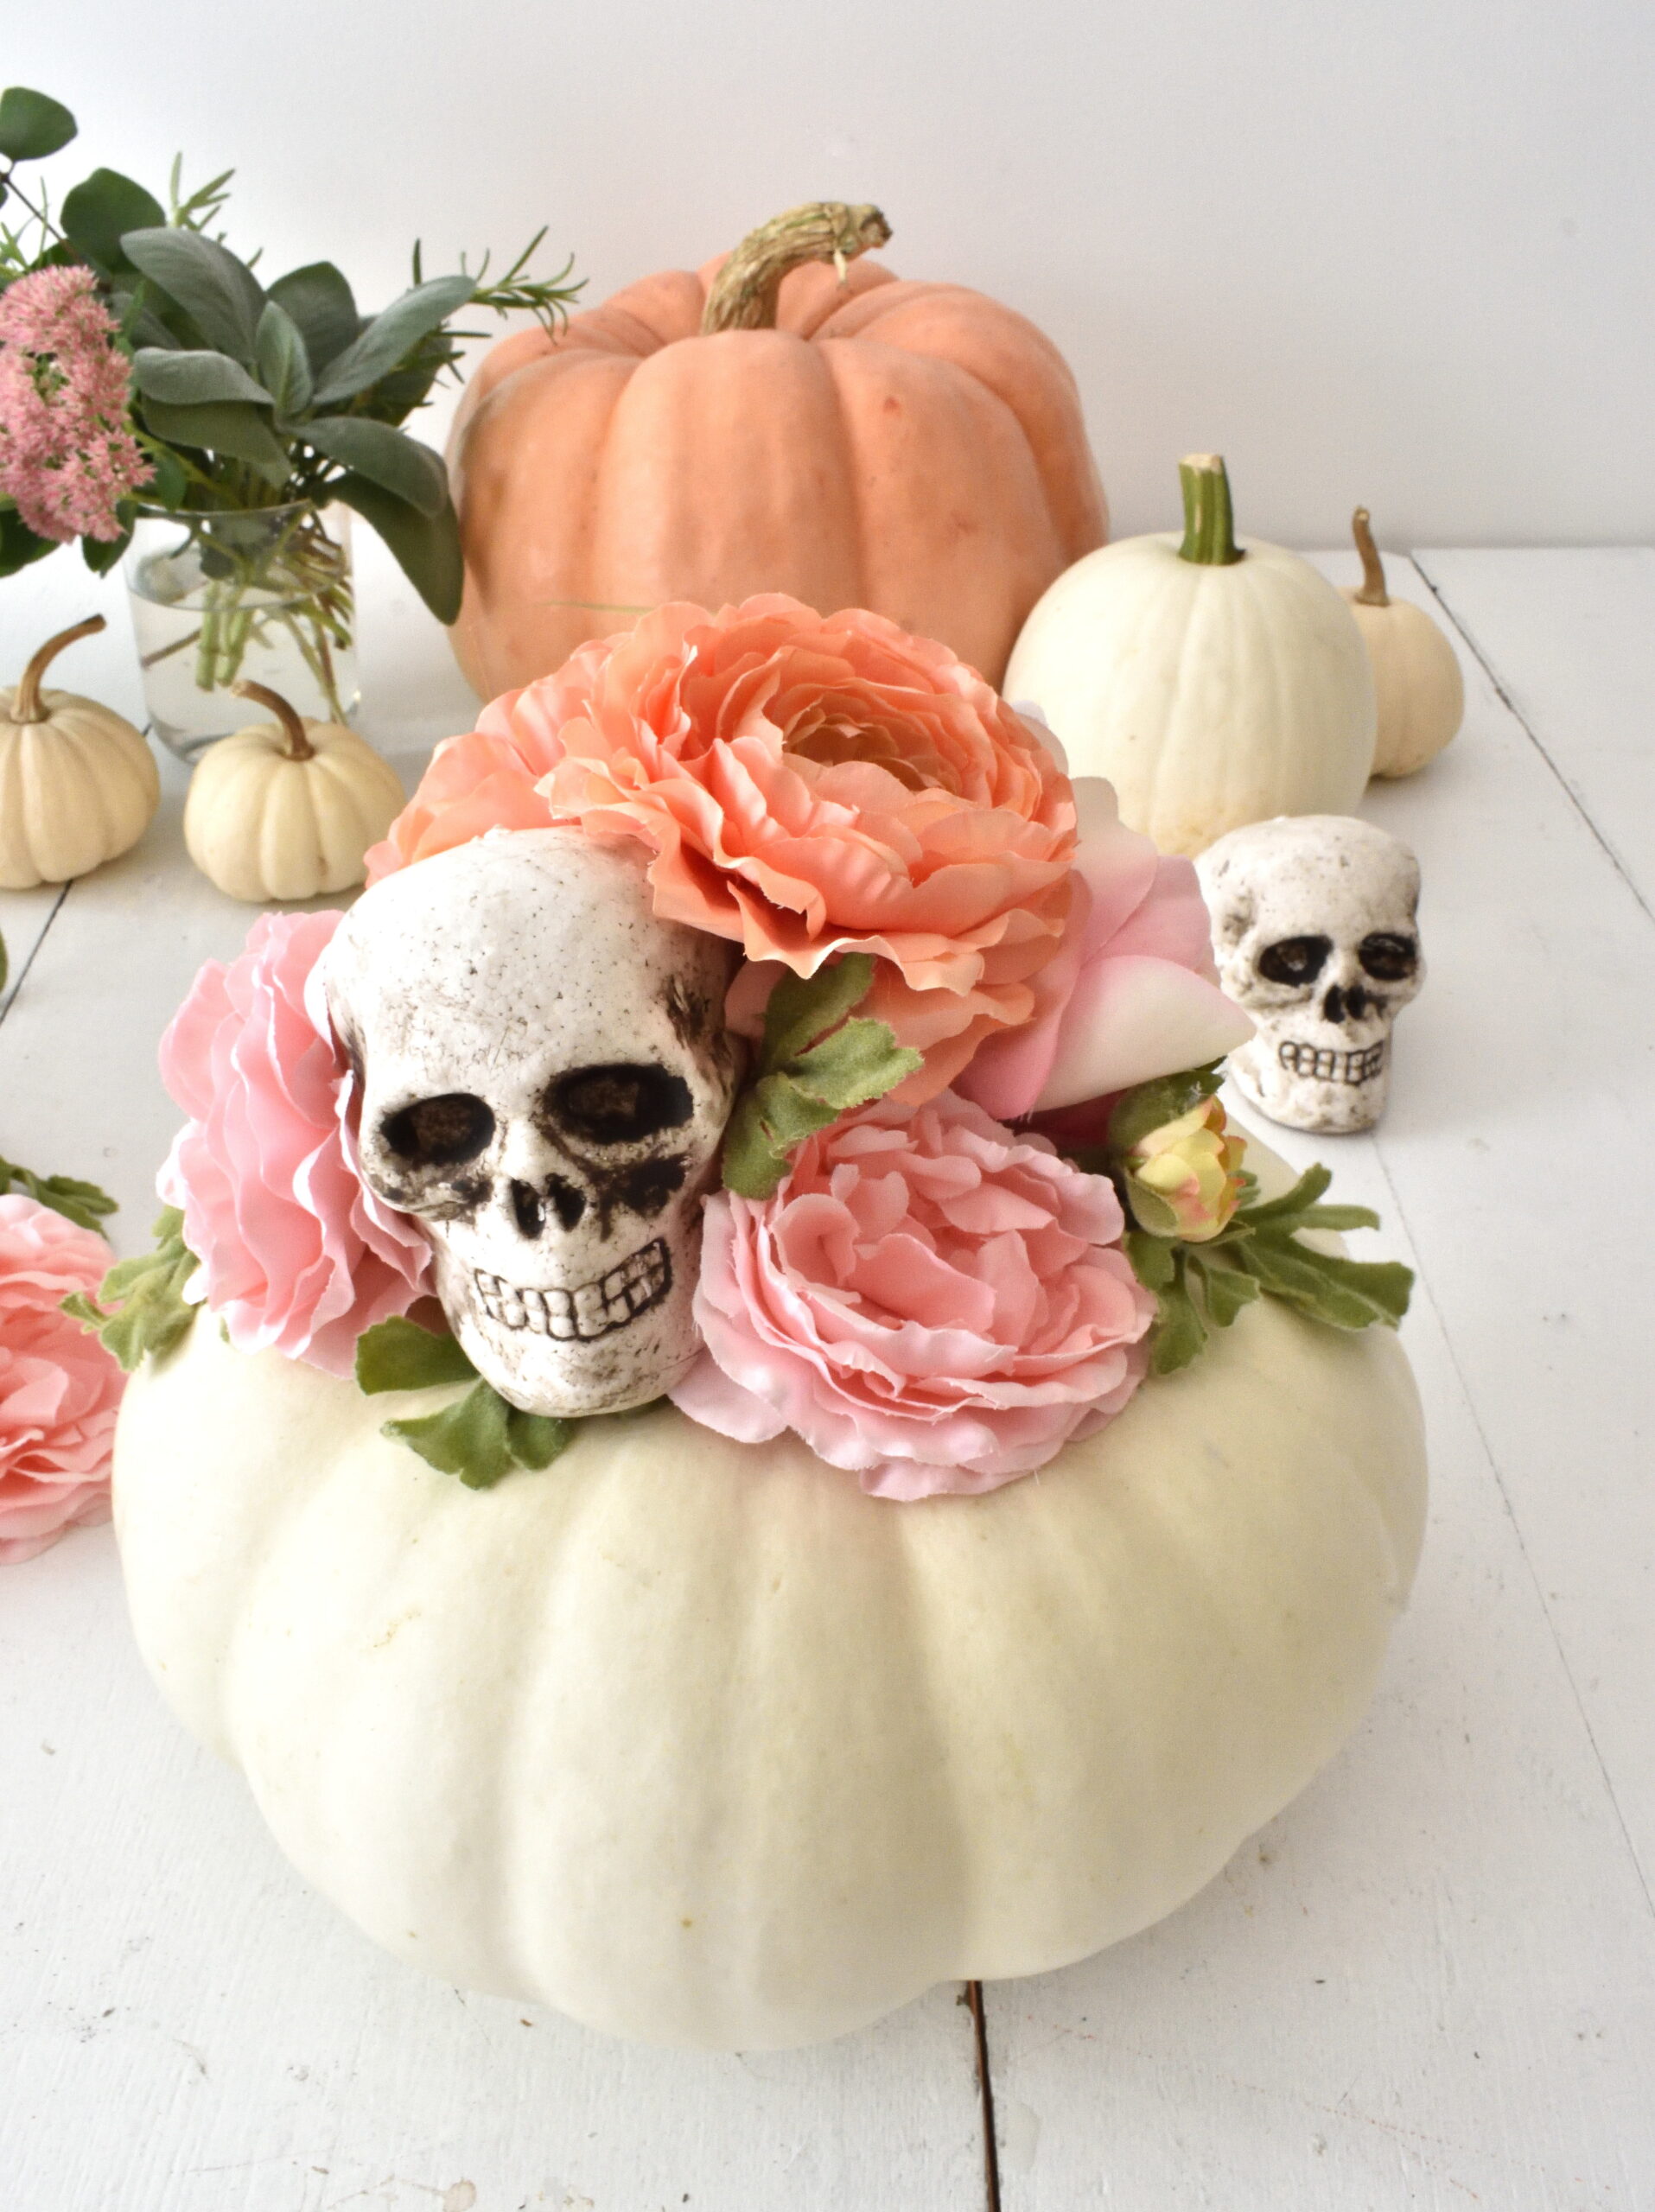
making the arrangement nice and full with the skull tucked down inside!
fresh elements
i love adding fresh flowers to my artificial arrangements…especially when i’m entertaining!
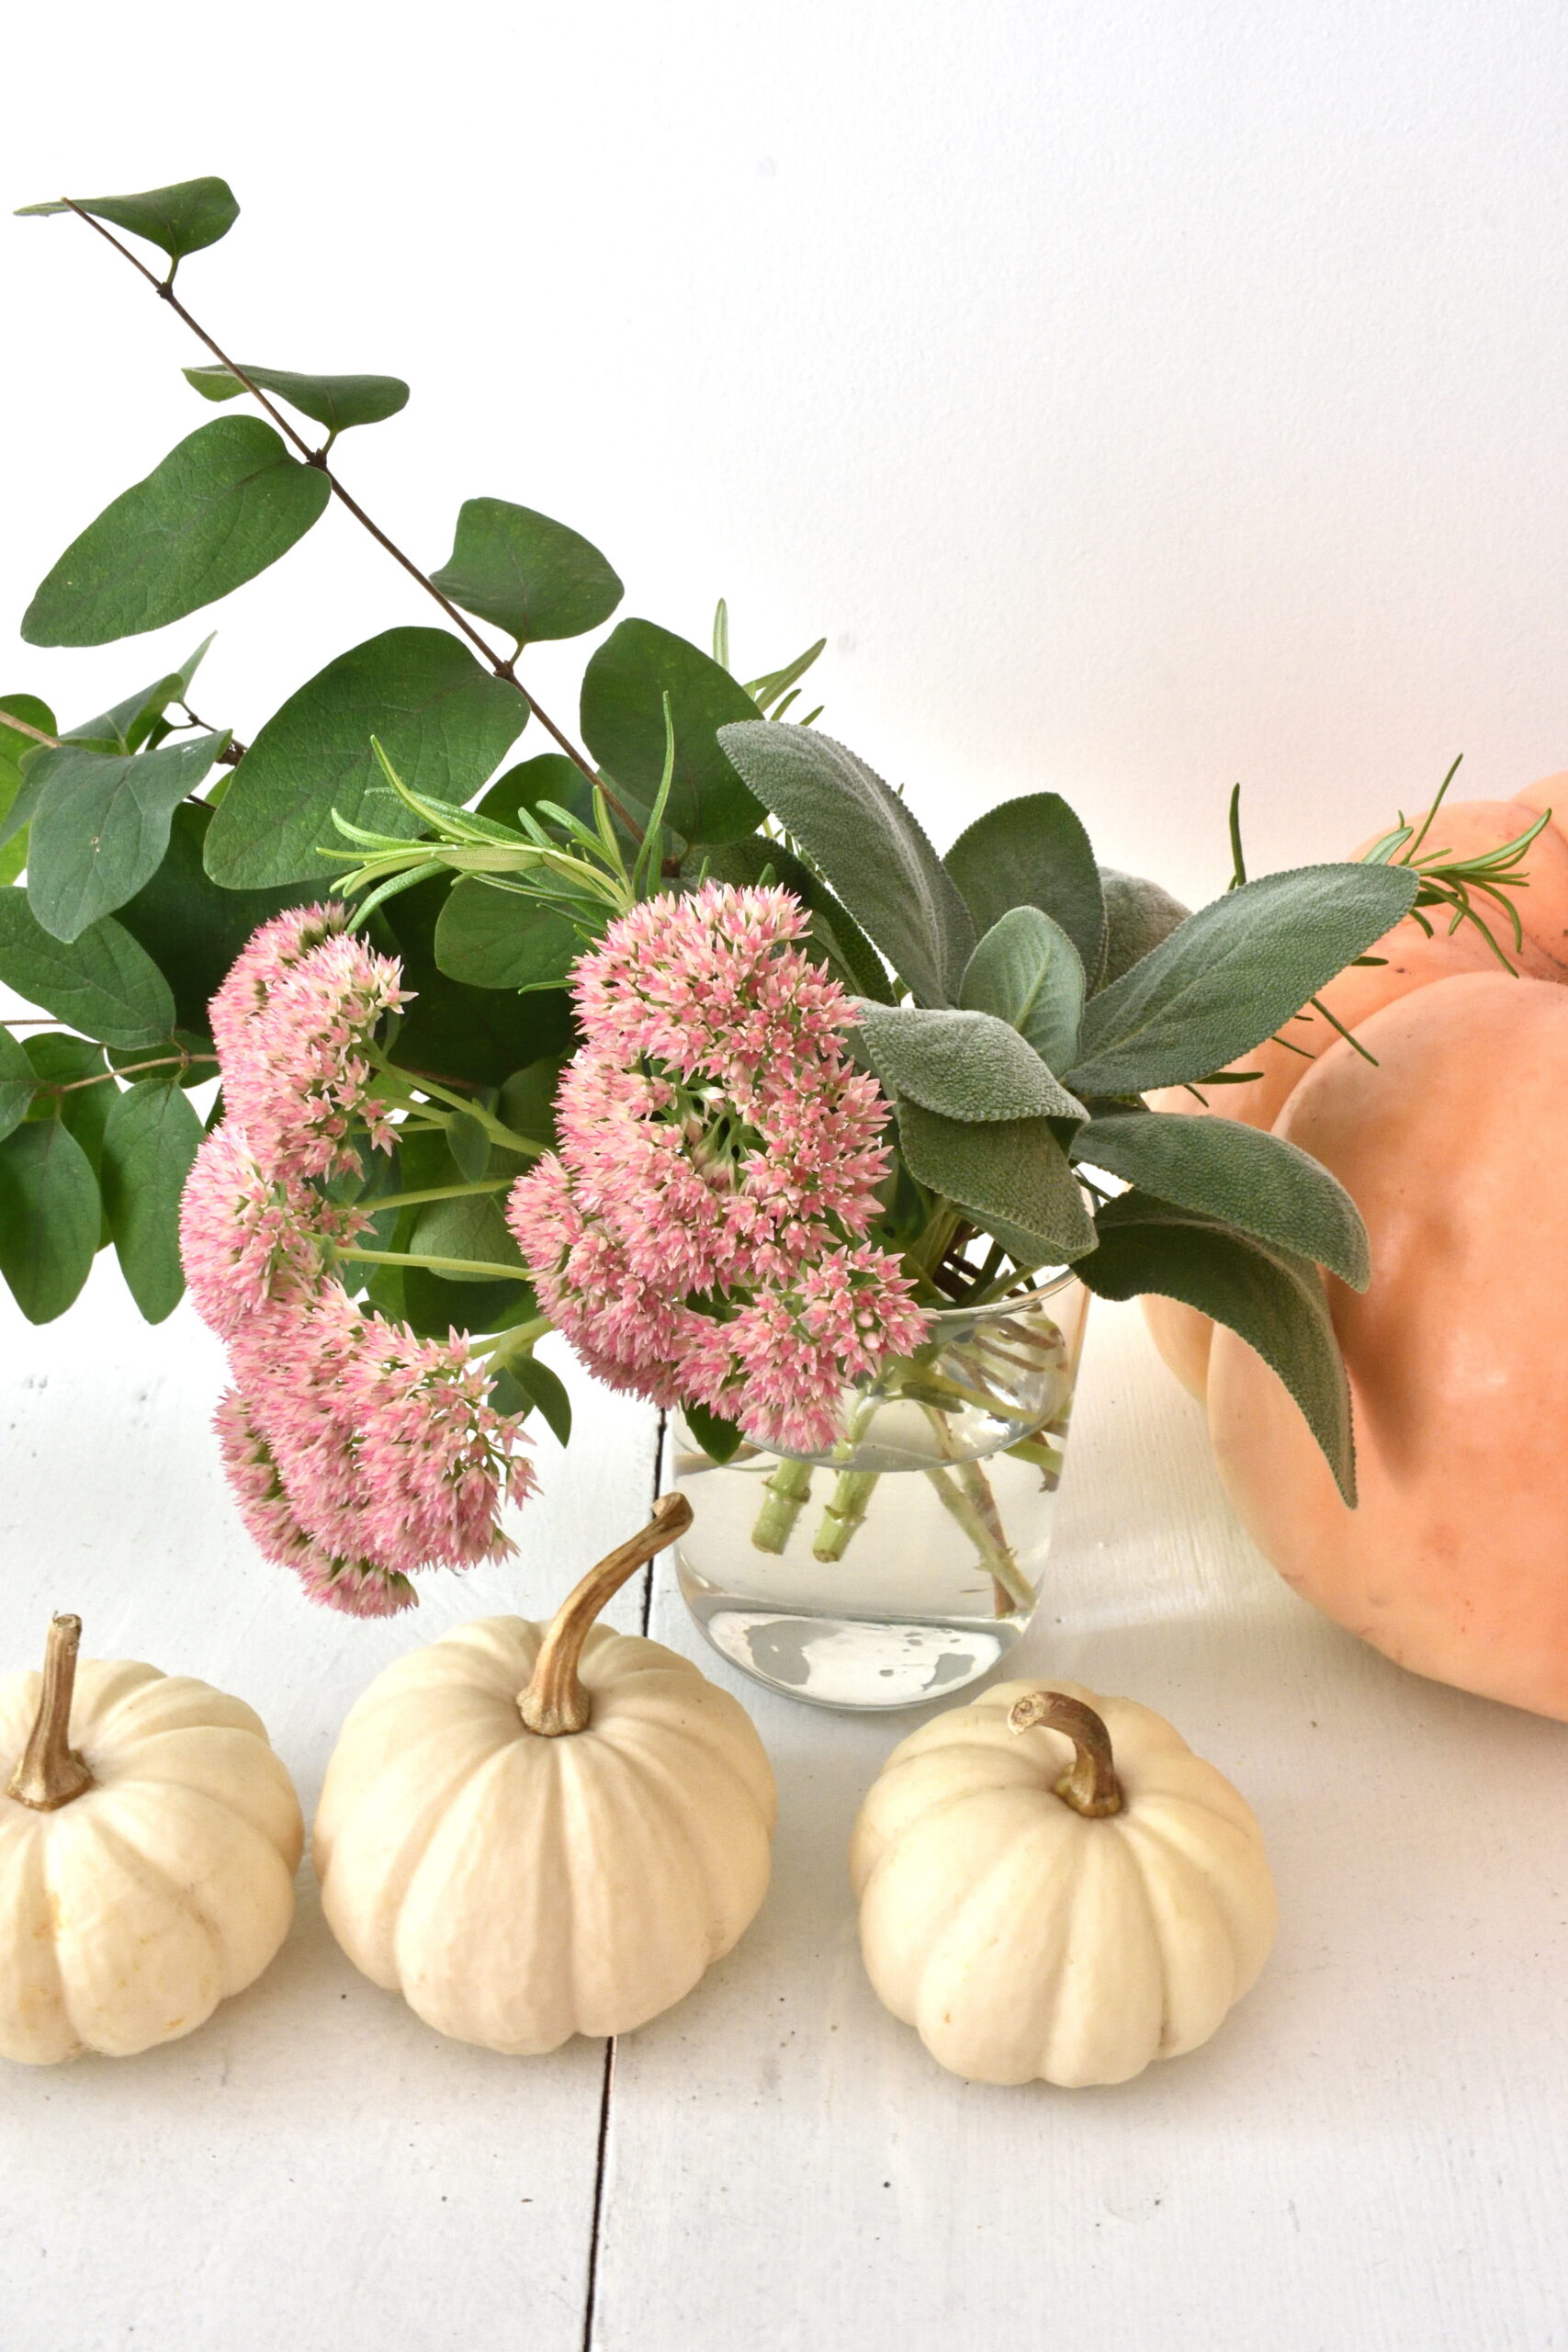
some sedum and herbs from my garden were lovely to temporarily tuck around the top or base of the arrangement…
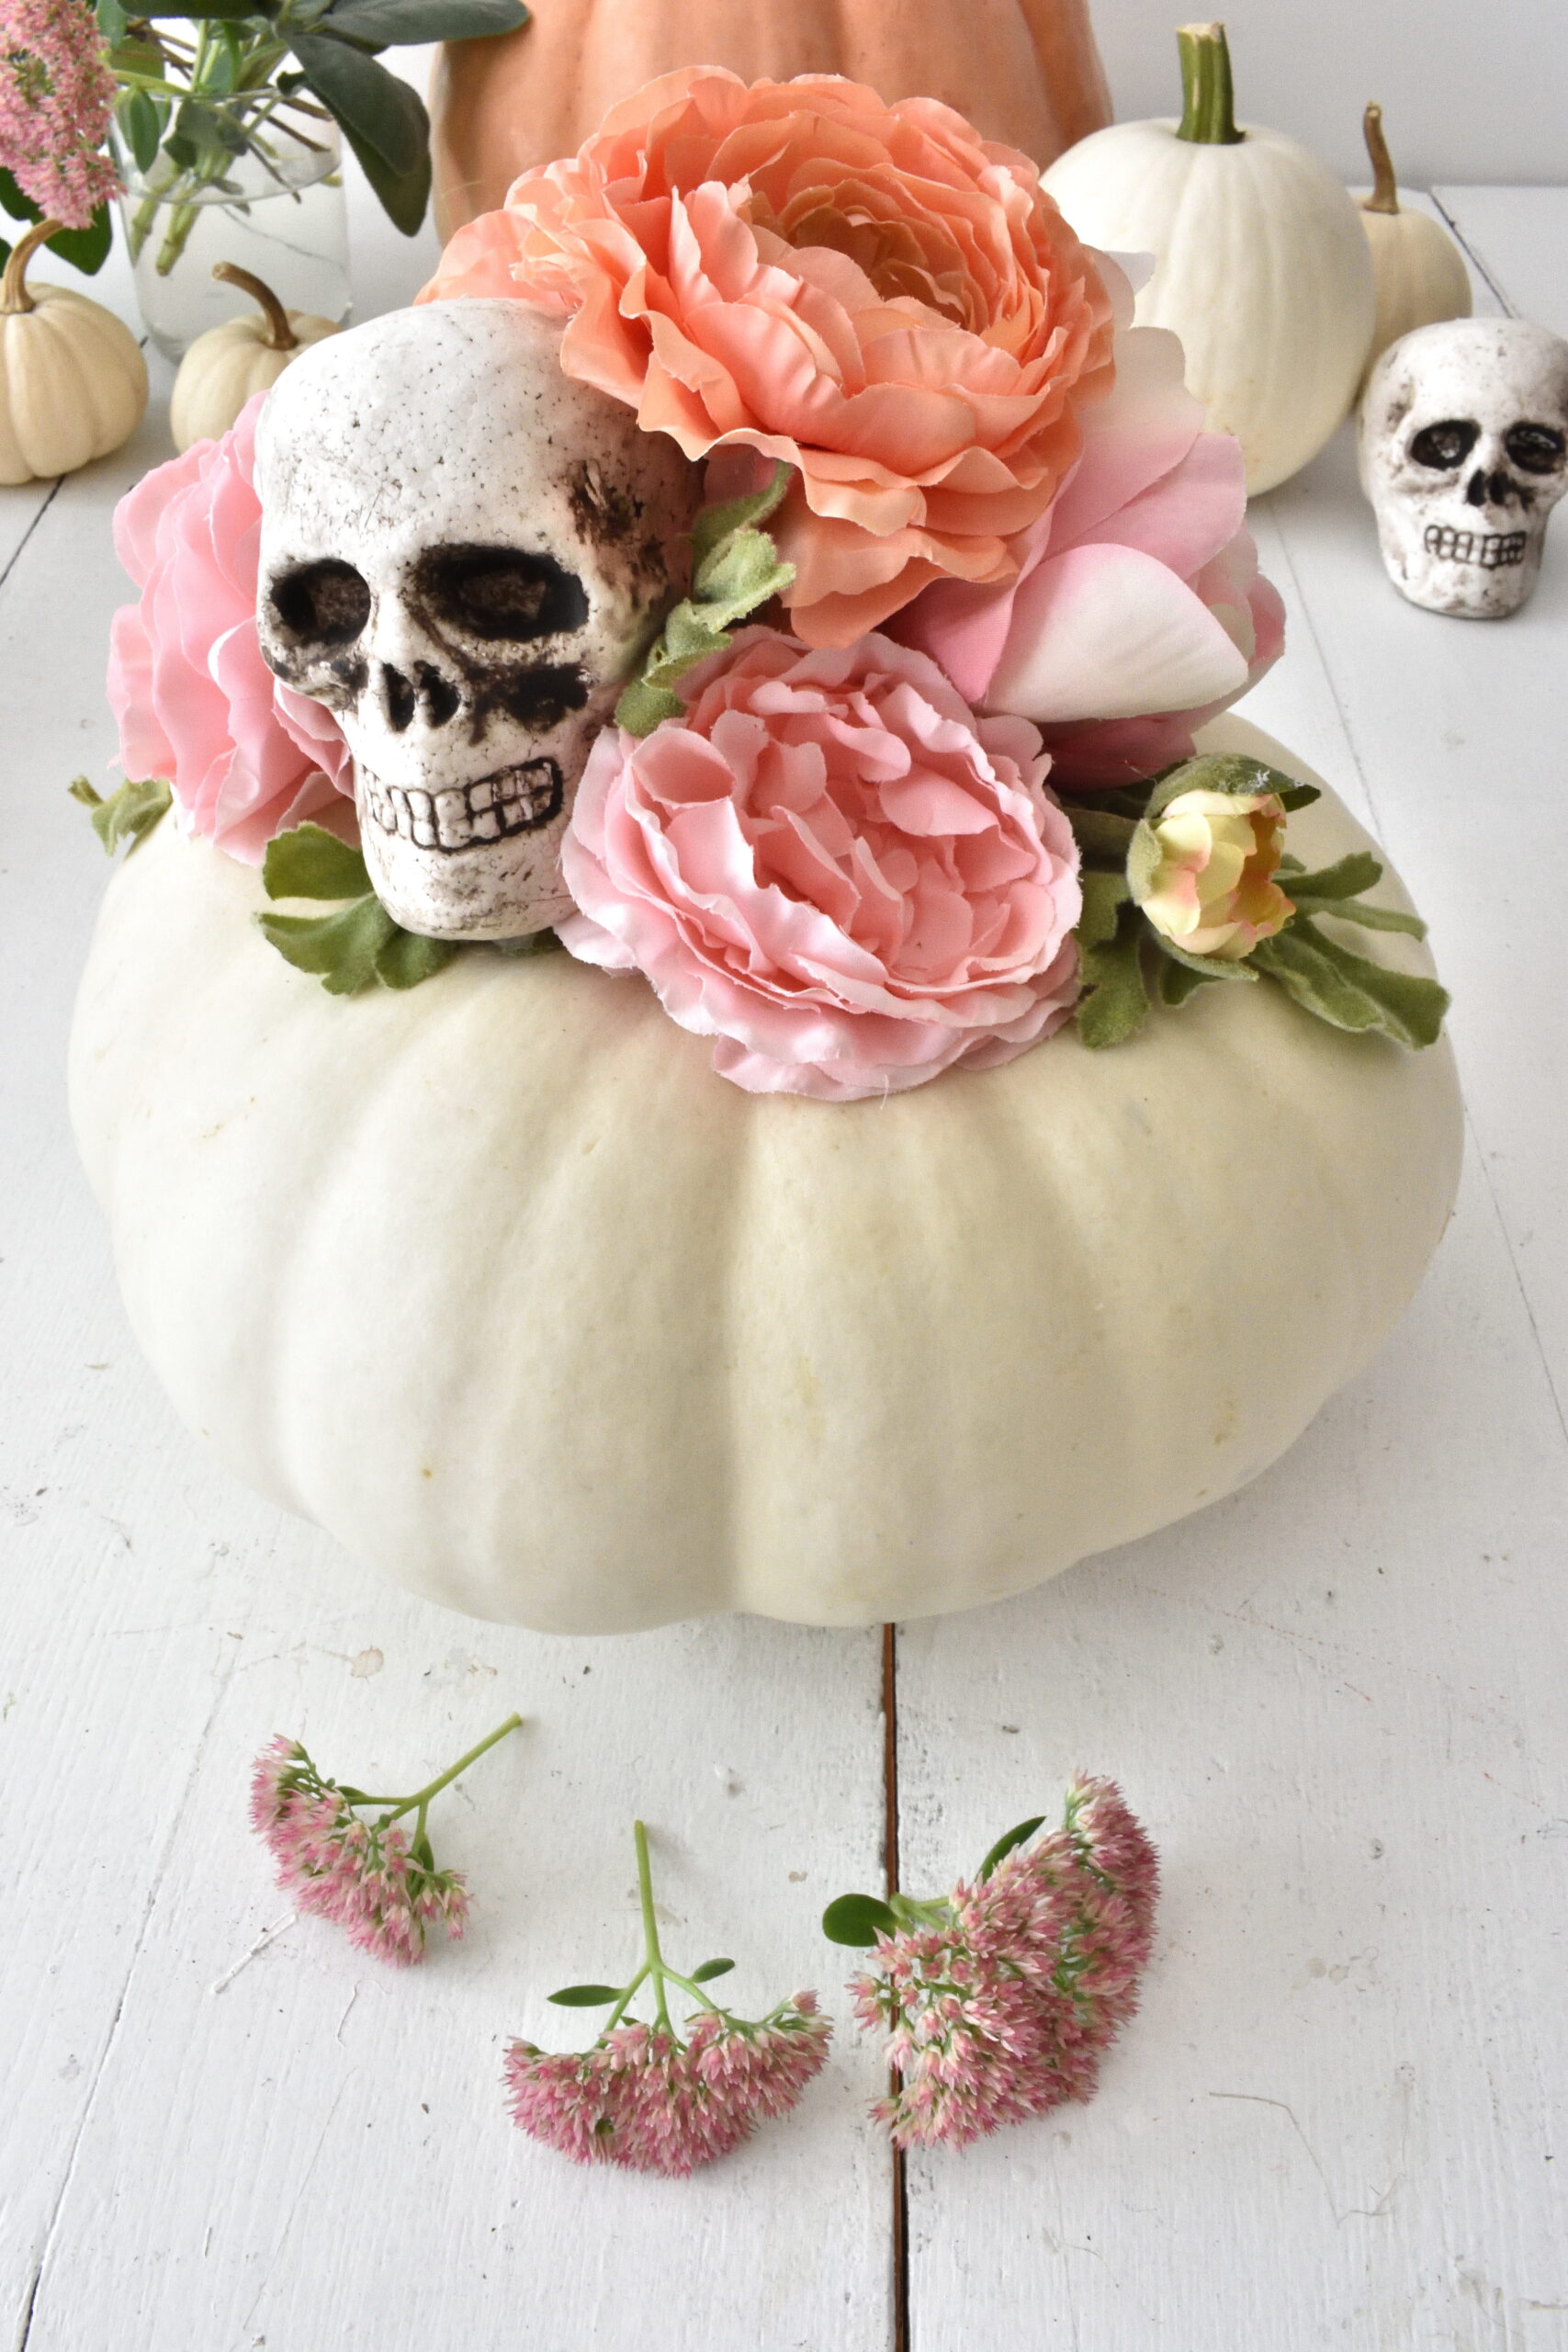
a tray filled with fresh blooms makes a pretty platform for a holiday dinner party centerpiece…
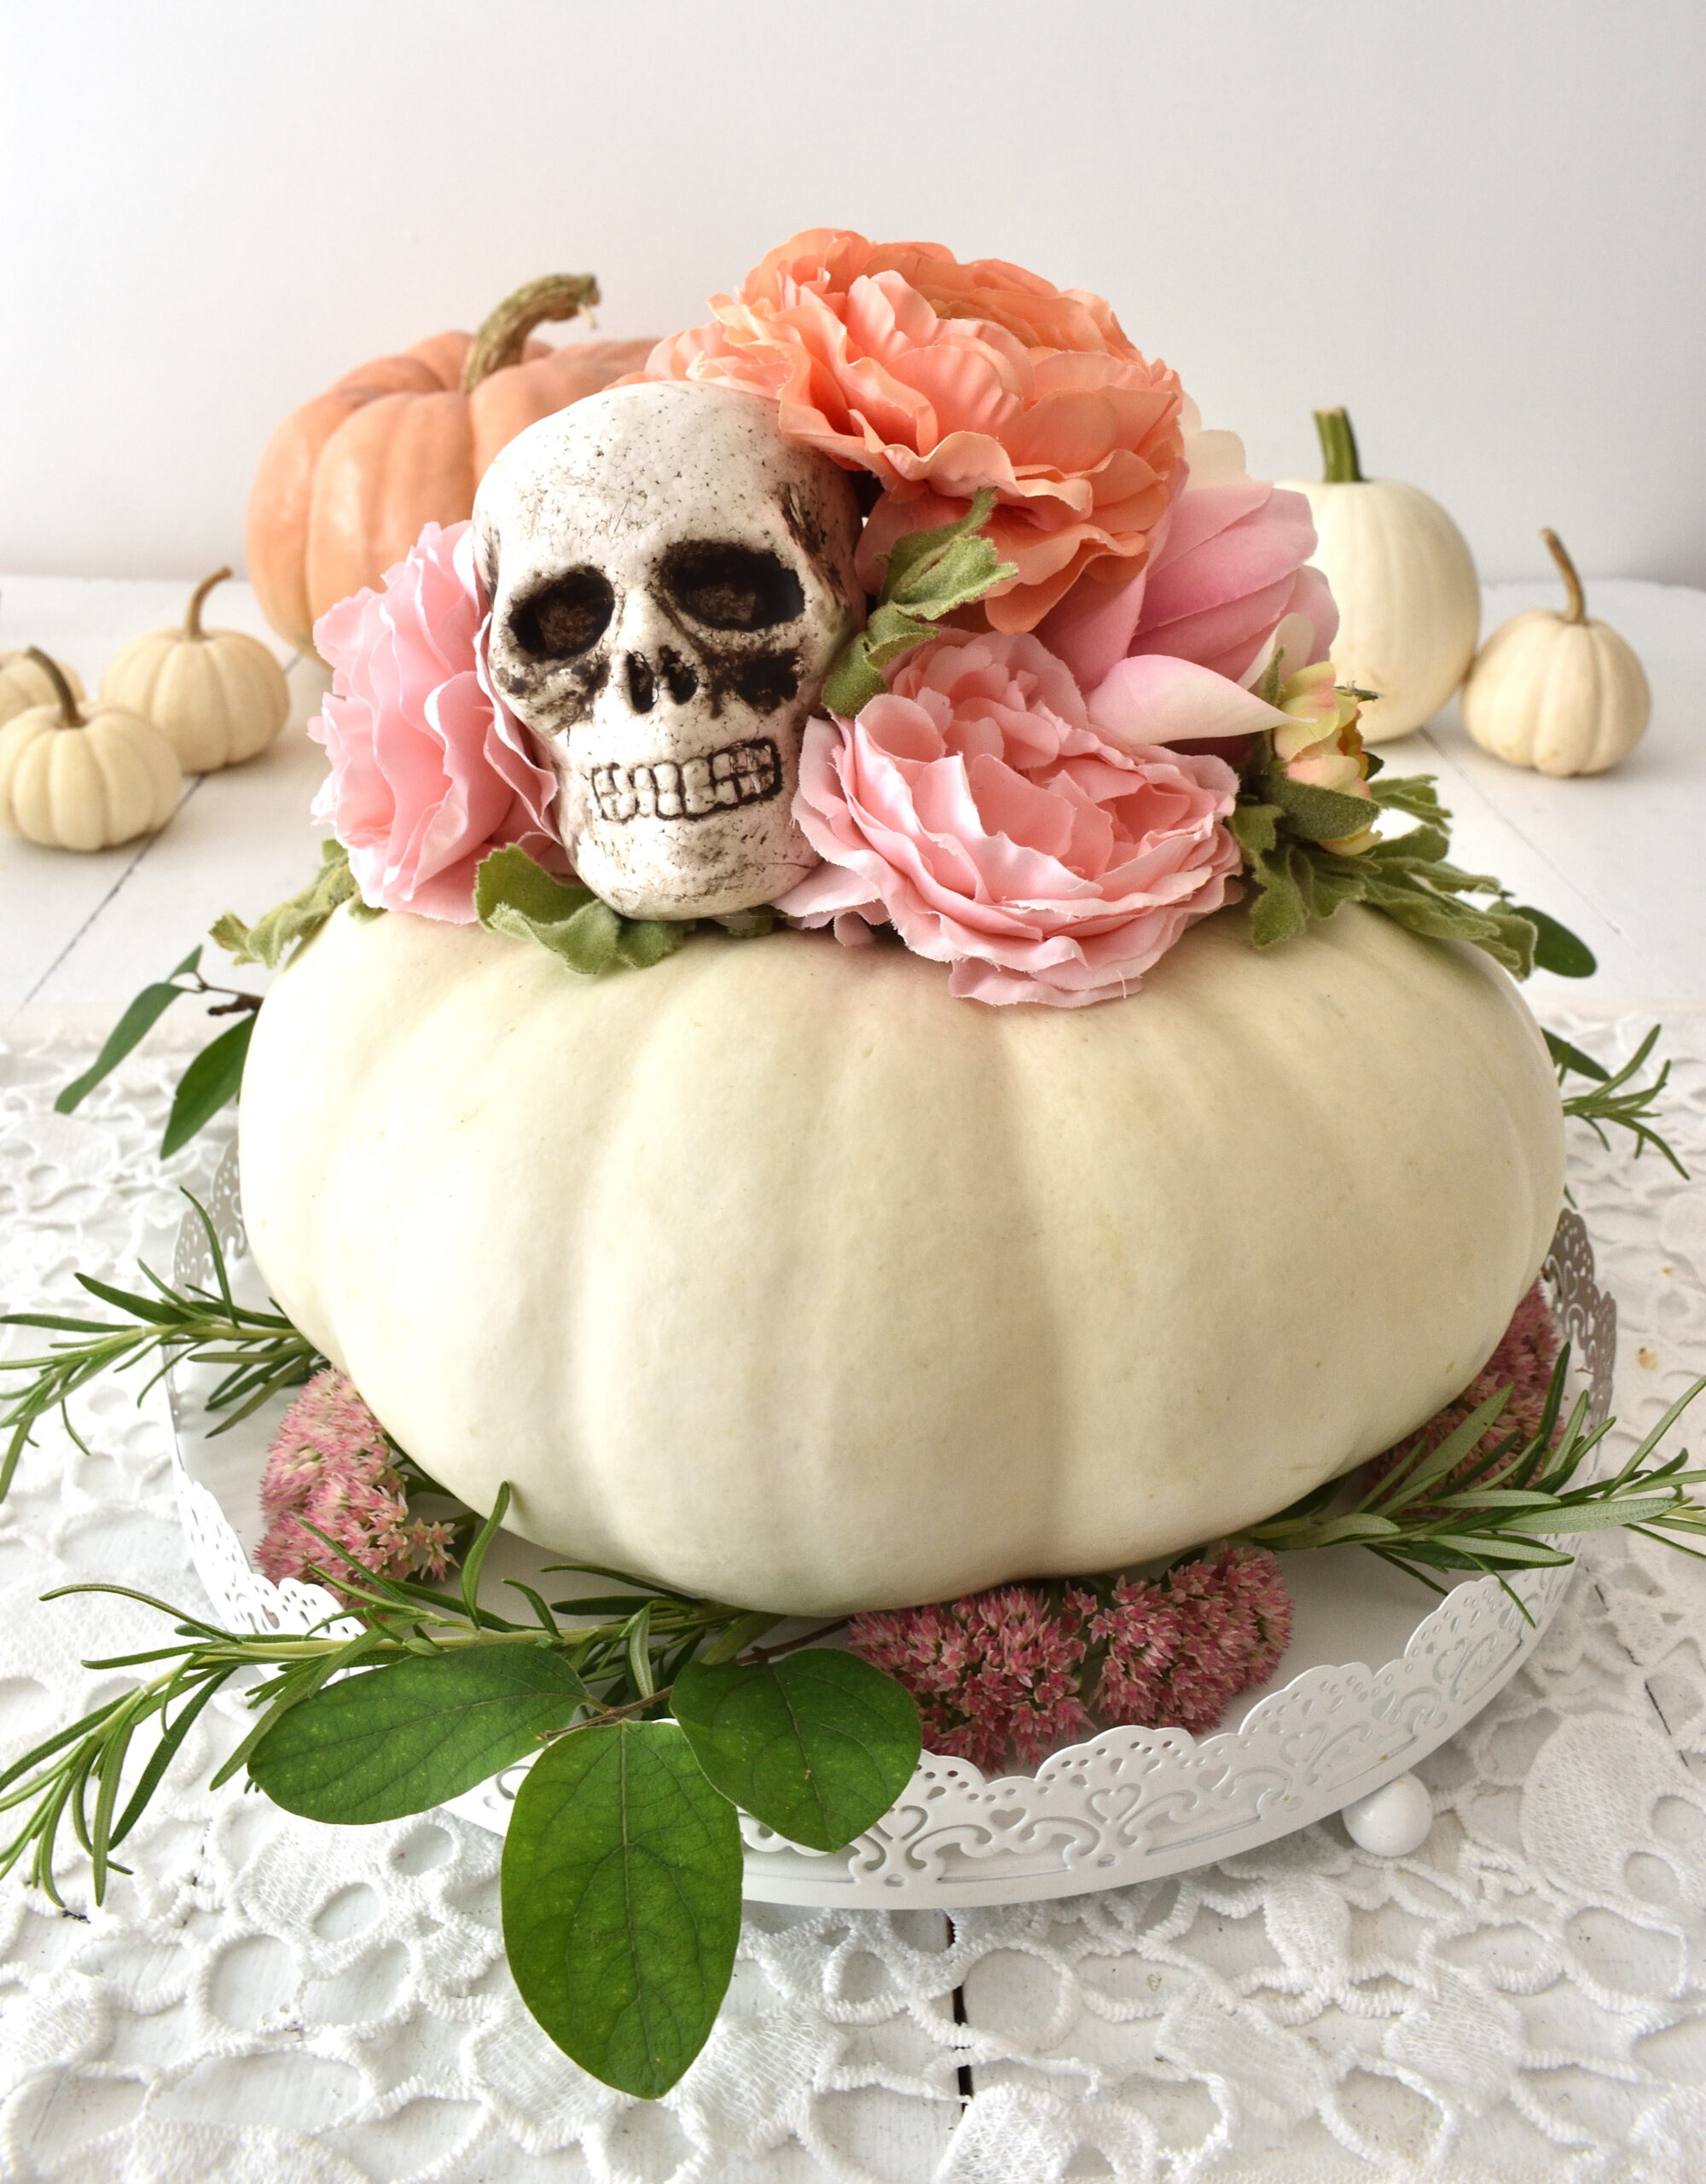
but when they wilt…pop them out and let this pretty thing shine all season!
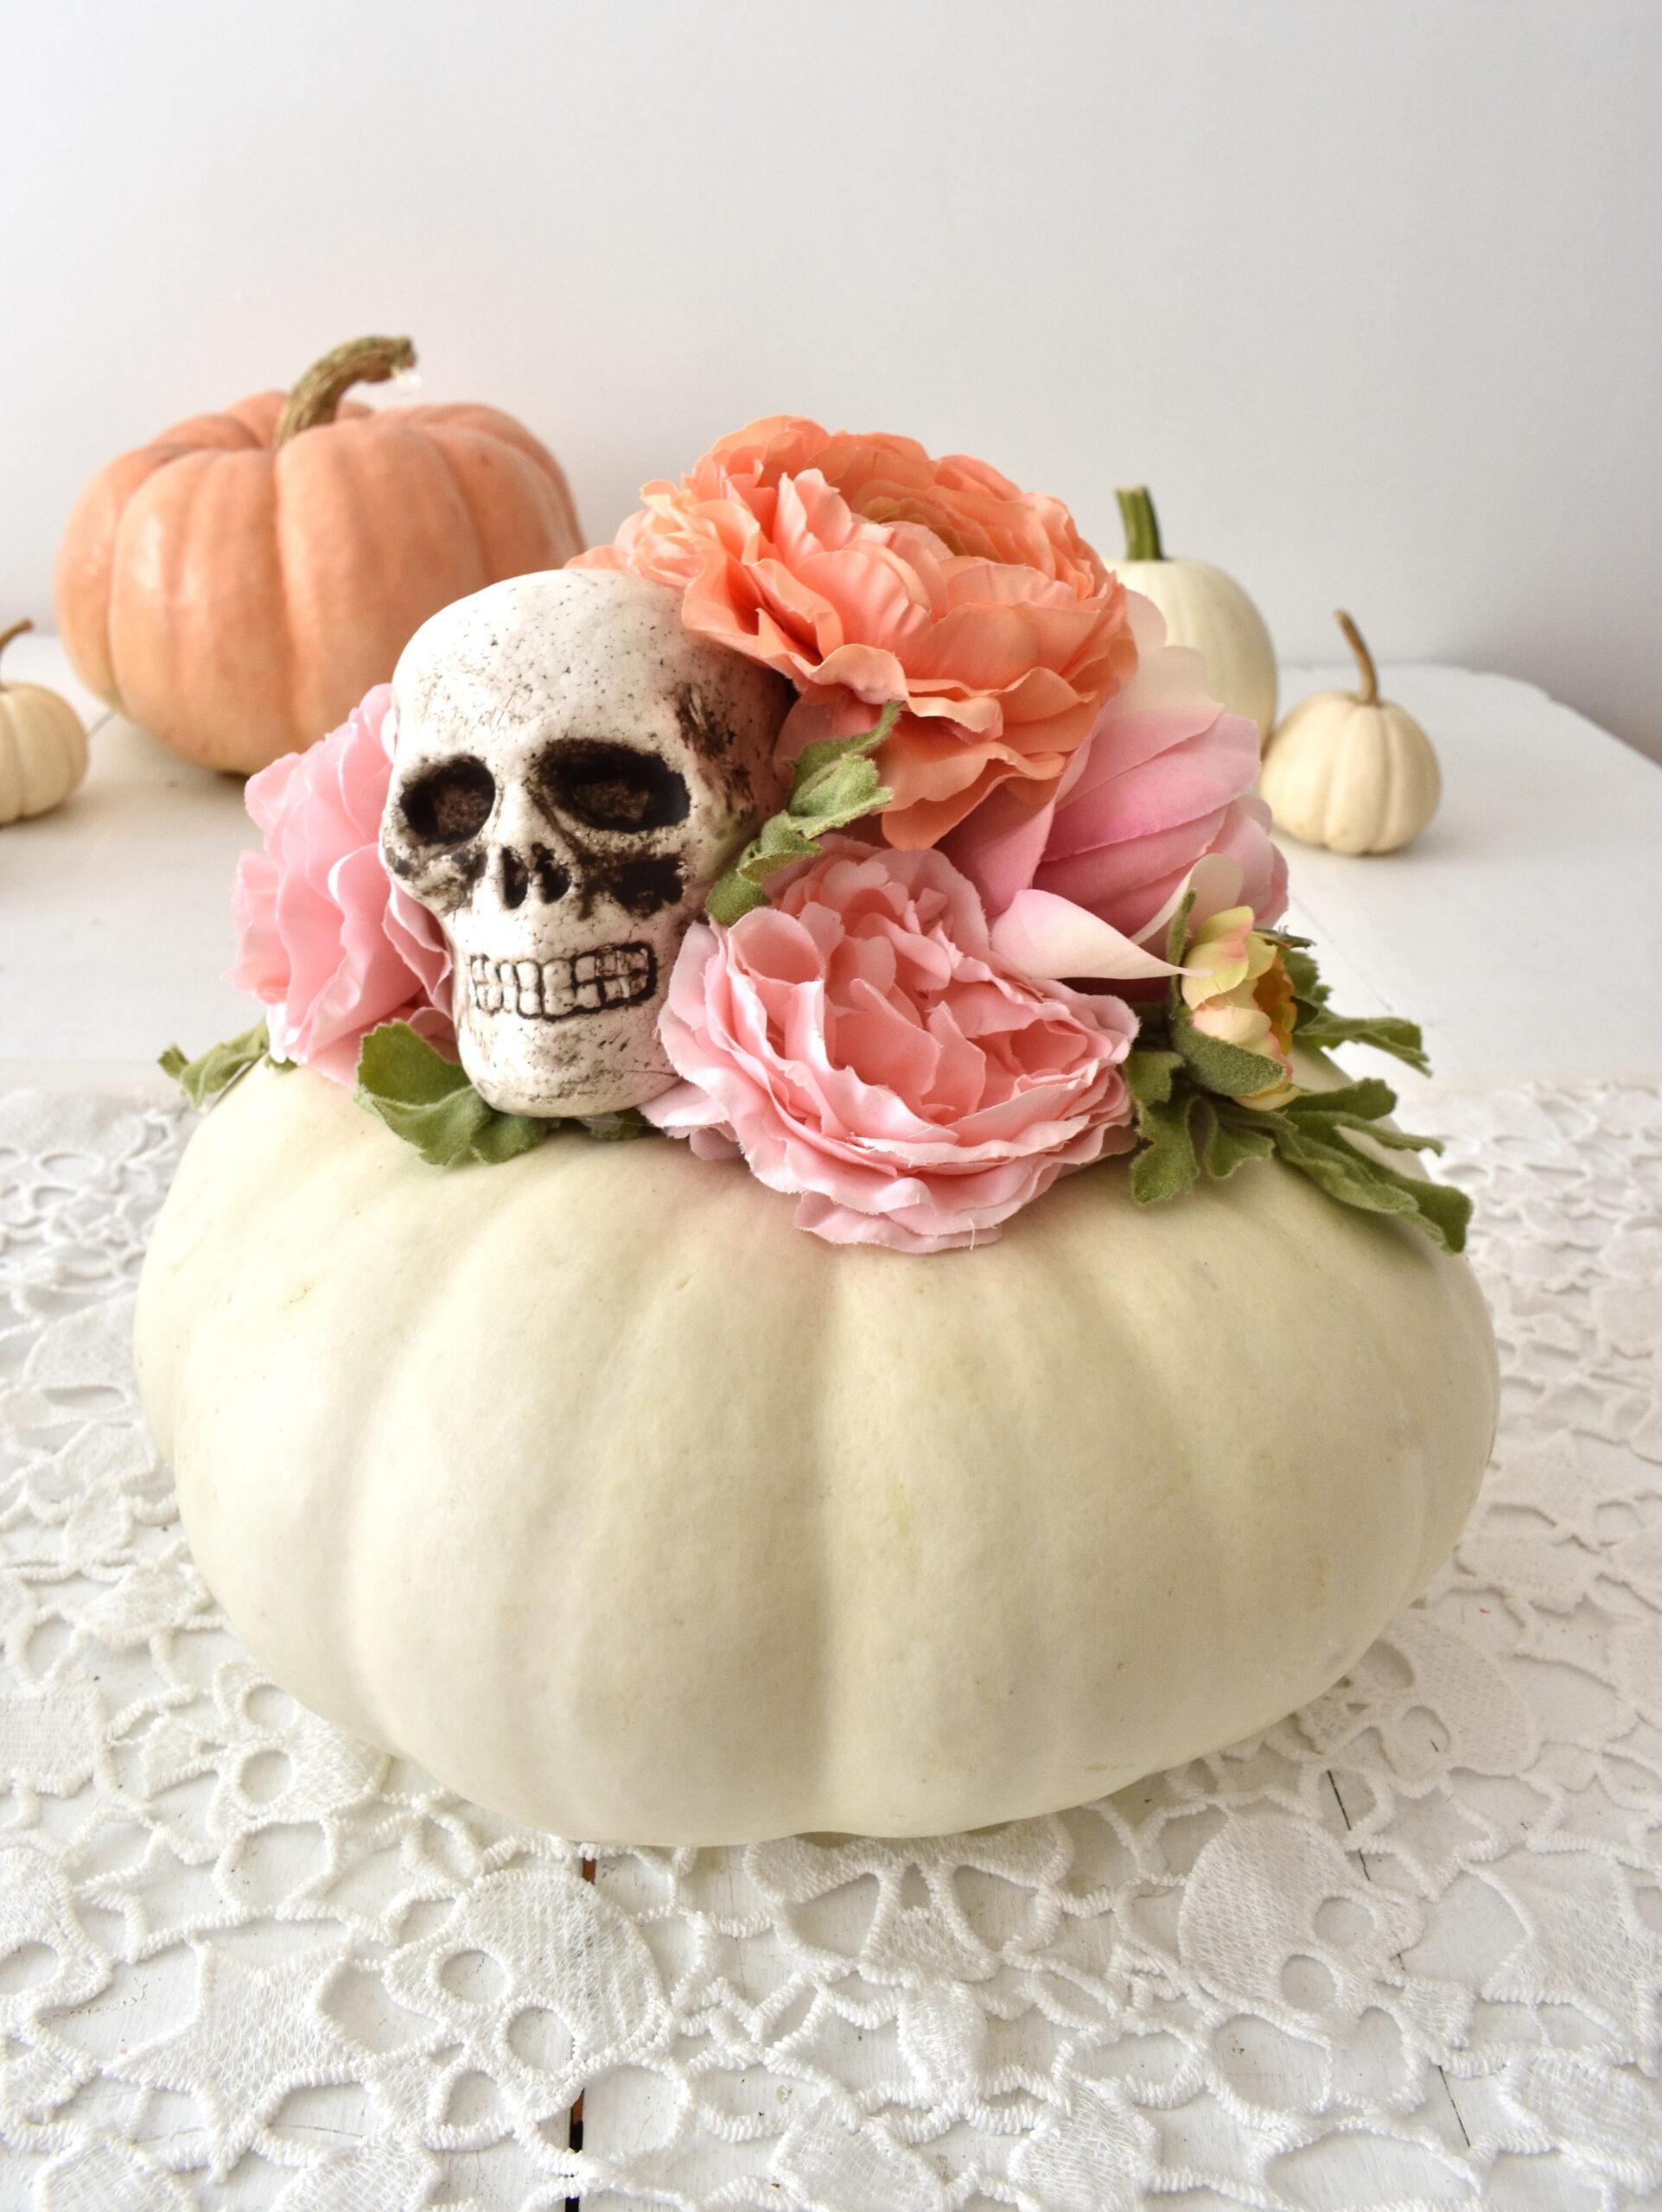
when Halloween is over…replace the skull with one more bloom and keep it up for Thanksgiving!
versatile, pretty, easy…pumpkin centerpiece!
tip:
don’t remove any pins and keep your arrangement away from direct heat to keep your fresh pumpkin/gourd lasting longer!
pin for later~
check out more fall fun from my friends~
It’s More Than a Home ~pumpkin scones
Pop of Gold ~ ombre painted pumpkins
Sweet as Melli ~ cinnamon apple cider bourbon cocktail
Sugar Parties LA ~hydro dipping fall pumpkins
Sunshine Tulip ~ fall fabric banner DIY
Festive Fancy & Frugal ~ pumpkin cake and fall tablescape
Legally Crafty ~ fall apple wreath DIY
Parties with a Cause ~ medeival times feast
Hello Luvs ~ Halloween poison apple DIY
product guide~
Michaels: artificial flowers and Halloween embellishments
Home Goods: Halloween lace runner
Local Markets: pumpkins and gourds

Shannon
September 9
Could not love this more!!! So creative and so cute!!
Lori
September 13
Aww, thank you! It’s such an easy thing to do too! xo
Susan-SugarPartiesLA
September 10
This is so creative ! I love the little skulls you added to the pumpkin tops.This is great for fall and going into Halloween.
Lori
September 13
Thanks Susan! I loved those styrofoam skulls and you can pop it out later after Halloween is over!
Anonymous
September 10
Love this idea for a Halloween centerpiece!
Lori
September 13
Thank you so much! And really an easy one to make too!
Tiffani
September 11
Wow!!! You make this look so easy luv. I’m obsessed with this🤍
Lori
September 13
Aww, thanks Tiffani! It looks easy because it actually is…my favorite kind of crafts! 🙂