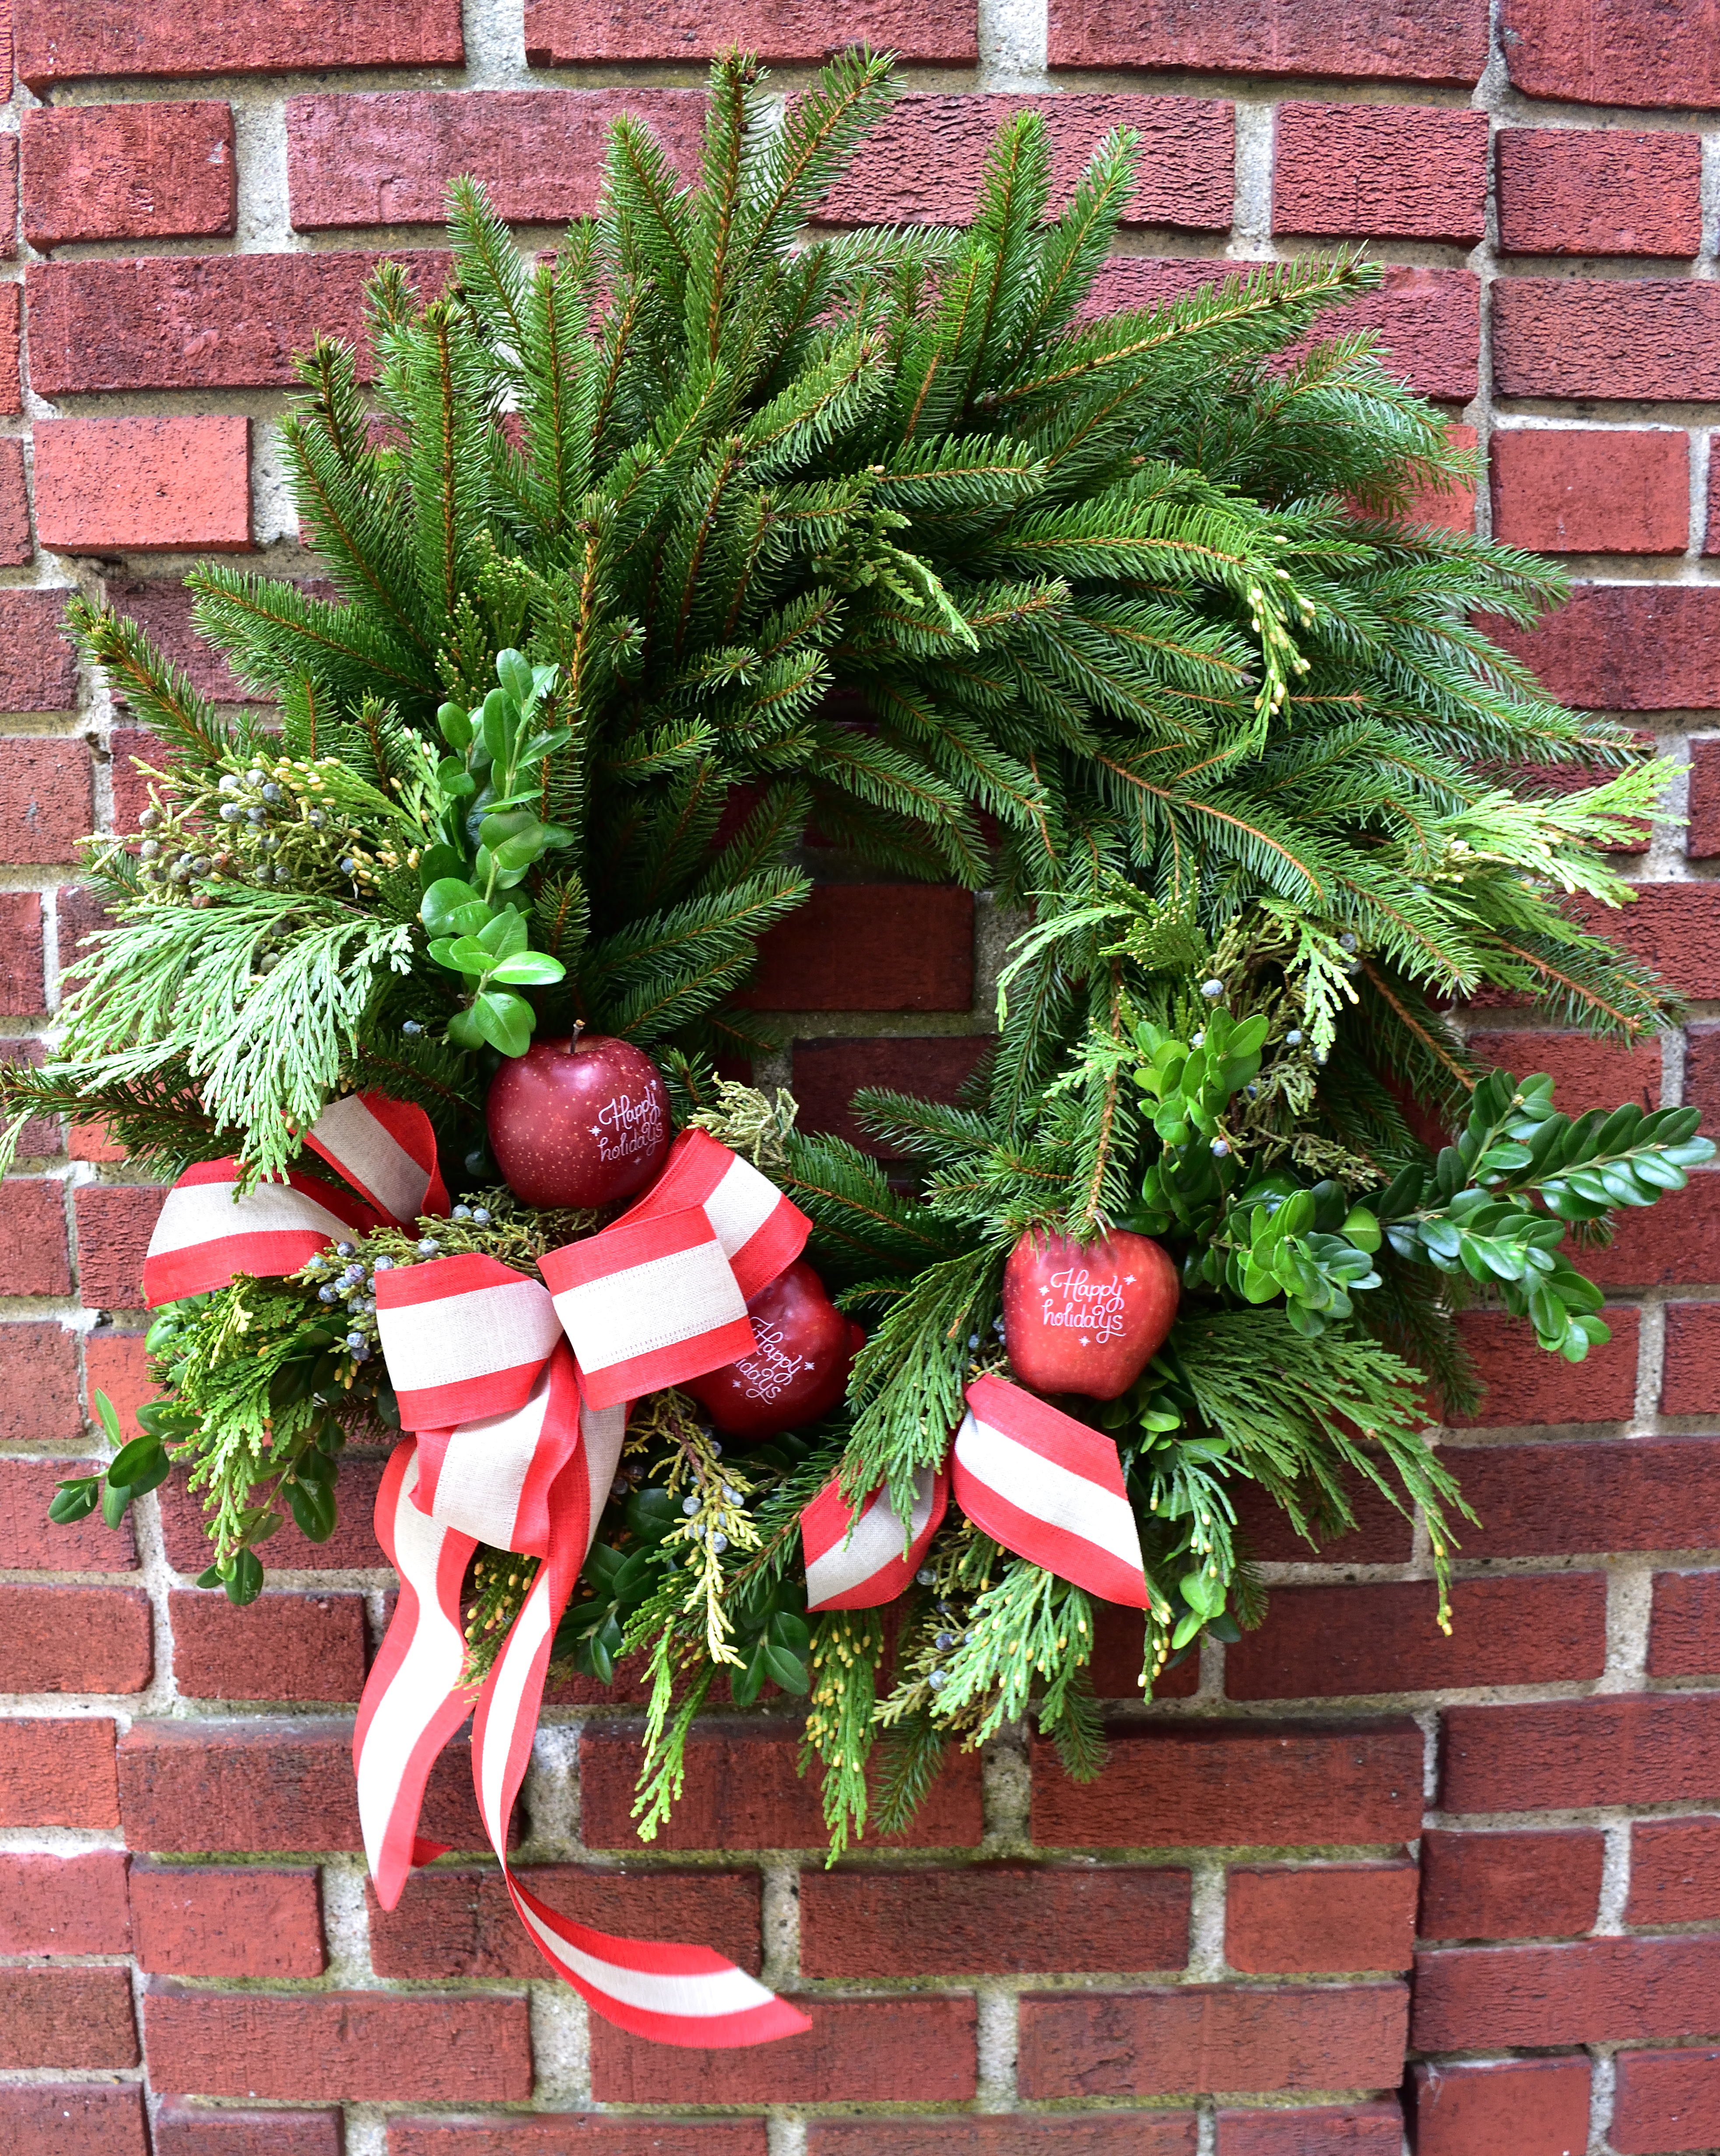
Hang a DIY holiday wreath on your door and showcase your personality! It’s really easy to do…especially if you take a plain wreath from your garden center and spruce it up with extra greens and decorations you love! If you saw the blog on Wednesday you’ll recognize that the two wreaths I’m sharing today coordinate with my tabletop decor! By creating my own wreath, I could tie the decorations together with the ones on my table. And fresh greenery at the entrance is such a special way to welcome guests for a Christmas celebration! So let’s get right to it so you can create your own holiday joy in time for your festivities!
add your unique touch to a diy holiday wreath!
giggle living may have received payment and/or product. however i only endorse products i love and all opinions are my own
when it comes to fresh wreaths…i’m a simple girl at heart! but i adore the addition of extra greens to give it a soft & loose look…
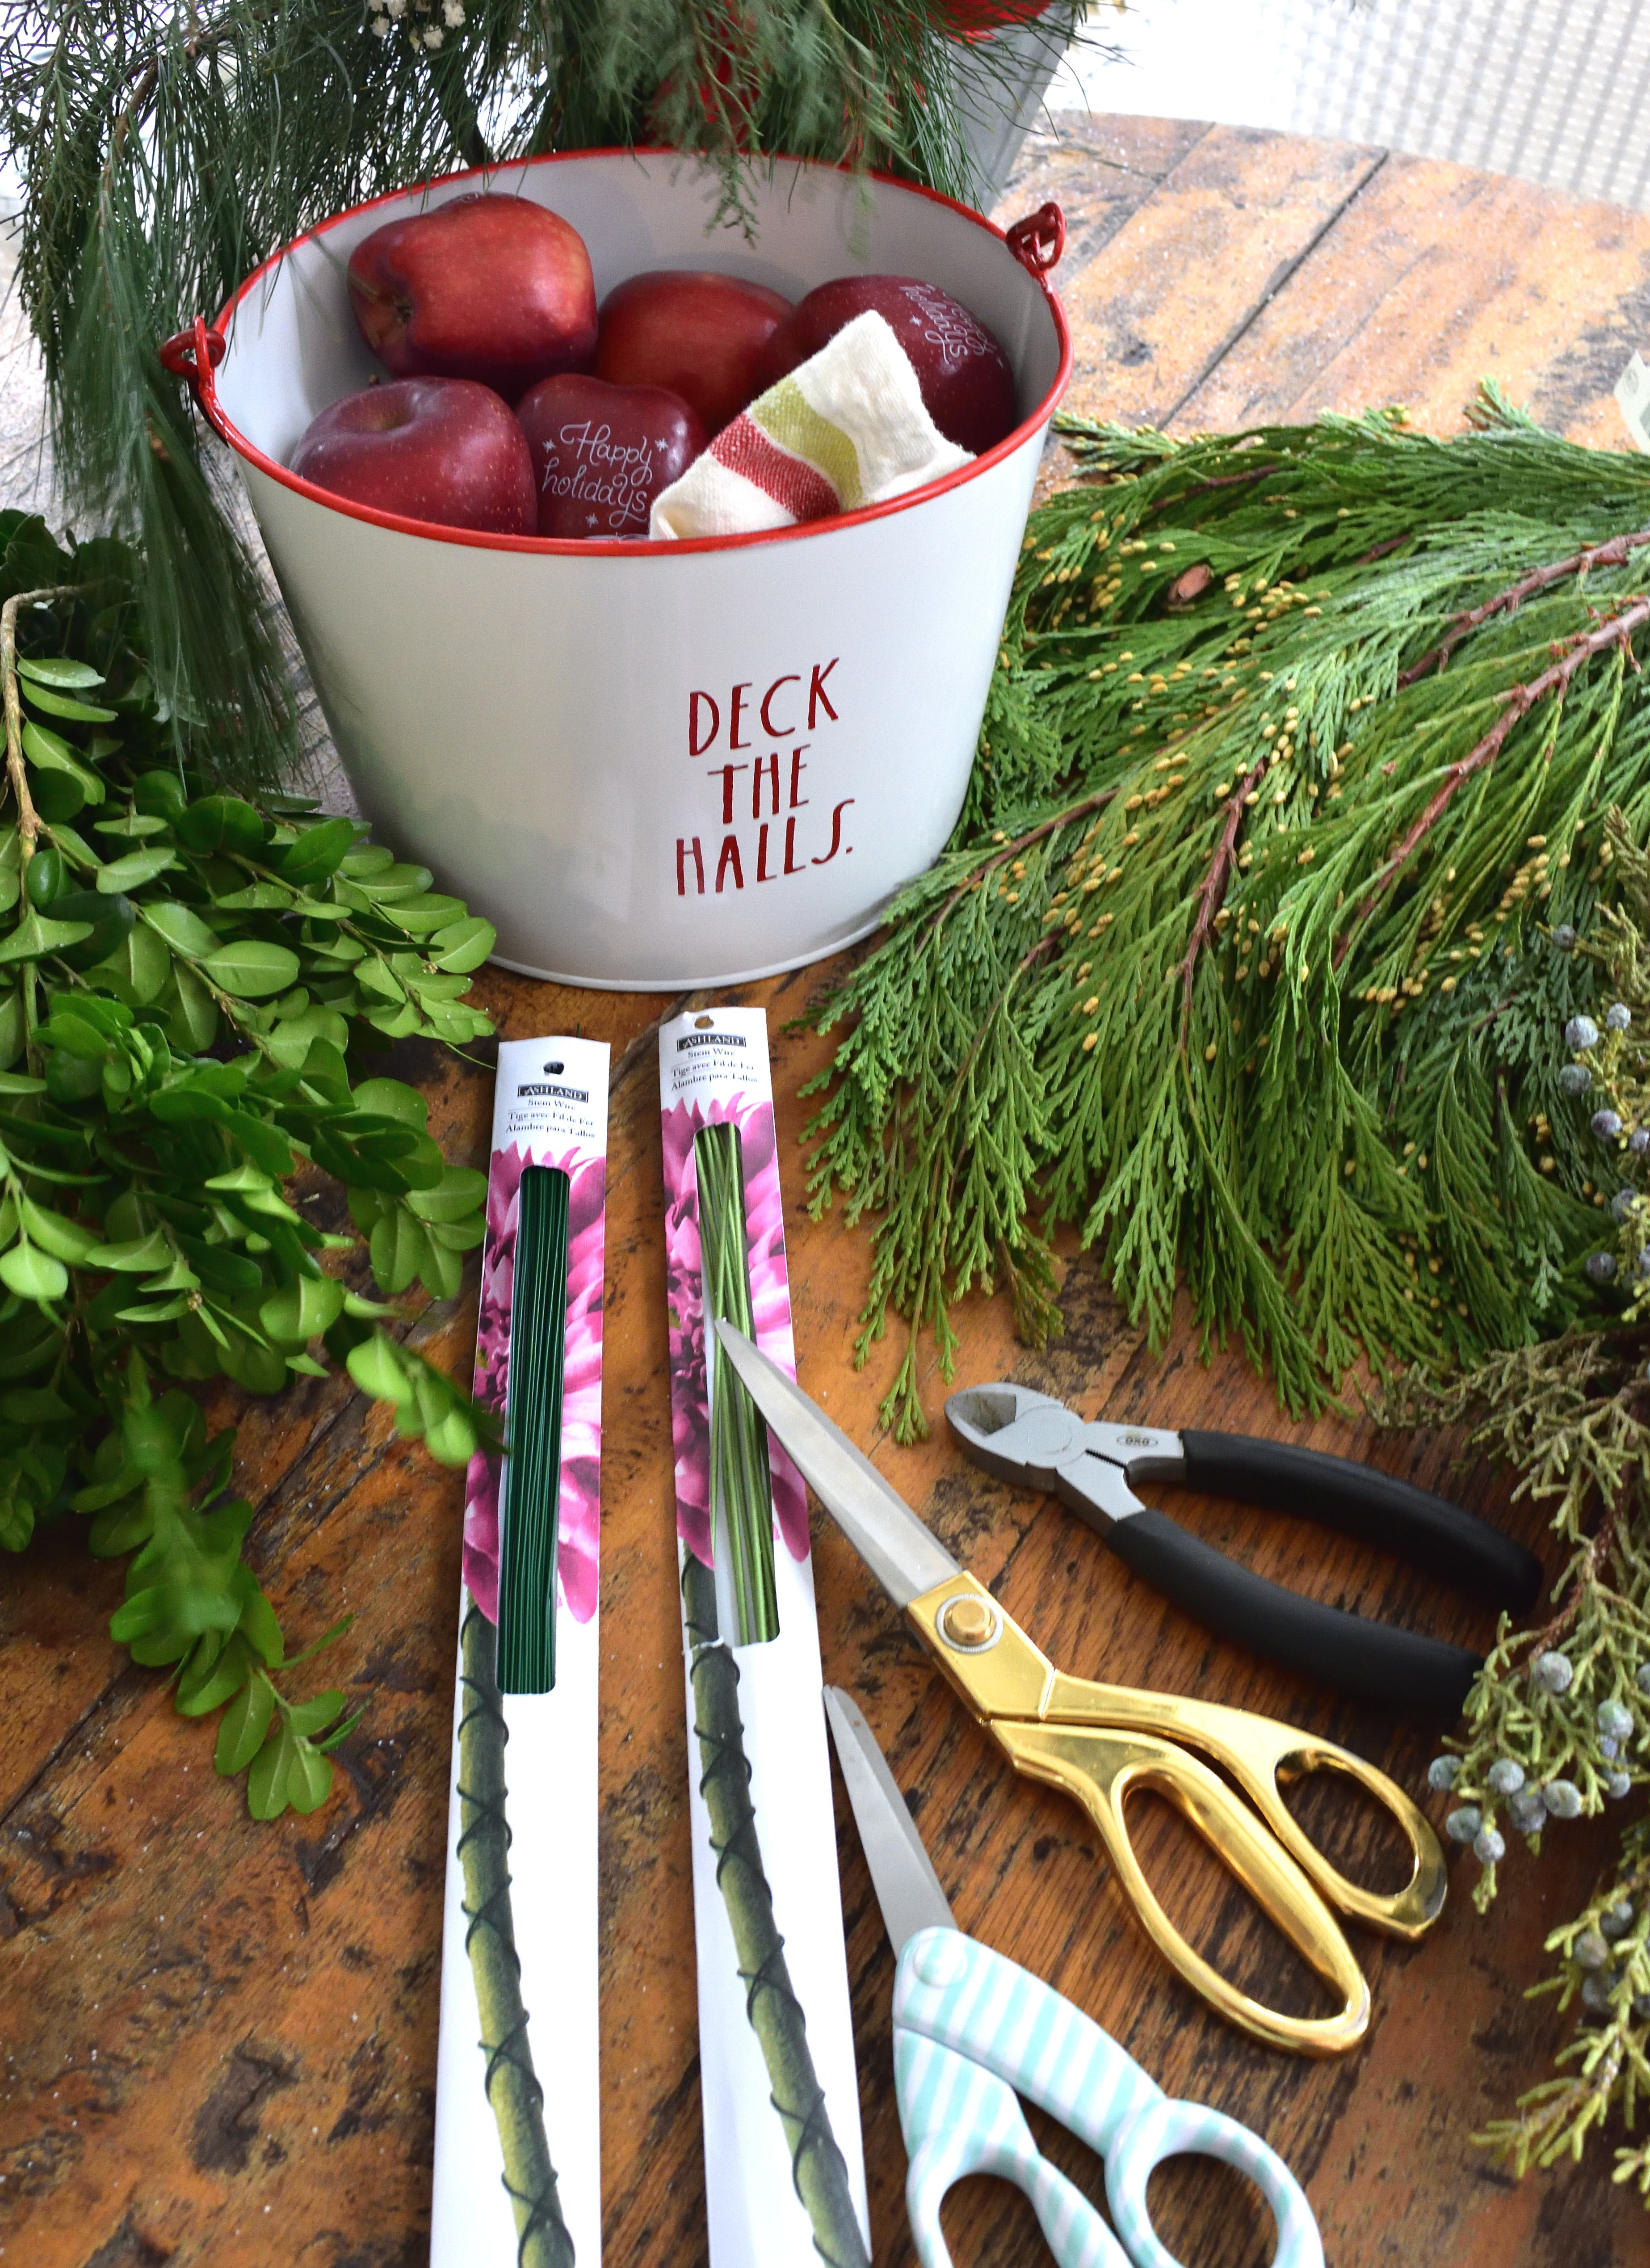
here’s what you’ll need for both projects:
plain wreath/s
extra greens and/or berries
ribbon or pre-made bows
pine cones, fruit, or any decorations you love!
medium weight stem wire: 18-20 gauge
wire nippers
scissors
first, choose your wreath…
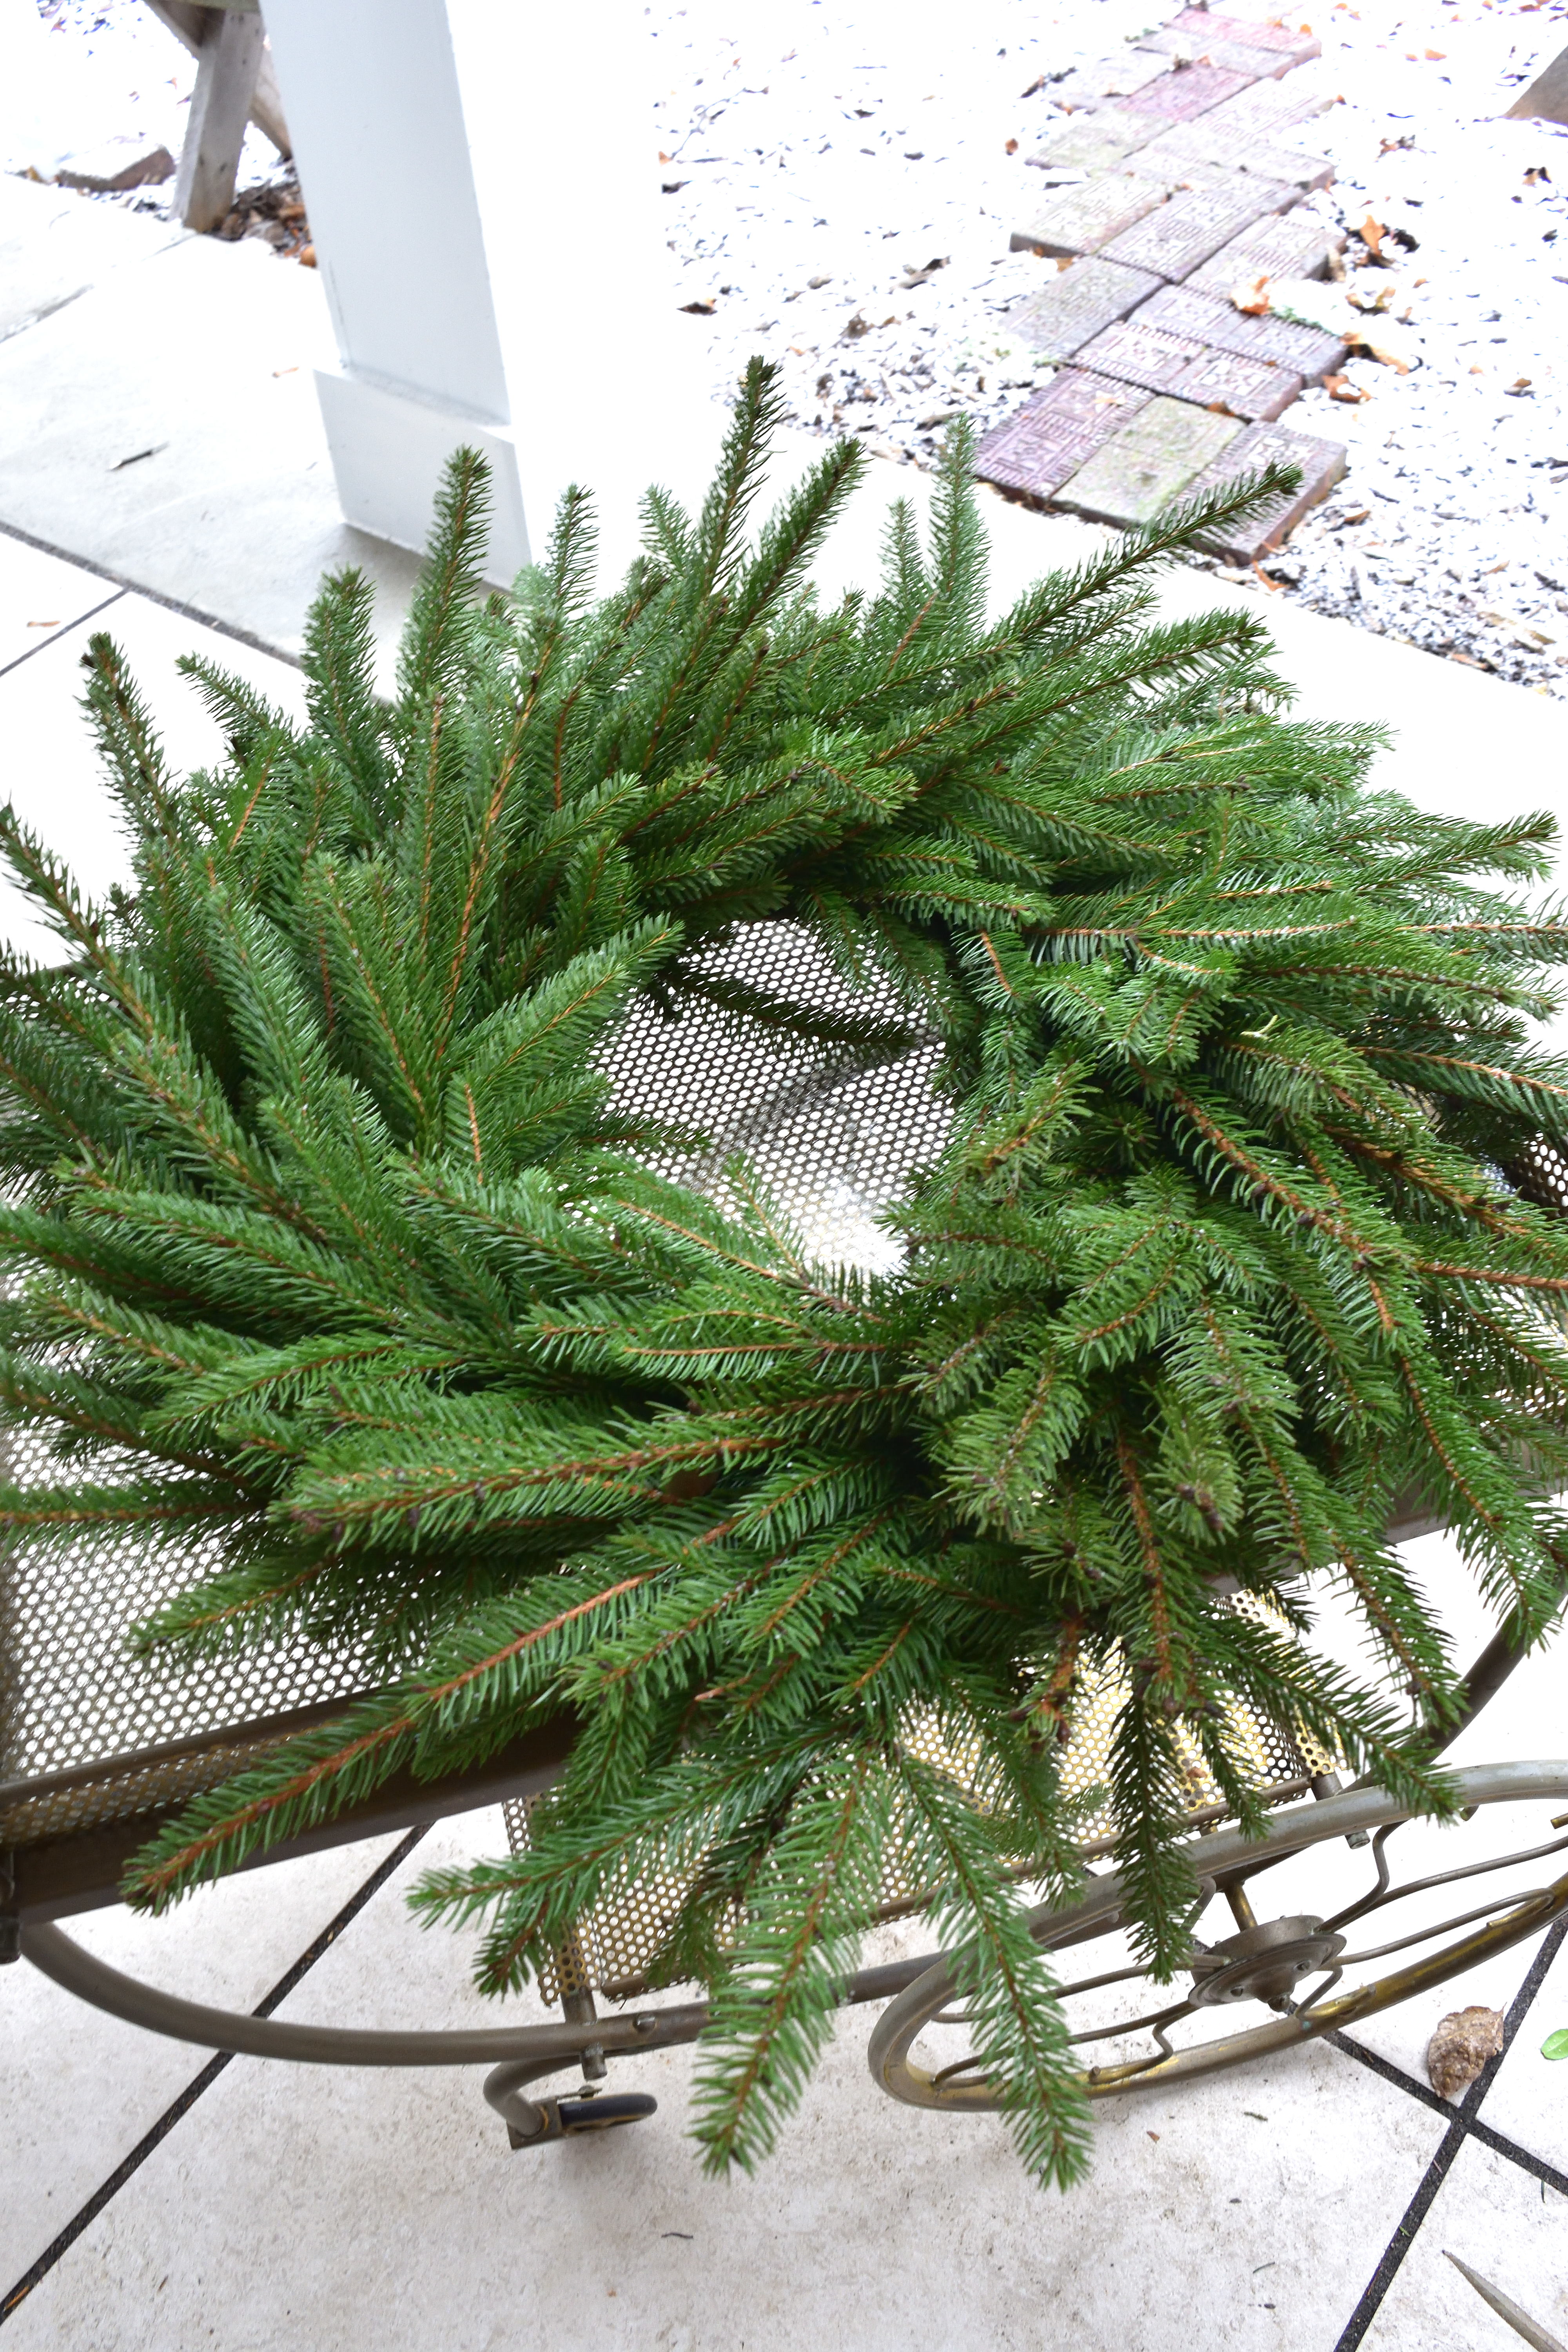
i love the bright color of this simple fir and thought it would be a fabulous base…
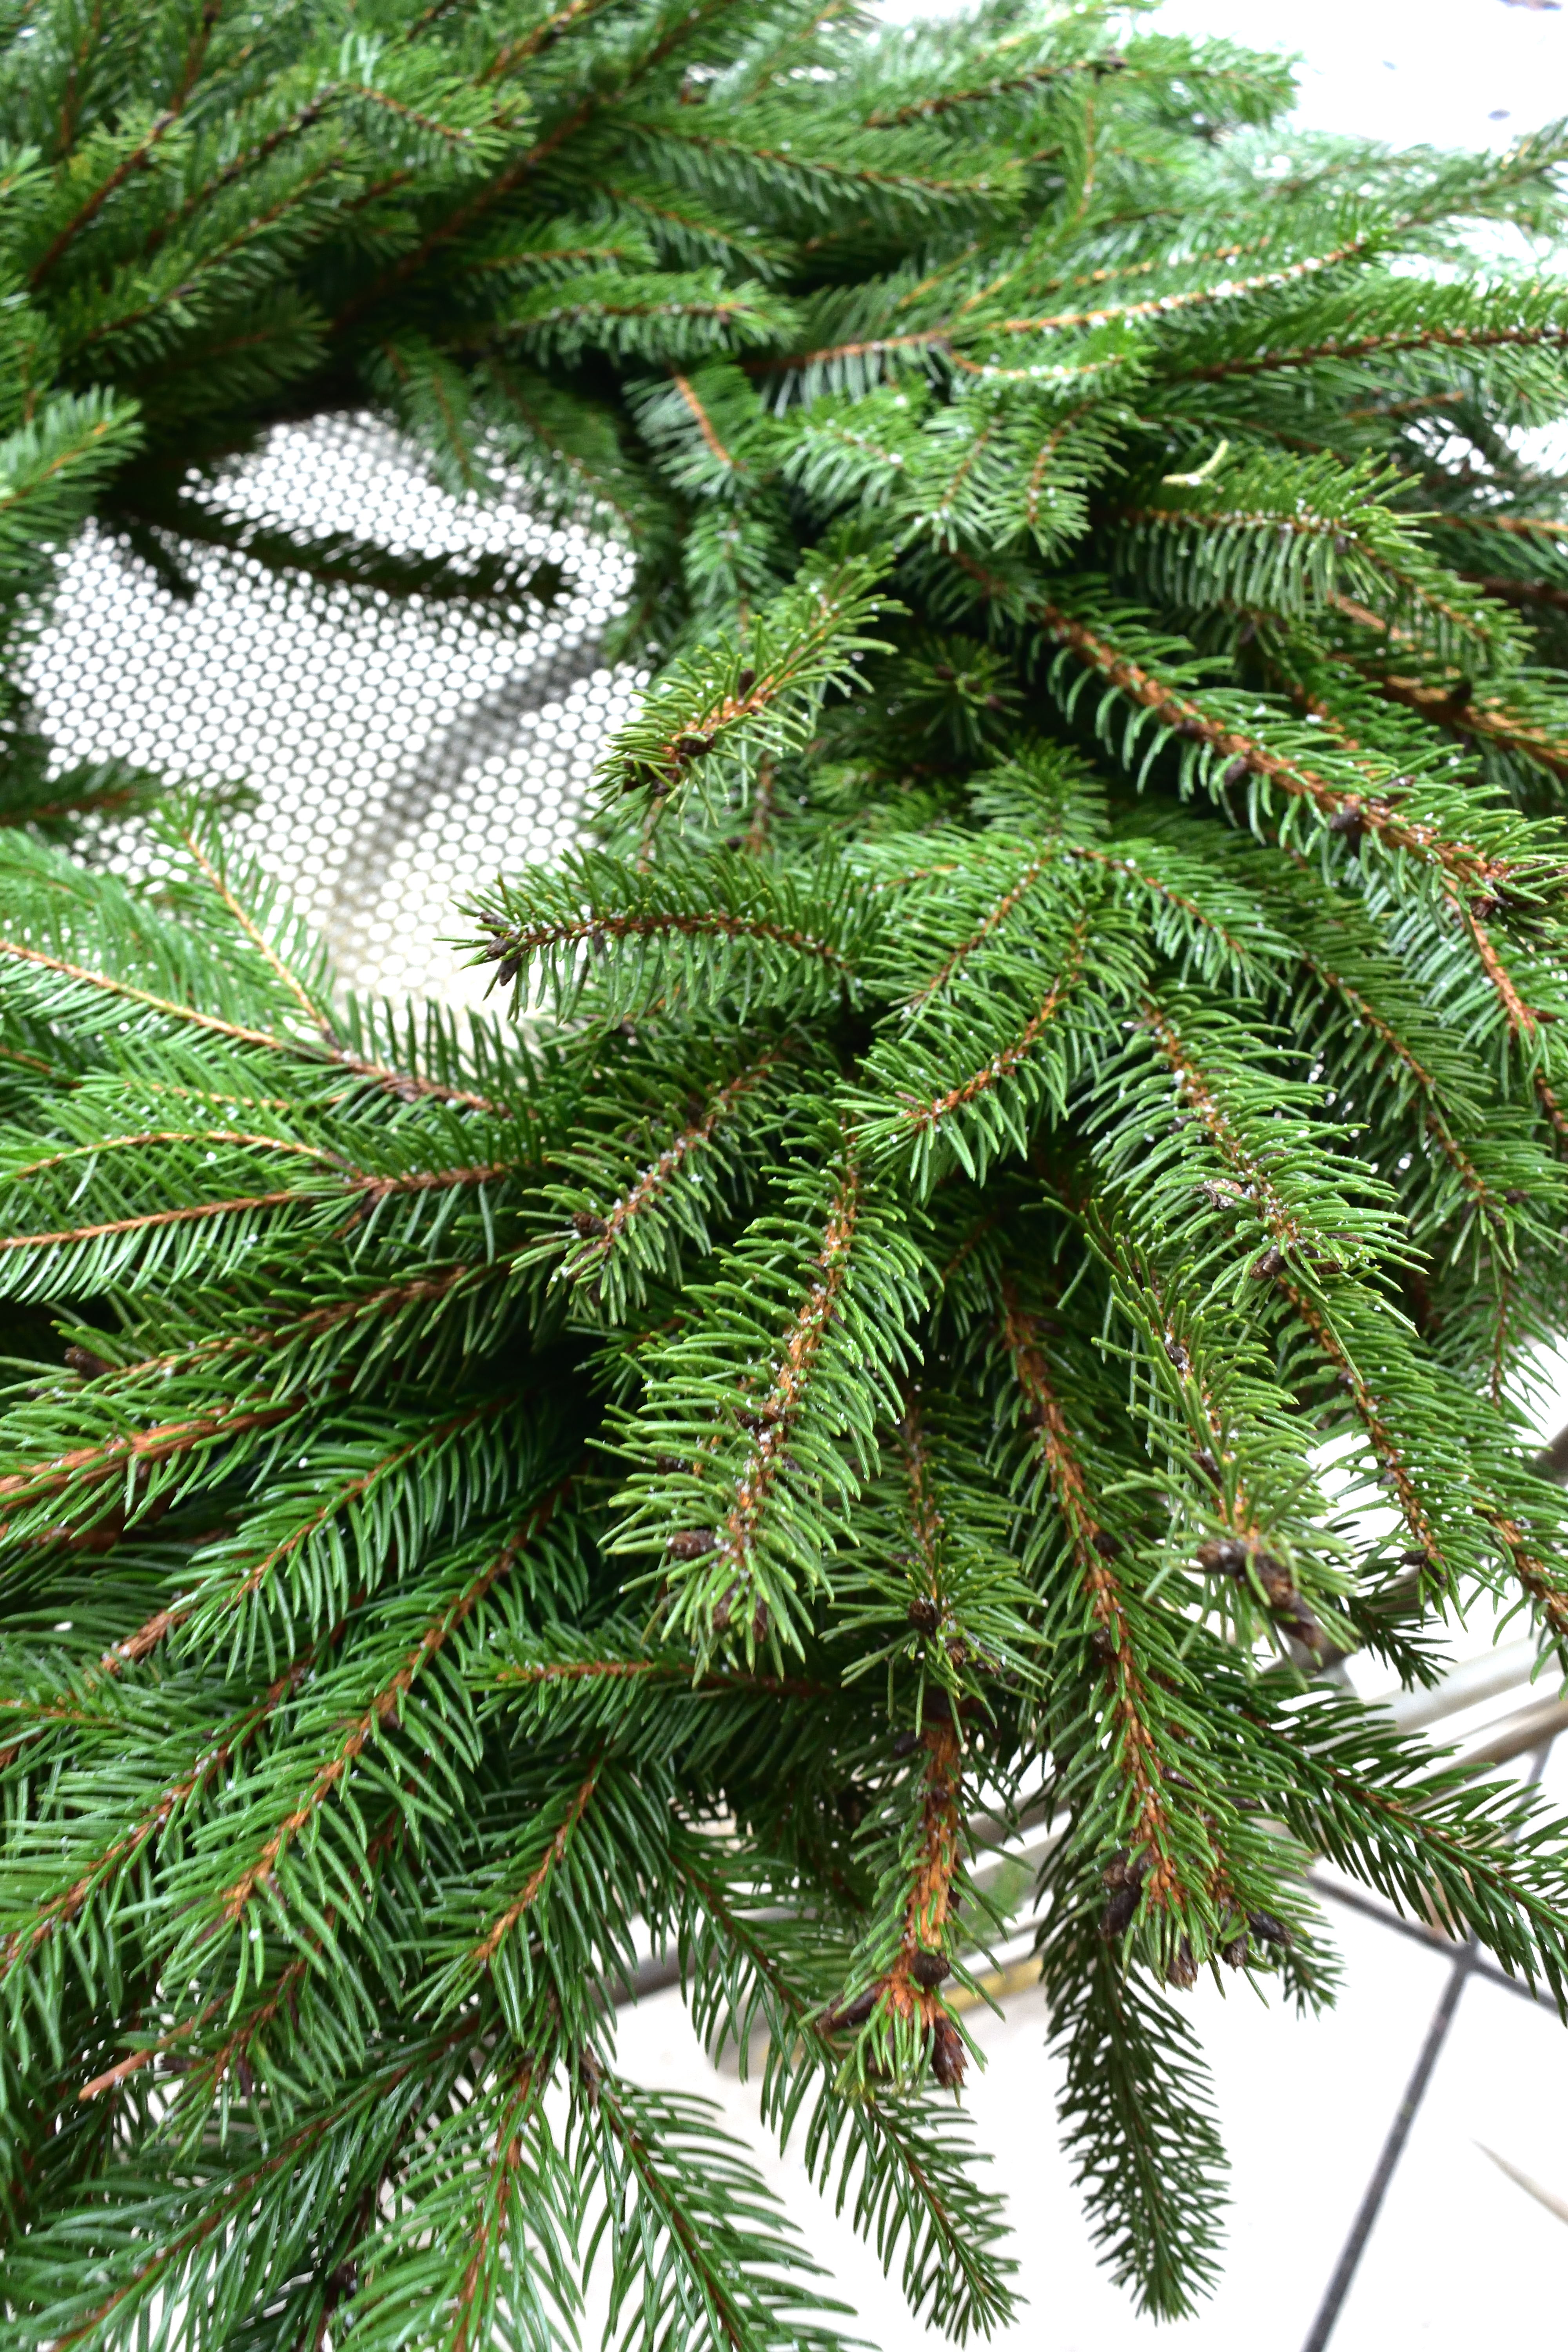
let’s decorate!
i used two different wires for this wreath: a coated, 18 gauge wire and a more pliable 20 gauge wire…
the lower the number of the gauge, the stronger it is. i used heavy, coated wire to create a hanger for my wreath. flip the wreath over and twist a section to make a loop…
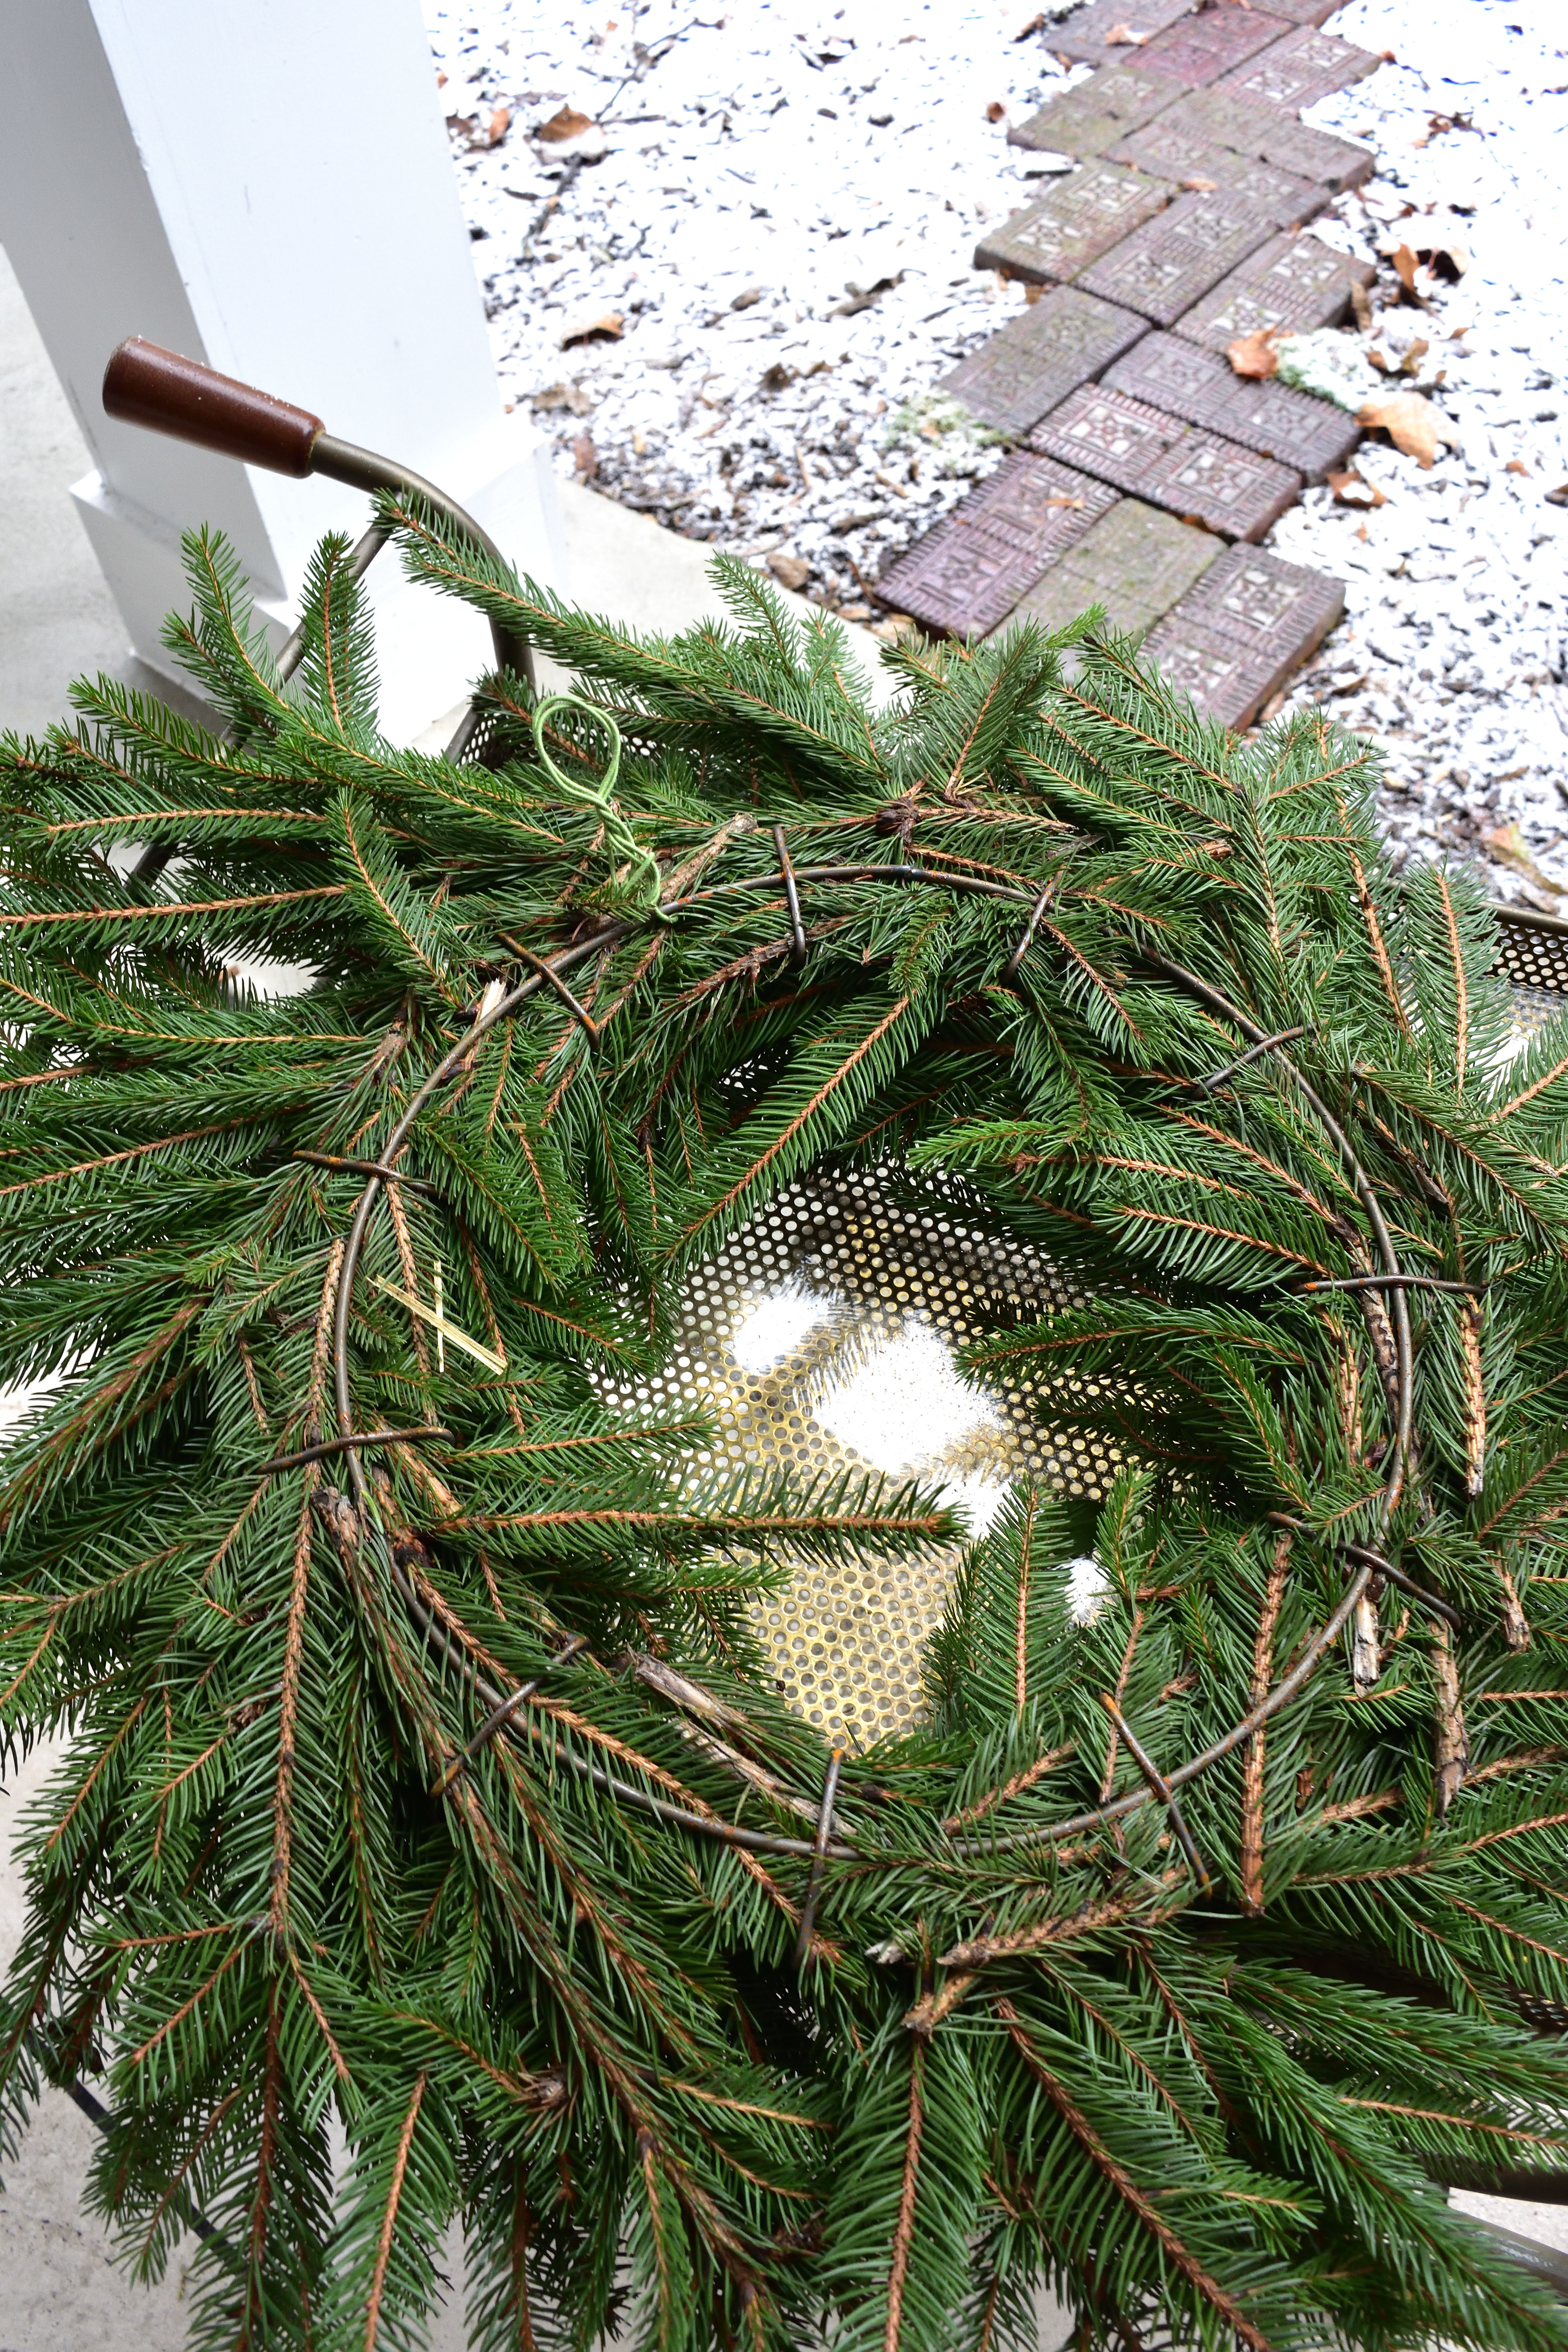
i worked outside (despite the cold) because it can be messy snipping apart the boughs. find a workspace and begin making mini “bundles” with a mix of greens. use the lighter wire to hold them together…
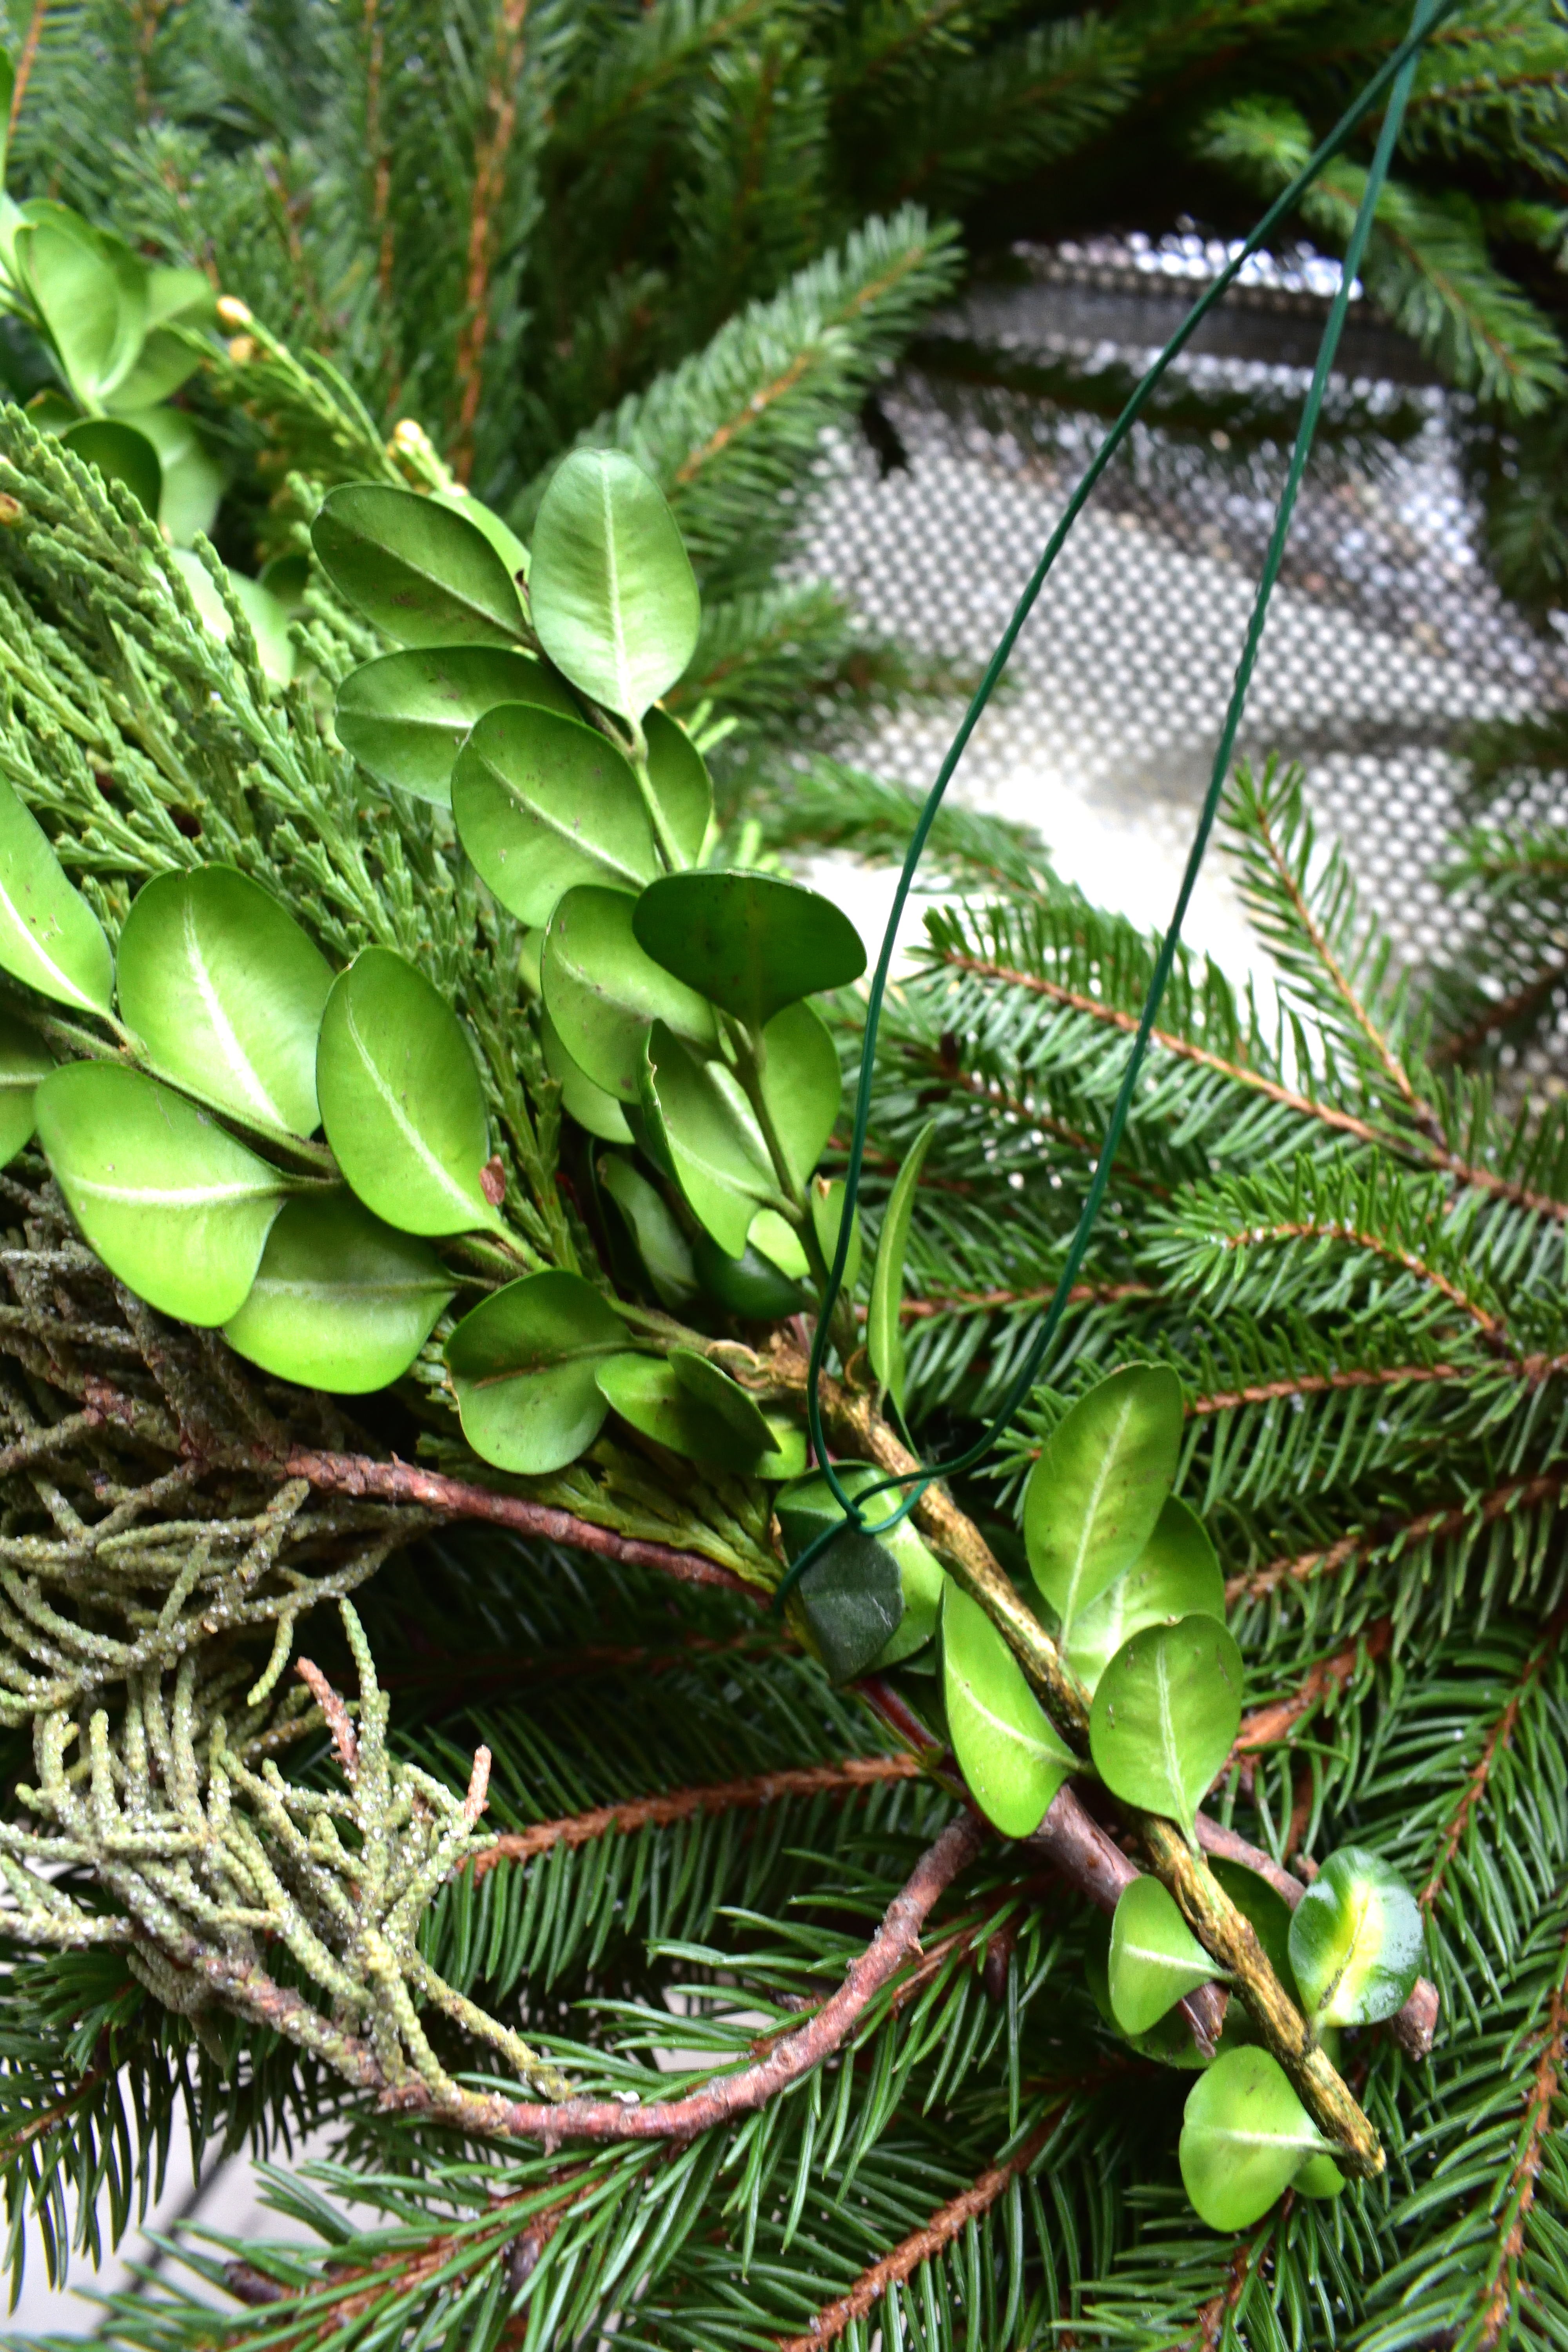
then tuck the bundle in the wreath, pull the wire around to the back and secure it tightly to the form by twisting it.
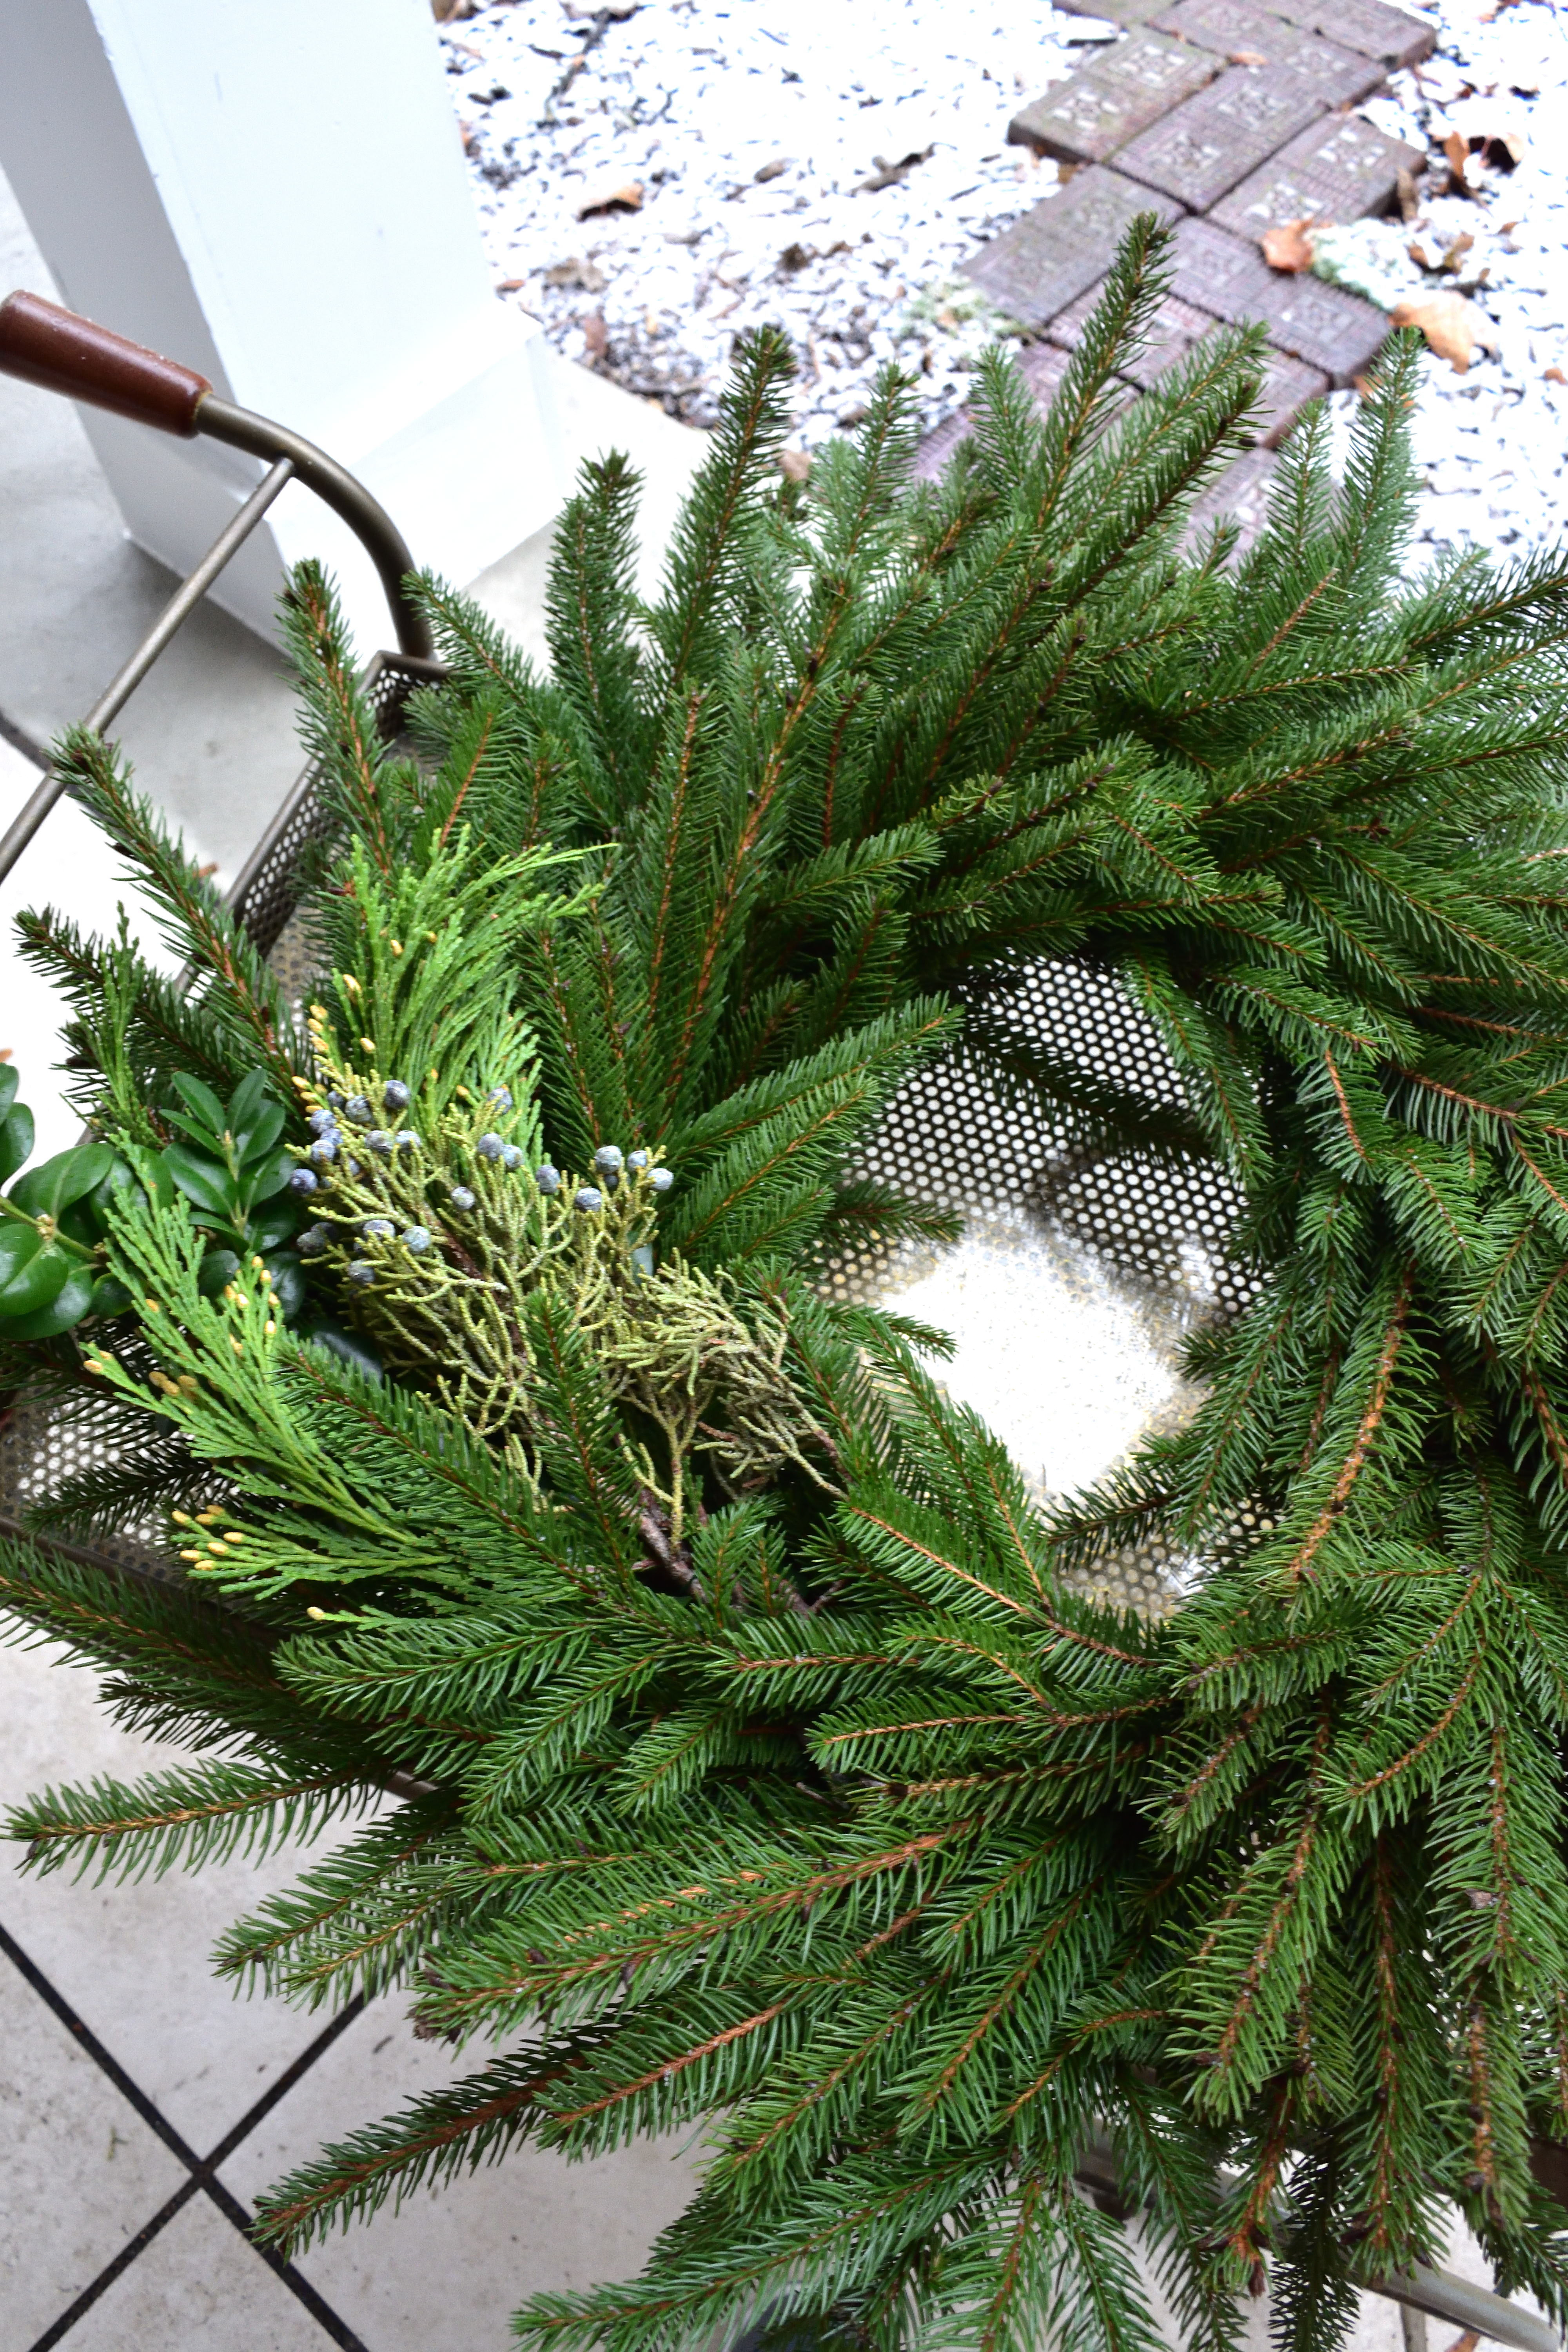
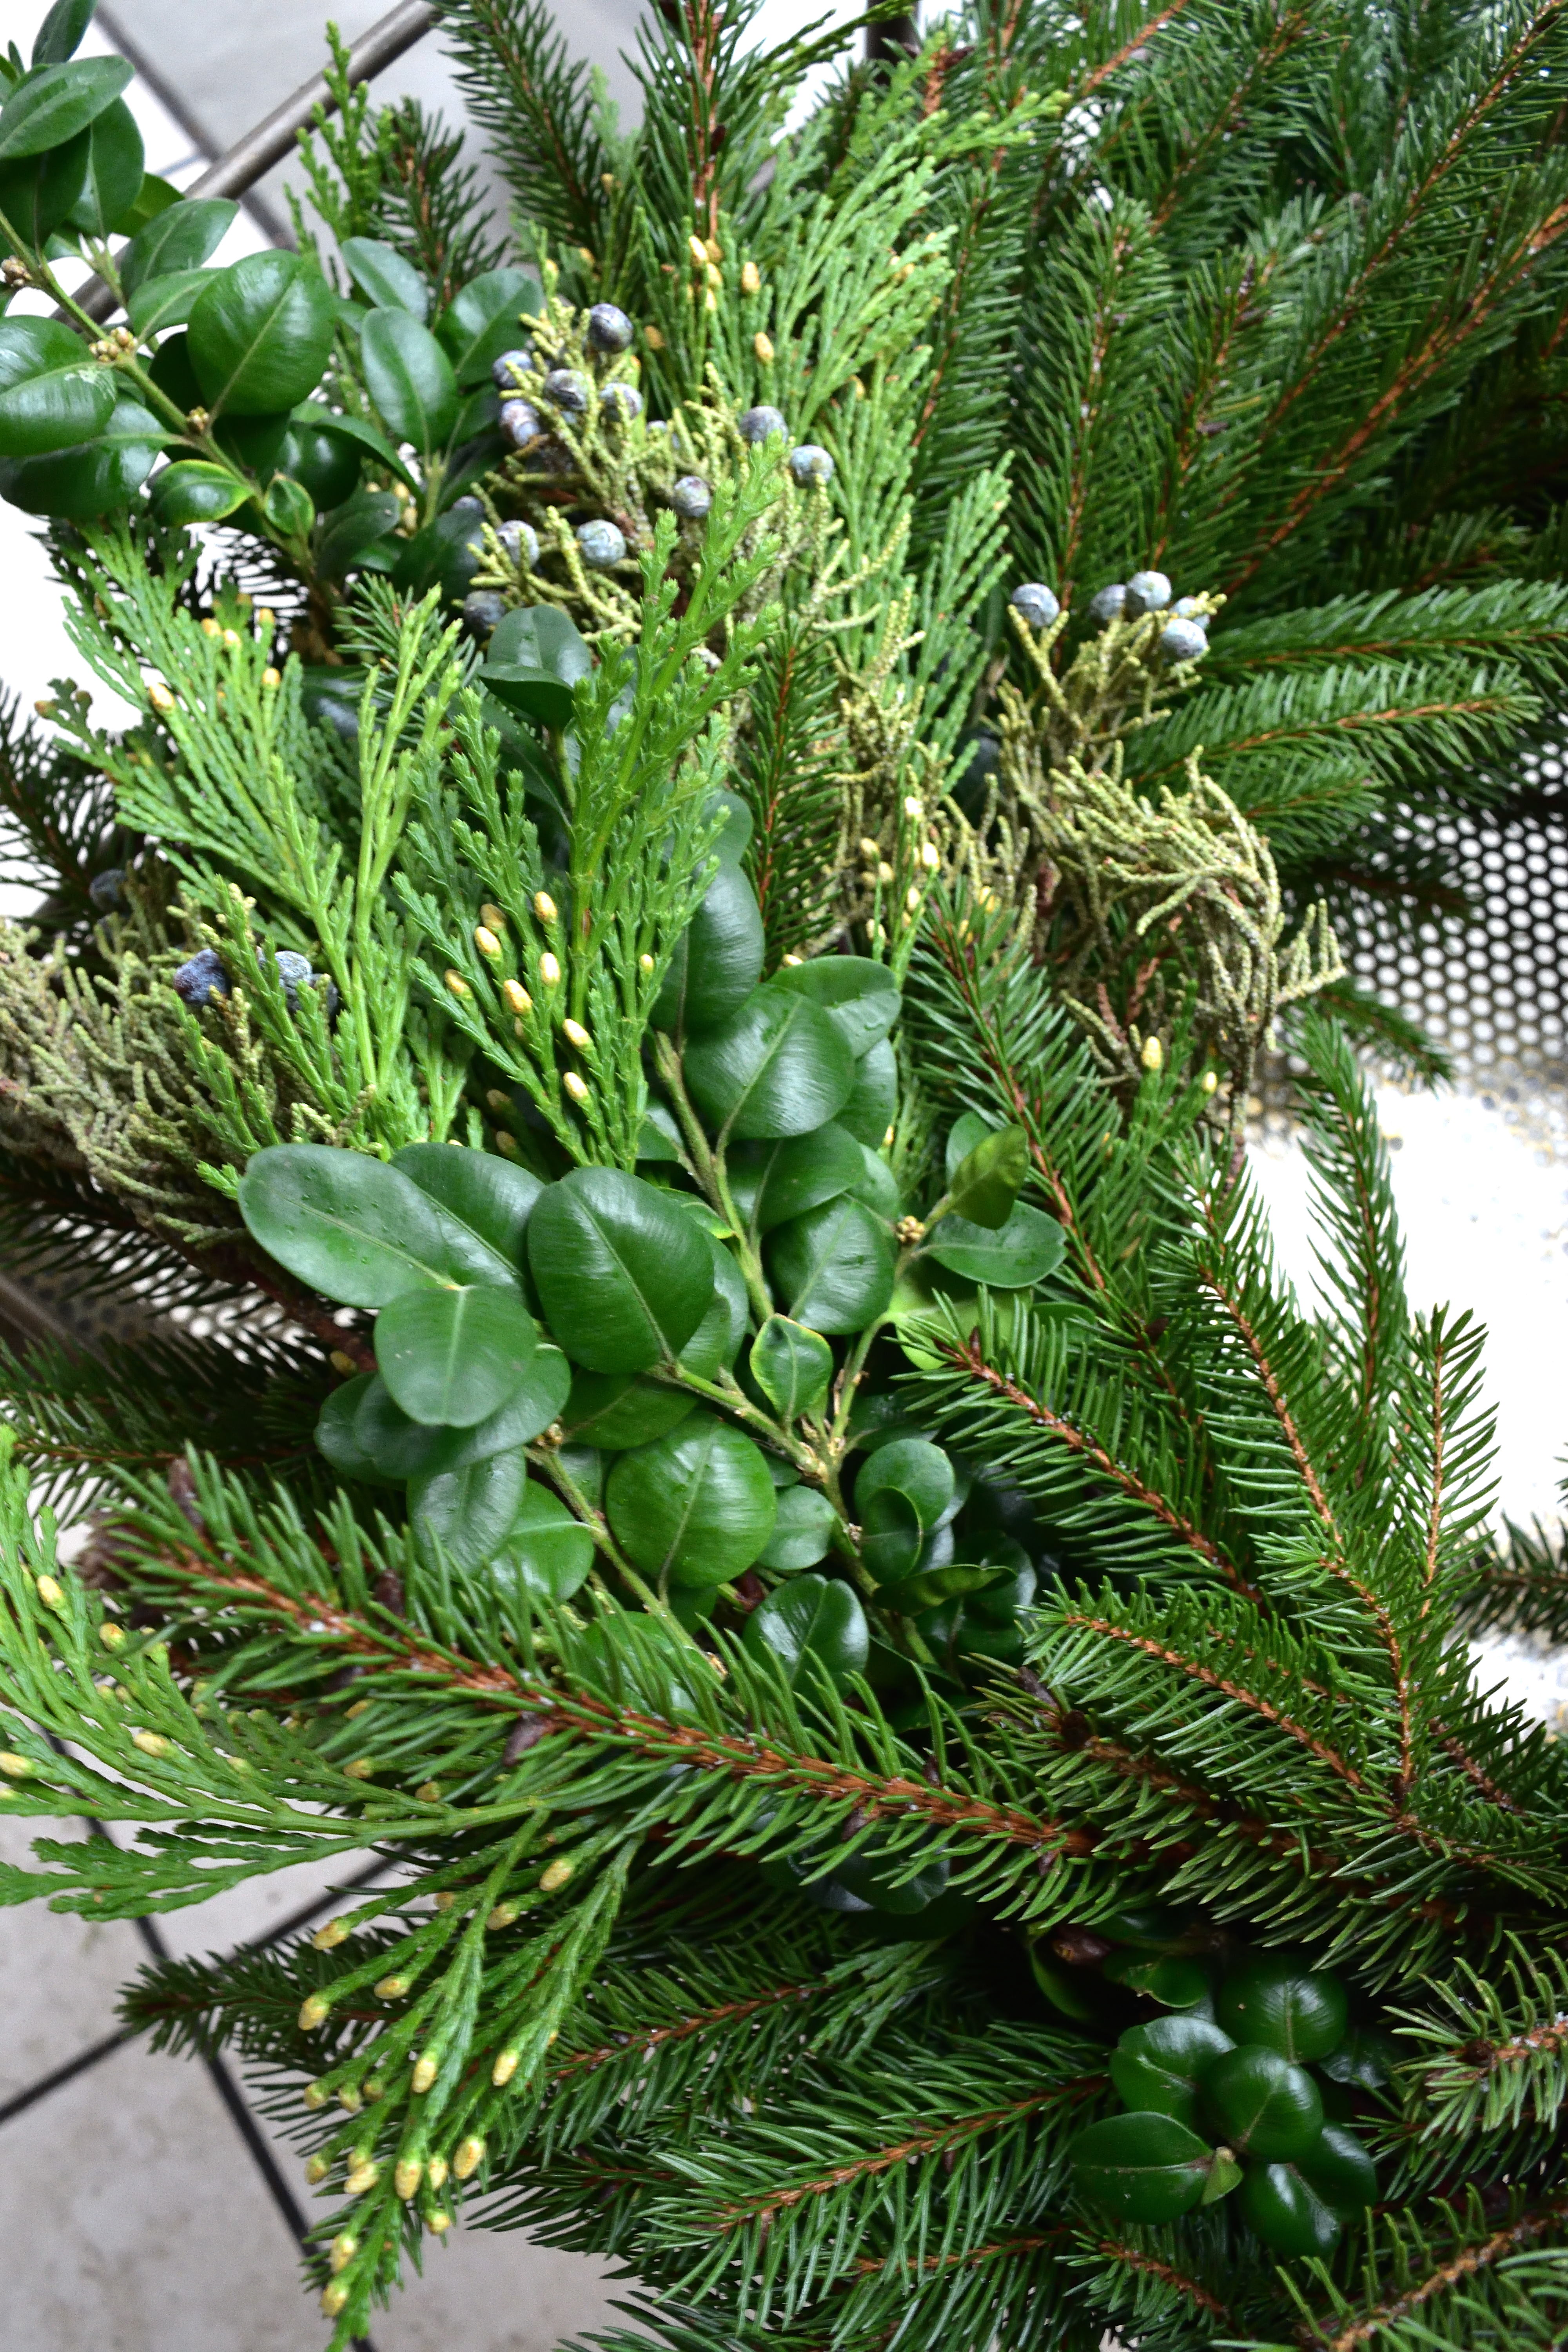
repeat with as many bundles as you want to use, layering the top of the next bunch over the stems of the last…
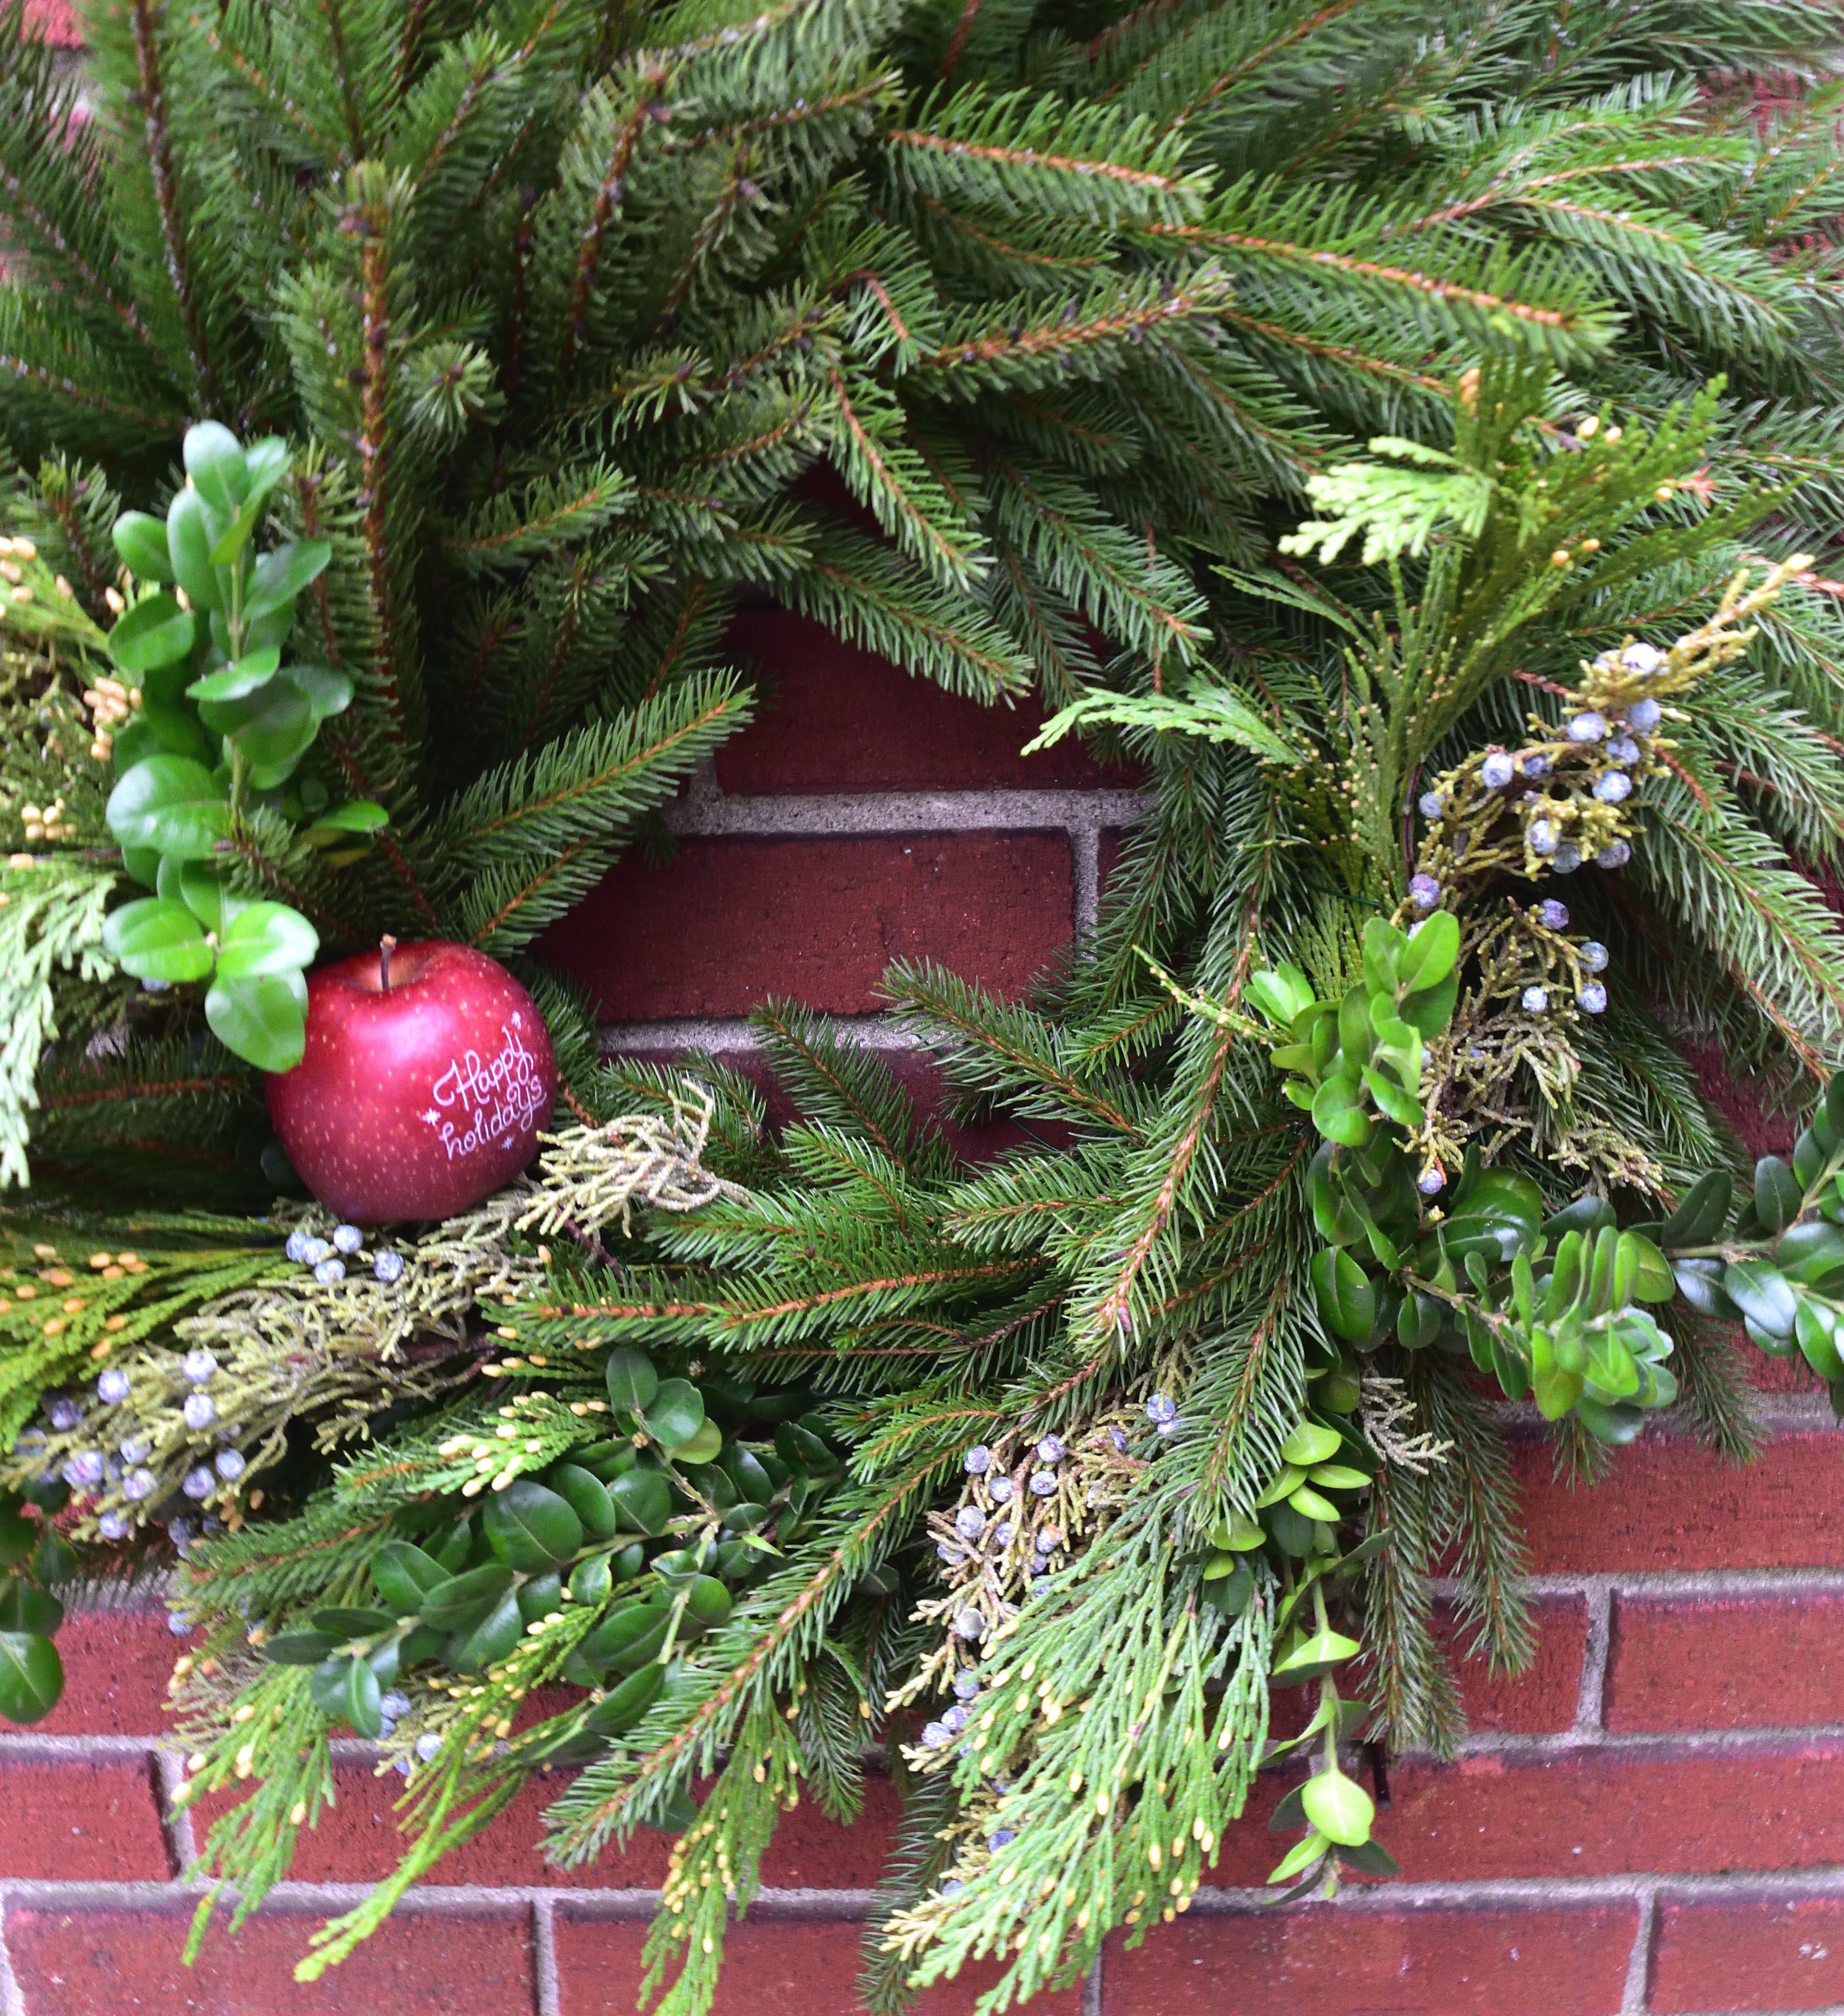
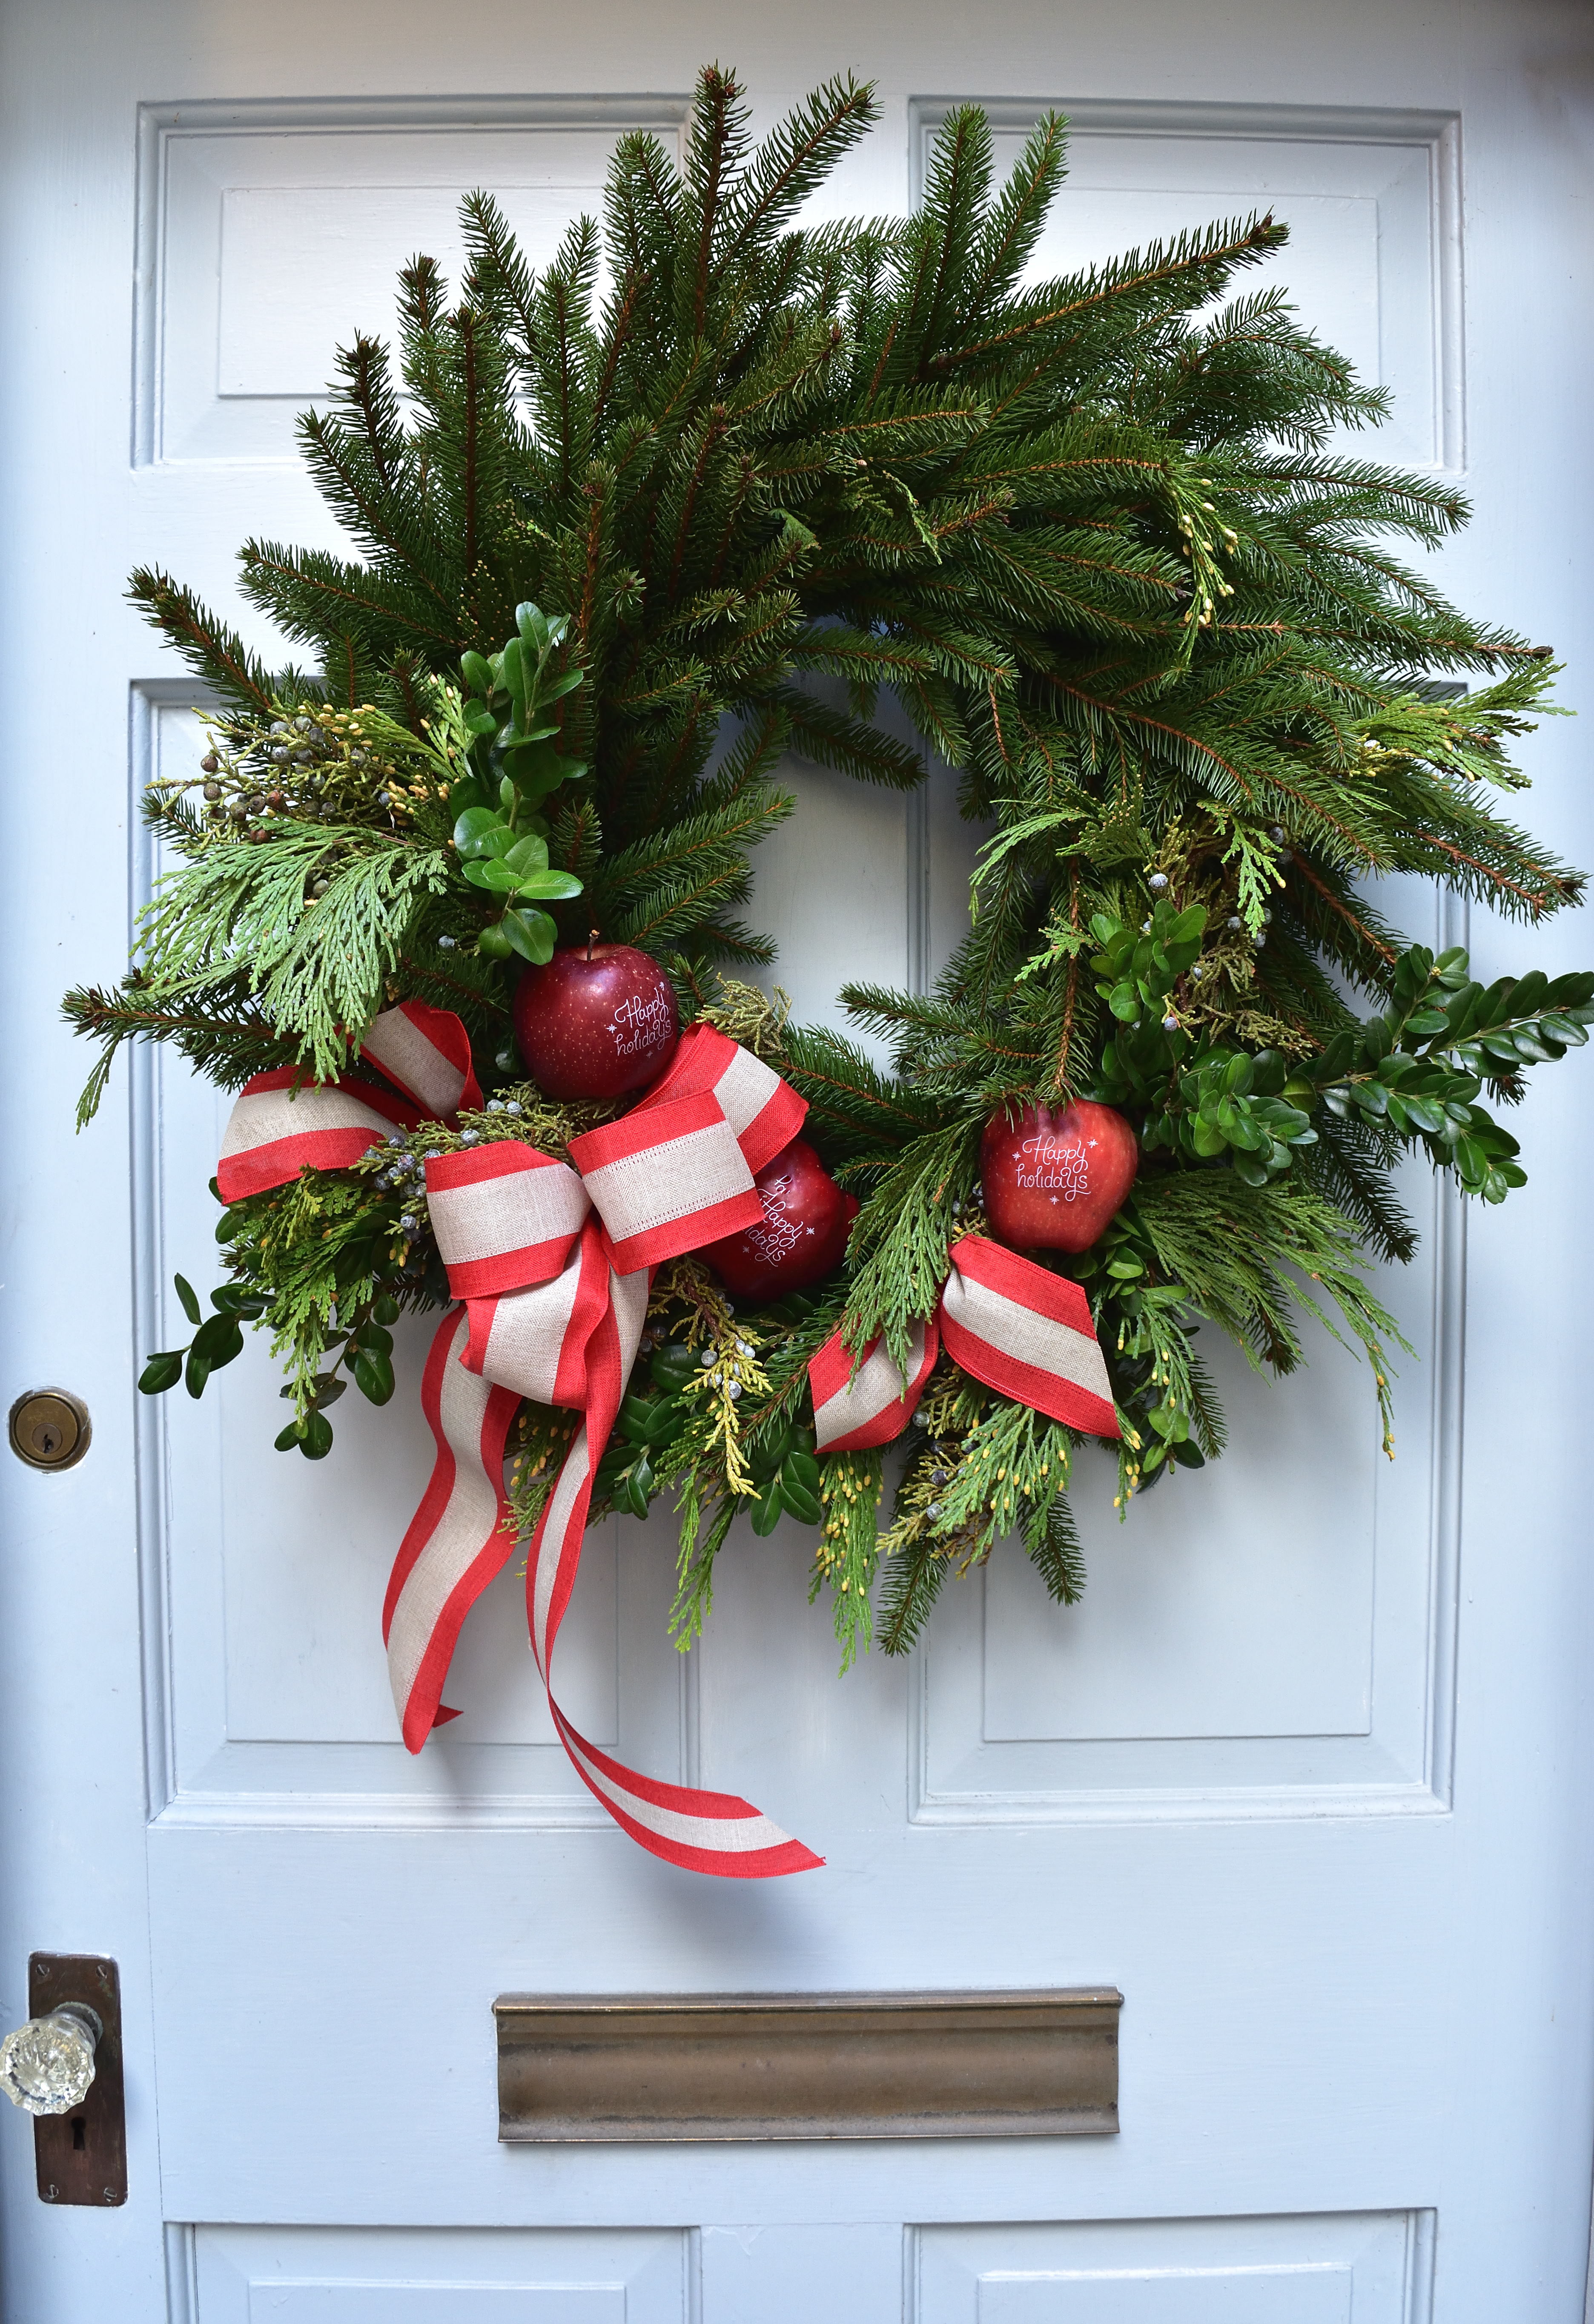
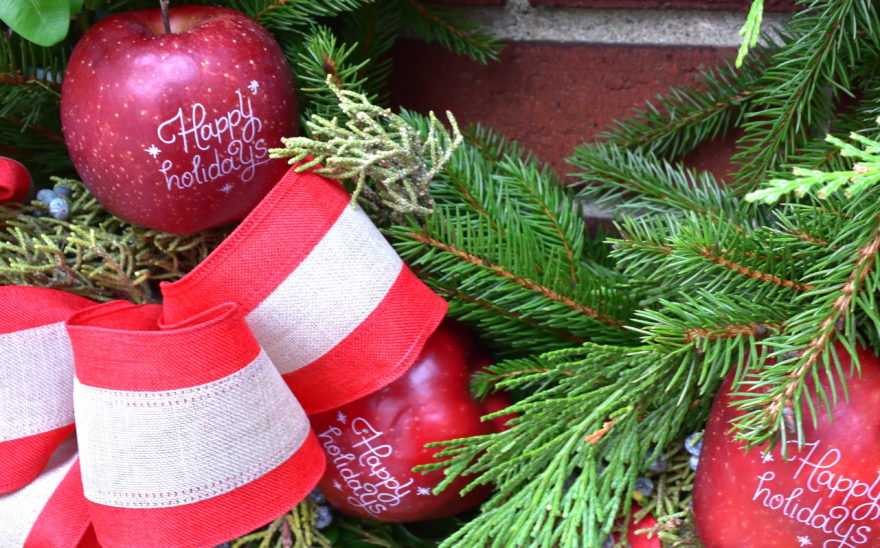
i wanted to include apples so i hung the wreath before adding them to be sure they’re positioned correctly when hanging. the Fun to Eat Fruit creations coordinate with my table decorations…
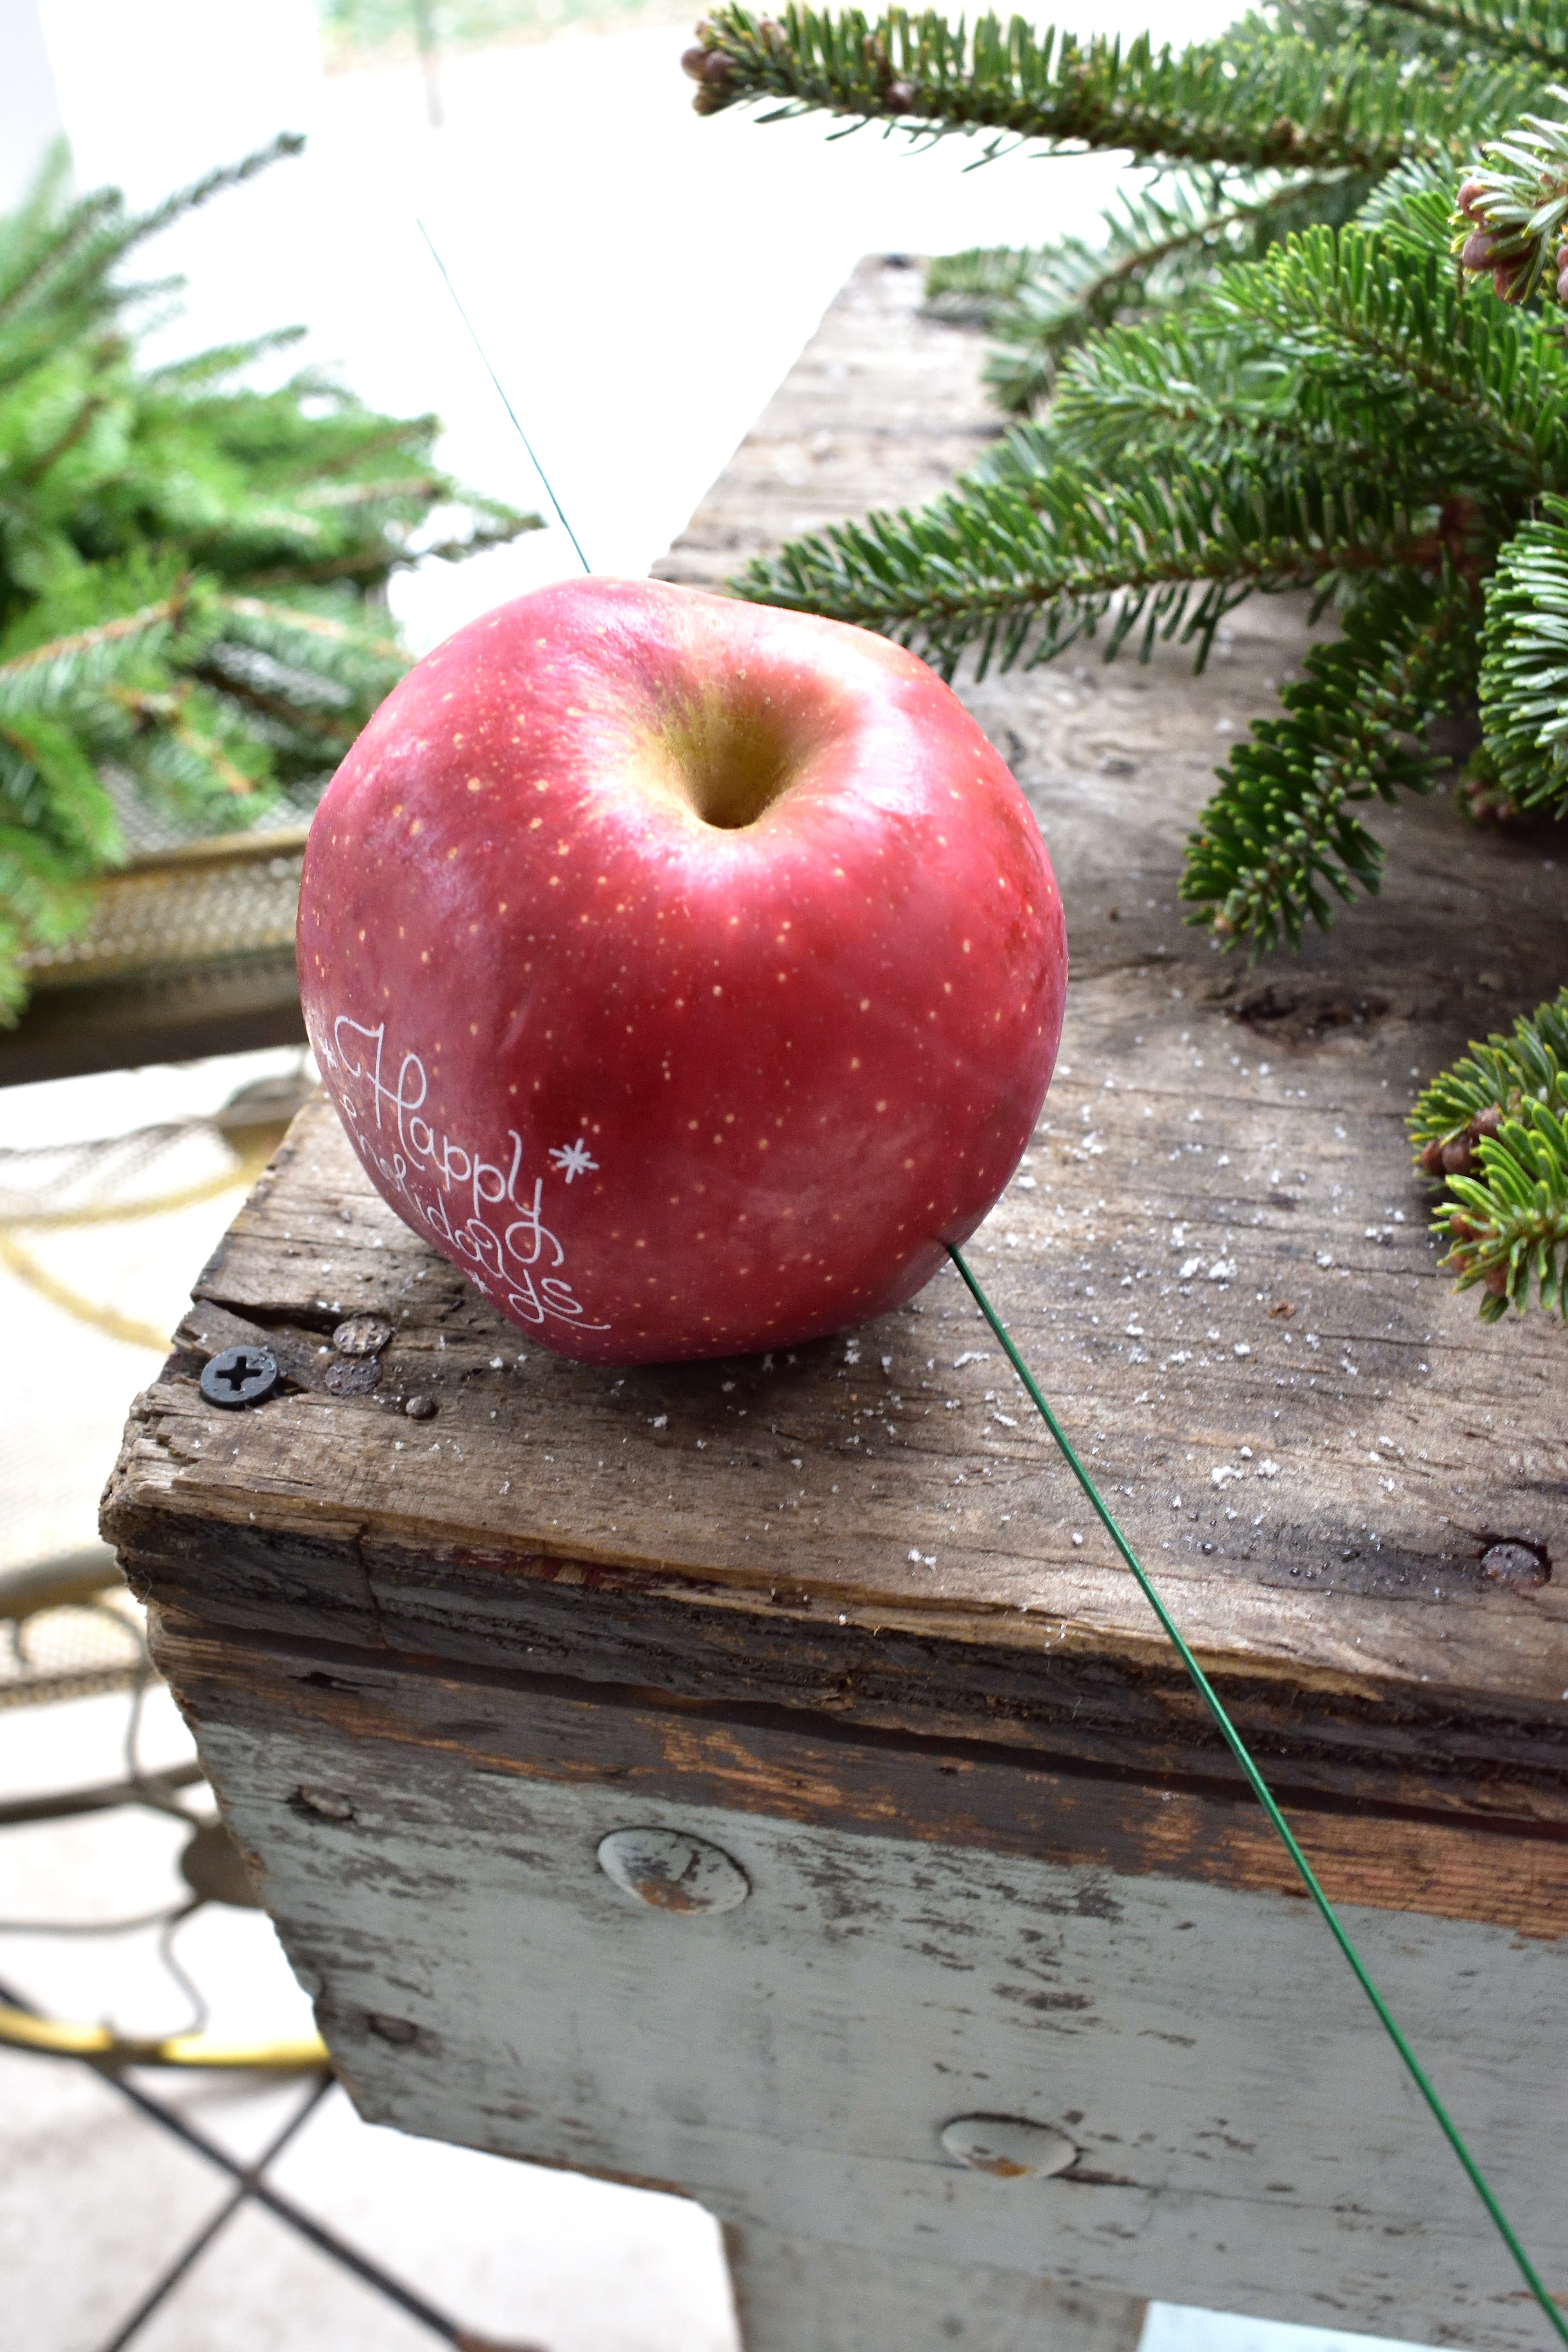
if you include fruit, pierce it with the medium gauge wire so you can twist it around the wreath to make sure it’s secure…
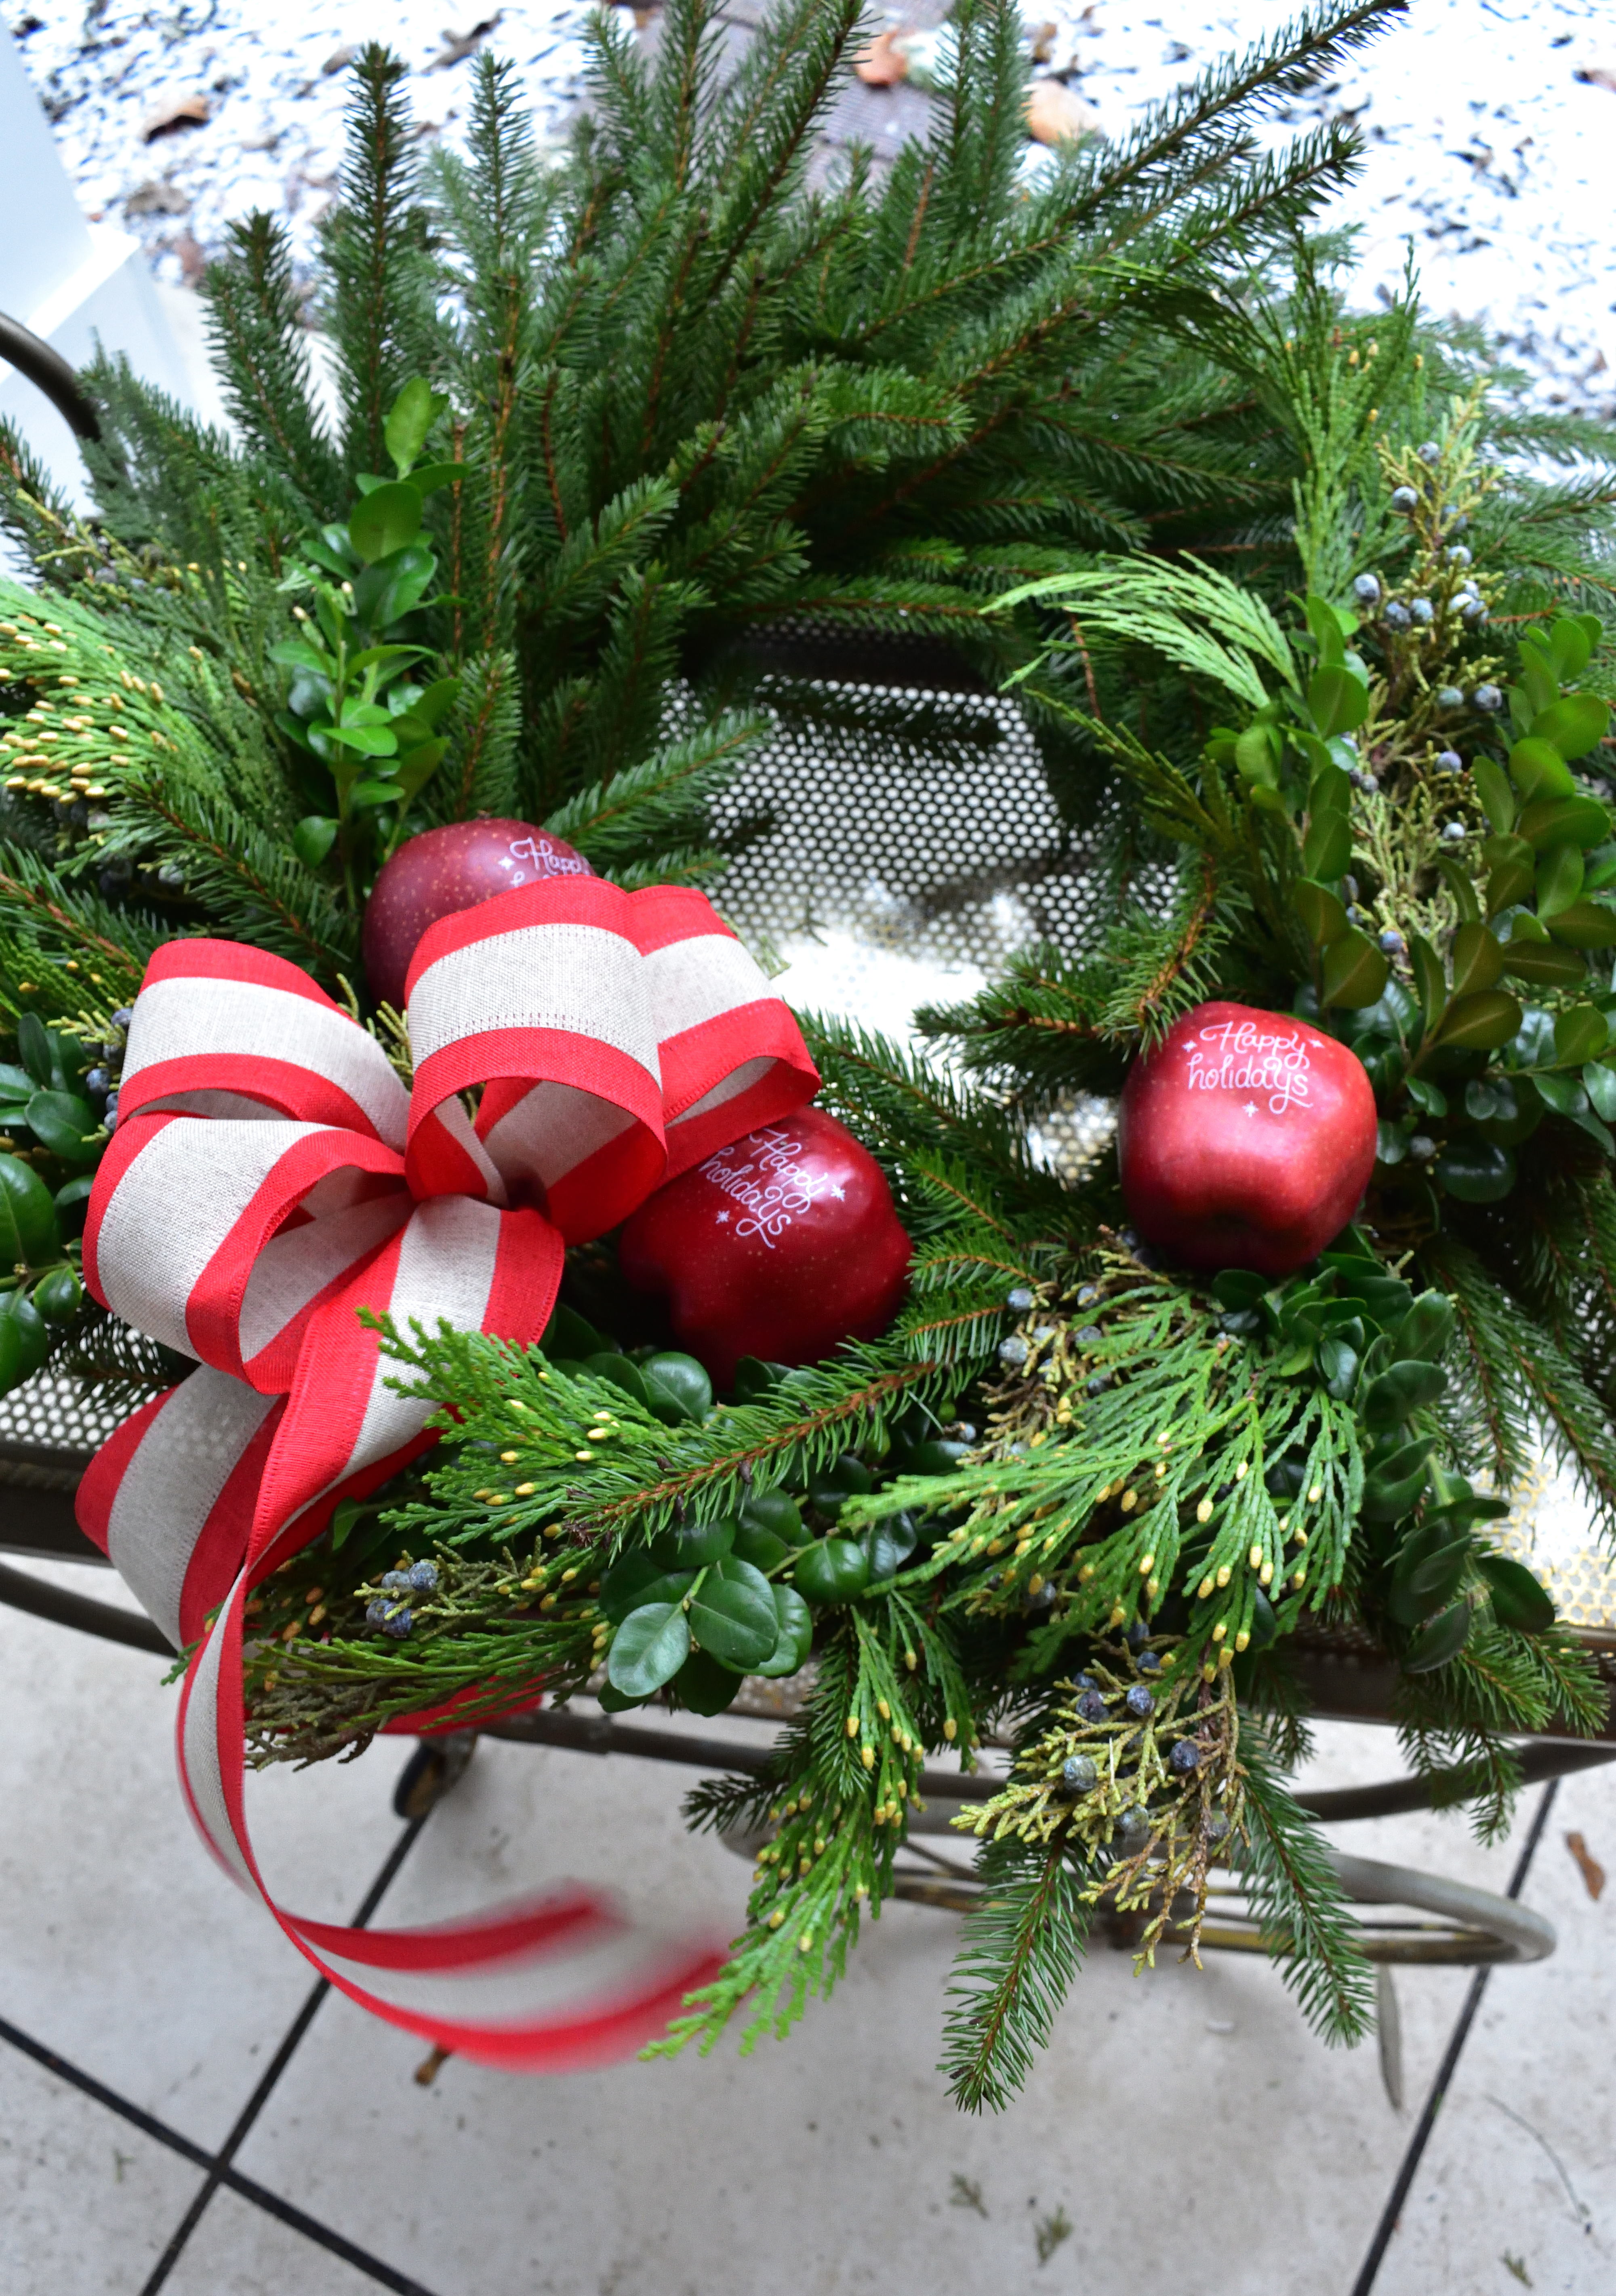
i attached a few apples and then laid the wreath down again to add the ribbons & bows…
it might seem like a lot of back and forth…but i hung it a second time to tweak the ribbons and make sure everything was hanging to my liking!
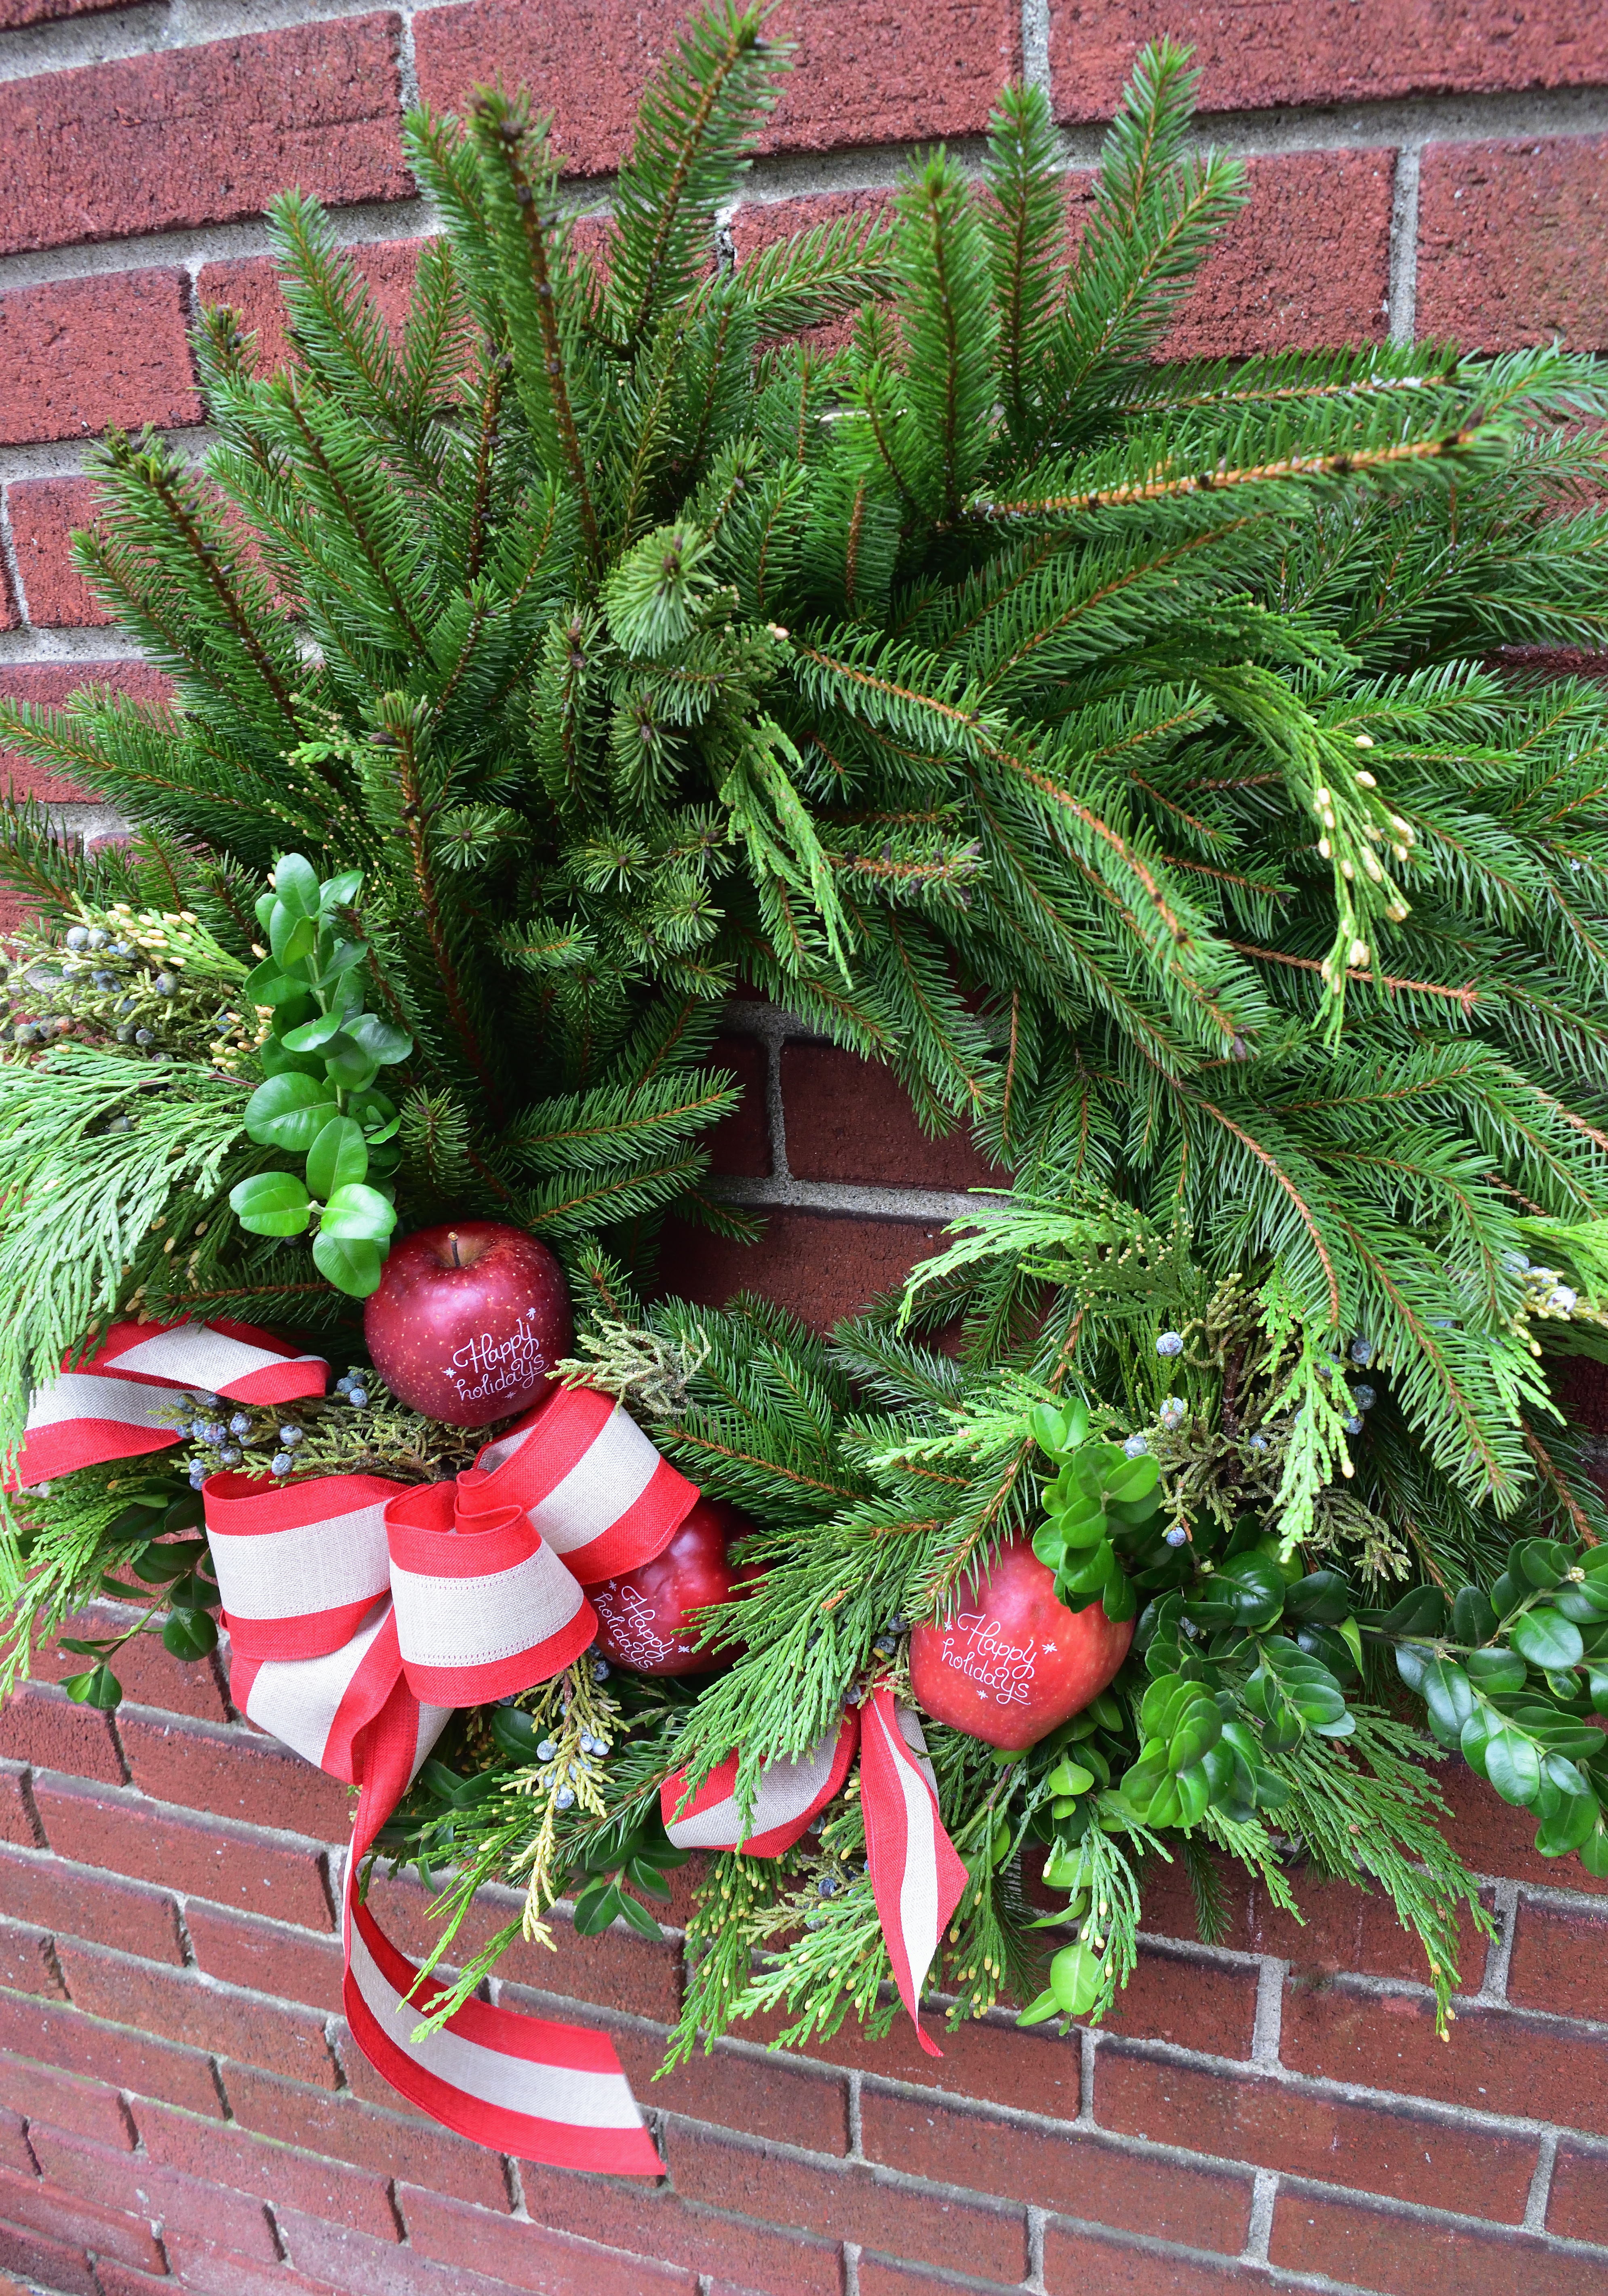
if any greens are hanging wonky, you can take a small piece of wire to hold them where you want
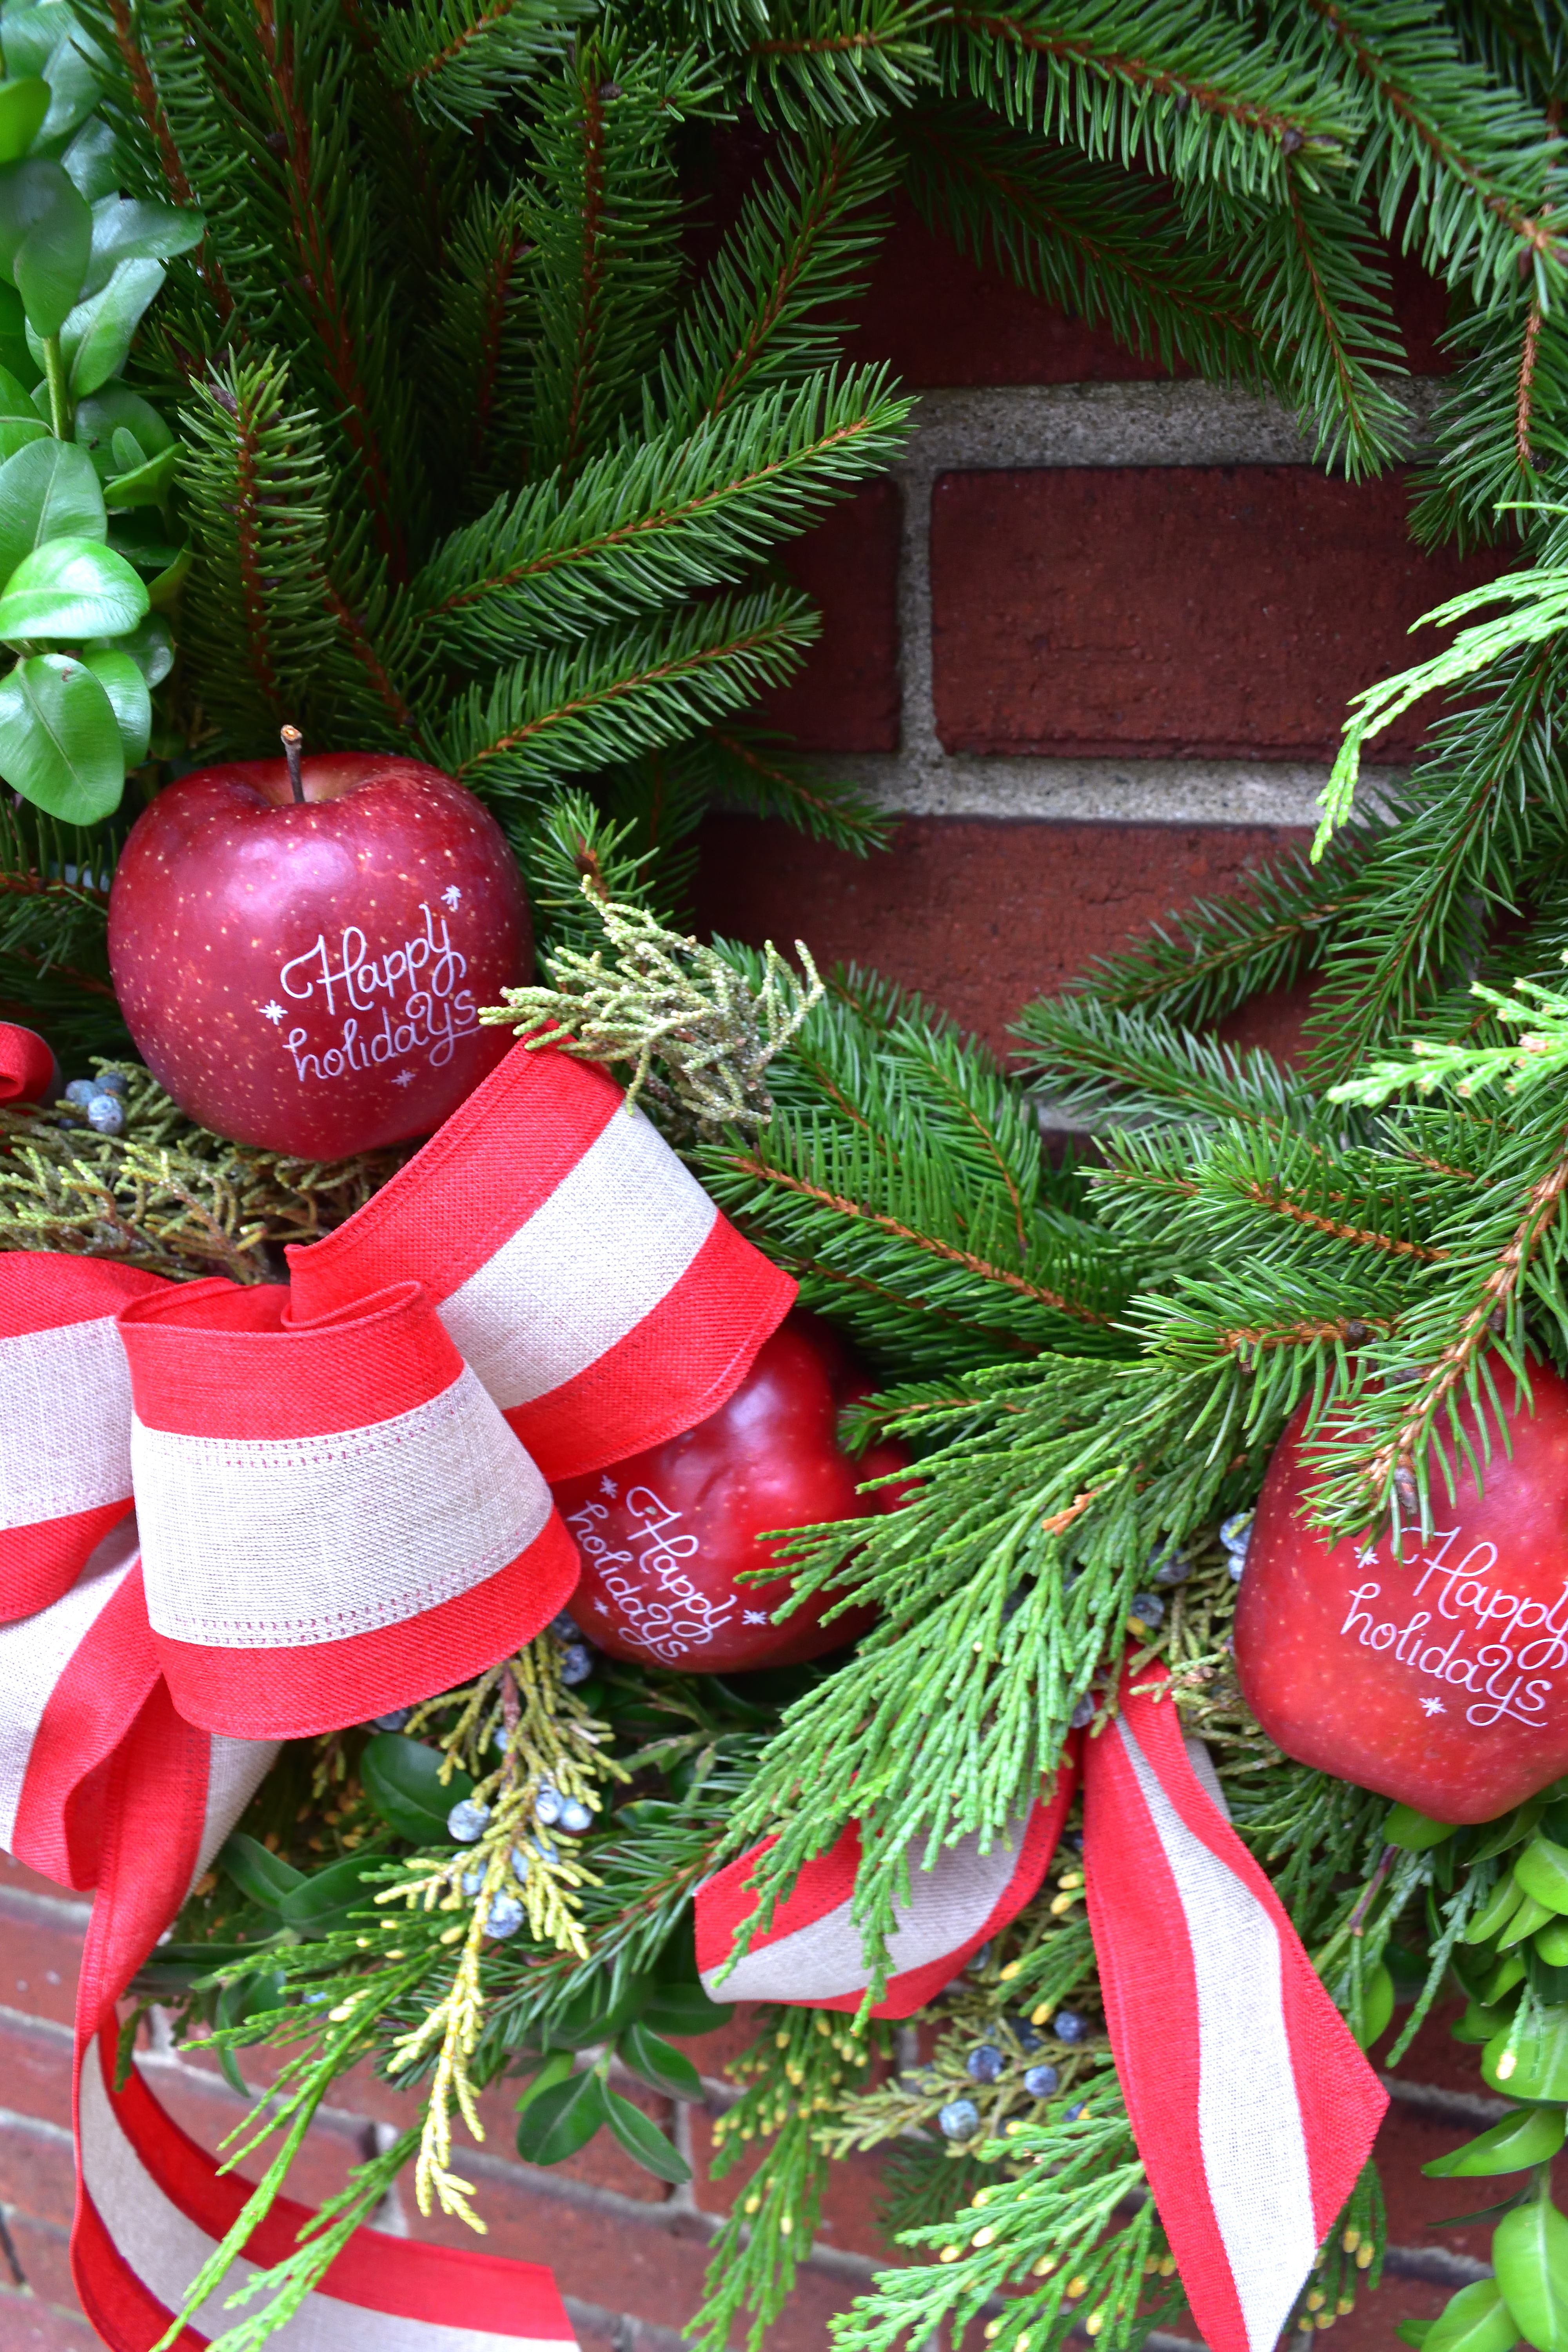
making sure your decorations show!
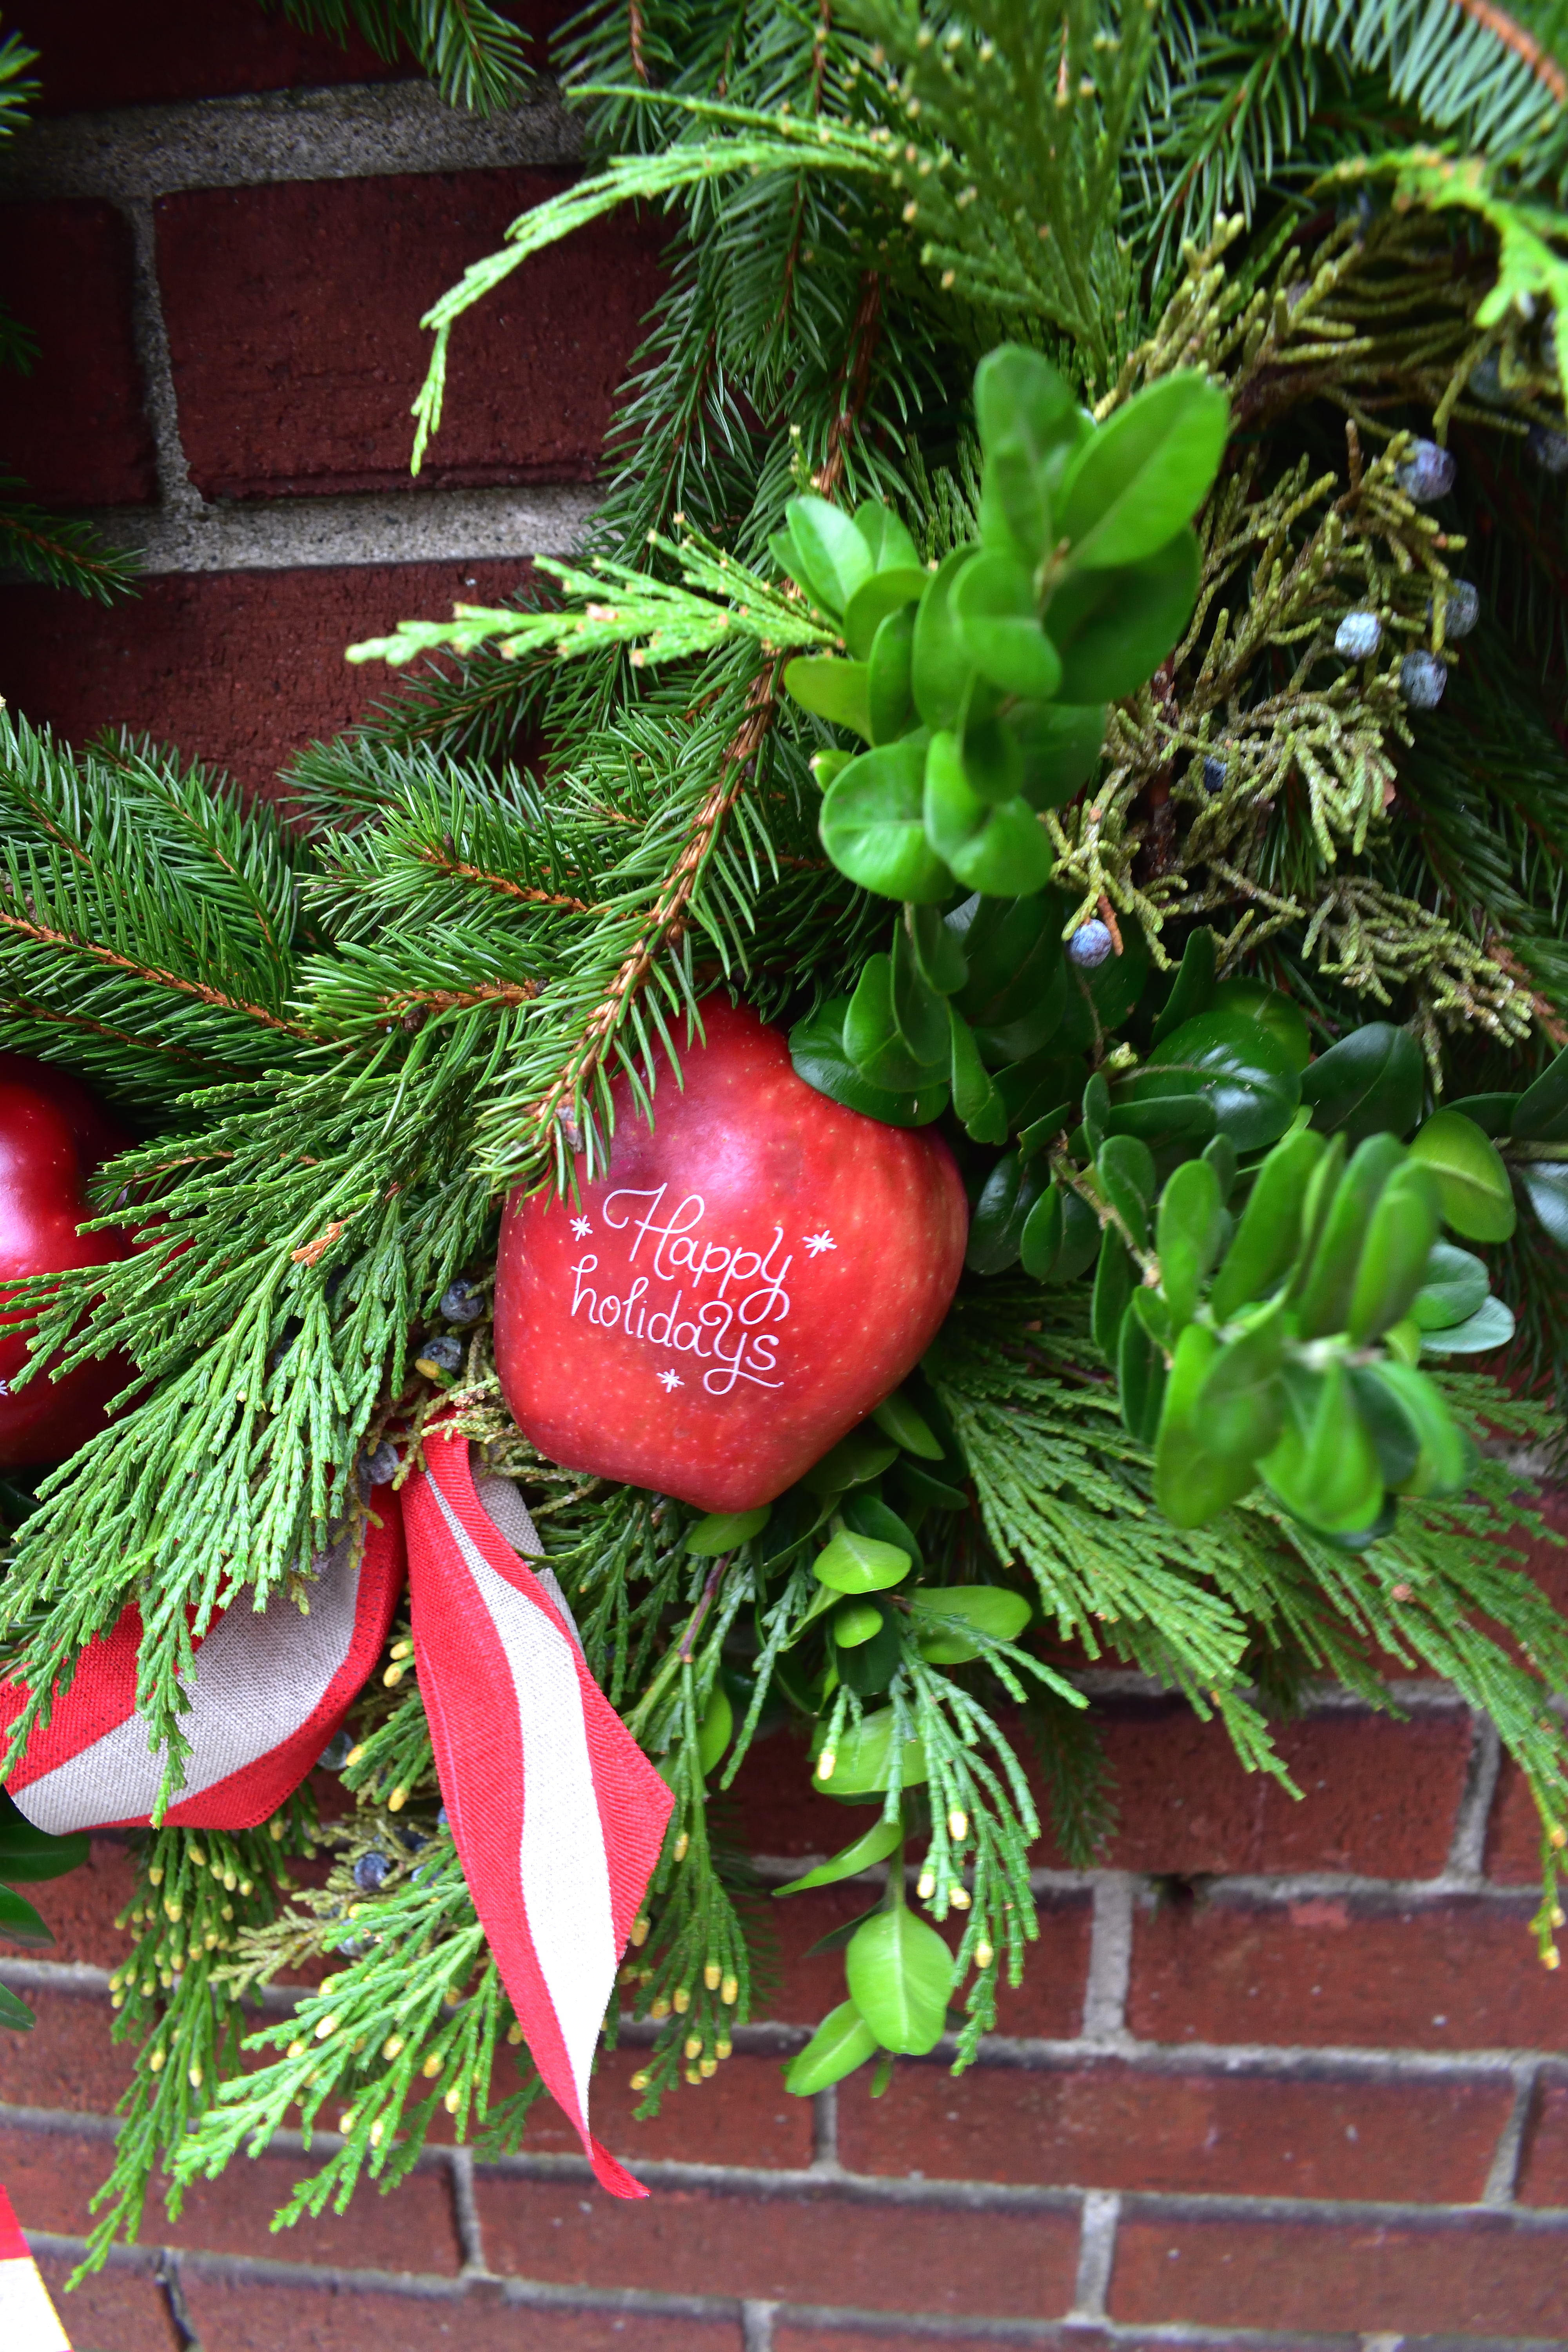
now to adorn the door! a festive welcome for our guests!
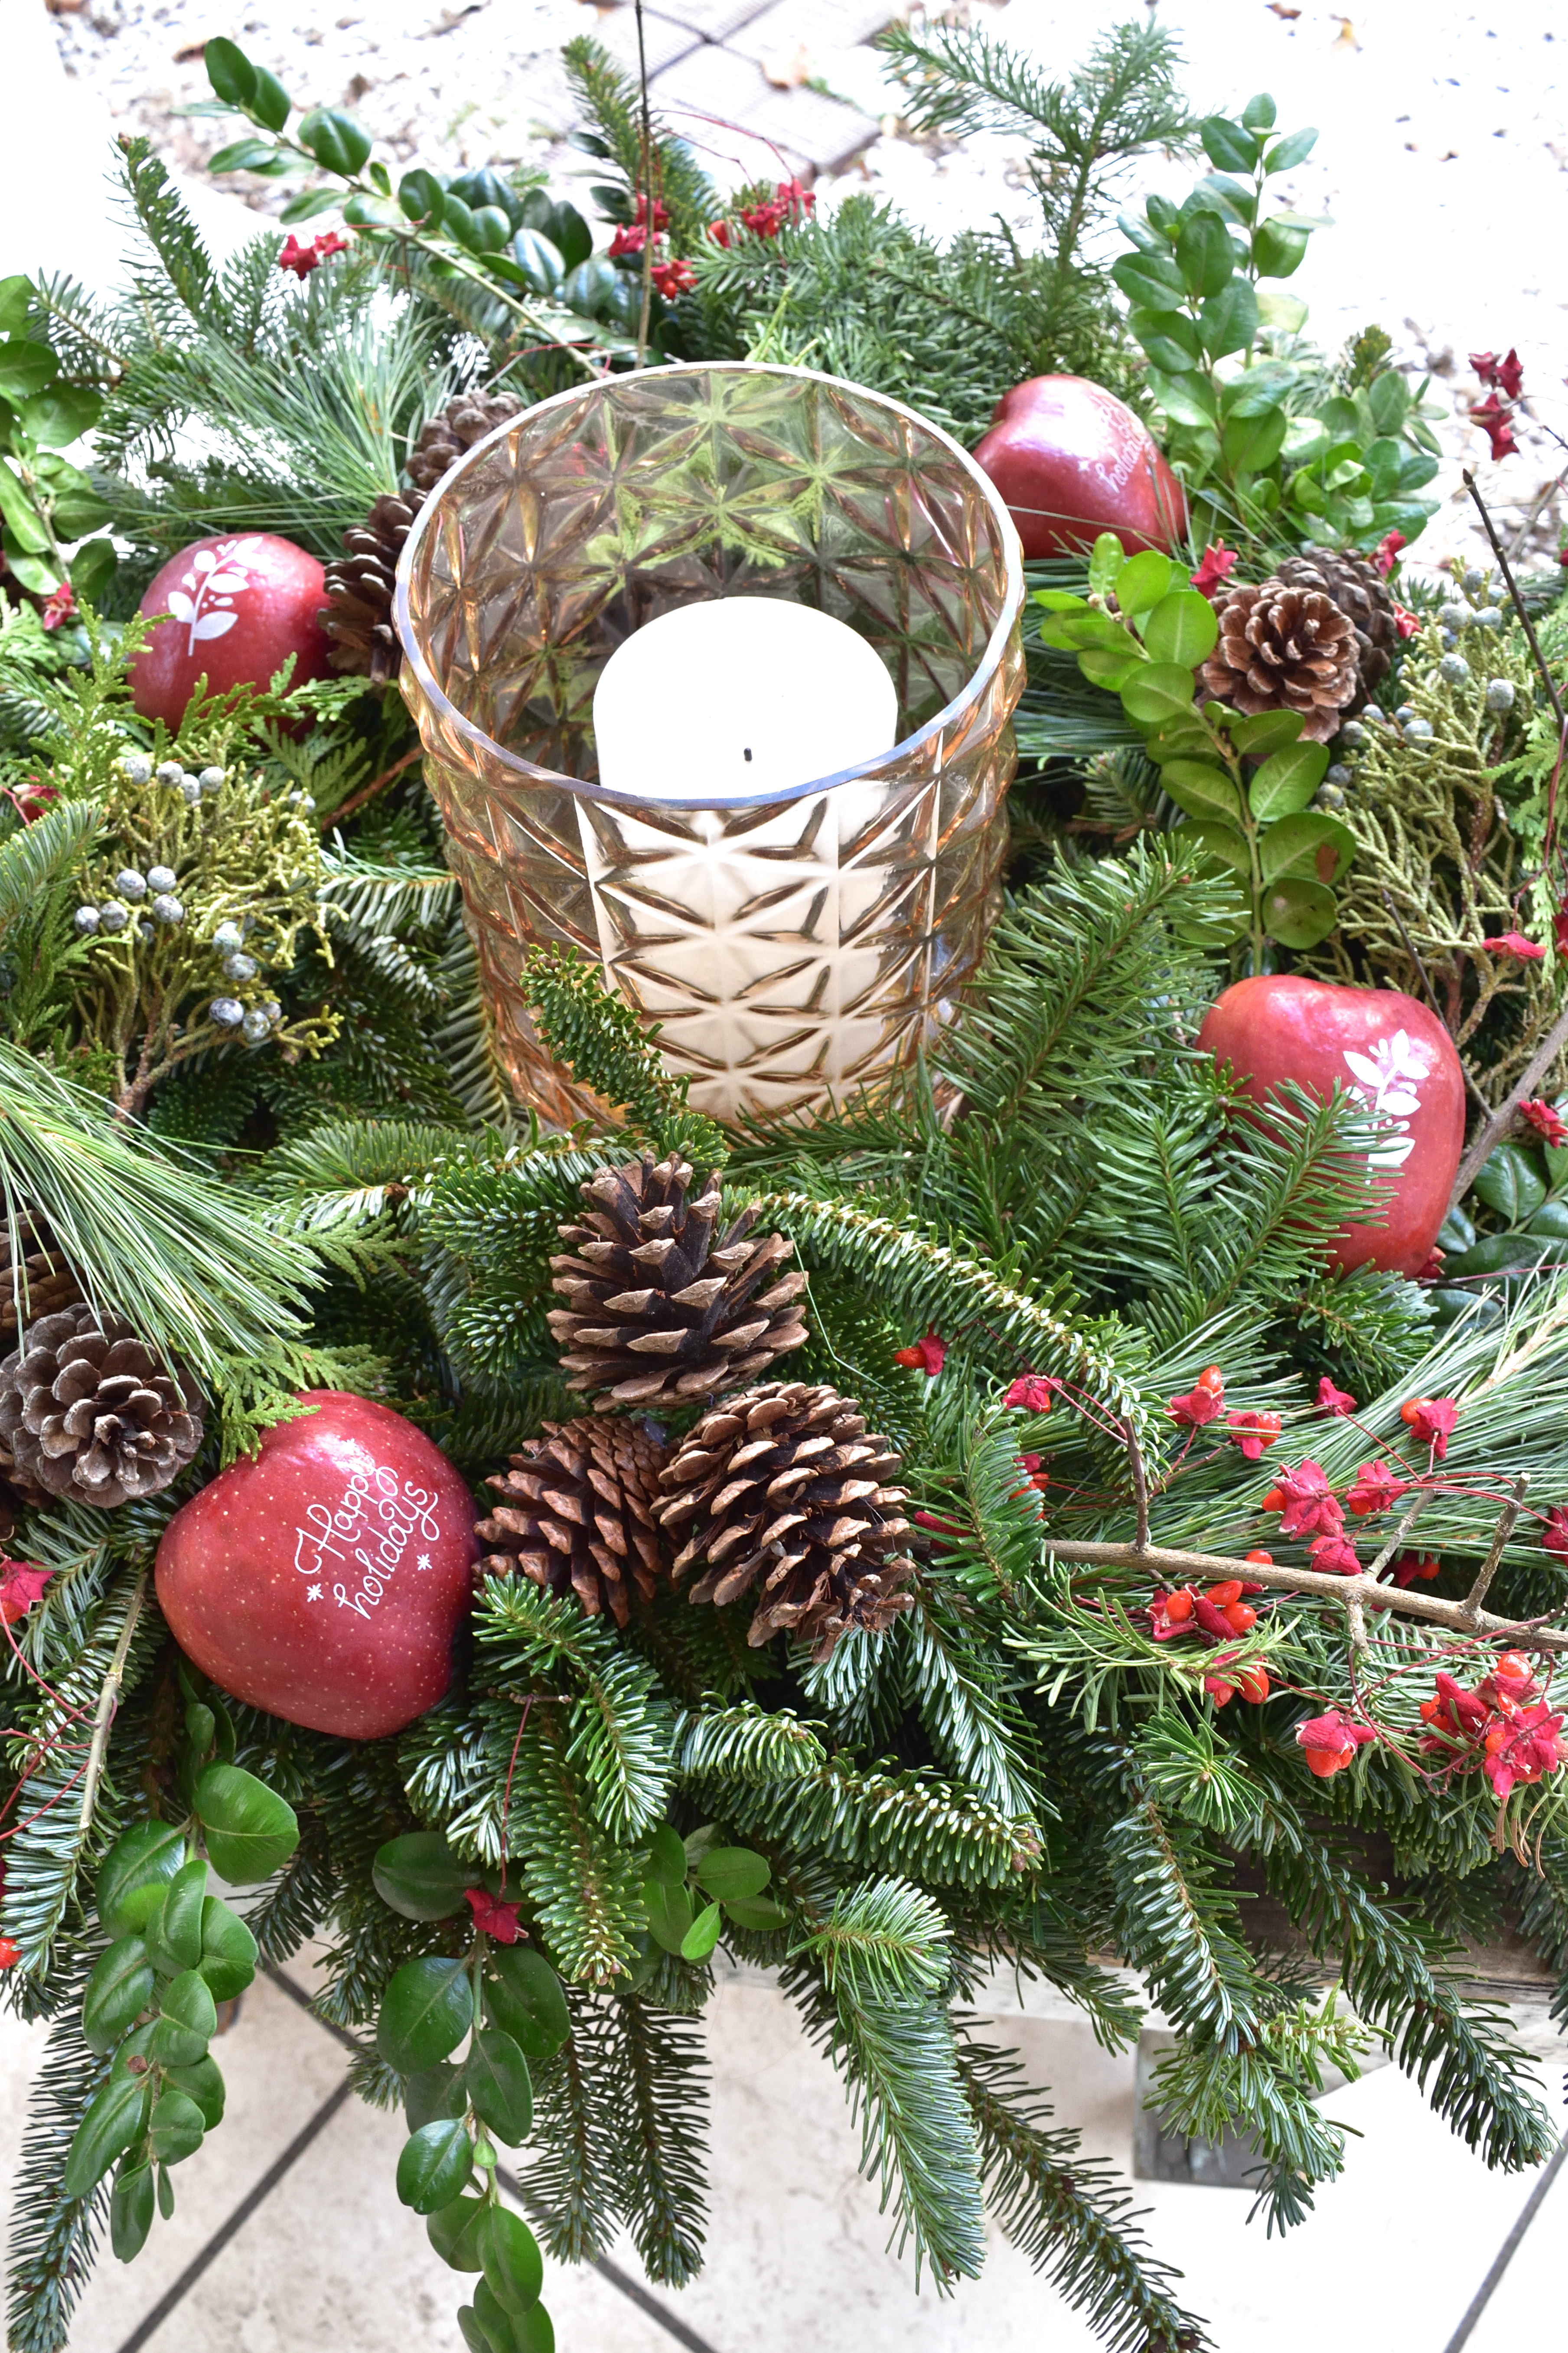
a wreath for the table…
i rarely follow decorating rules…and who says a wreath has to hang? they make beautiful tabletop decor too…
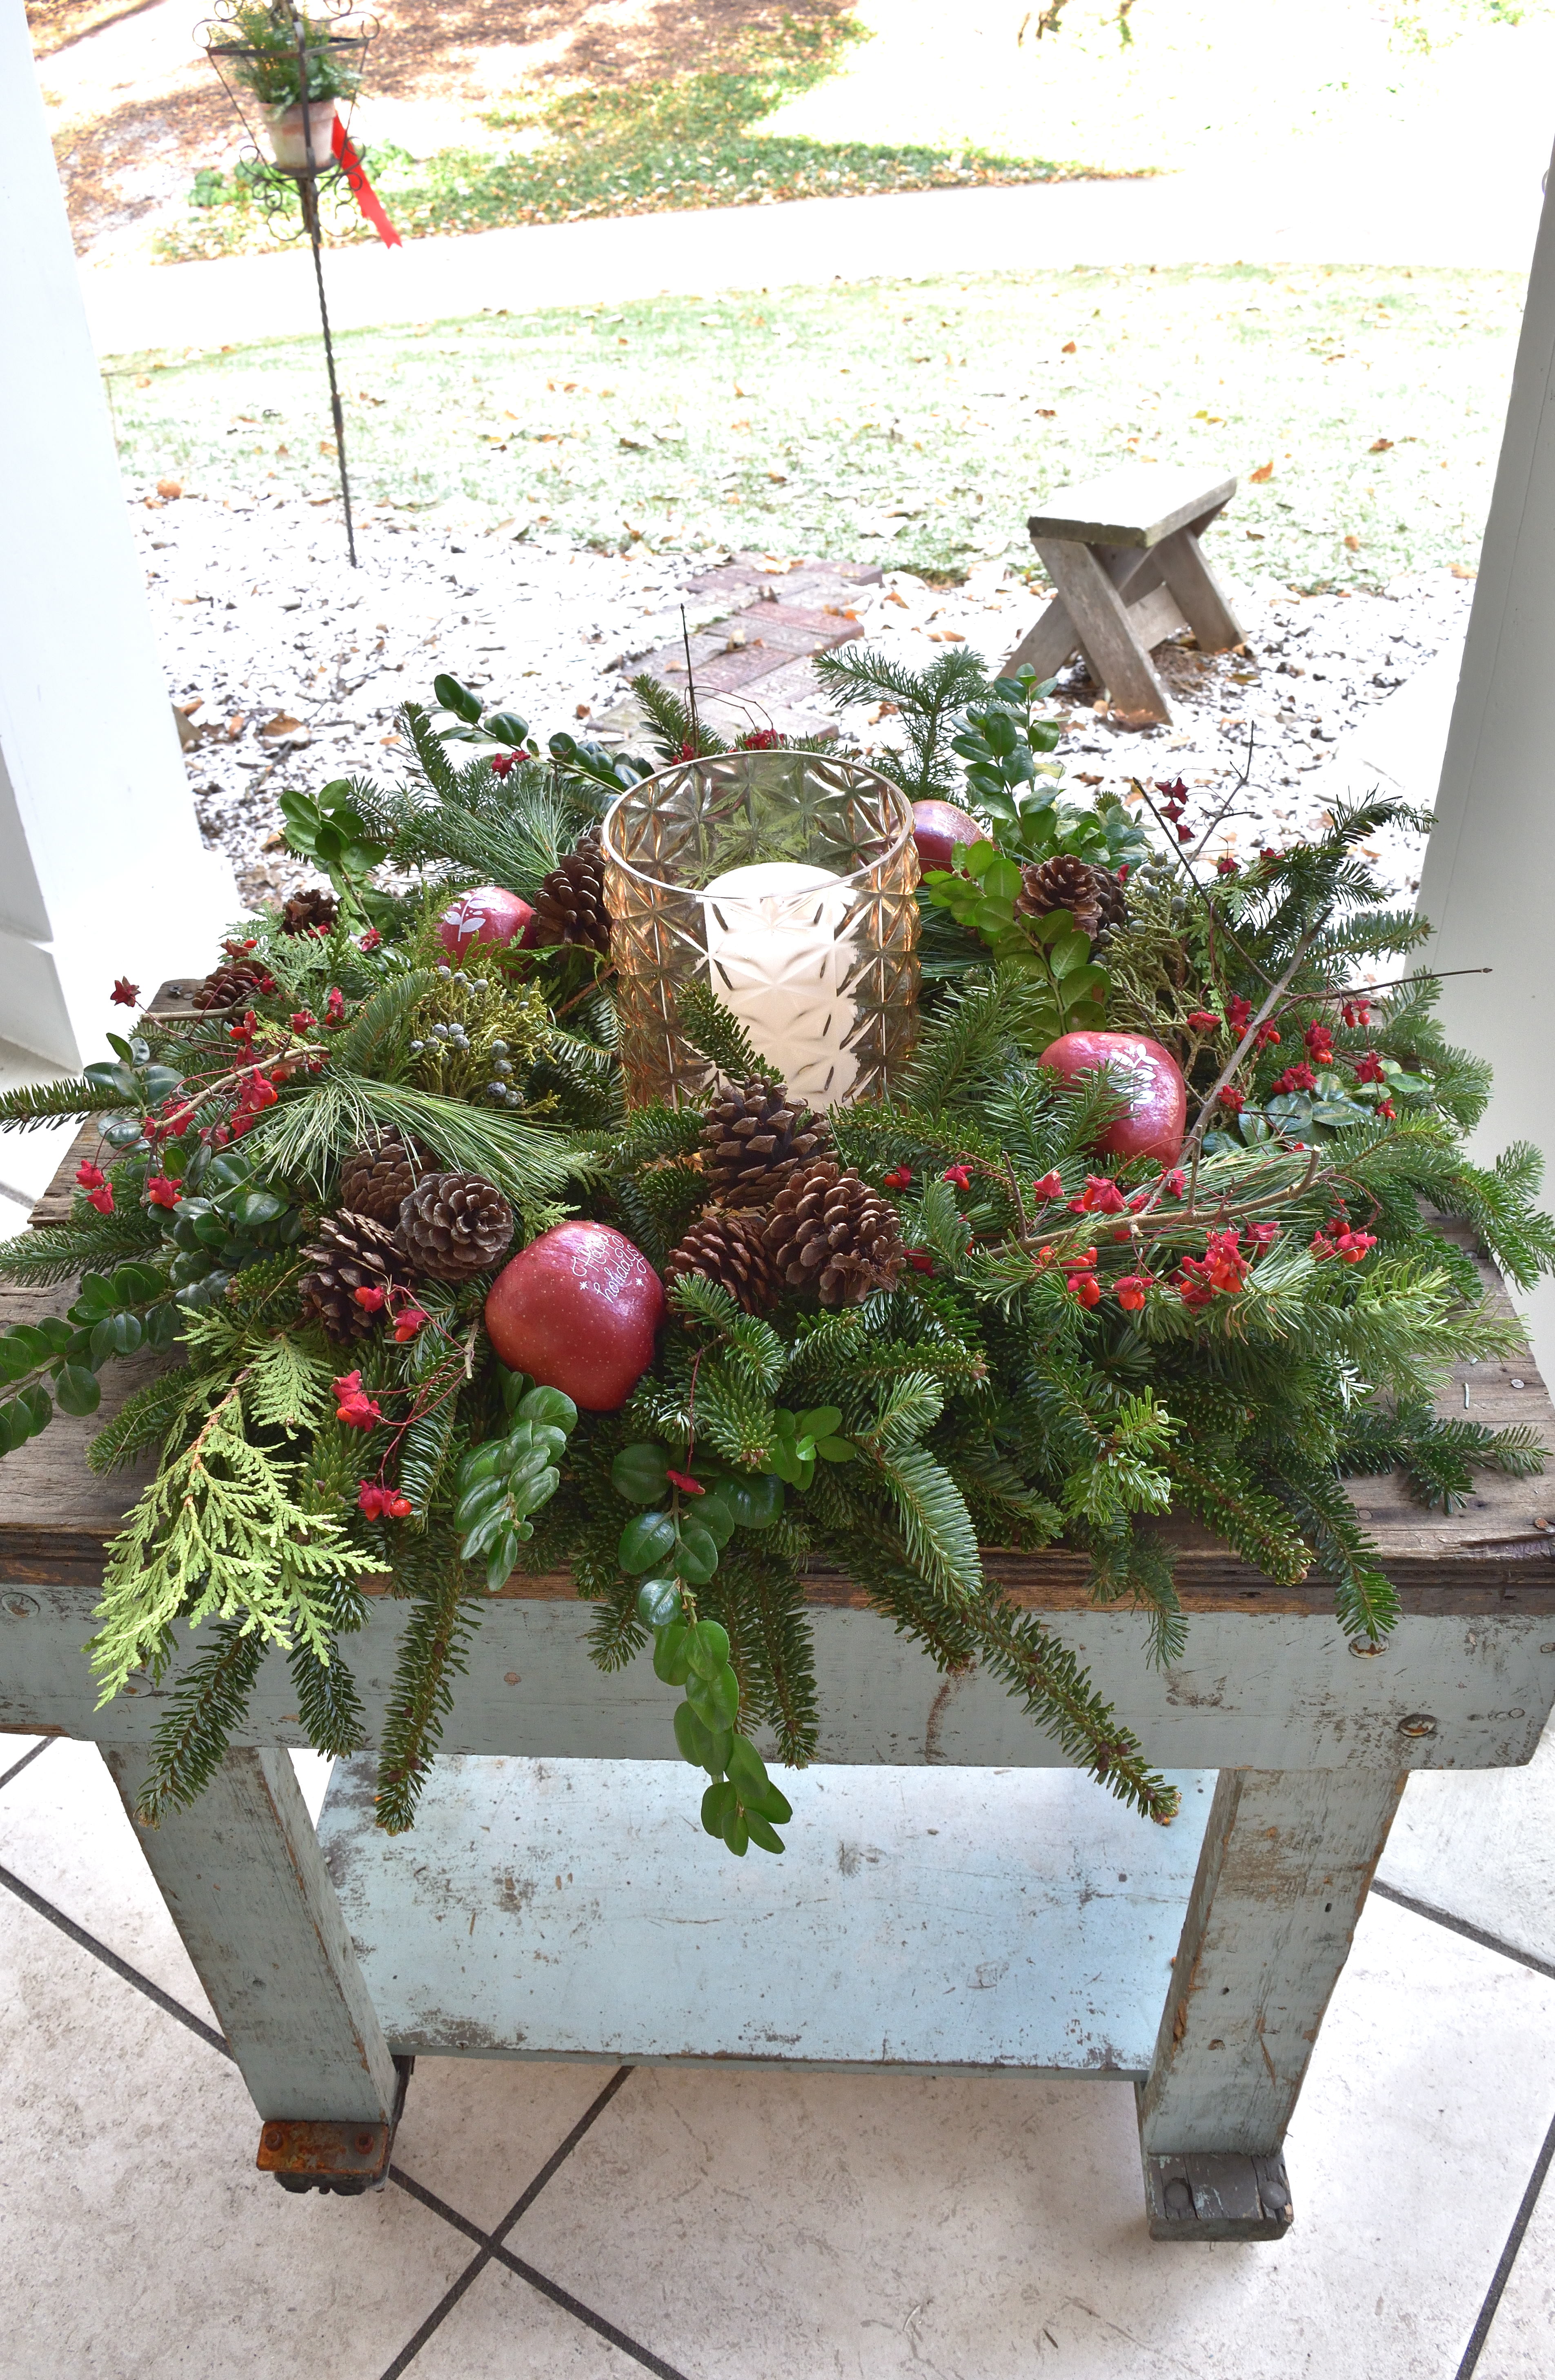
the same supplies apply…but adding them is a bit easier! with the exception of the fruit, i merely tucked sprigs into the form…
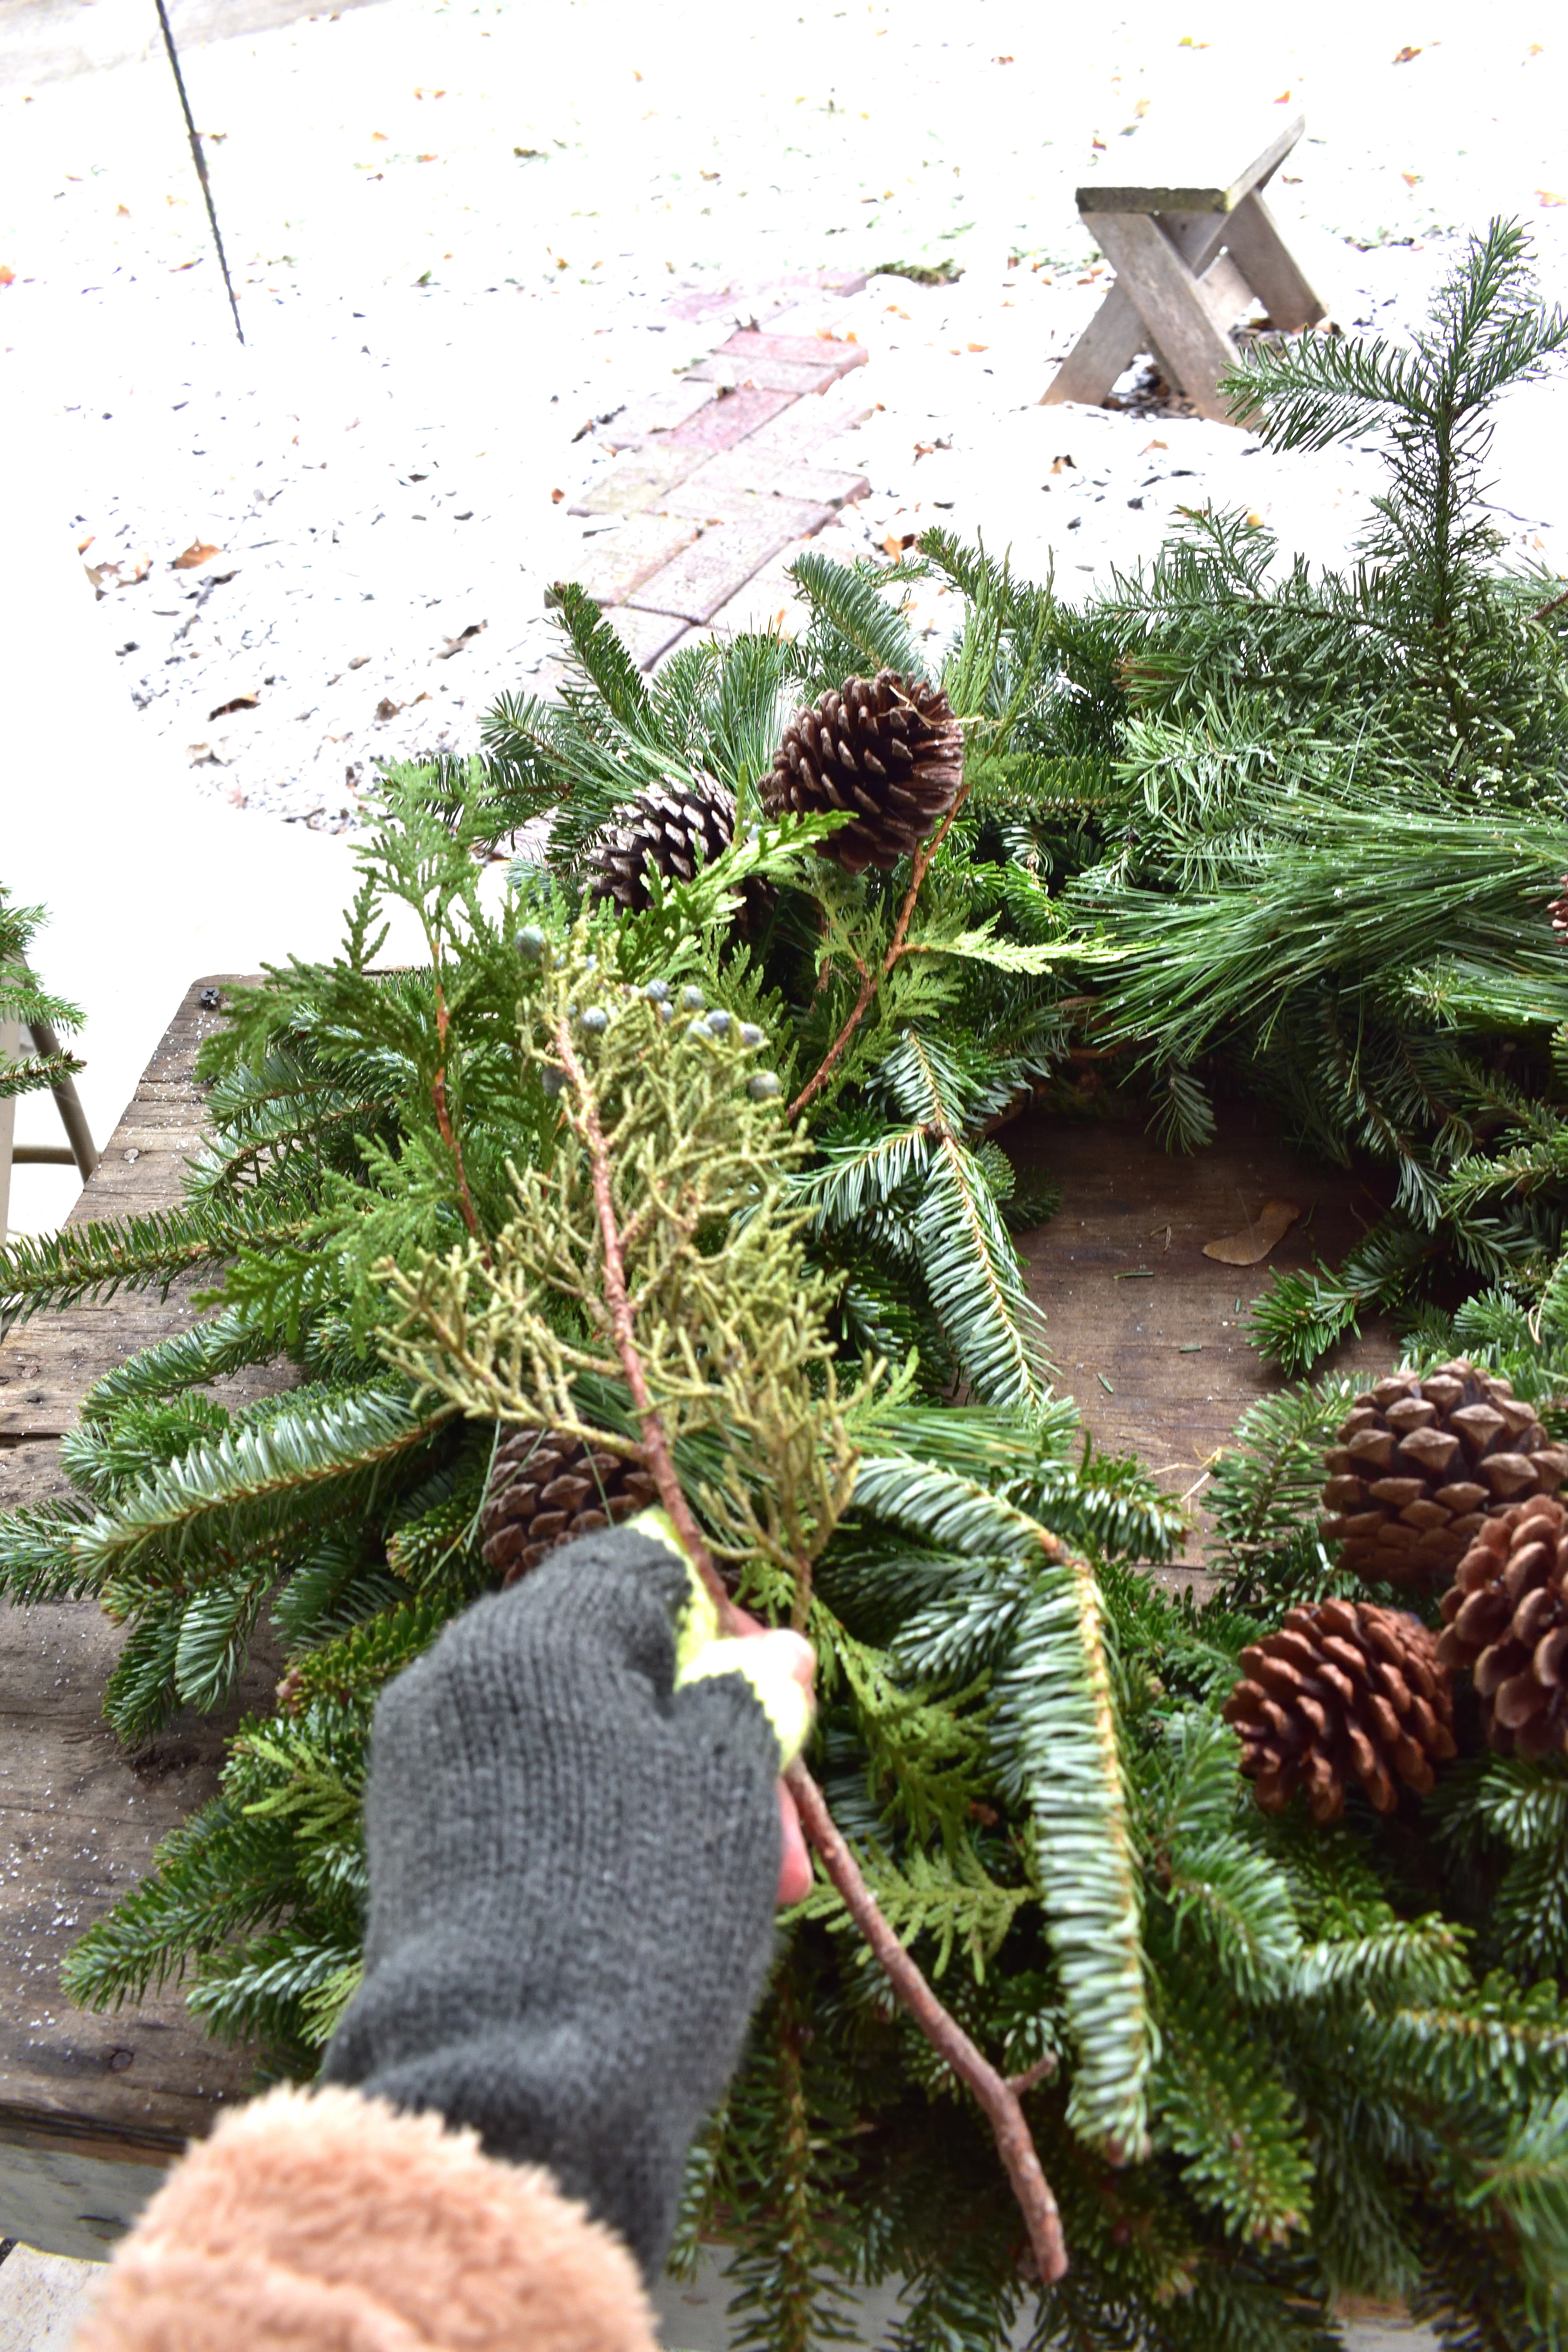
because this wreath will lay flat on a small patio table it wasn’t necessary to wire it all together. this made it really easy to create! just keep layering the greens until you love it!
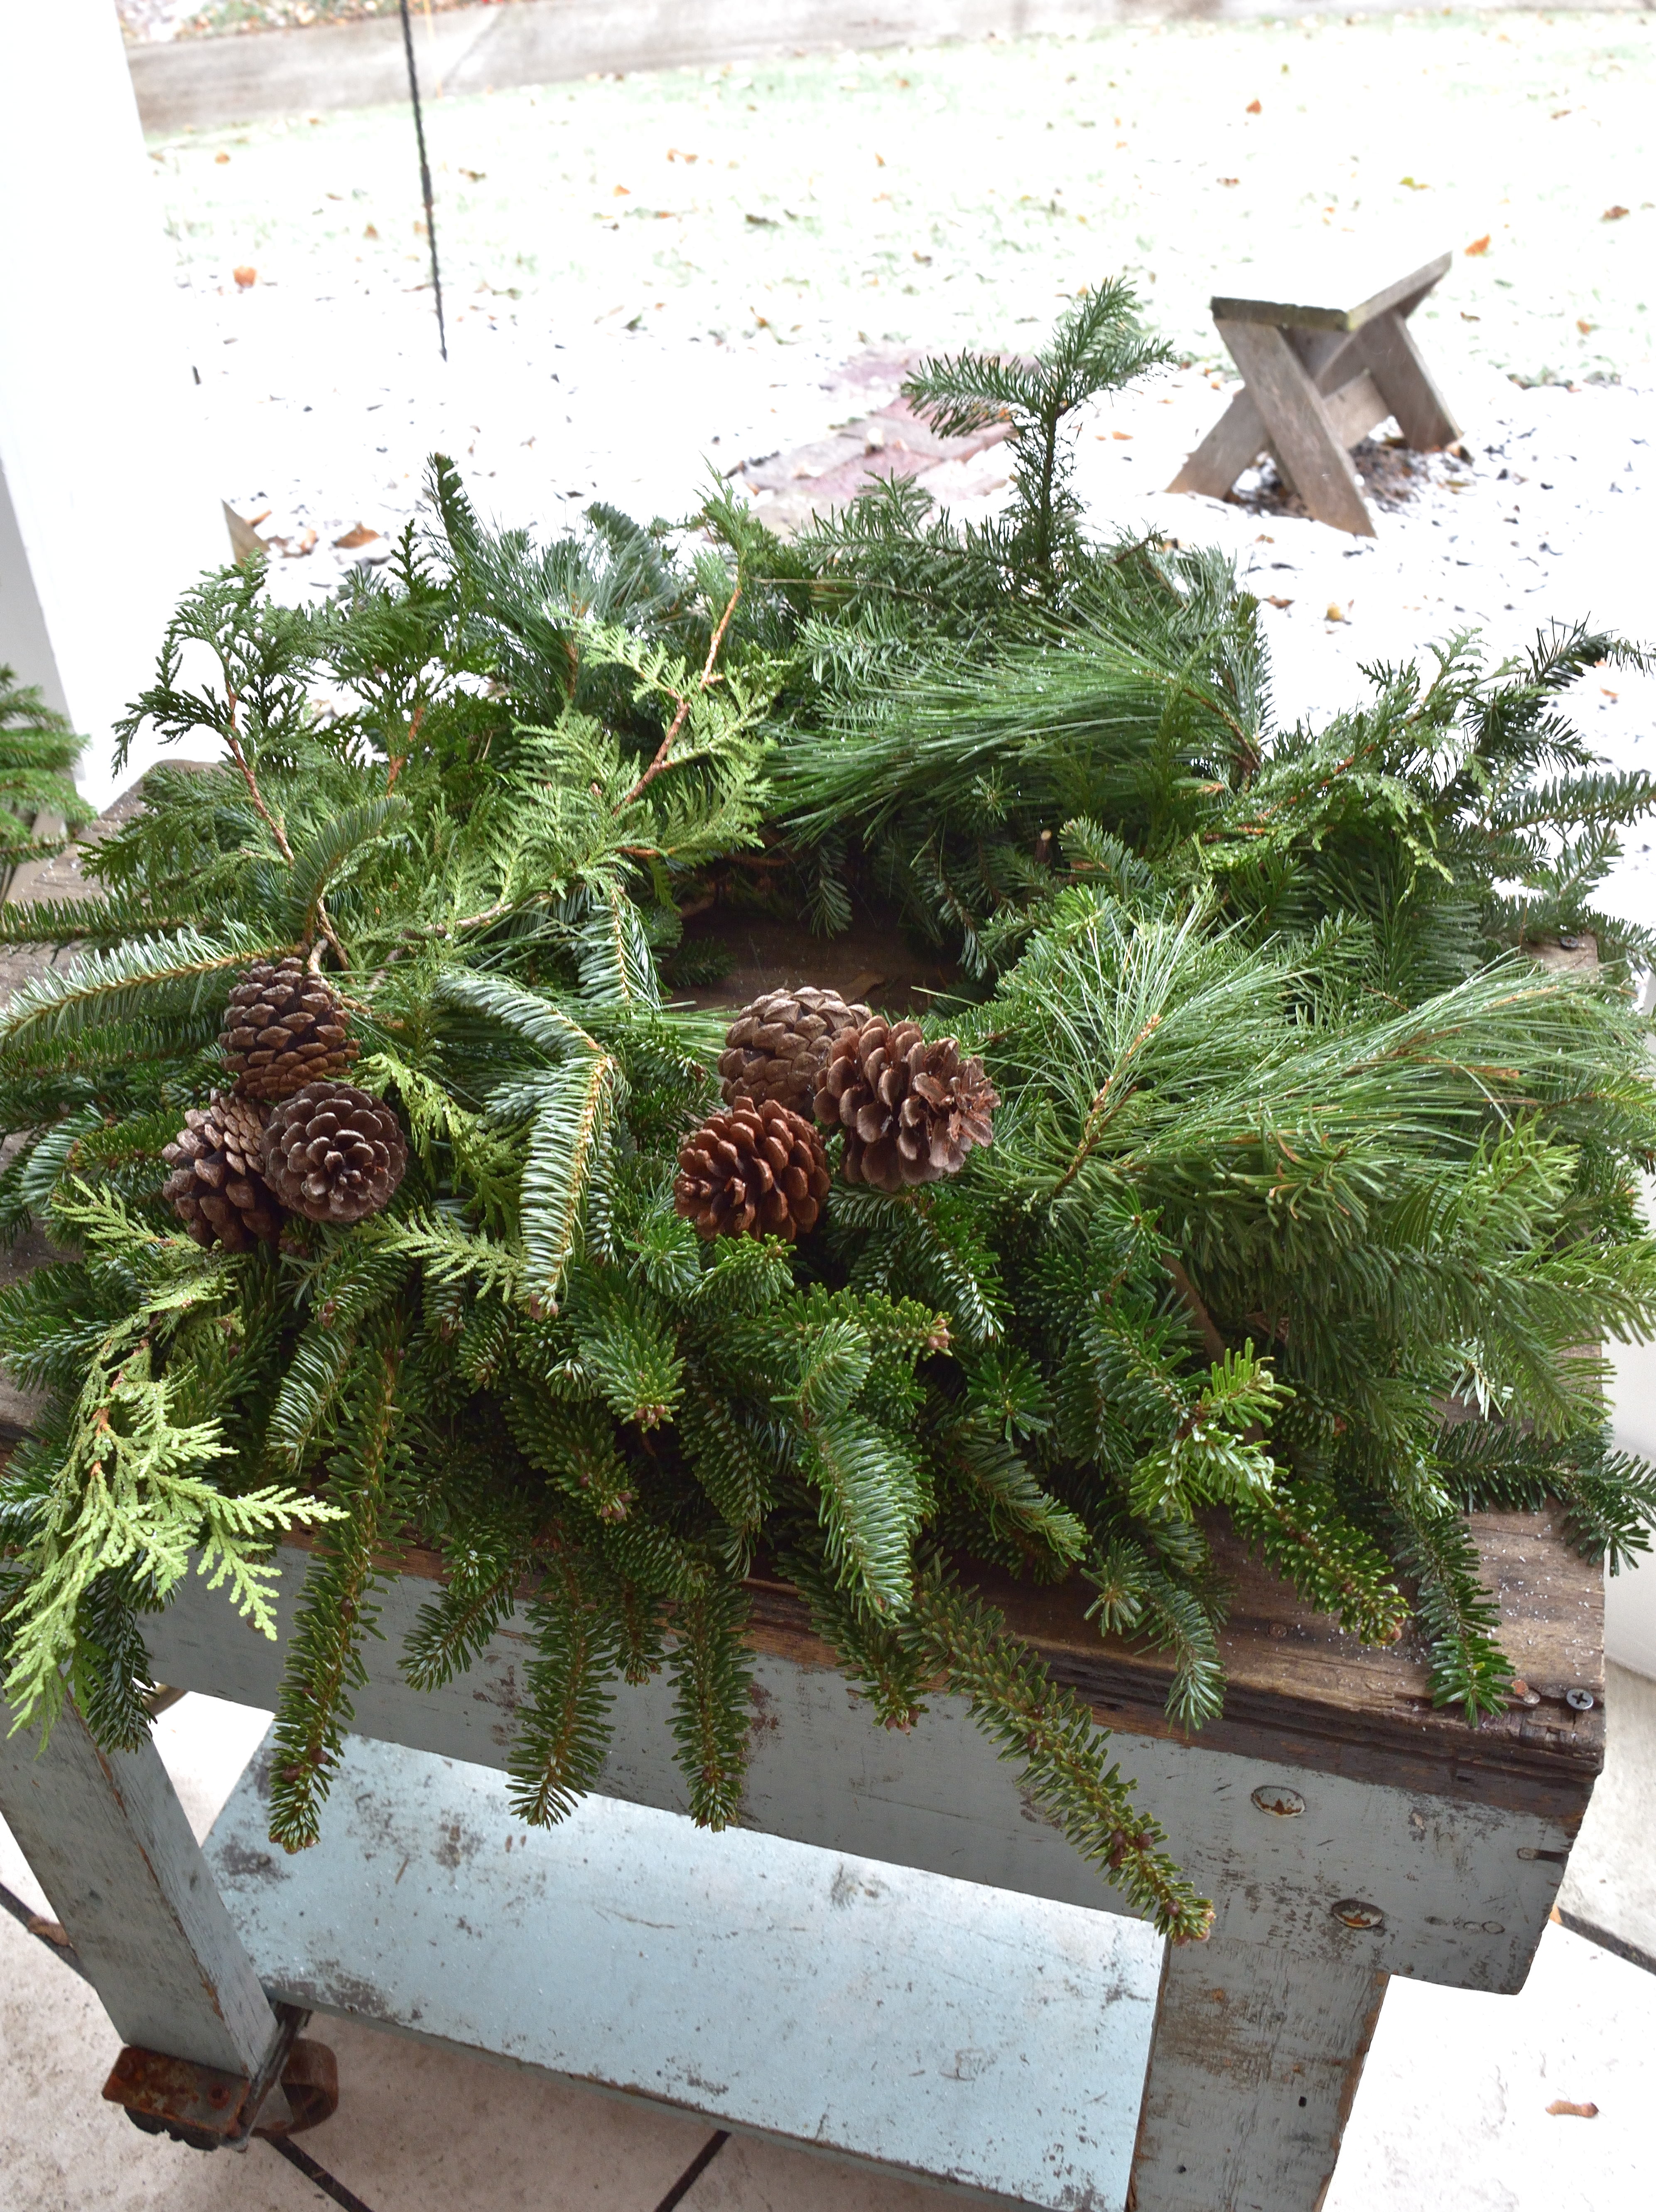
you can then add the berries, fruit and/or other decorations! wire the fruit to the form just like on the hanging wreath to prevent them from rolling off
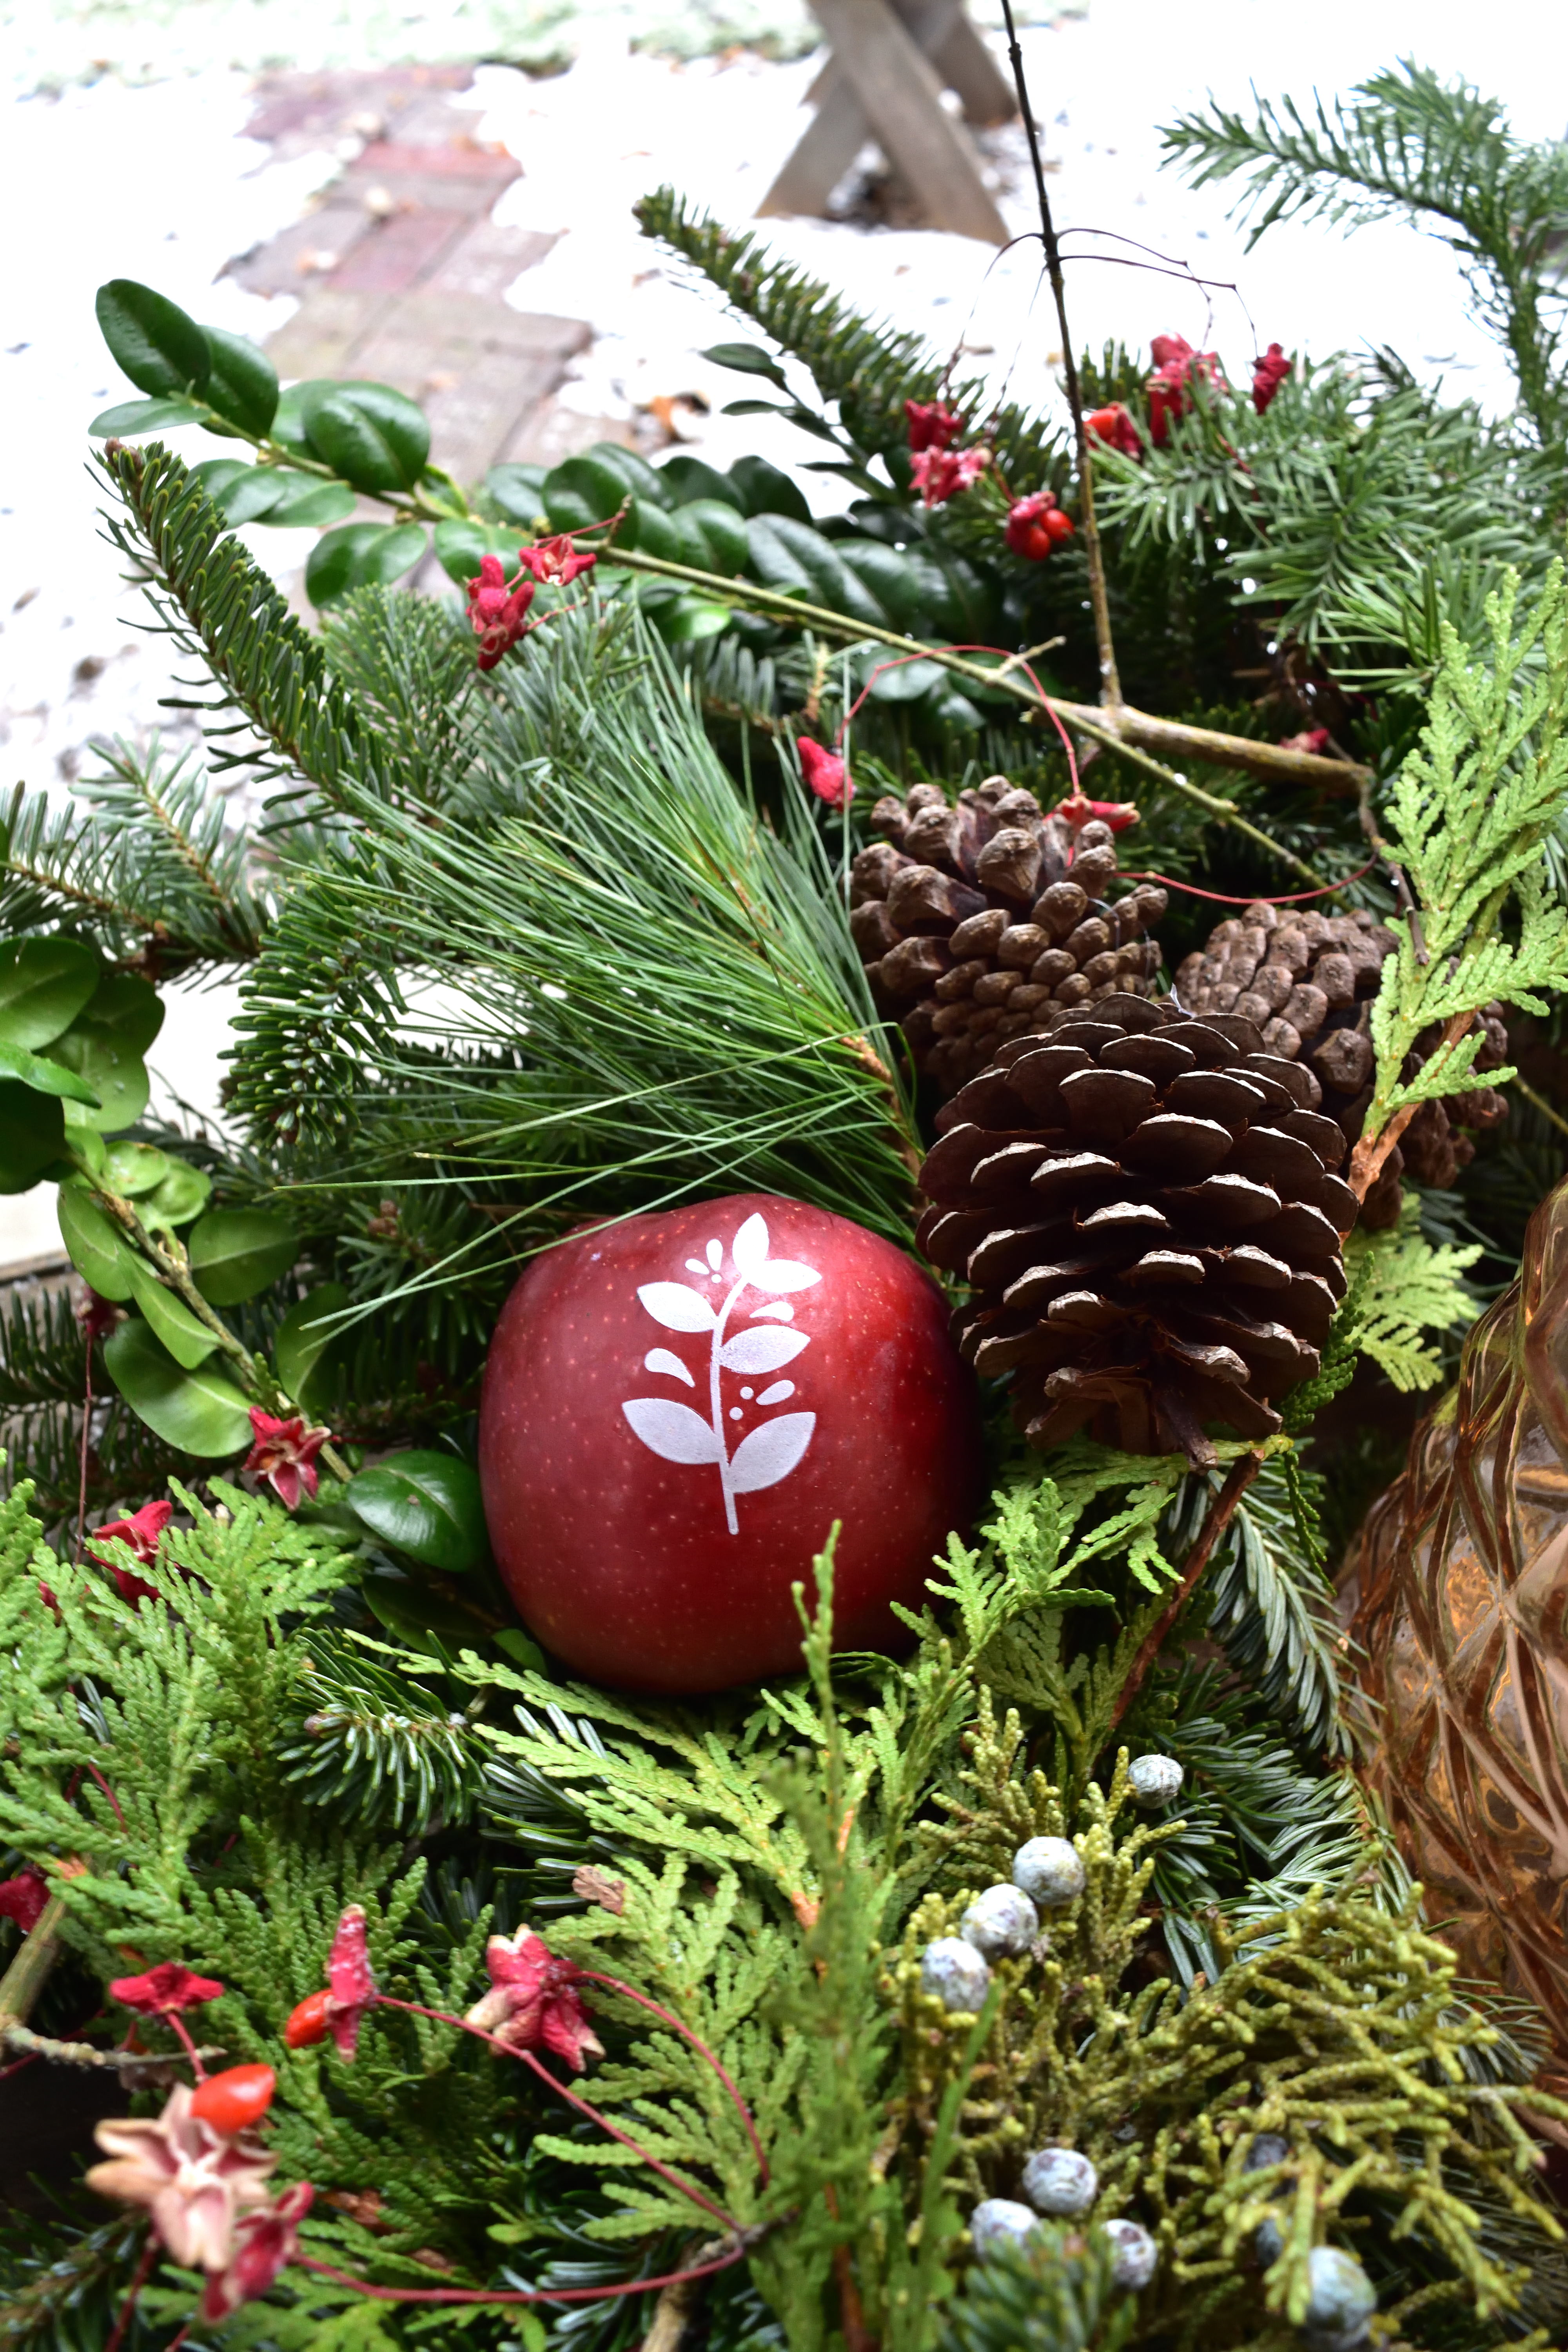
i’m leaving my wreaths outside…if the apples freeze & stay frozen they’ll actually be fine, but if there’s a thaw they’ll probably get soft. if that happens i can just cut them out and add new ones…a task that i think will be worth it!
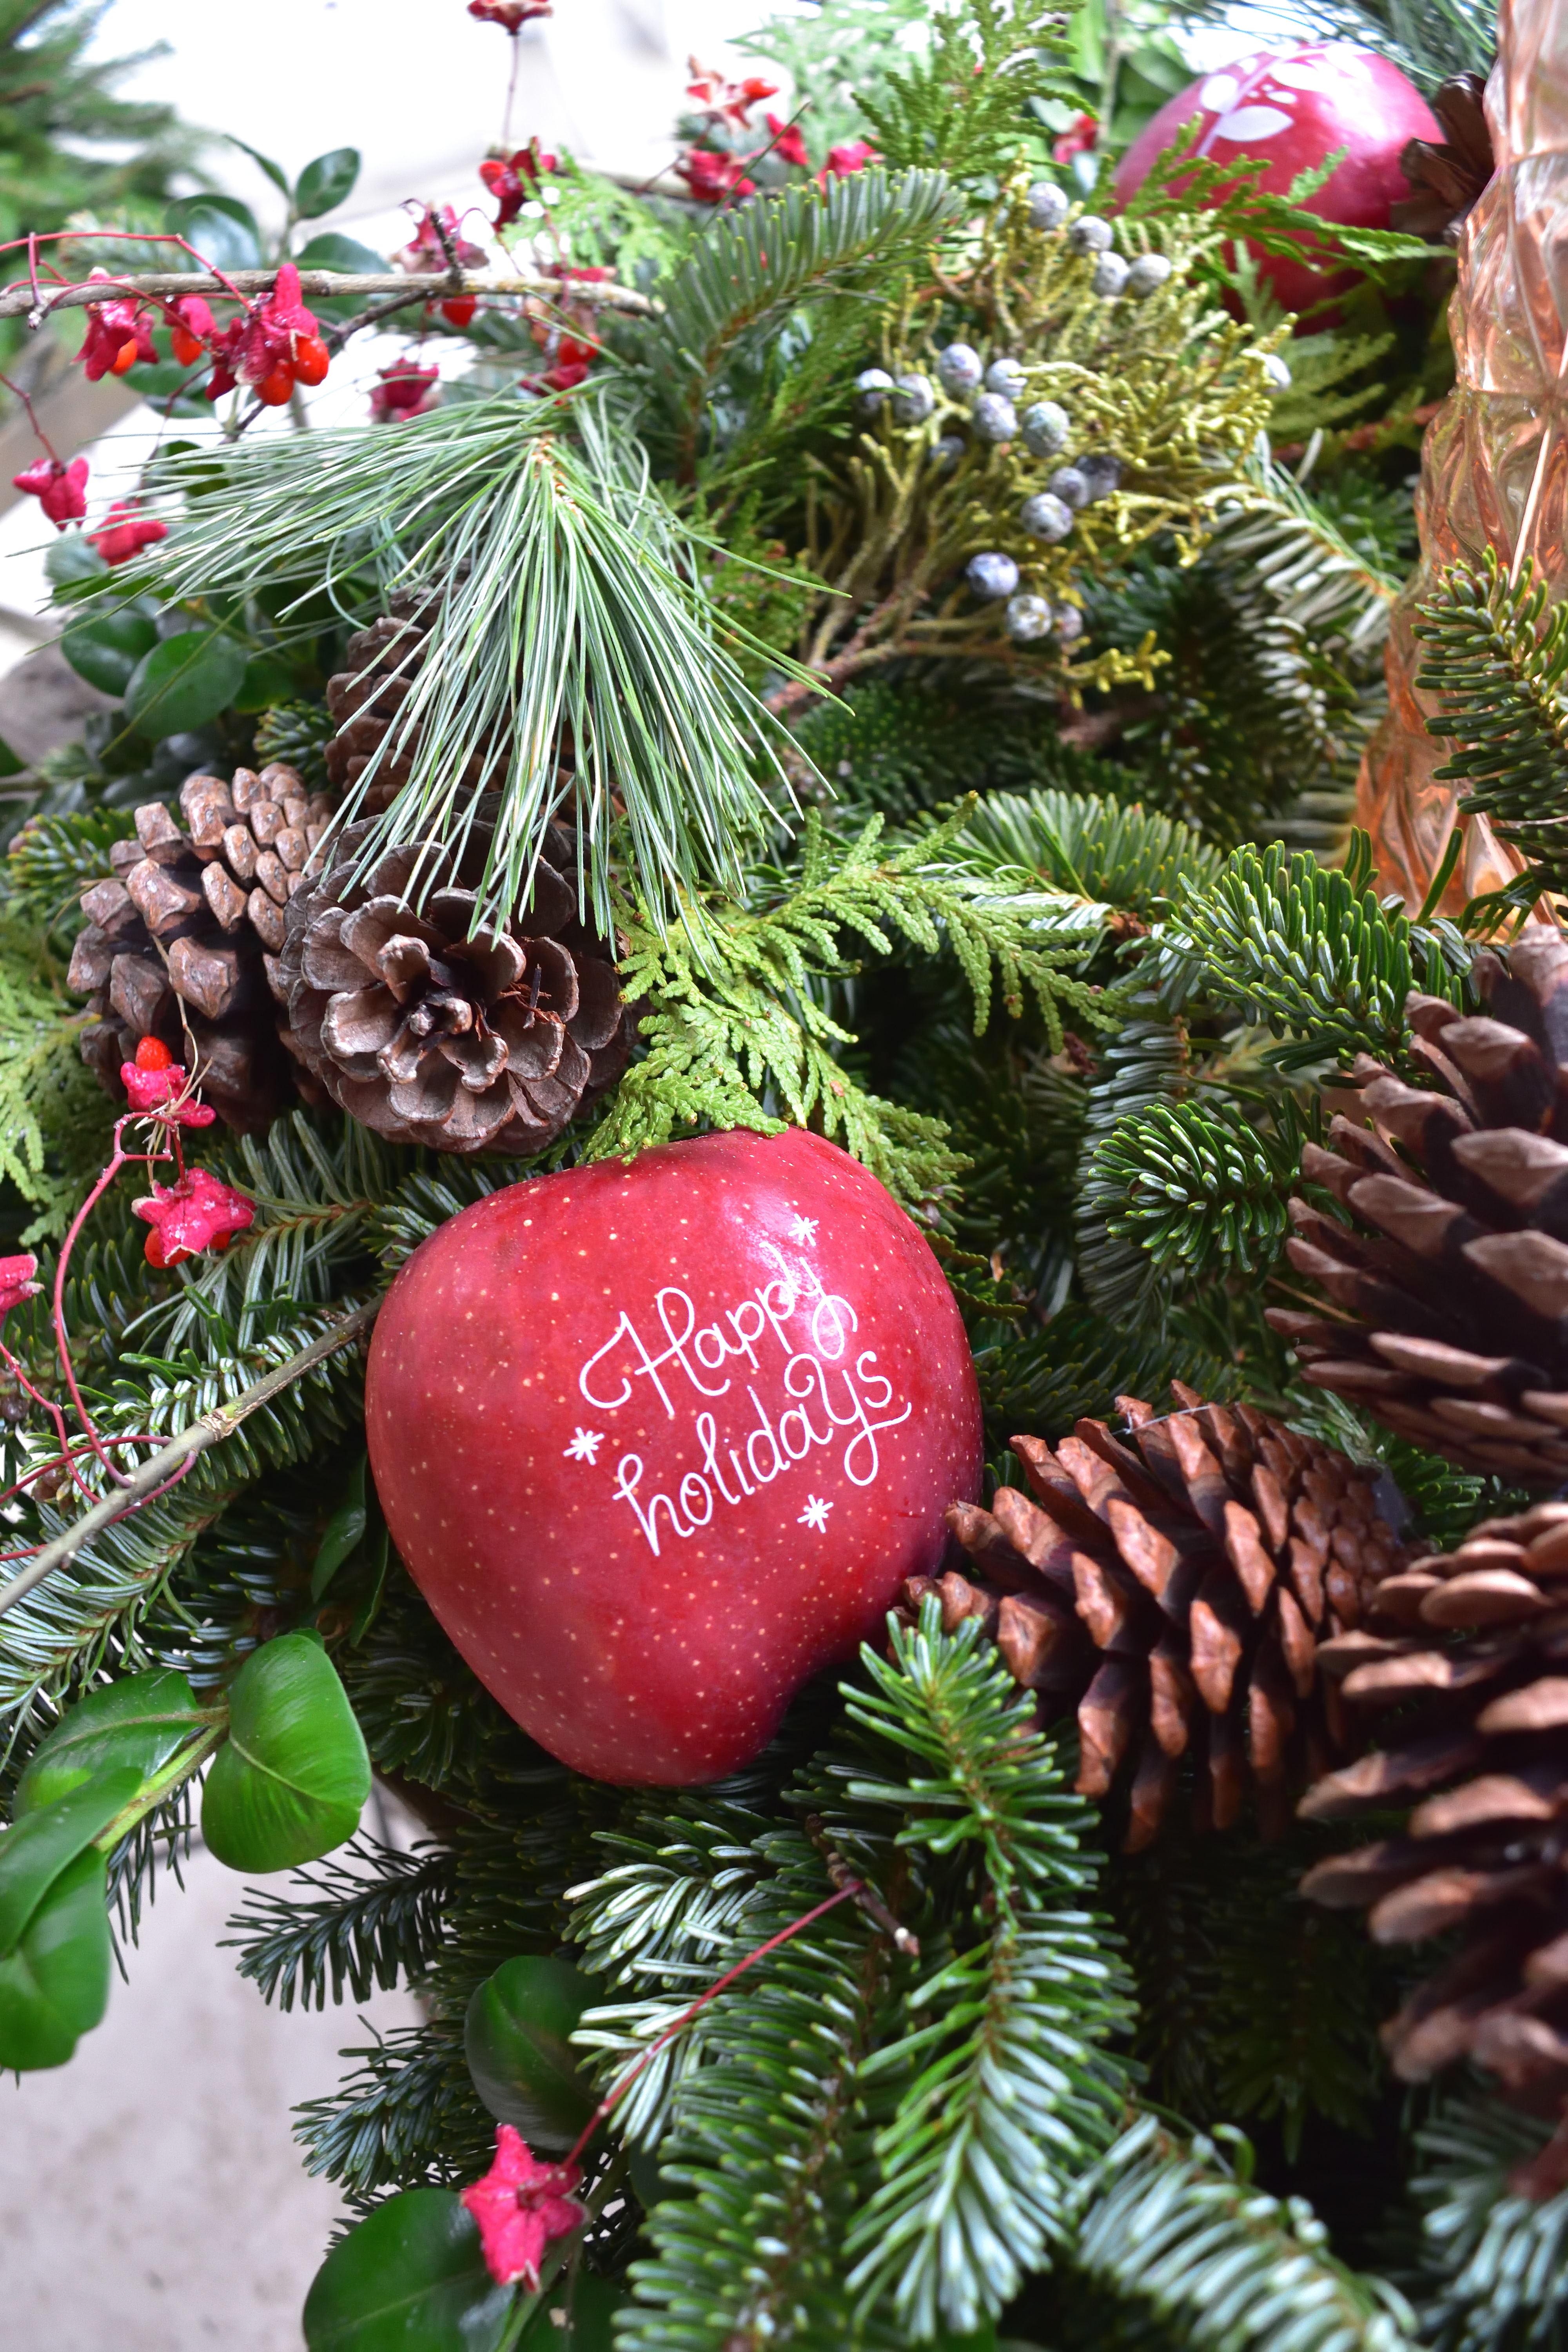
the soft glow of a battery candle in the center is another enchanting way to welcome our holiday guests!
visit your garden center, grocer, or search your yard…and get inspired to craft your own wreath this season!
diy your own design!
pin for later~
product guide~
Fun to Eat Fruit: printed apples
Whiteford Green House: wreath forms and greenery
other greens and berries came from my yard. if you’re not from the area, try any garden center, florist, or grocer with a floral department. try craft stores for pine cone bundles & decorations
Kirklands: “deck the halls” enamel bucket
Michaels: ribbon, wire, embellishments

Susan
December 15
I was totally wondering how you got those apples to stay on the wreath and wow ! So creative ! I just love this so much. Thank you for sharing
Lori
December 16
Thanks so much! And I’m so happy to share DIY projects when I can! I’m glad you liked it!
Nathalie - Press Print Party!
December 17
Wow, you really did a lot with those apples. Your creativity and productivity astounds me!
Lori
December 17
That’s so kind Nathalie! Thank you!
Holly
December 17
I absolutely LOVE how you “spruced” up this wreath!! Like my pun!? I definitely need to try this!!
Lori
December 17
Ha Ha! I got it! Thanks so much Holly!!
halfpintpartydesign
December 18
Dressing up these store bought wreaths is amazing. Your little greenery bundles added so much texture and the apples really make it pop. Such a fun way to add detail to your door and table.
Lori
December 21
Thanks so much! It is a more economical way to make a custom looking wreath!
Felicia W.
December 24
I love the idea of being able to tie the decor from inside your home to the outside! I also love apples in all seasons and love to see apples in wreaths for the first time! Thank you for this idea!
Lori
December 30
Oh thank you so much! I’m so happy you enjoyed it and hope you had a wonderful holiday!!
Carolina
December 28
This is such a beautiful idea Lori!! Love that its fresh!
Lori
December 30
Aww, thanks so much my friend!! Happy cocoa season!! xoxo