Easter comes early this year…and even though I hate to jump ahead of holidays that haven’t even arrived yet, Easter follows so closely behind St. Patrick’s Day that we barely have time to make the switch! So while we await the arrival of the Leprechauns, I decided to go ahead and start my spring crafting! I don’t know about you, but the first thing that comes to my mind when I think about Easter activities is decorating eggs! It’s such a fun holiday tradition and there are so many wonderful color kits out there to dye, glitter, stamp, glue, or paint those eggs into Easter glory! At our house we love to hard-boil a bunch of eggs, dunk ’em in all those pretty pastel dyes…and then we eat them! But because it’s hard to keep real eggs fresh for a month or so, I also like to decorate the fake variety too! This way I can enjoy them throughout the Easter season and recycle them for seasons to come! The inspiration for my artificial eggs came when I discovered a pretty pack of tissues in the checkout isle…not for wrapping but for blowing! They were way too cute to use on noses…so I decided to decoupage with them! And as it turned out, the tissue was so effective to work with since it easily wrapped around the soft curves of the plastic eggs! So I spent a rainy afternoon cutting out designs and crafting up some springtime joy!
a rainy day DIY…
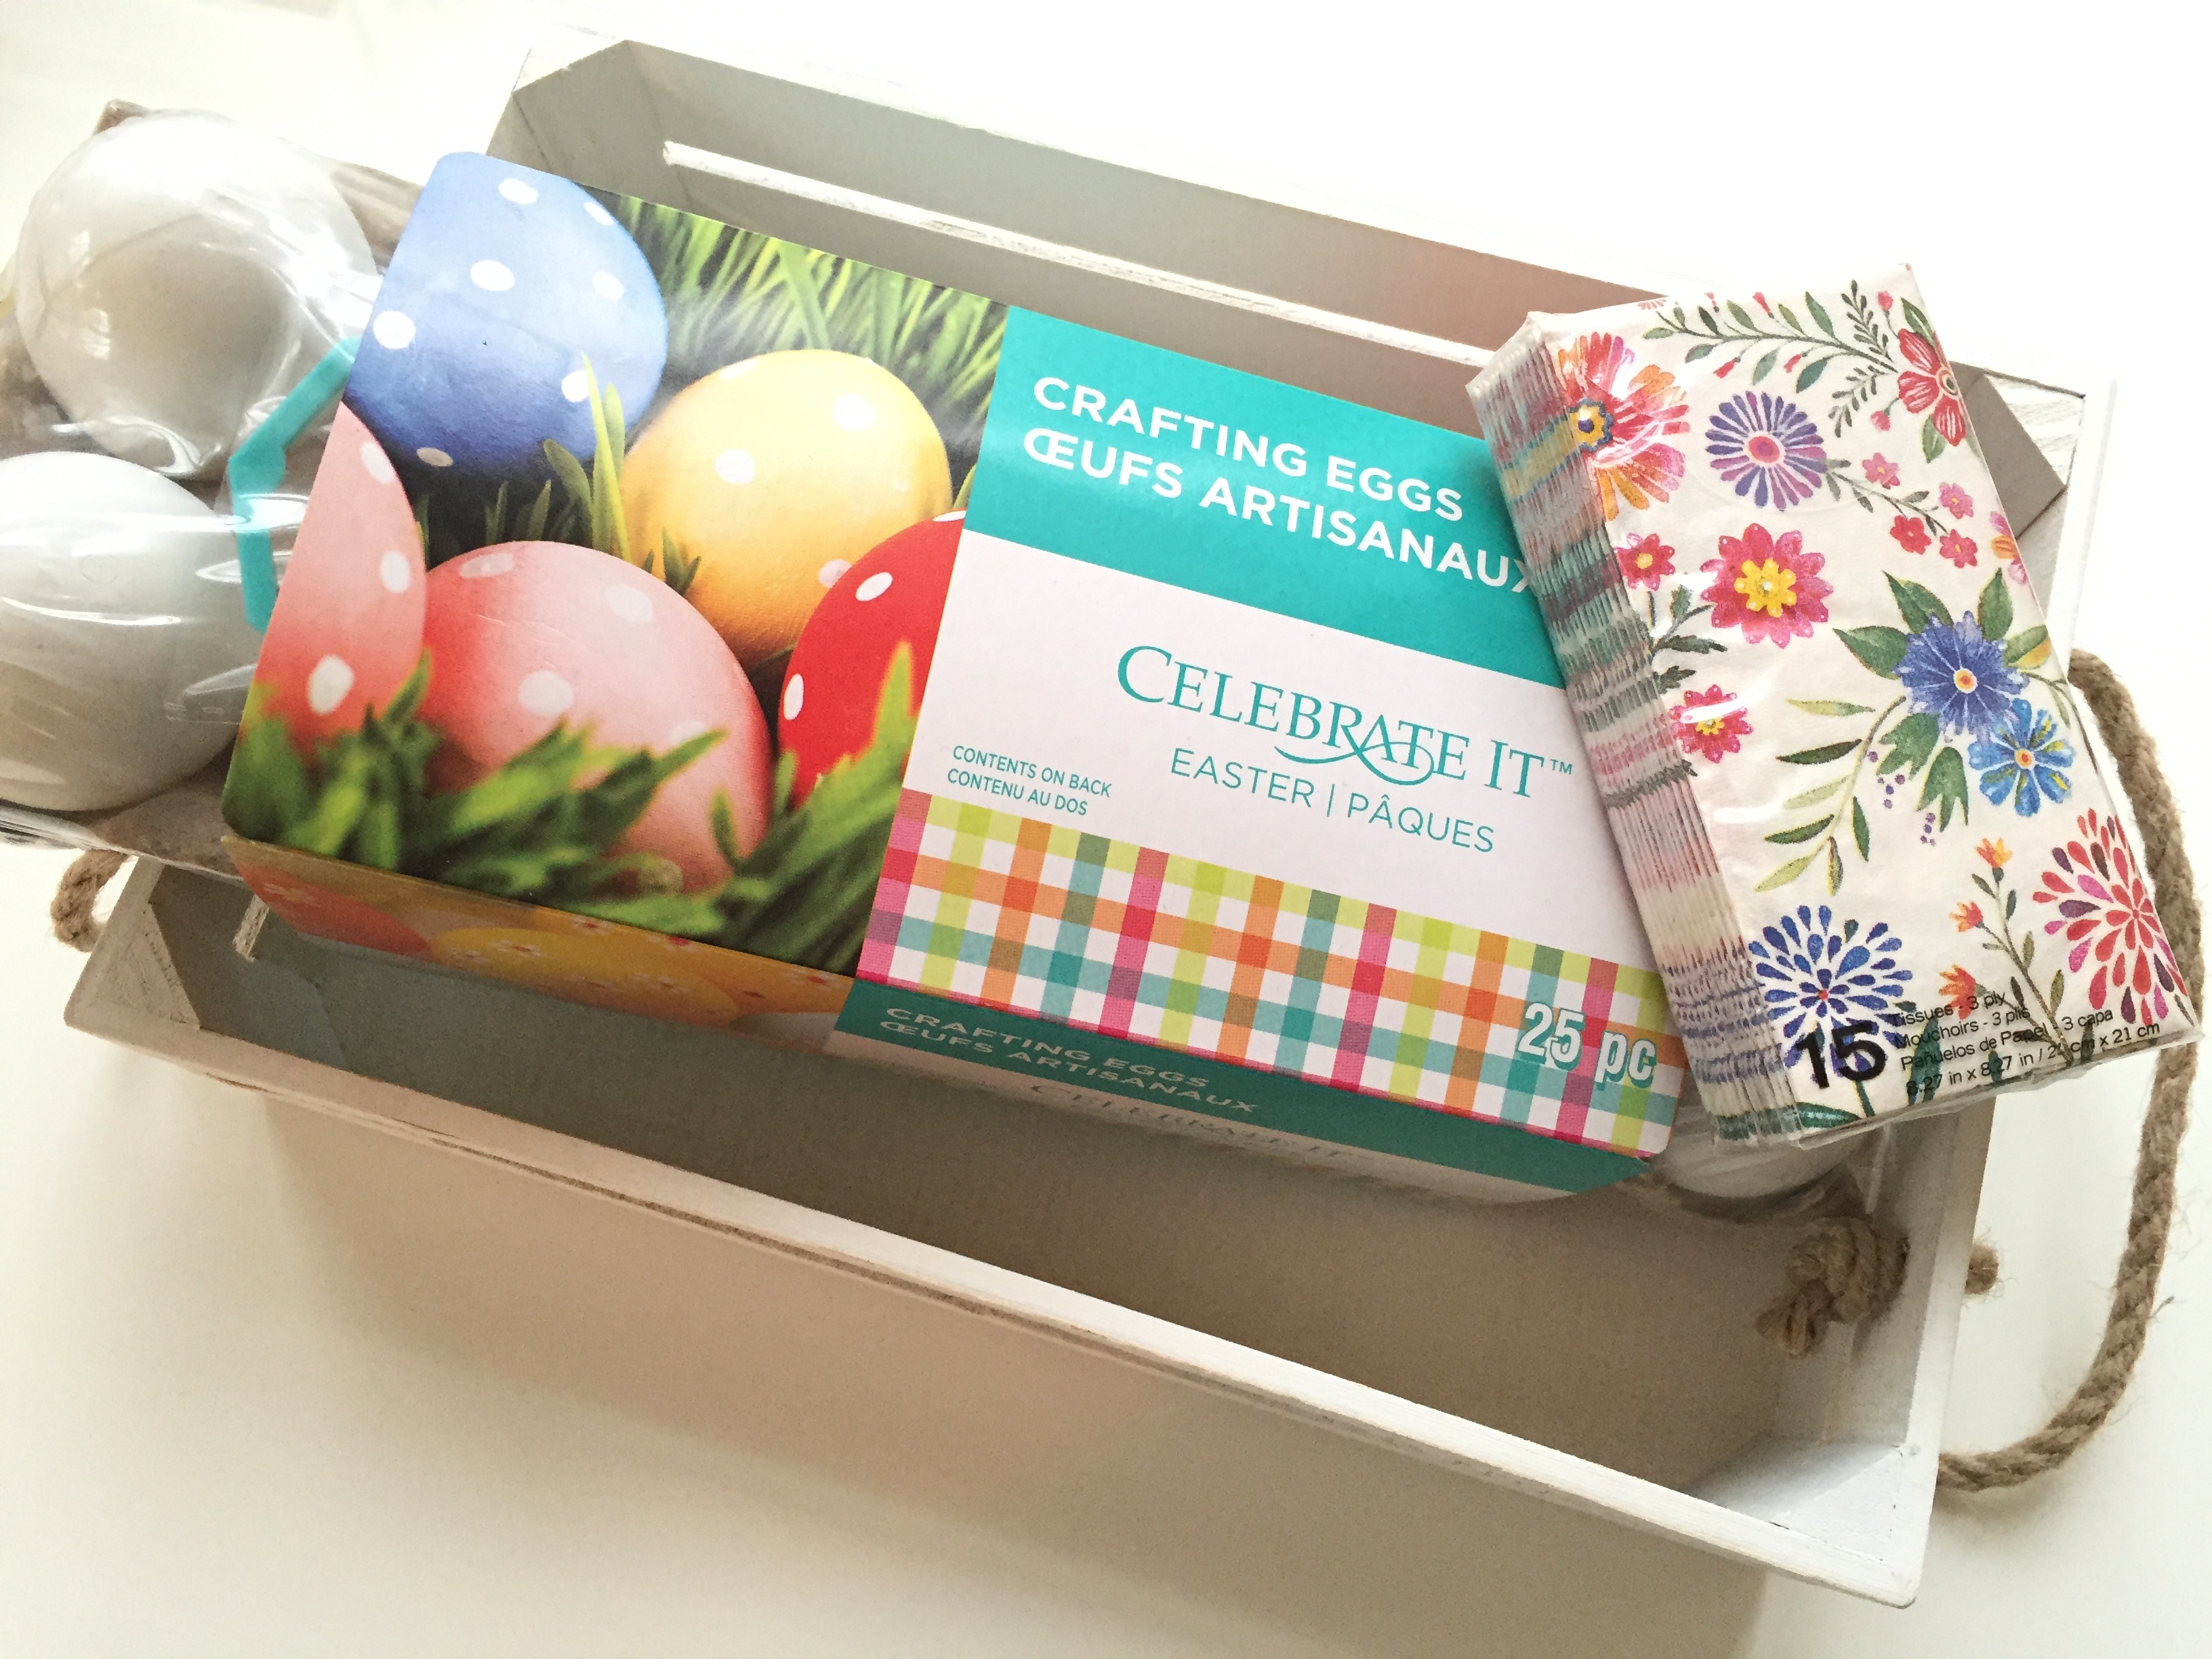
after i found these adorable tissues in the bargain bins at Michaels i turned my cart right around and hunted for some craft eggs for the decoupage project! a dozen of the plastic variety packaged in this carton was perfect for the job! the set came with extra supplies for decorating so i’m saving all that for later when we color the edible kind!
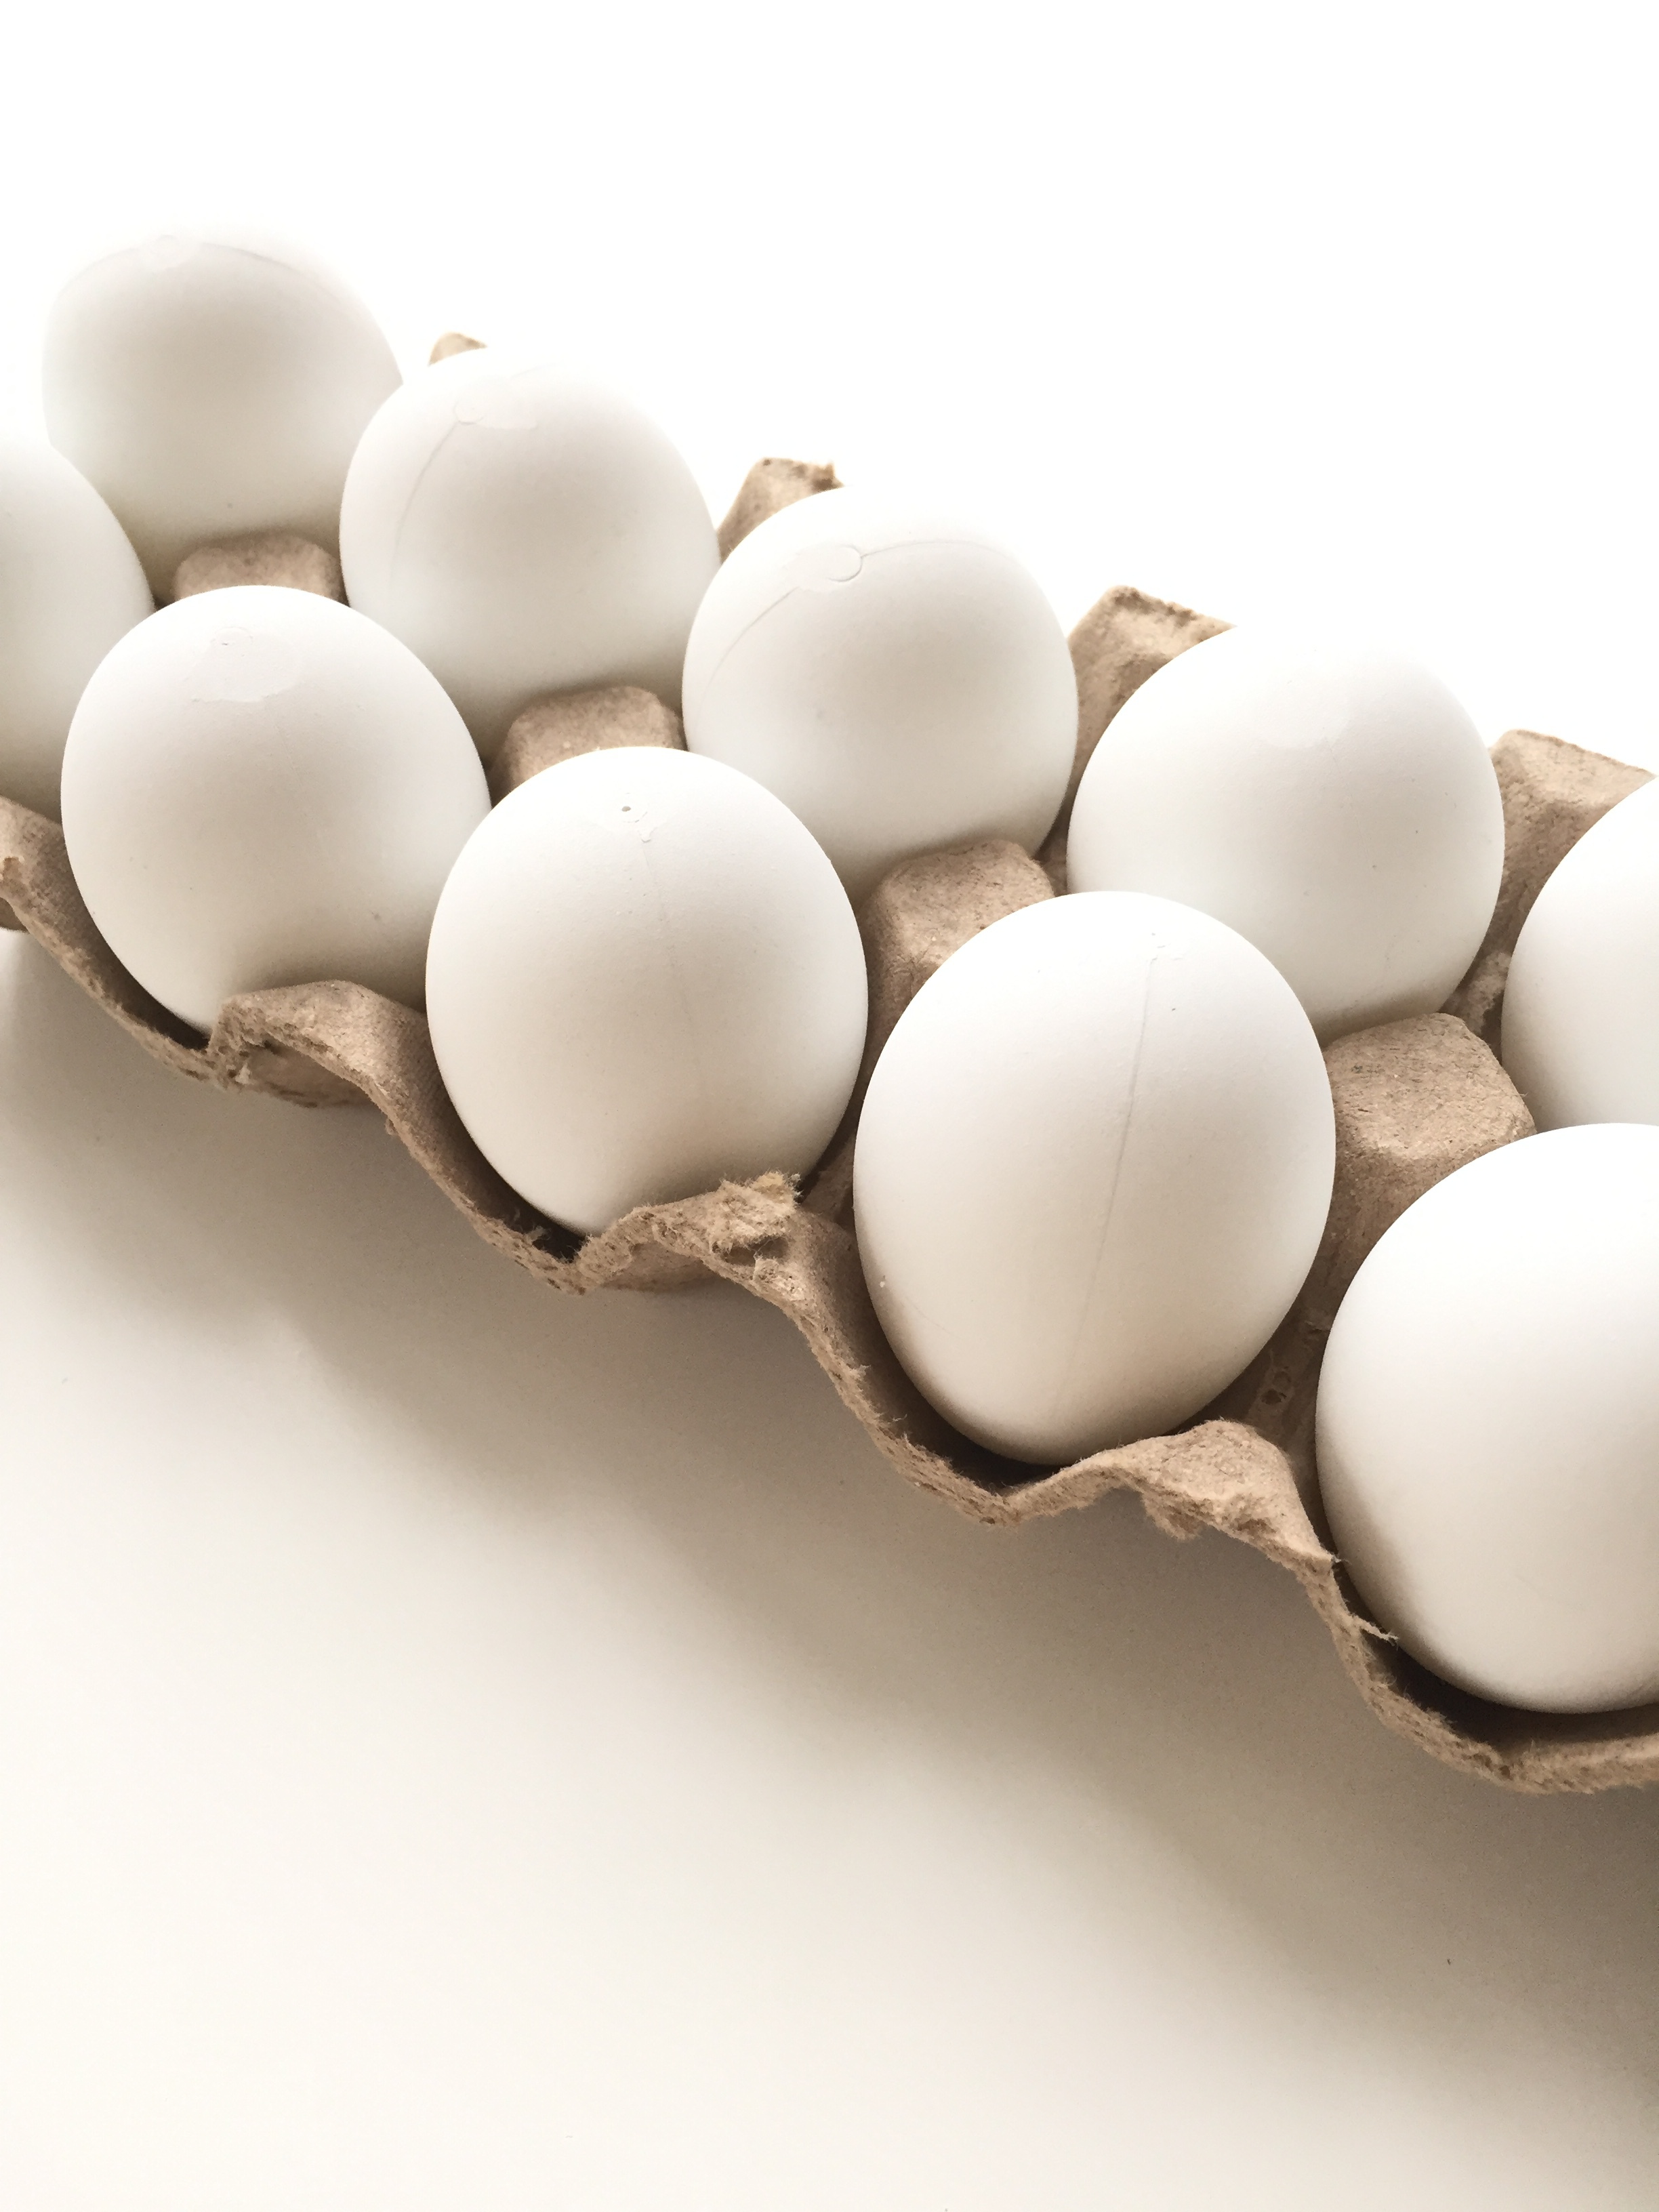
a blank canvas…
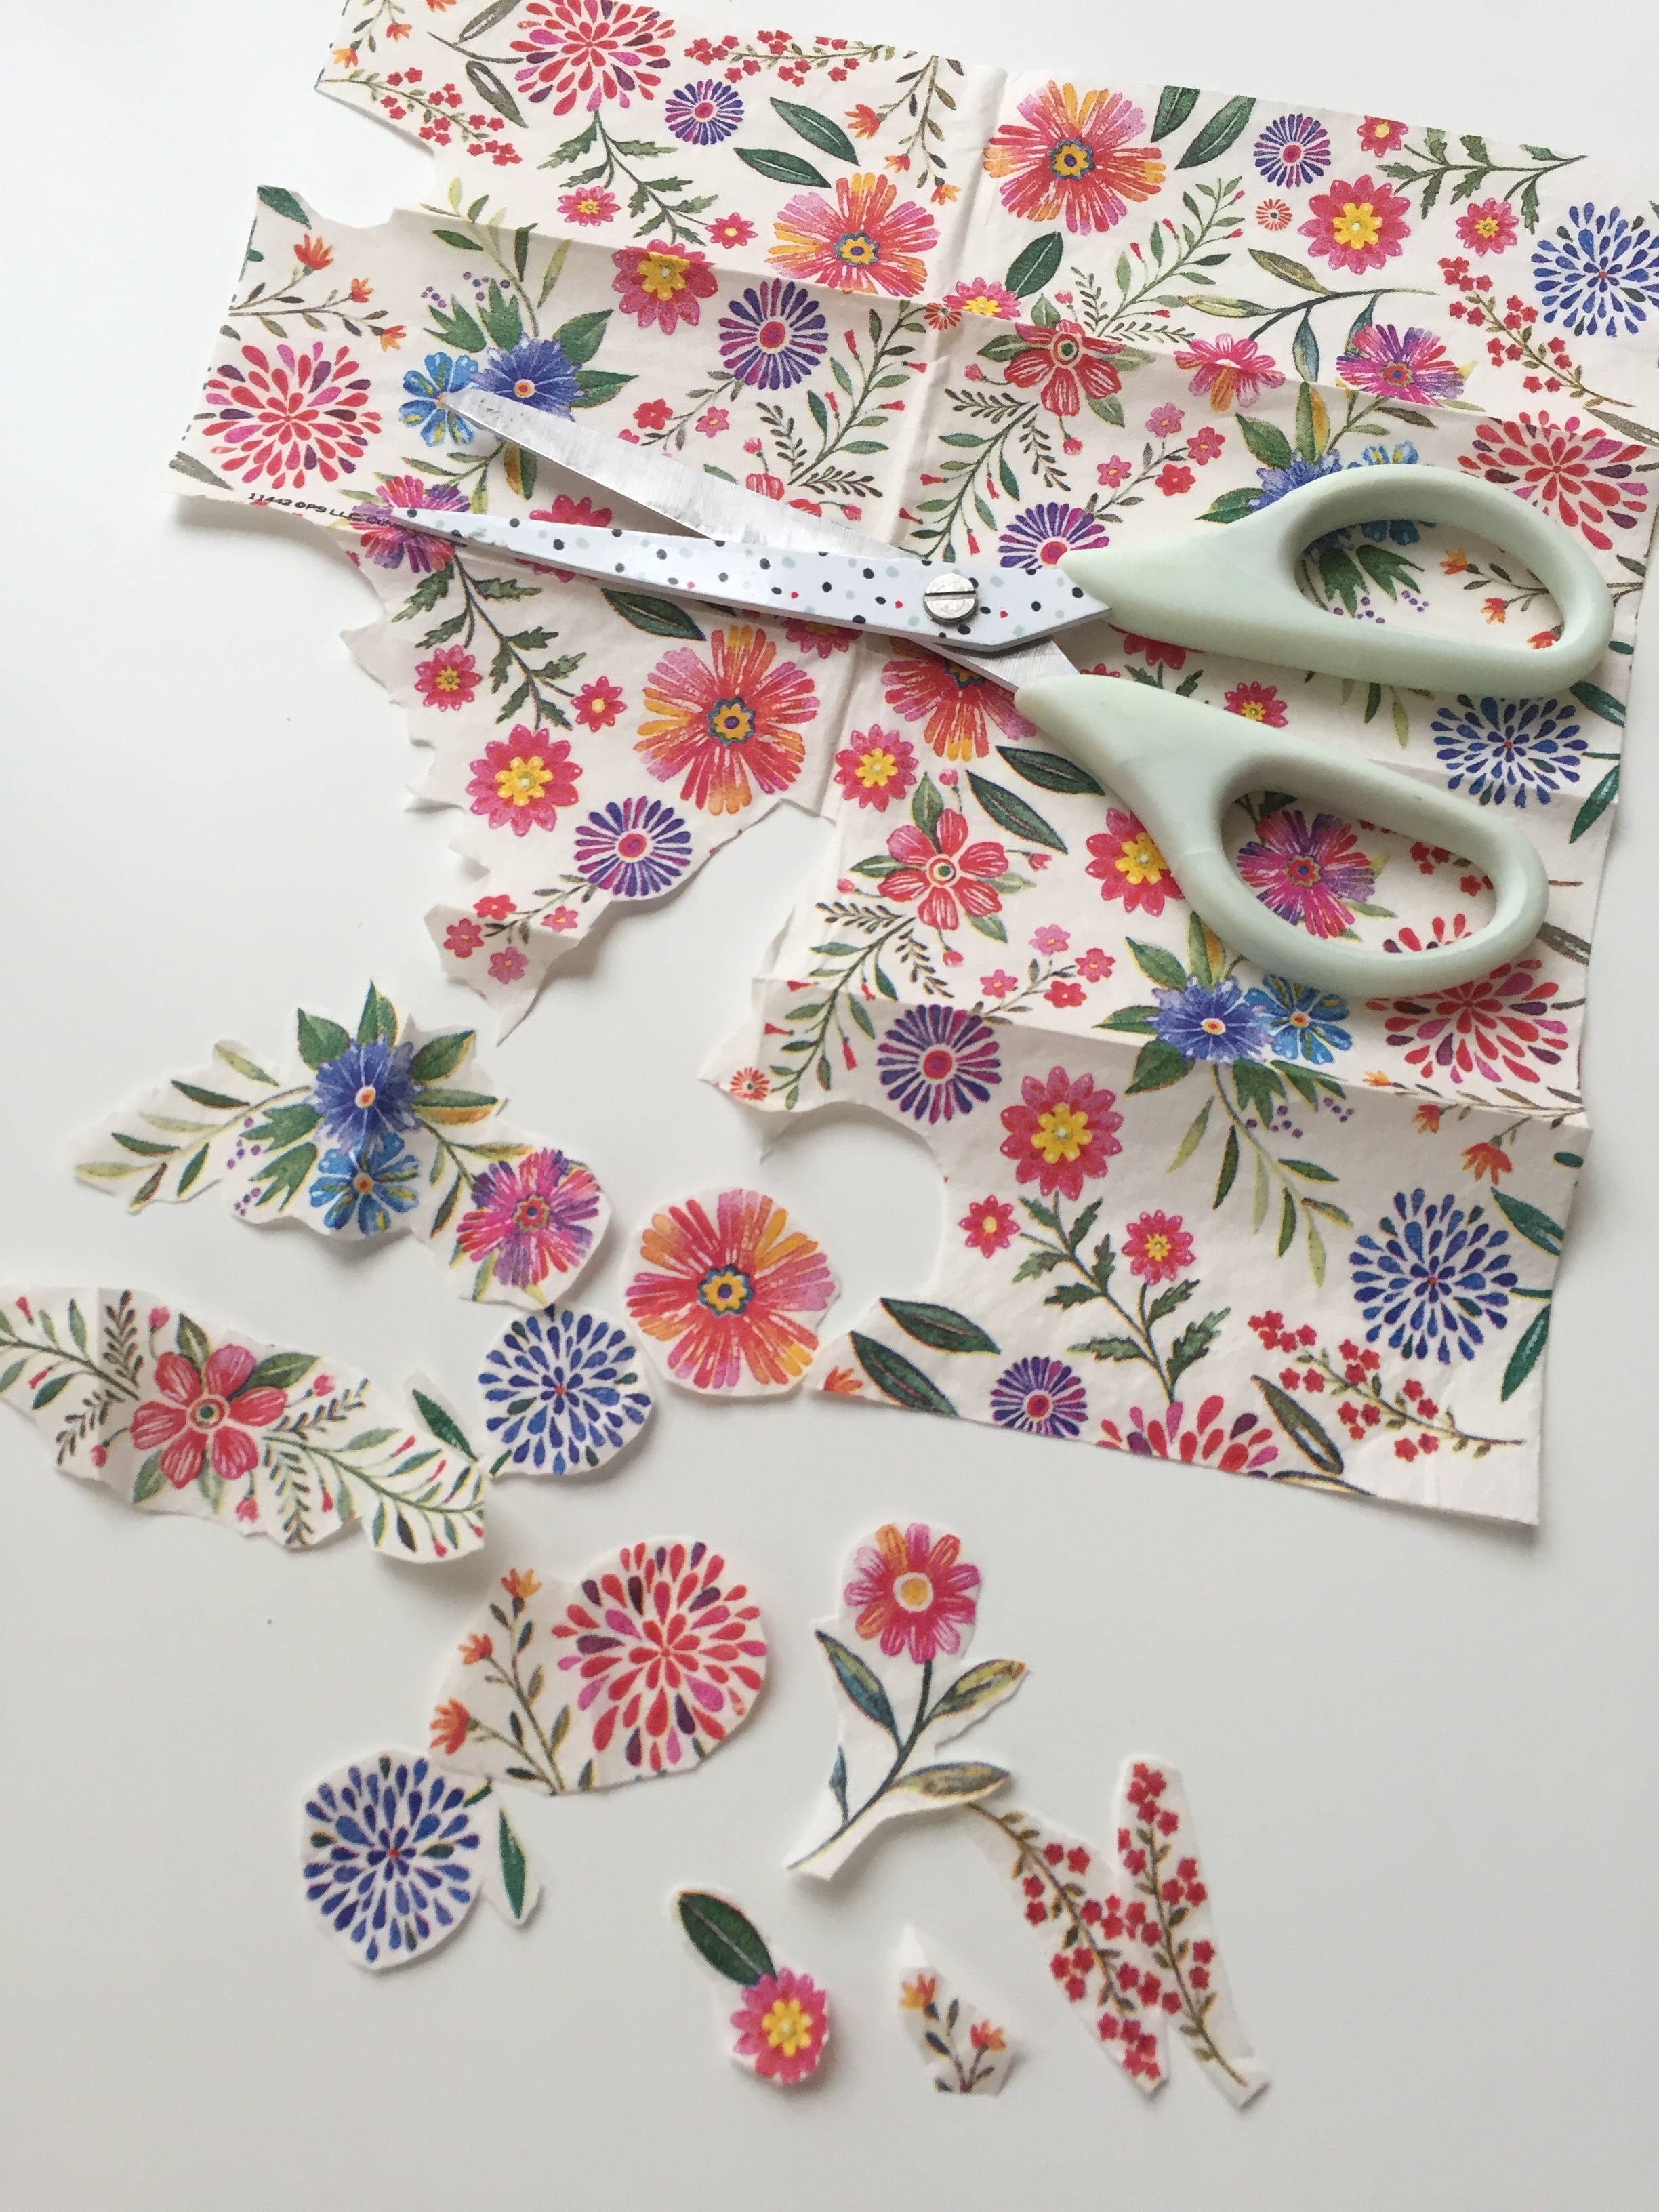
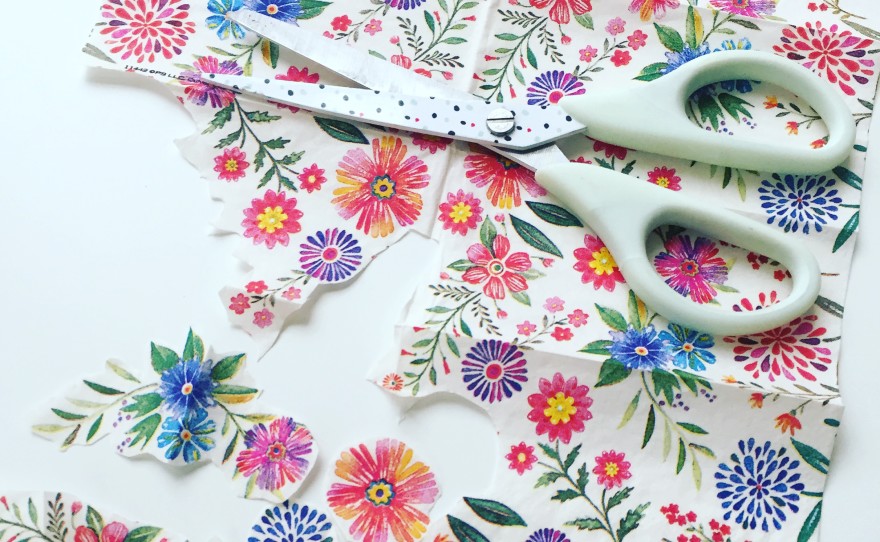
i LOVE this tissue pattern but worried that the design might be hard to work with! a small pair of scissors really helps when cutting out tiny images like these wispy flowers. and though i’m quite certain that a true decoupage artist would cringe at my sloppy cutting, i’m not trying to win a prize here–just make pretty Easter eggs! so i guess what i’m saying is if you try this project don’t feel like you need to be perfect with cutting! when they’re done and displayed together they’ll look BEAUTIFUL even with imperfect edges!
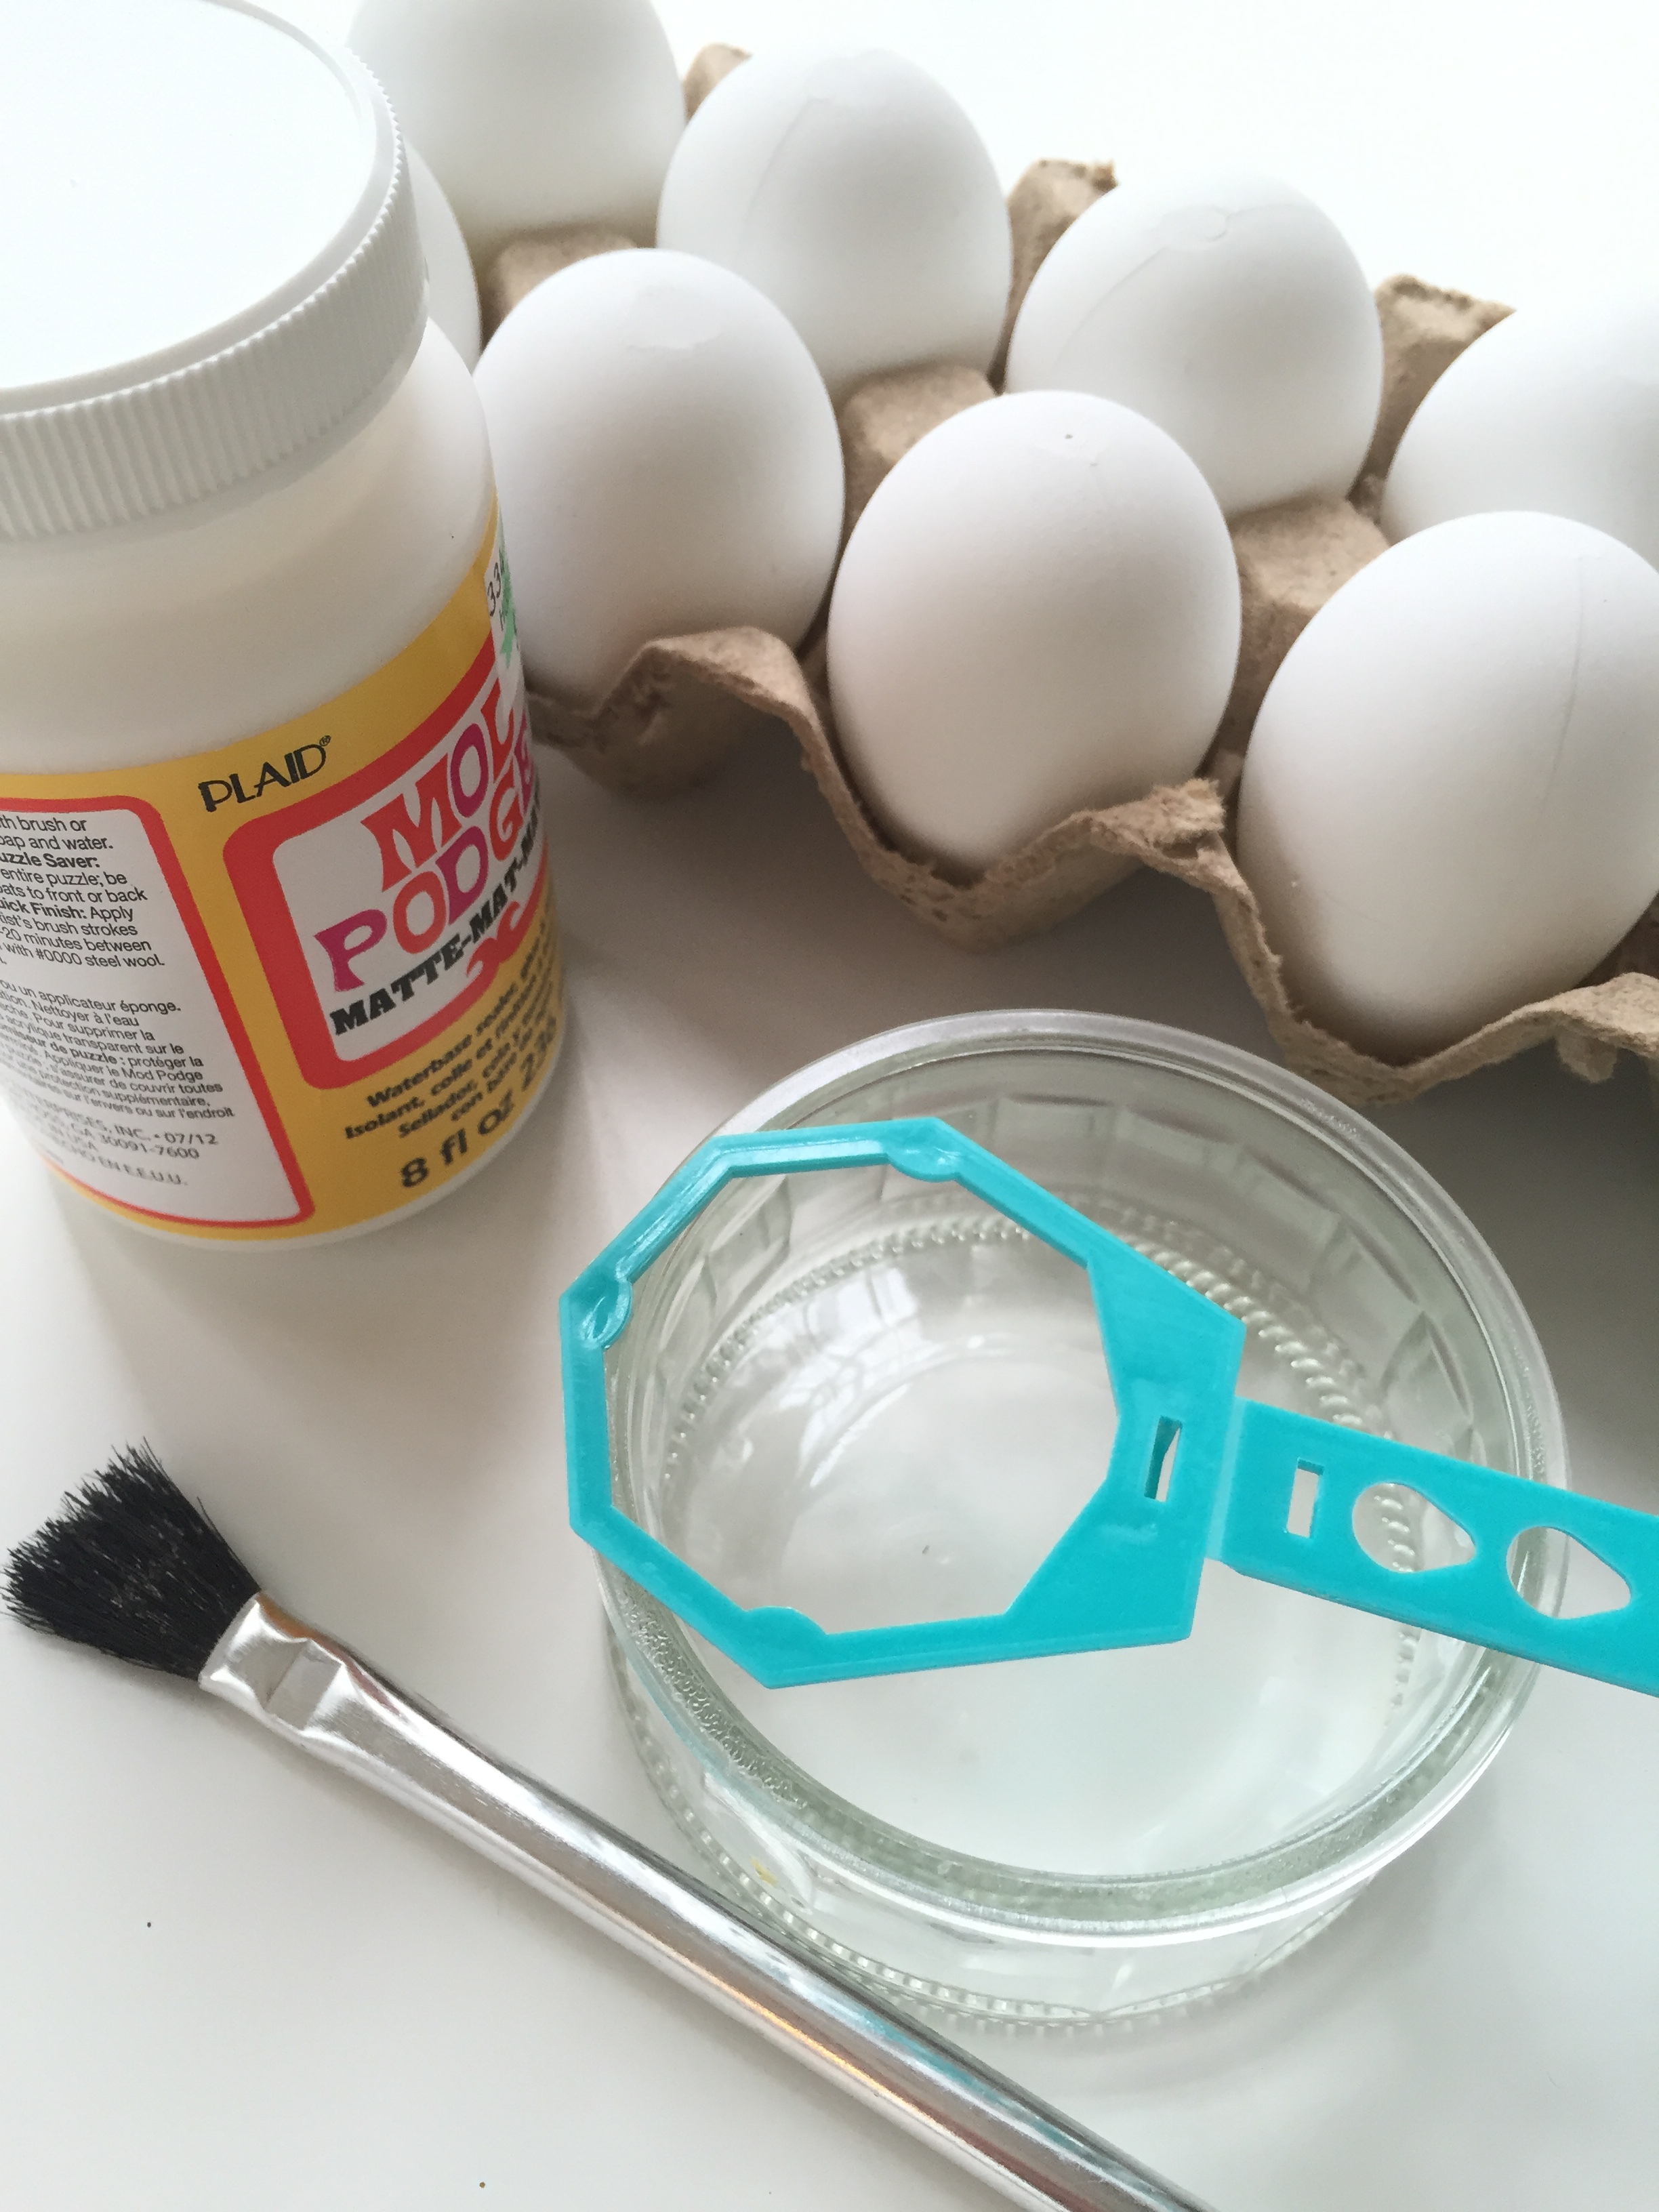
once the cutting is finished (and this step could be done way ahead) gather the simple supplies needed…glue and a small paint brush. i also saved the plastic “dunking” tool from the egg kit to hold my eggs while they were drying…
i worked on one side of the egg at a time. once i got a few flowers glued on i let the egg dry until it was no longer tacky. if it’s not dry enough when you start the other side, your fingers may stick to the fragile tissue pulling portions off the egg…so a little patience comes in handy! and don’t be afraid to use a lot of glue…it dries clear and you want to make sure the paper pieces are covered well. i brushed half the egg with glue, pressed the tissue flowers on top, then covered them with more glue using the paintbrush to smooth out as many wrinkles as possible. it really doesn’t take too long to dry!
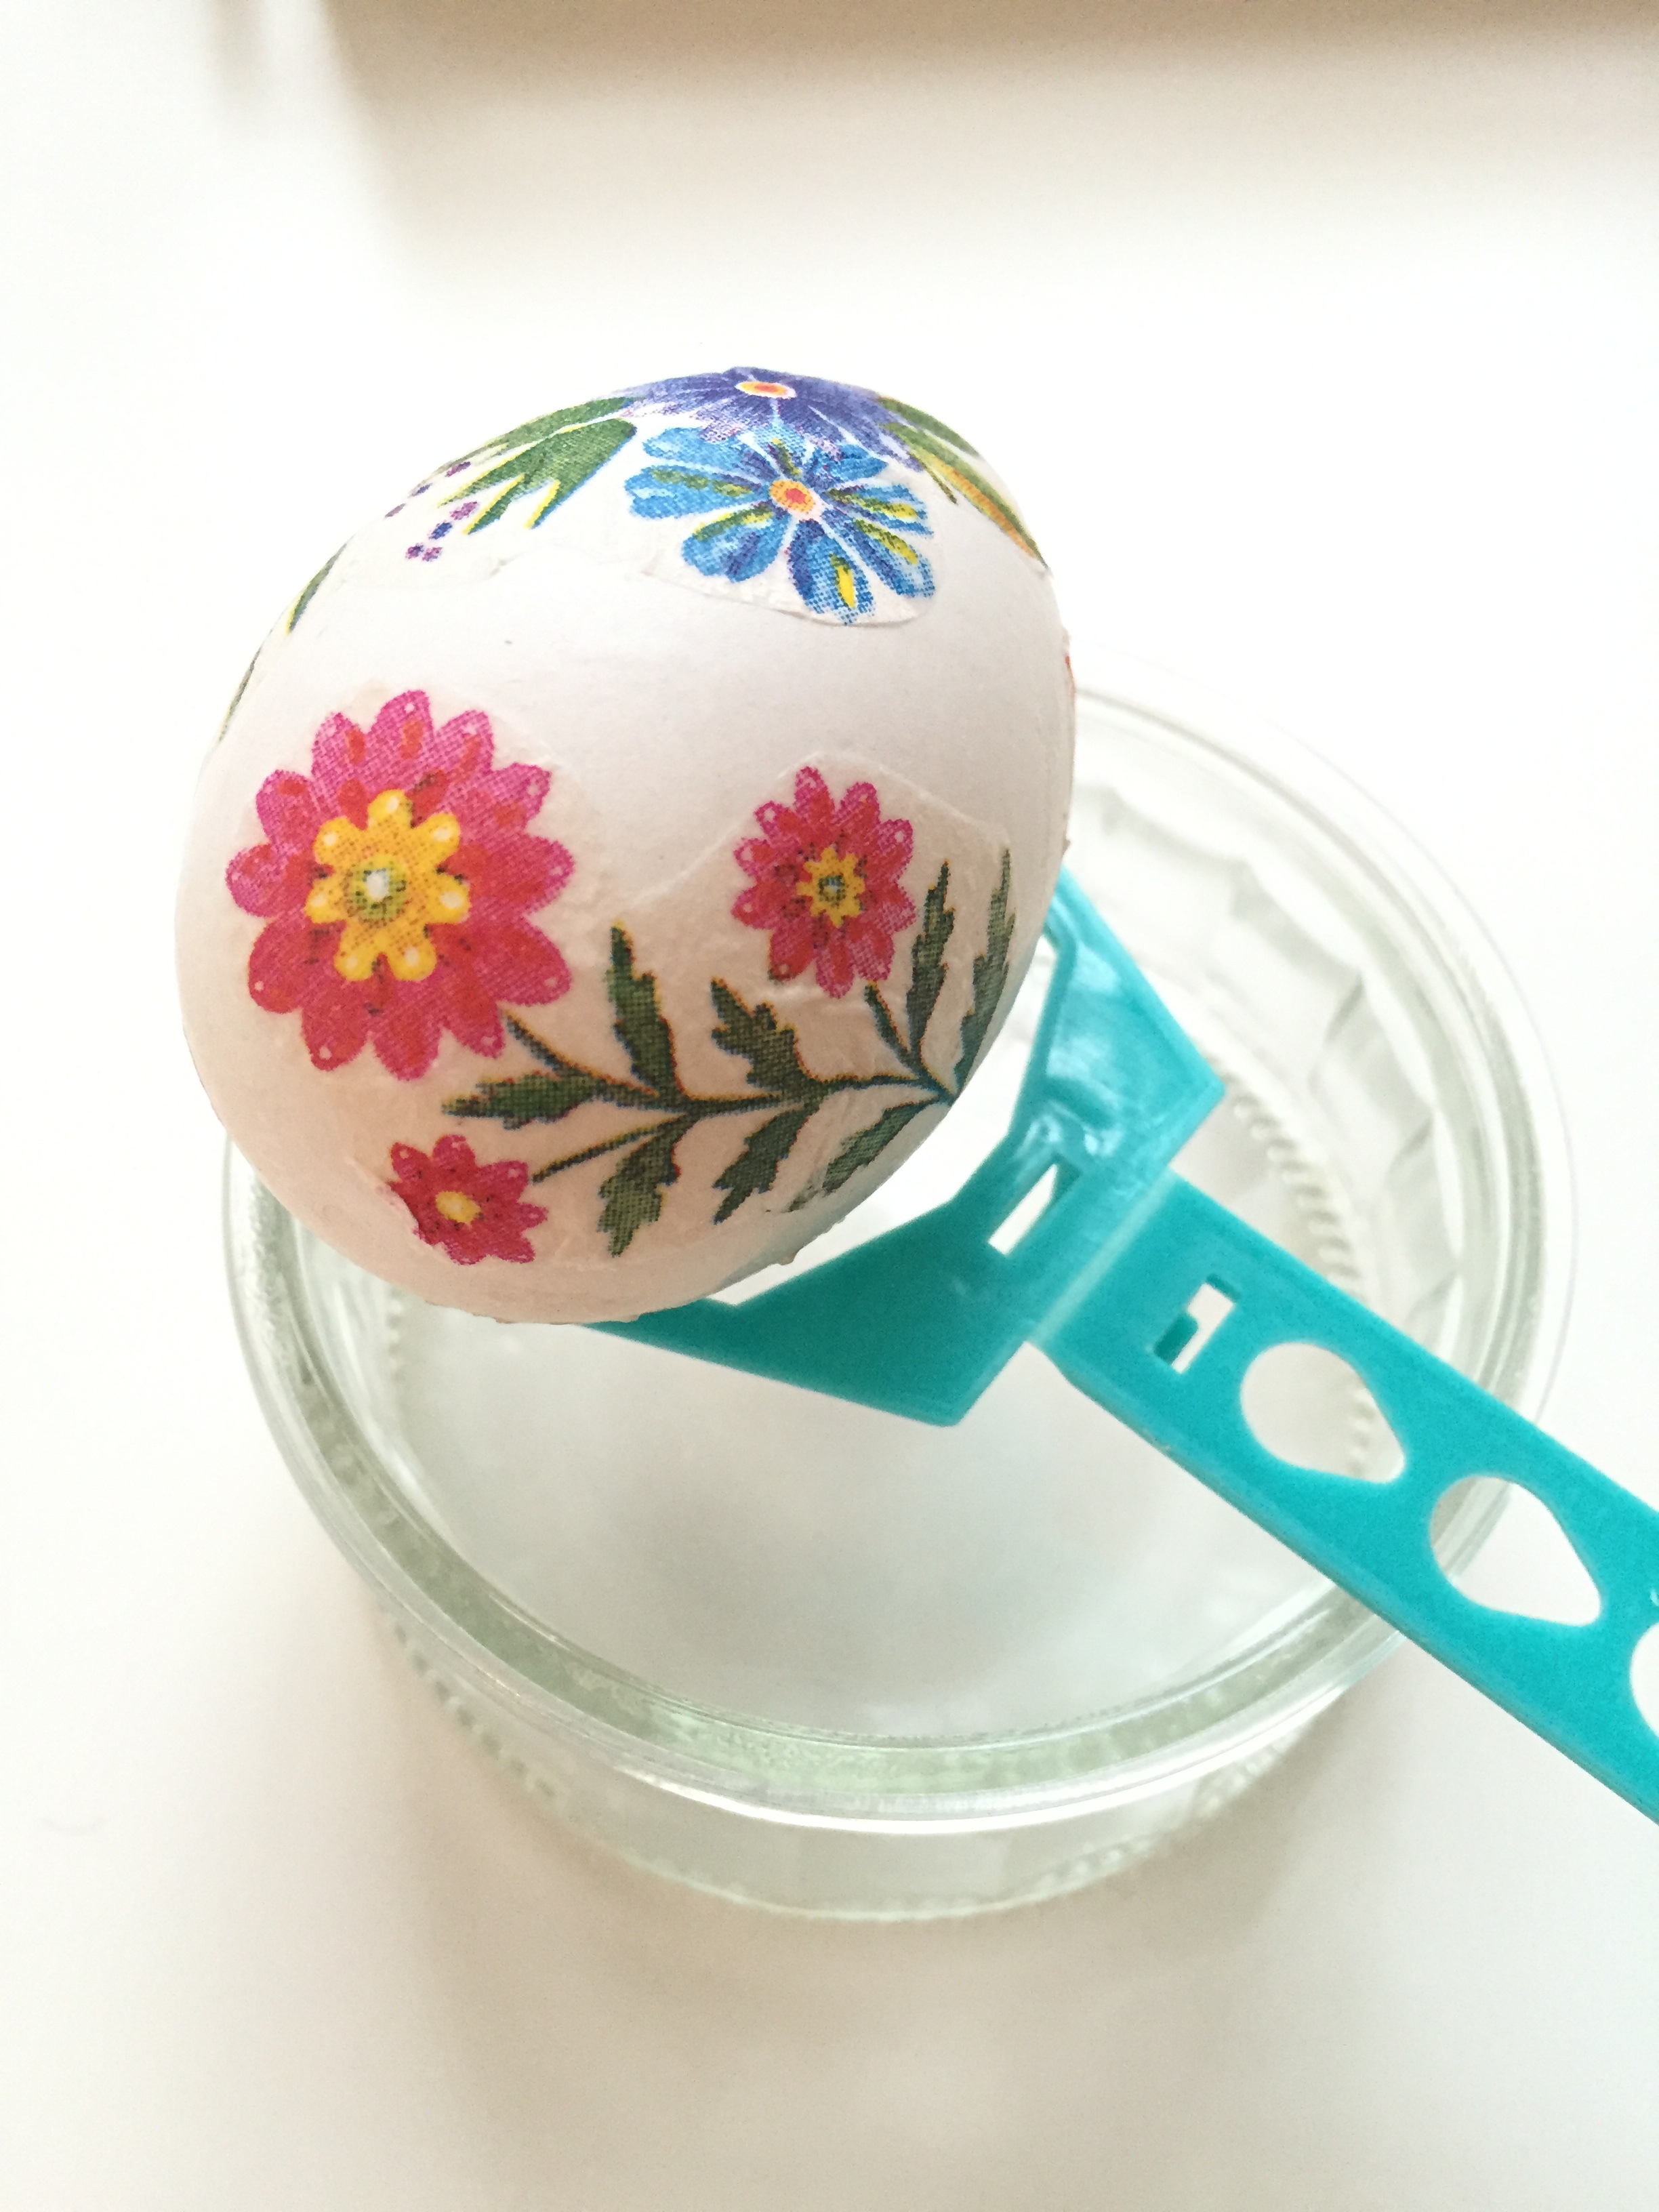
be prepared for sticky fingers…but that’s half the fun!
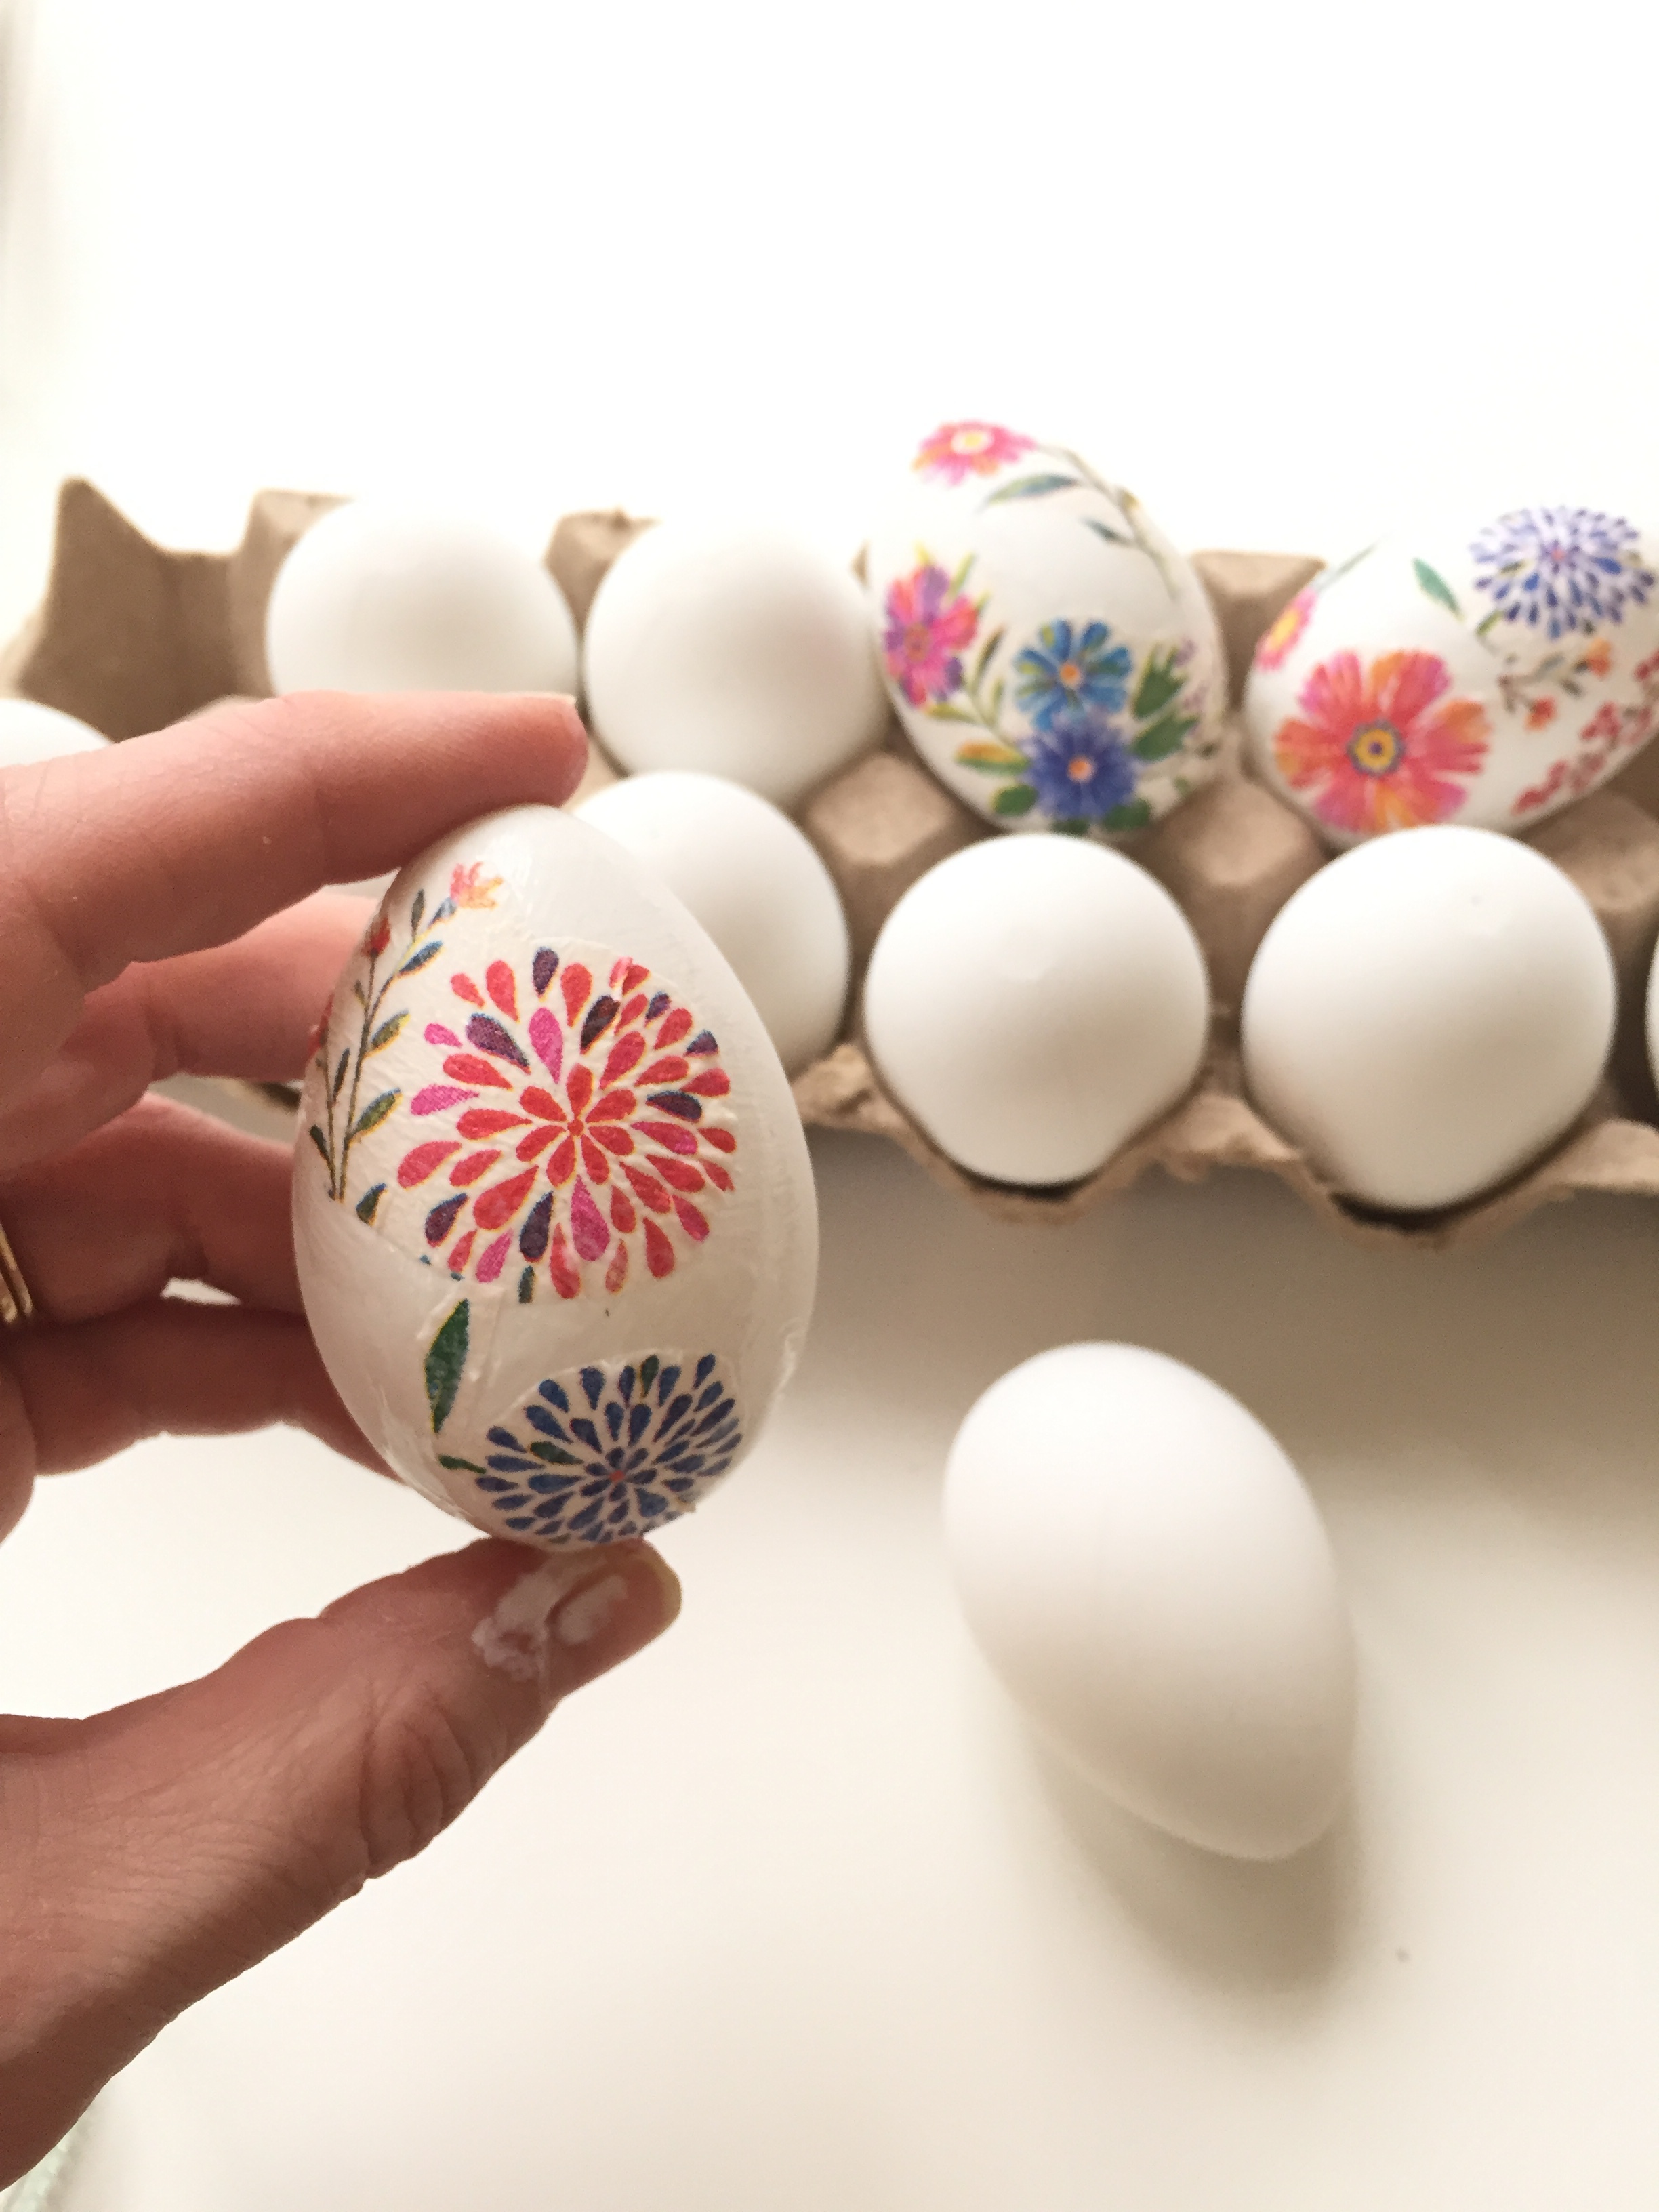
i also found that i could carefully lay the half-decoupaged eggs in the carton to dry since i only had one plastic holder.
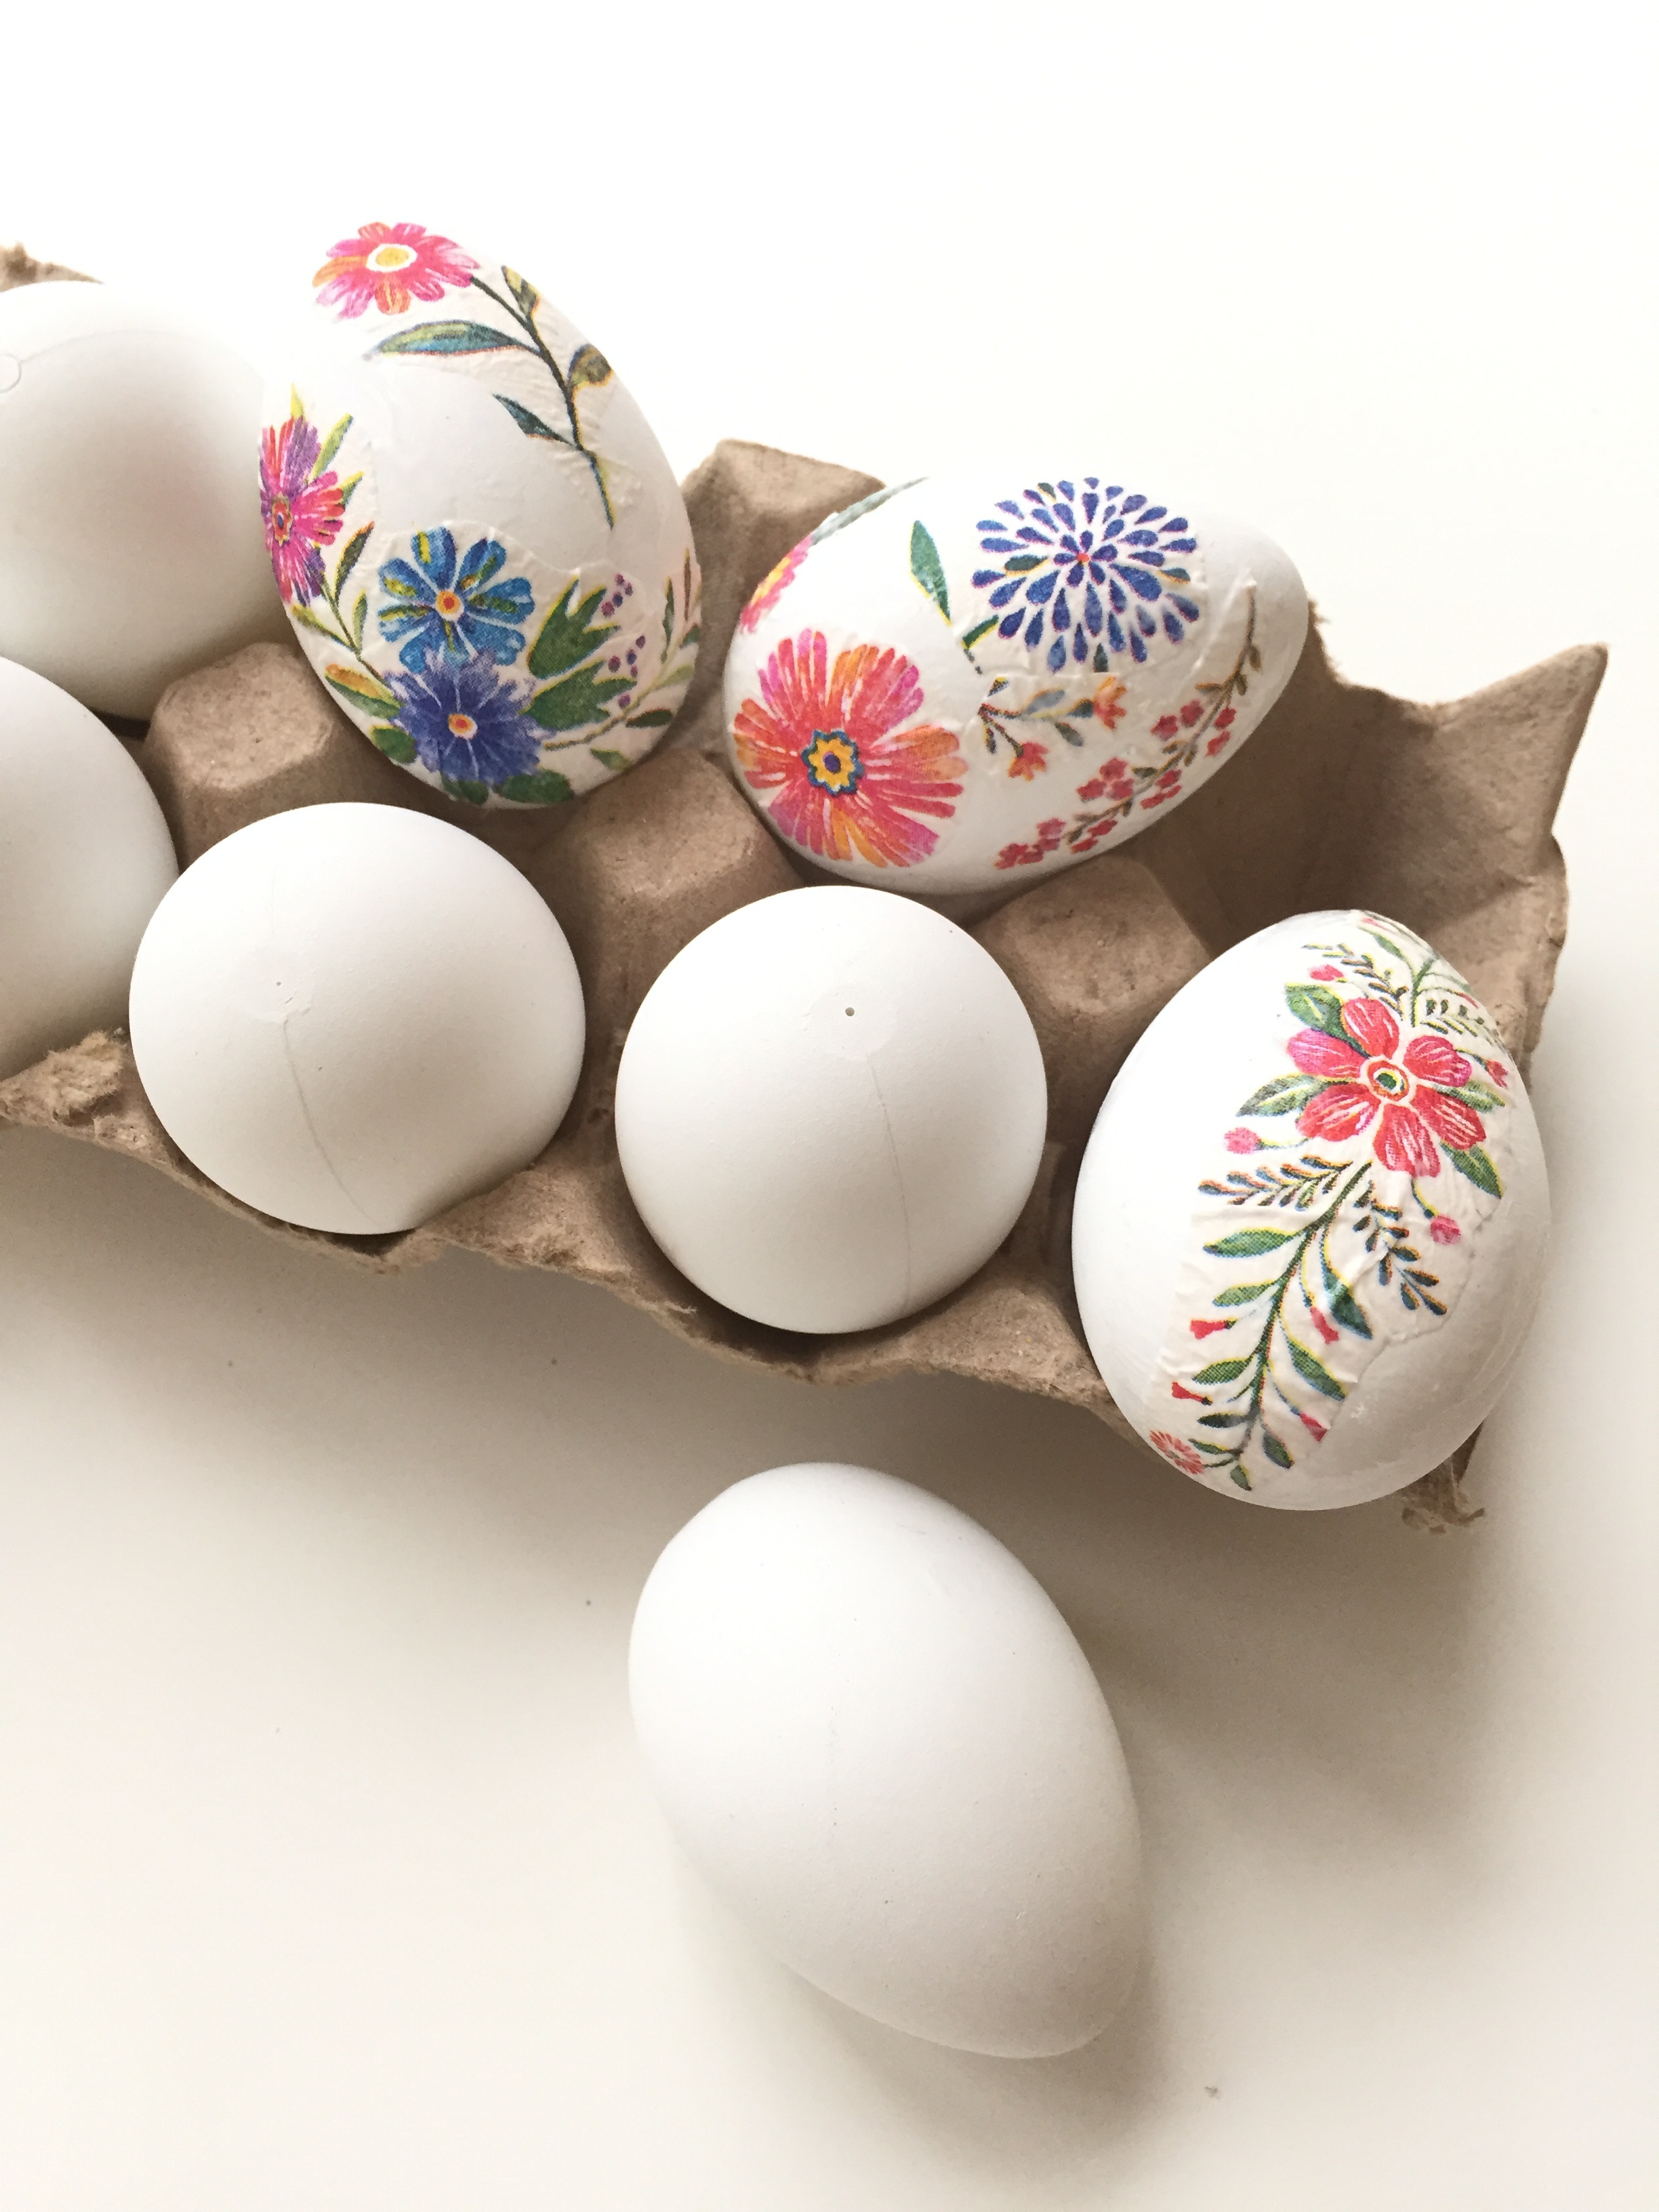
once both sides were covered with flowers and they were ALMOST totally dry, i took each egg and pressed out any remaining wrinkles in the tissue with my fingernail…you could use a boning tool to do this but i didn’t have one and my nail was free! (if you do this step when they’re too wet you might rip the tissue) then i let them finish drying in this cute crate!
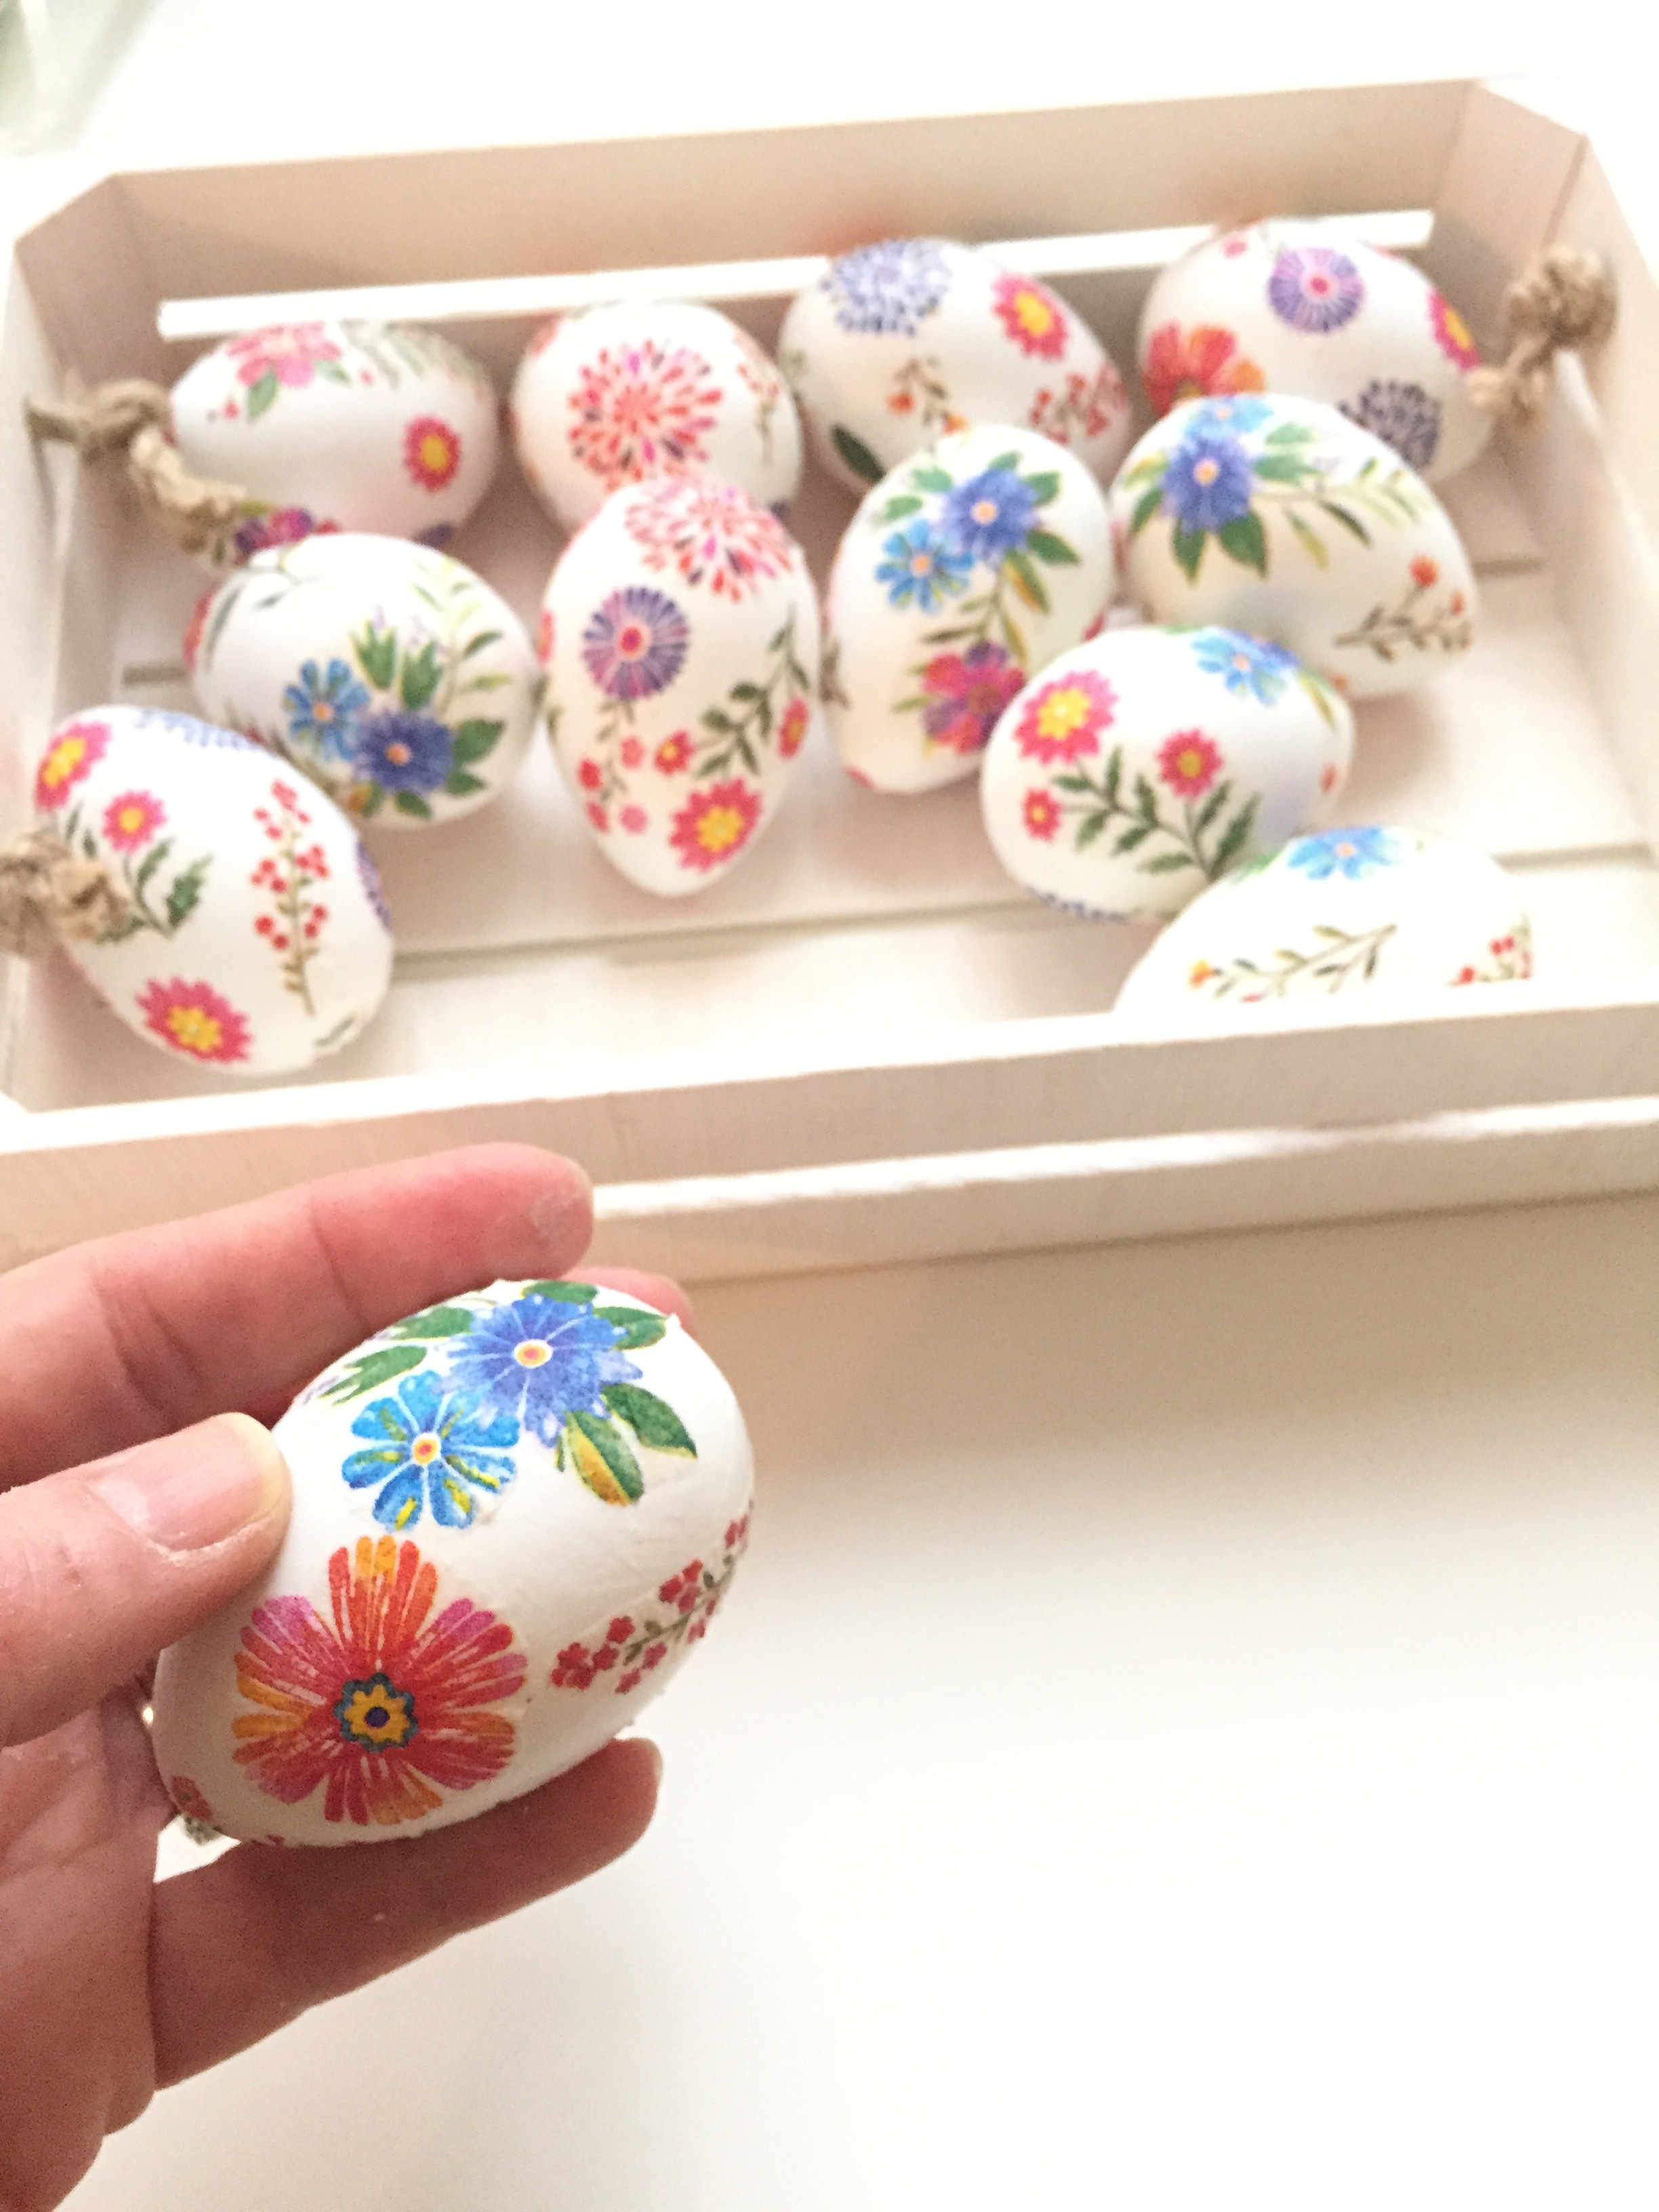
a little paper shred and i’ve got a box of beautiful eggs for the holiday…and i’m kind of loving the result!
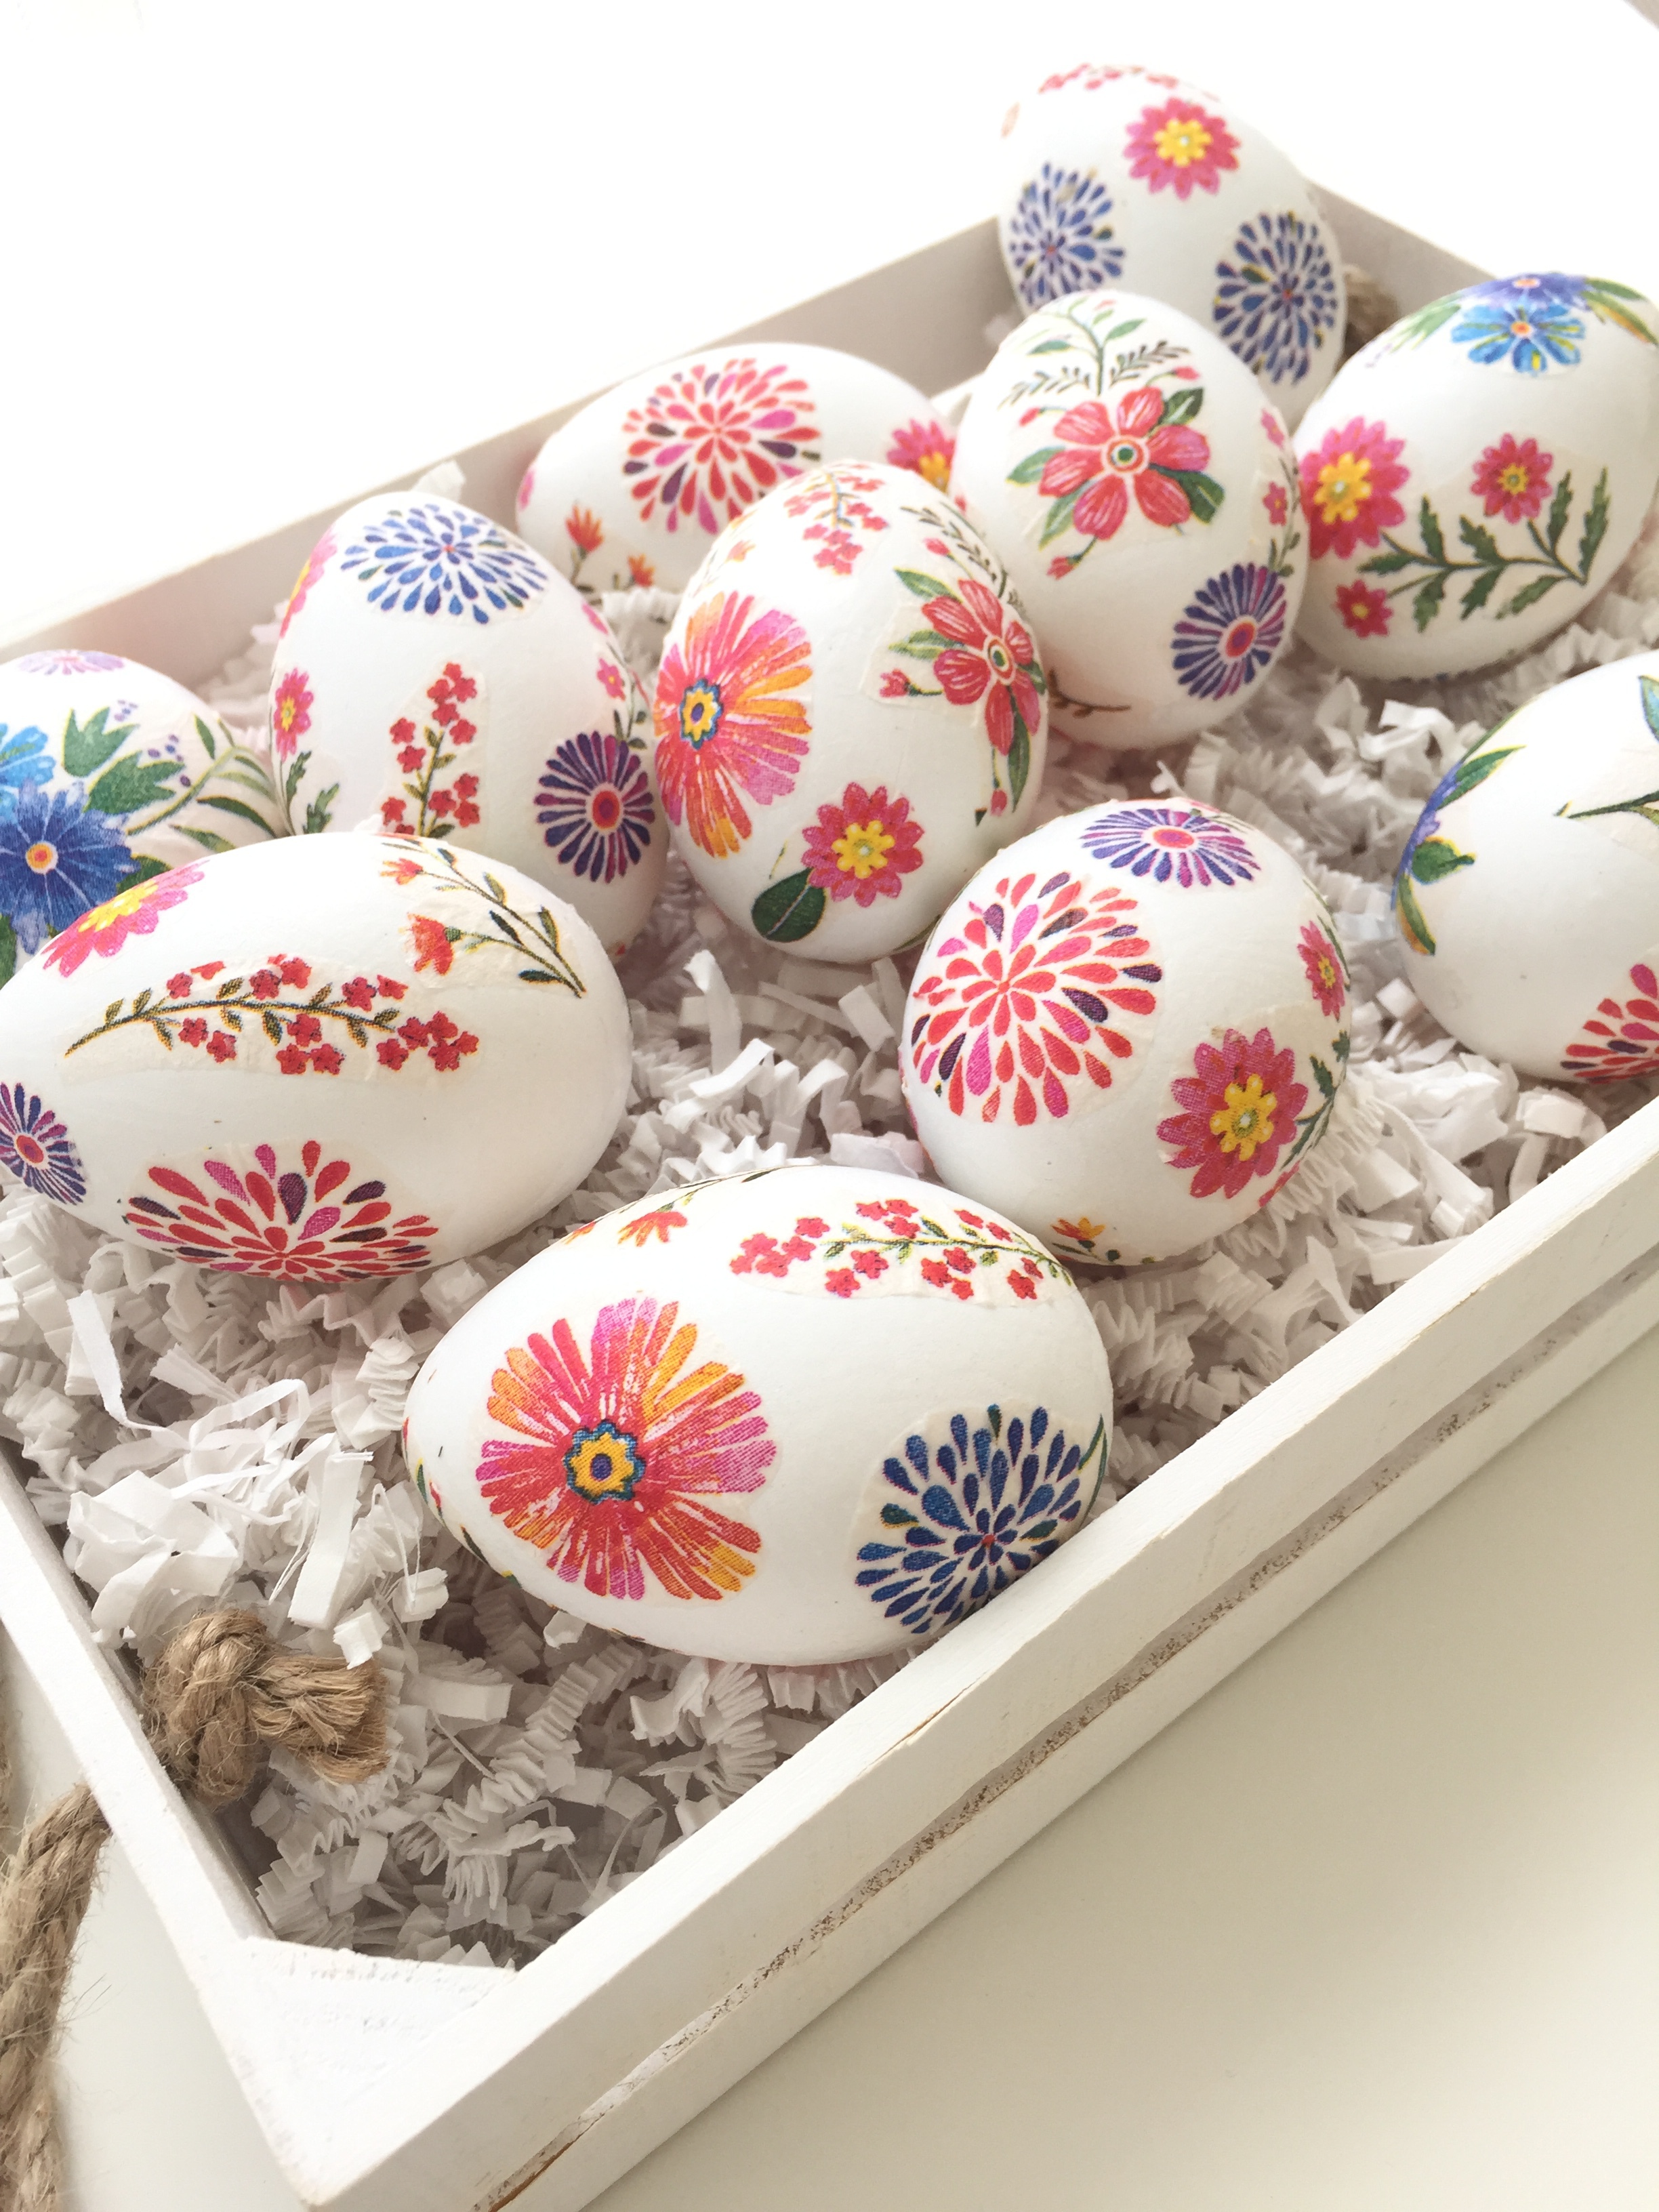
i haven’t decoupaged in years and i’m so glad i decided to give it a try again! AND the next time i see a pretty pack of tissues…i won’t be thinking just noses anymore!

Diane
February 29
Brilliant and beautiful
Lori
February 29
Thank you so much!
Anonymous
March 1
Love them!