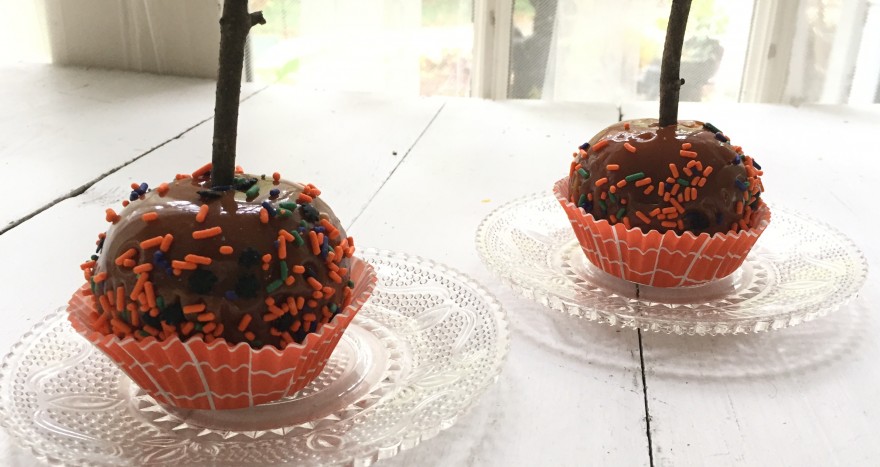
I love to surprise my boys with simple Halloween treats…whether it’s an after school snack or a holiday breakfast I’m always looking for fun ways to celebrate–especially if it’s easy to pull off! Today I want to share two simple treats…one waiting for them when they get home from school today, and the other they’ll receive tomorrow on the actual holiday. Even though I’m making these Halloween goodies for my family only, they would be fabulous for guest too…or even wonderful party favors for all those special ghosts and goblins that may come calling! So have a peek at how I cut some corners but ended up with some Halloween sweets and treats…fit for the Great Pumpkin himself!
easy holiday treats for your ghouls…
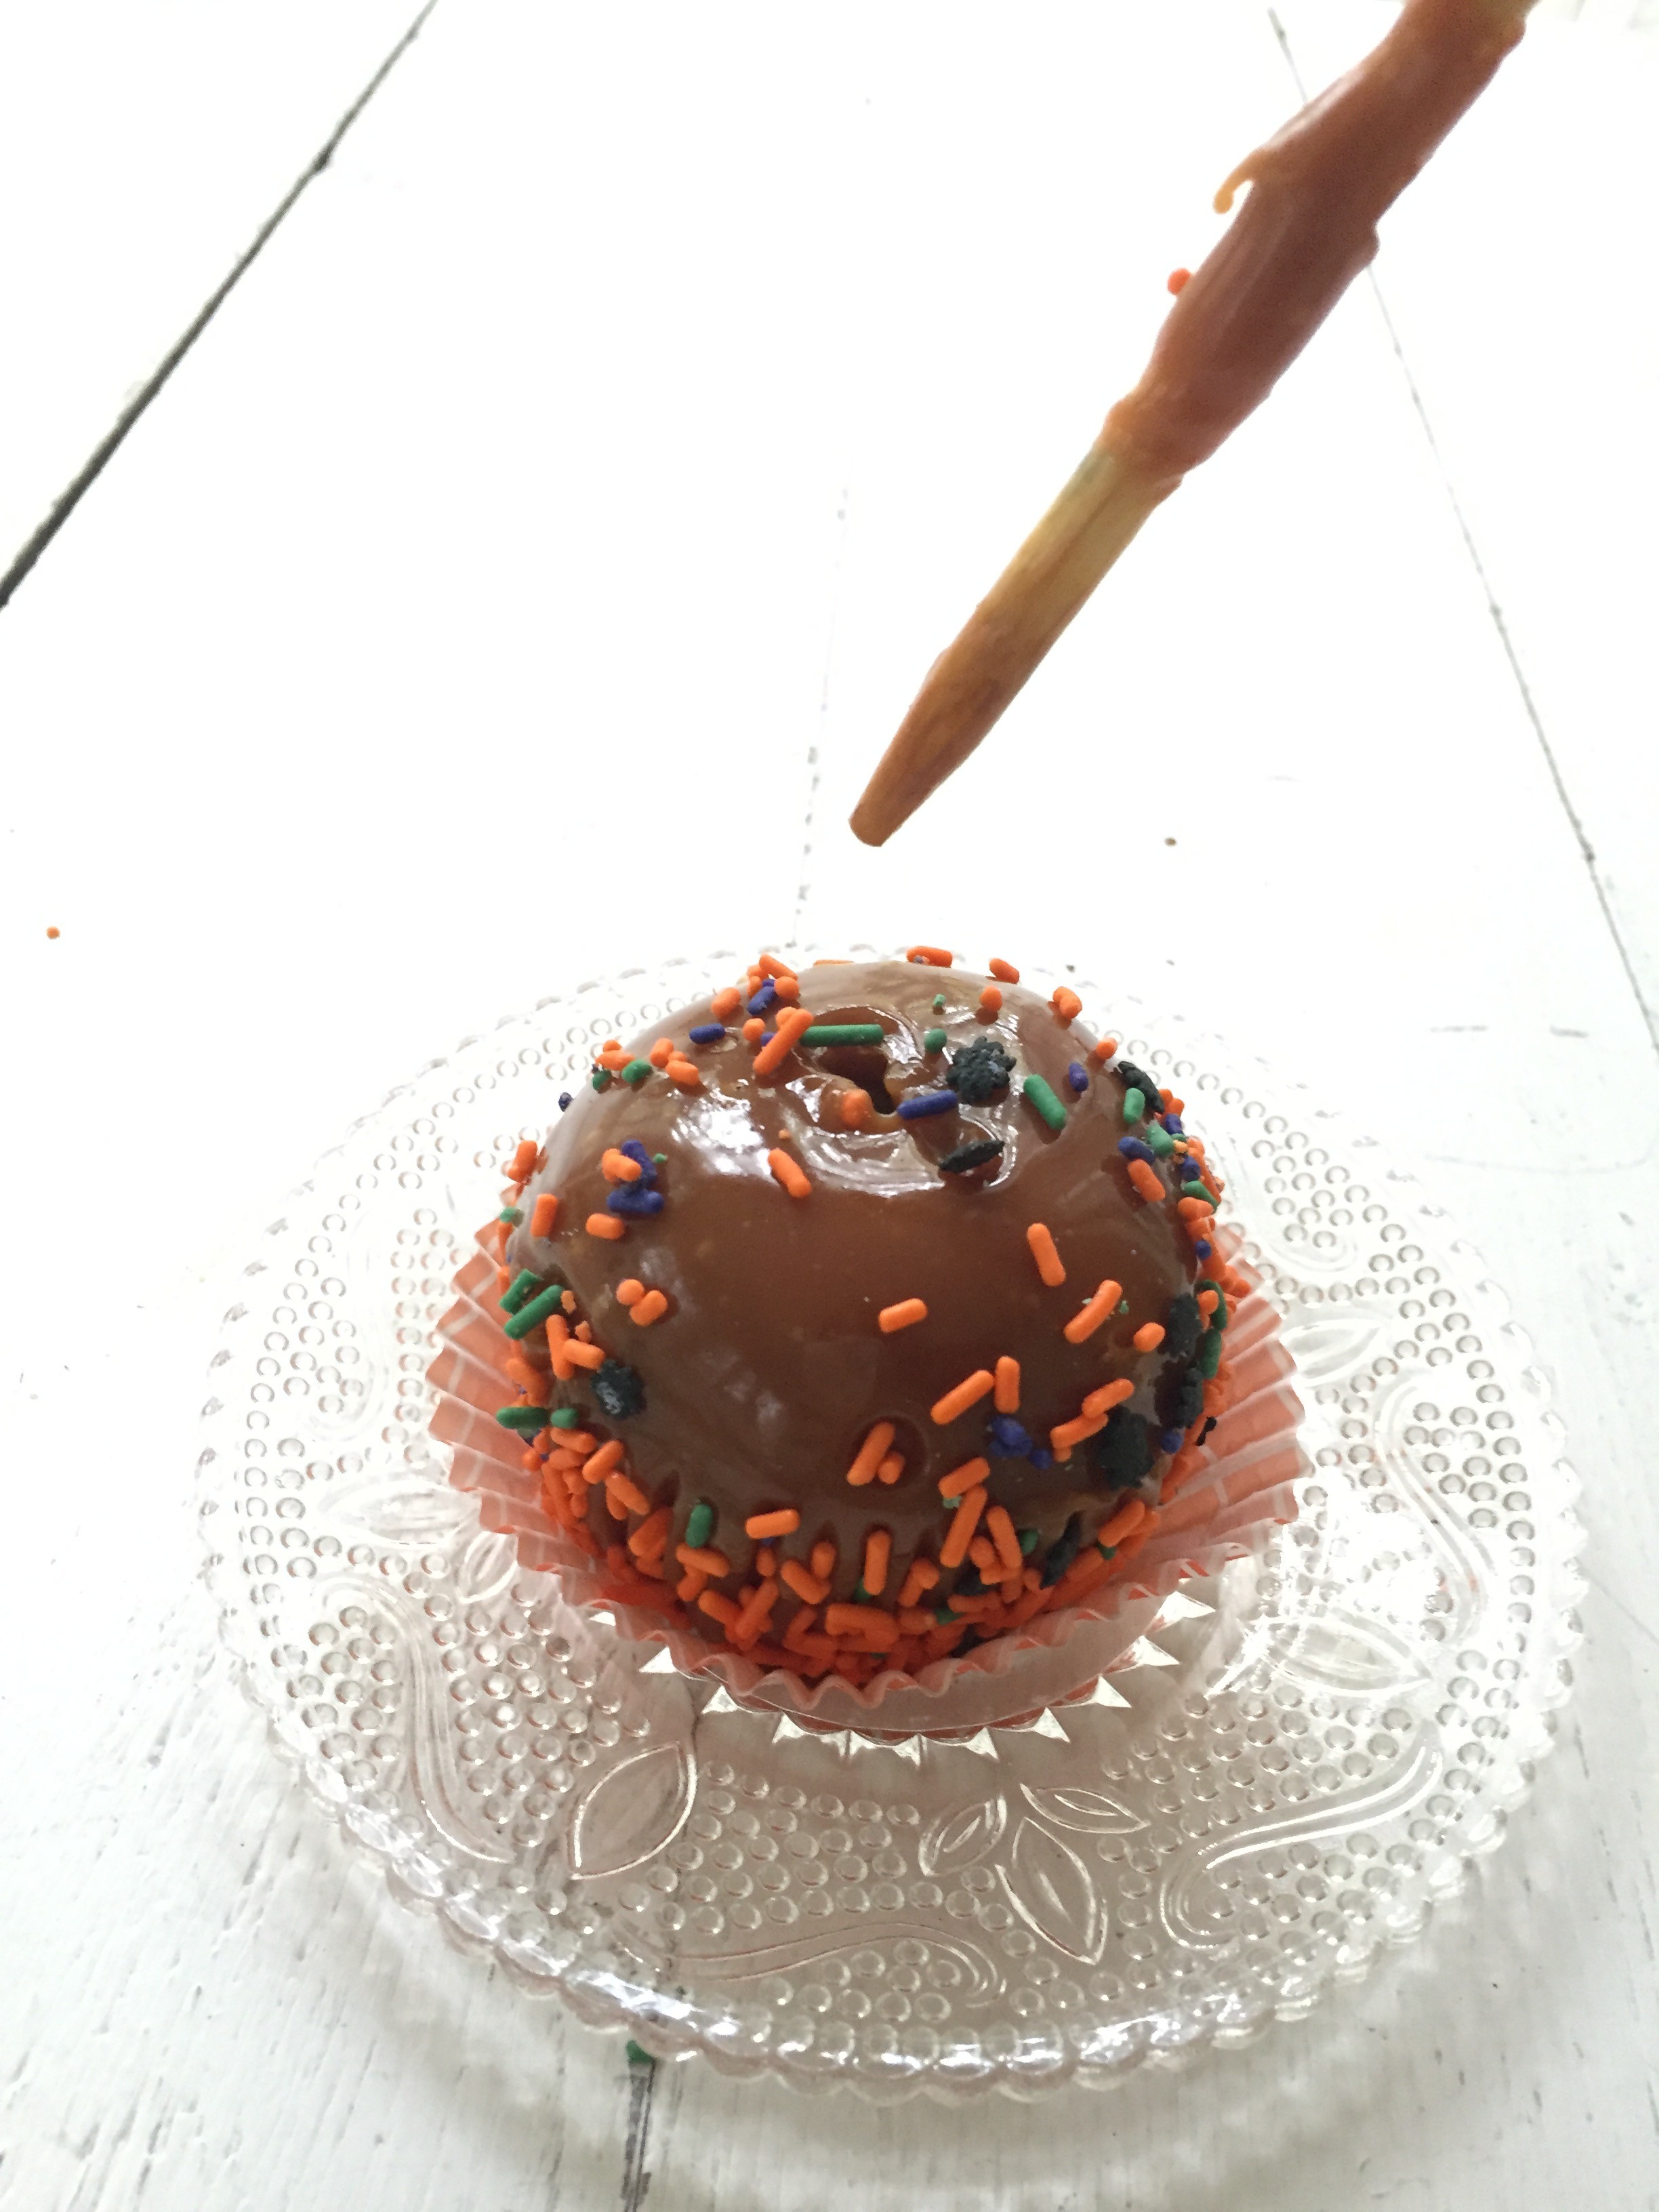
one traditional fall treat that comes to my mind is caramel apples! they’re so festive and even though hard to eat, you have to admit they look wonderful on a holiday table! you can always slice them up right before serving which makes those sweet bites much easier on your pearly whites! since the weekend kind of snuck up on me…i decided to take a shortcut on the holiday apples for my boys. a grocery store package of caramel apples was actually cheaper than buying all the supplies to make them…and with a few quick substitutes my apples looked like i slaved in the kitchen! my secret? all i did was unwrap the purchased apples and let them sit near my warm oven to soften the caramel…
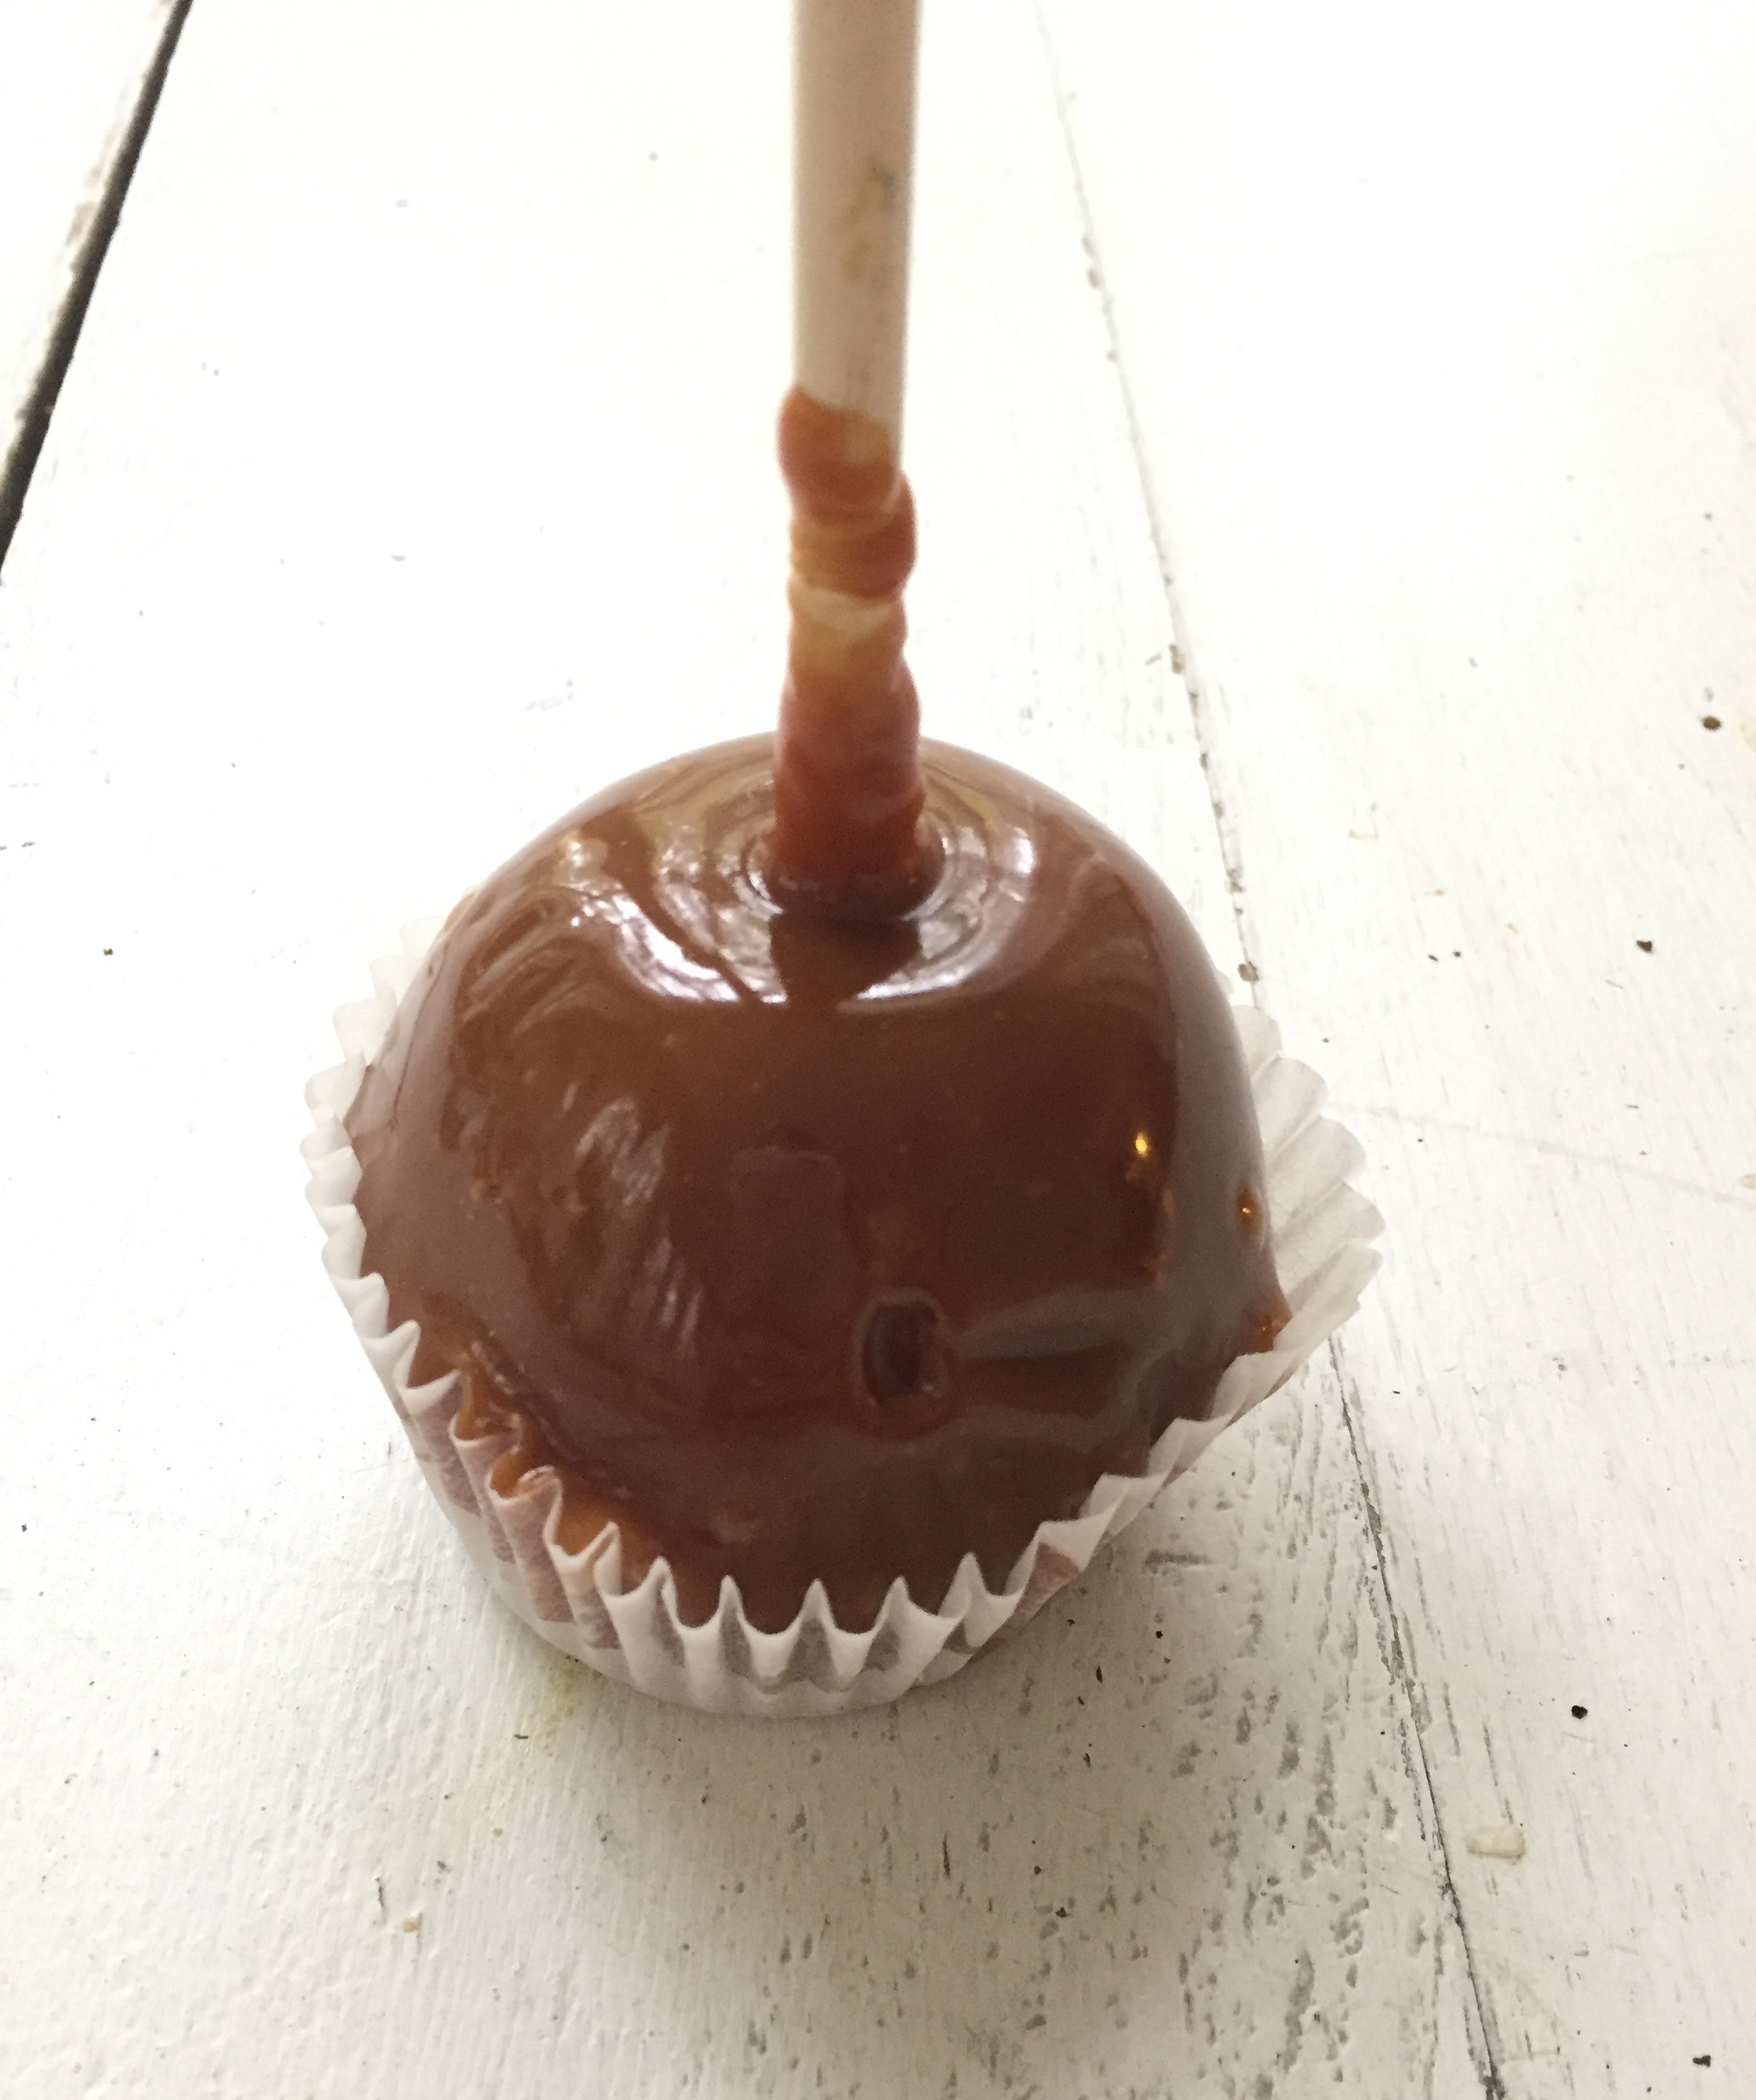
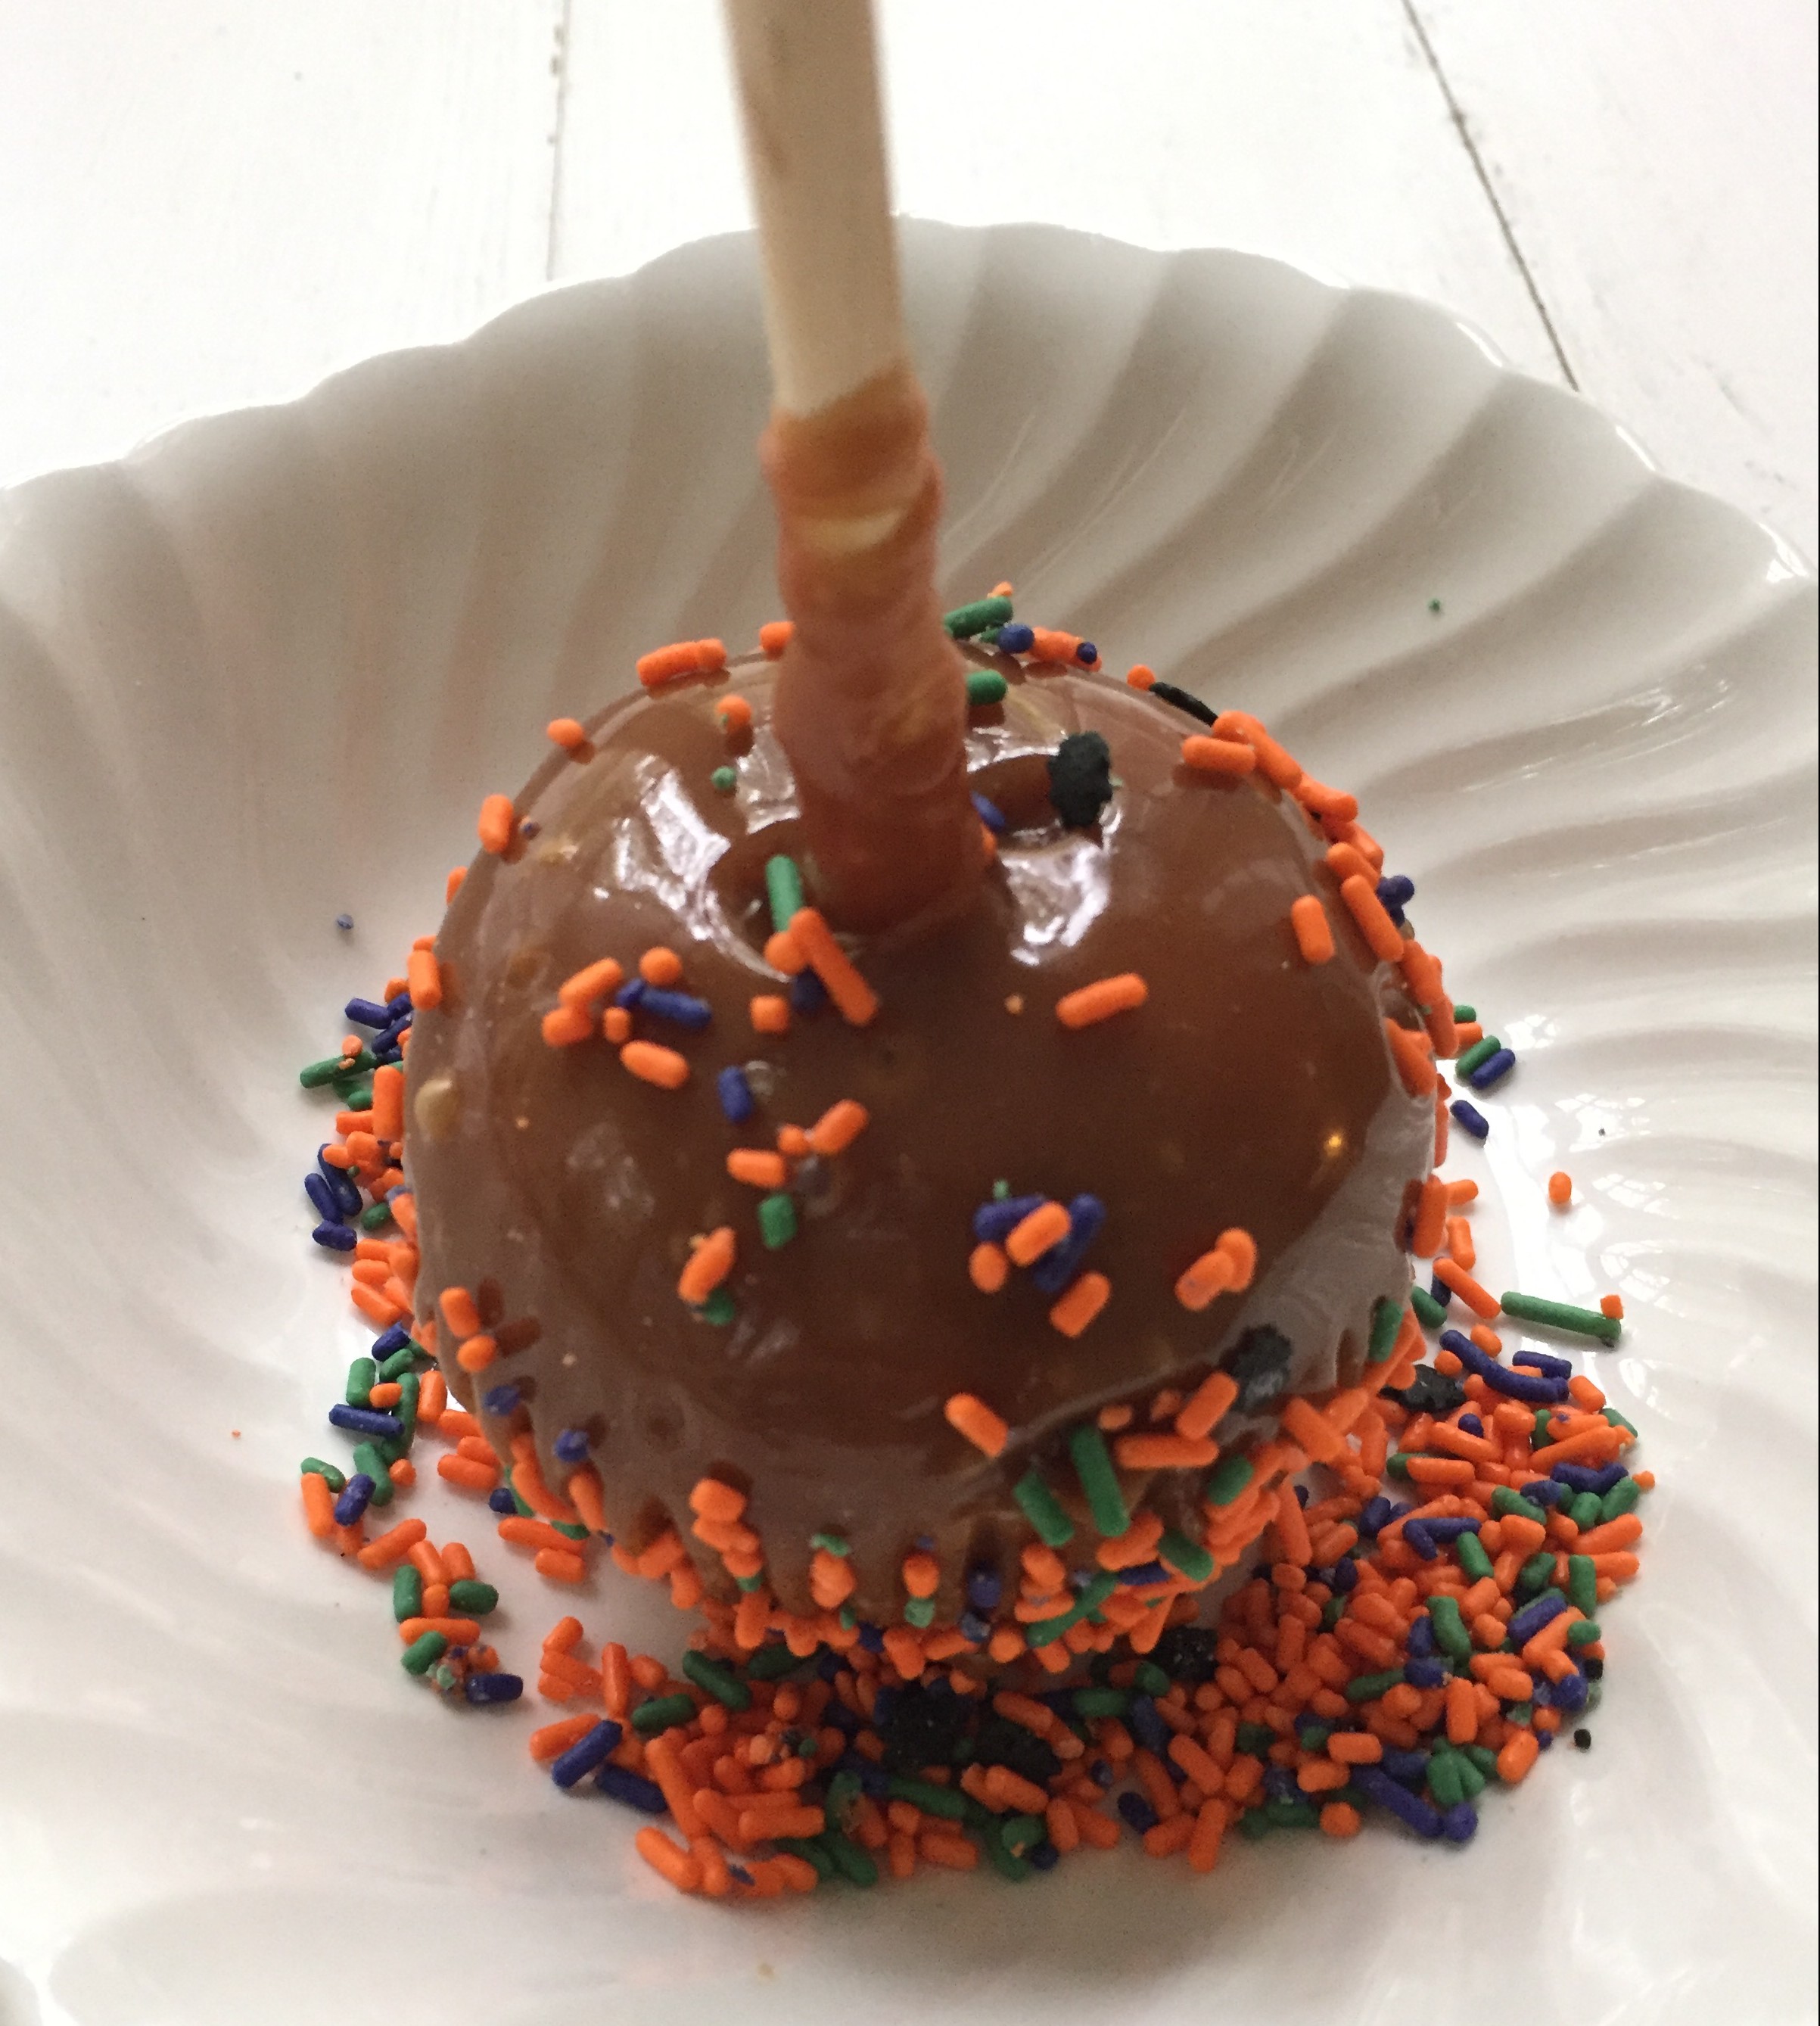
then i rolled it around in some colorful sprinkles…
picked a new liner…
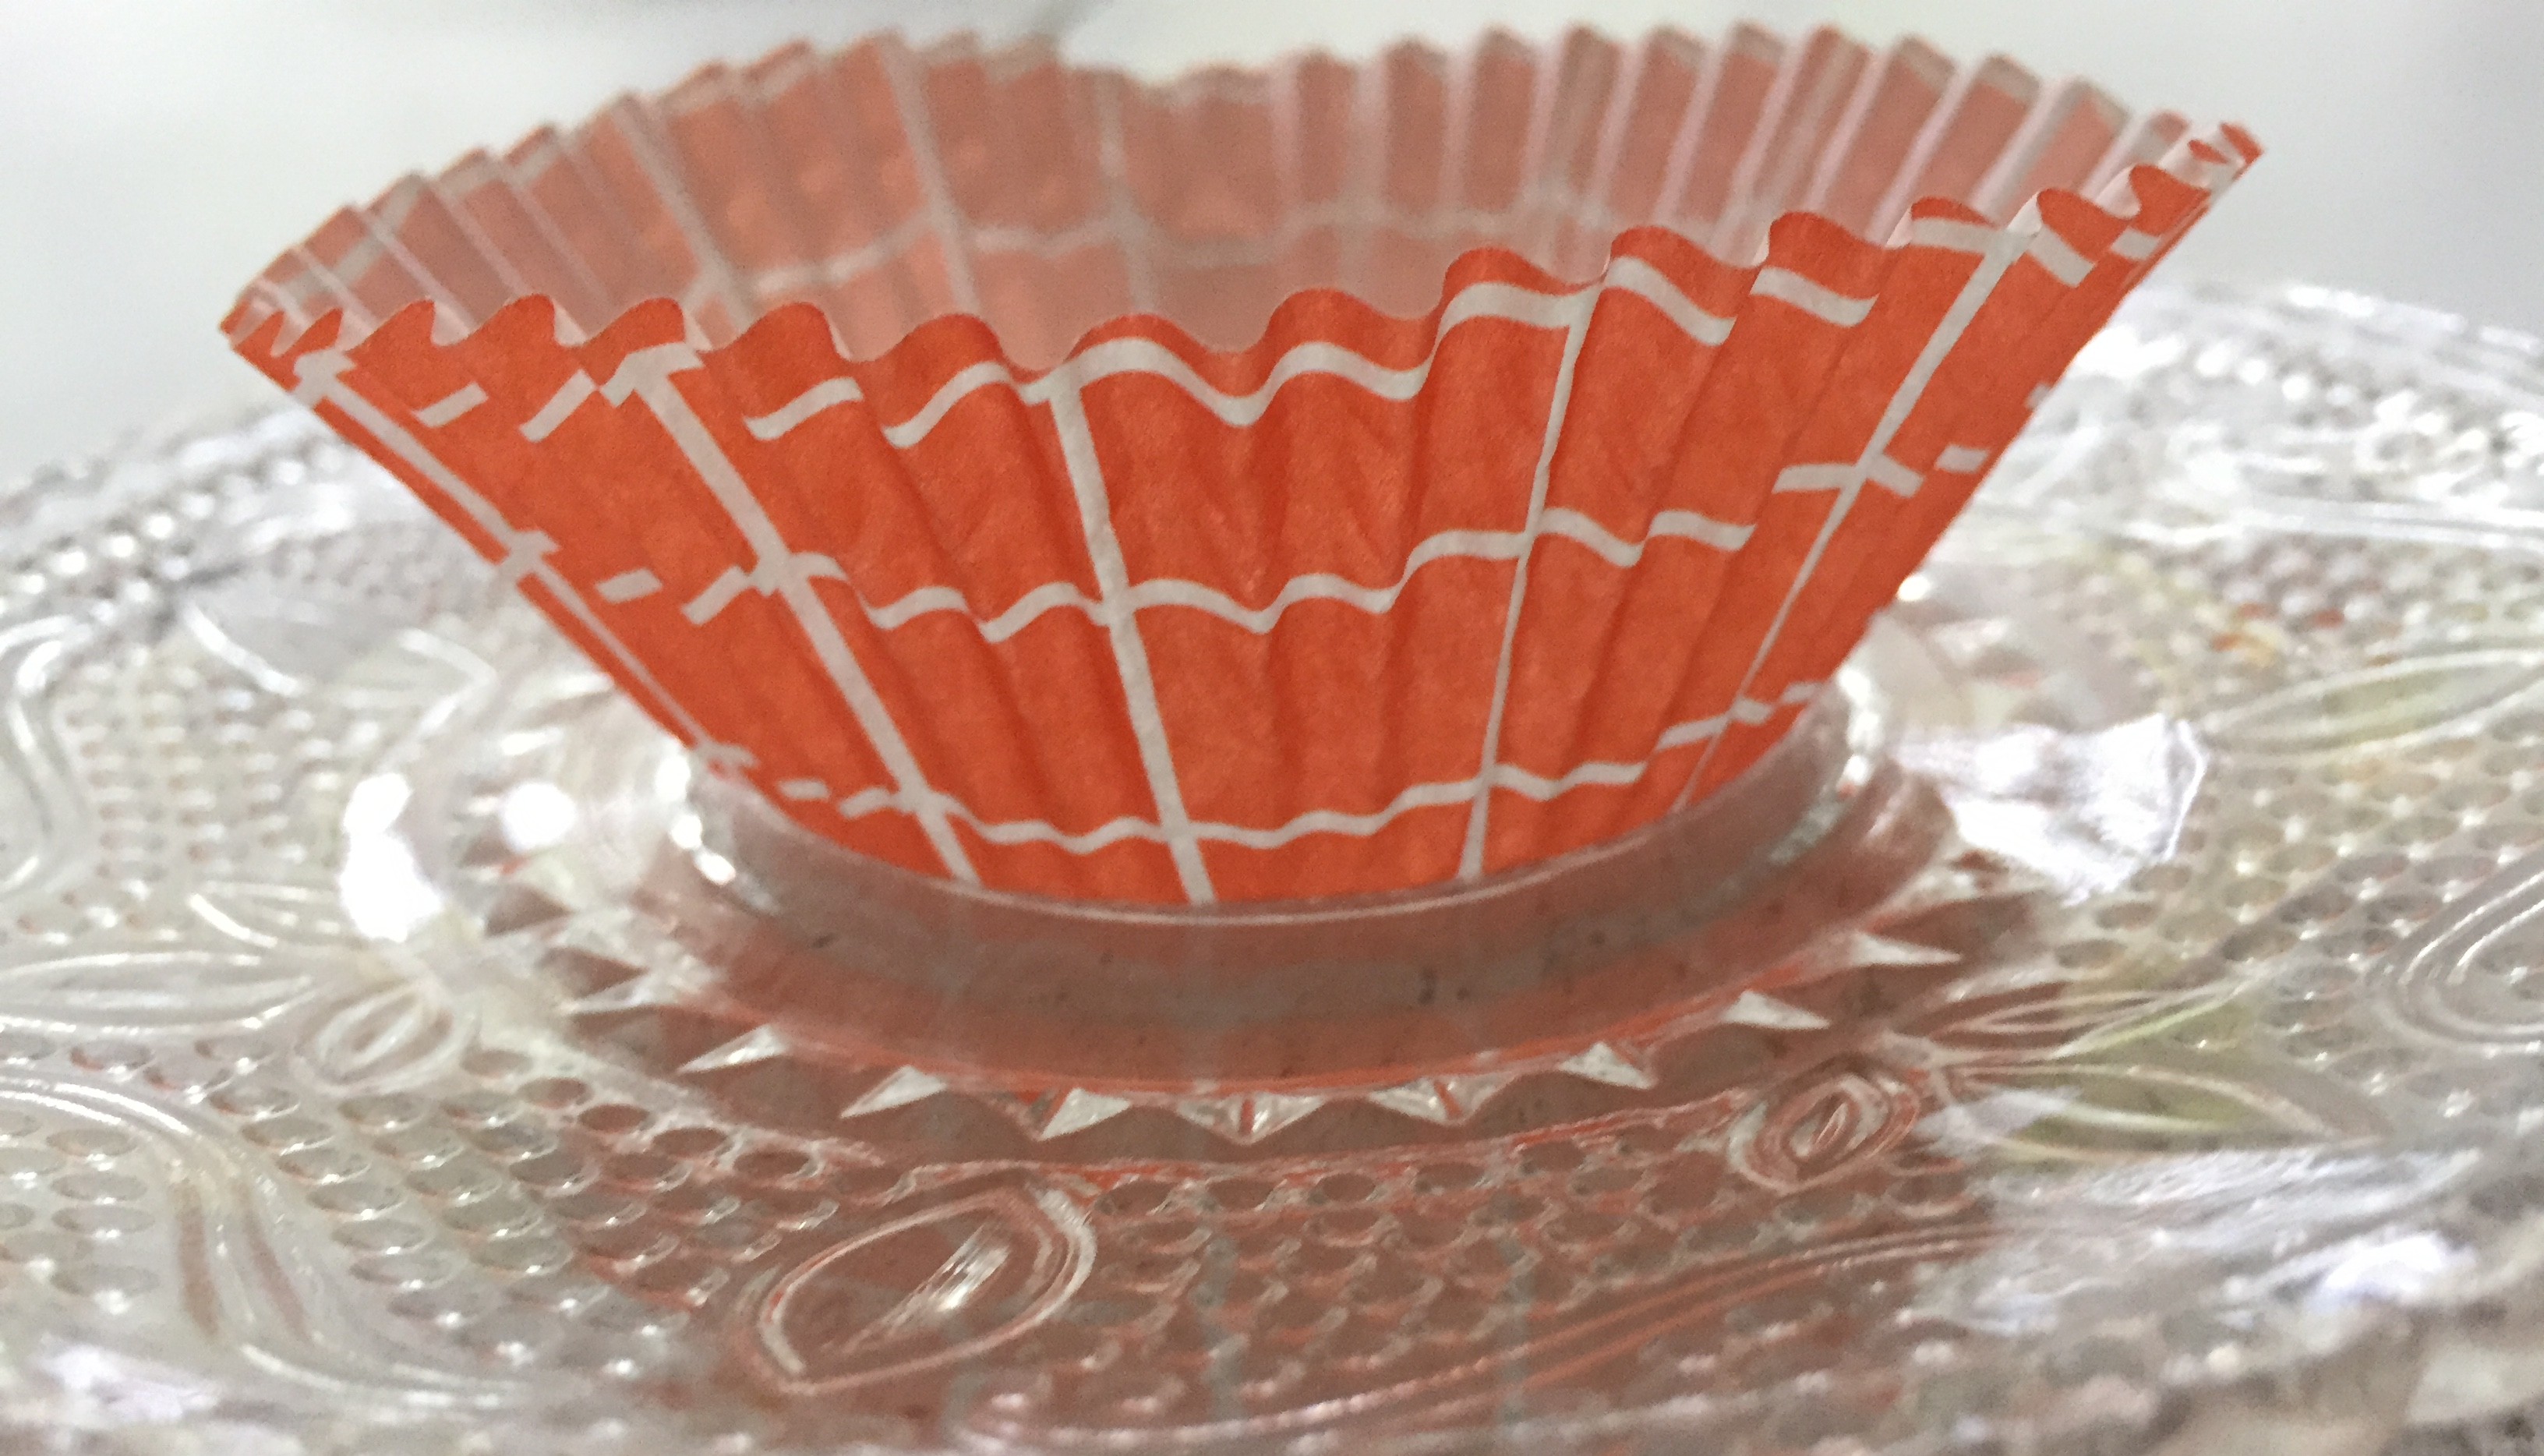
and plopped the apple in! then gently twisted the original stick…it easily pulled right out!
i cut some branches from my garden…
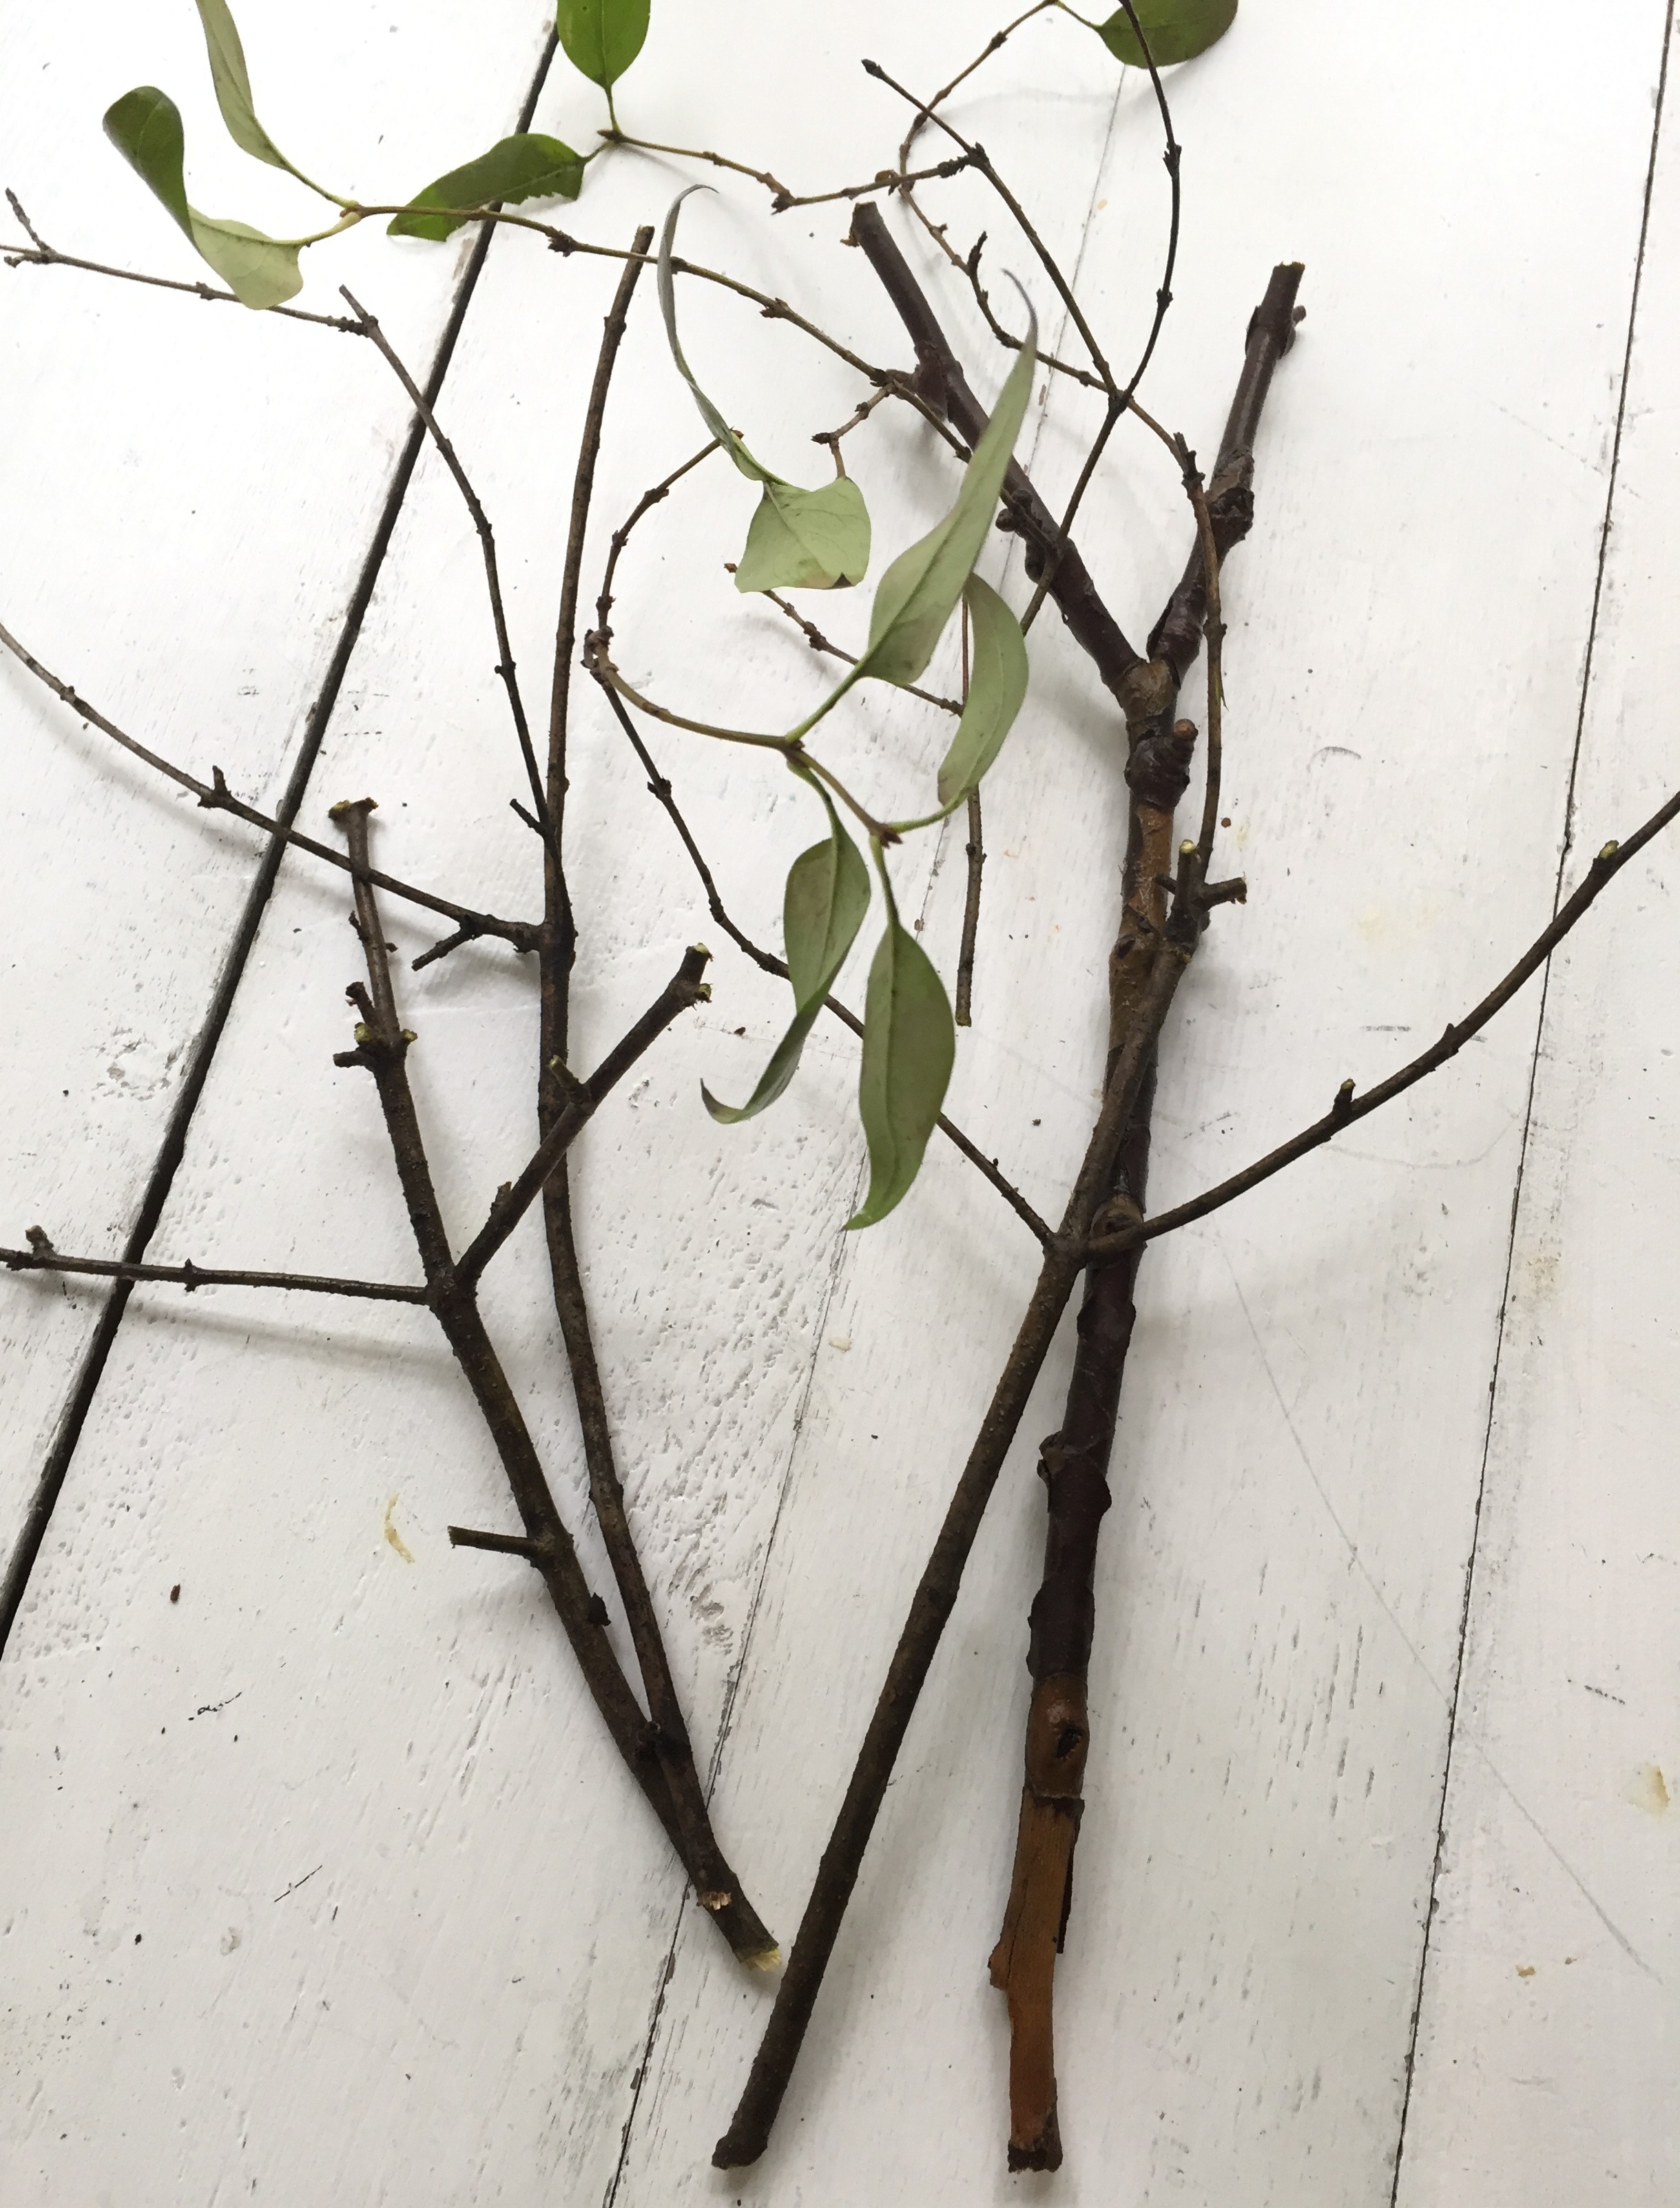
trimmed them to size and stuck it into the original hole…

tied a twine knot on the top…
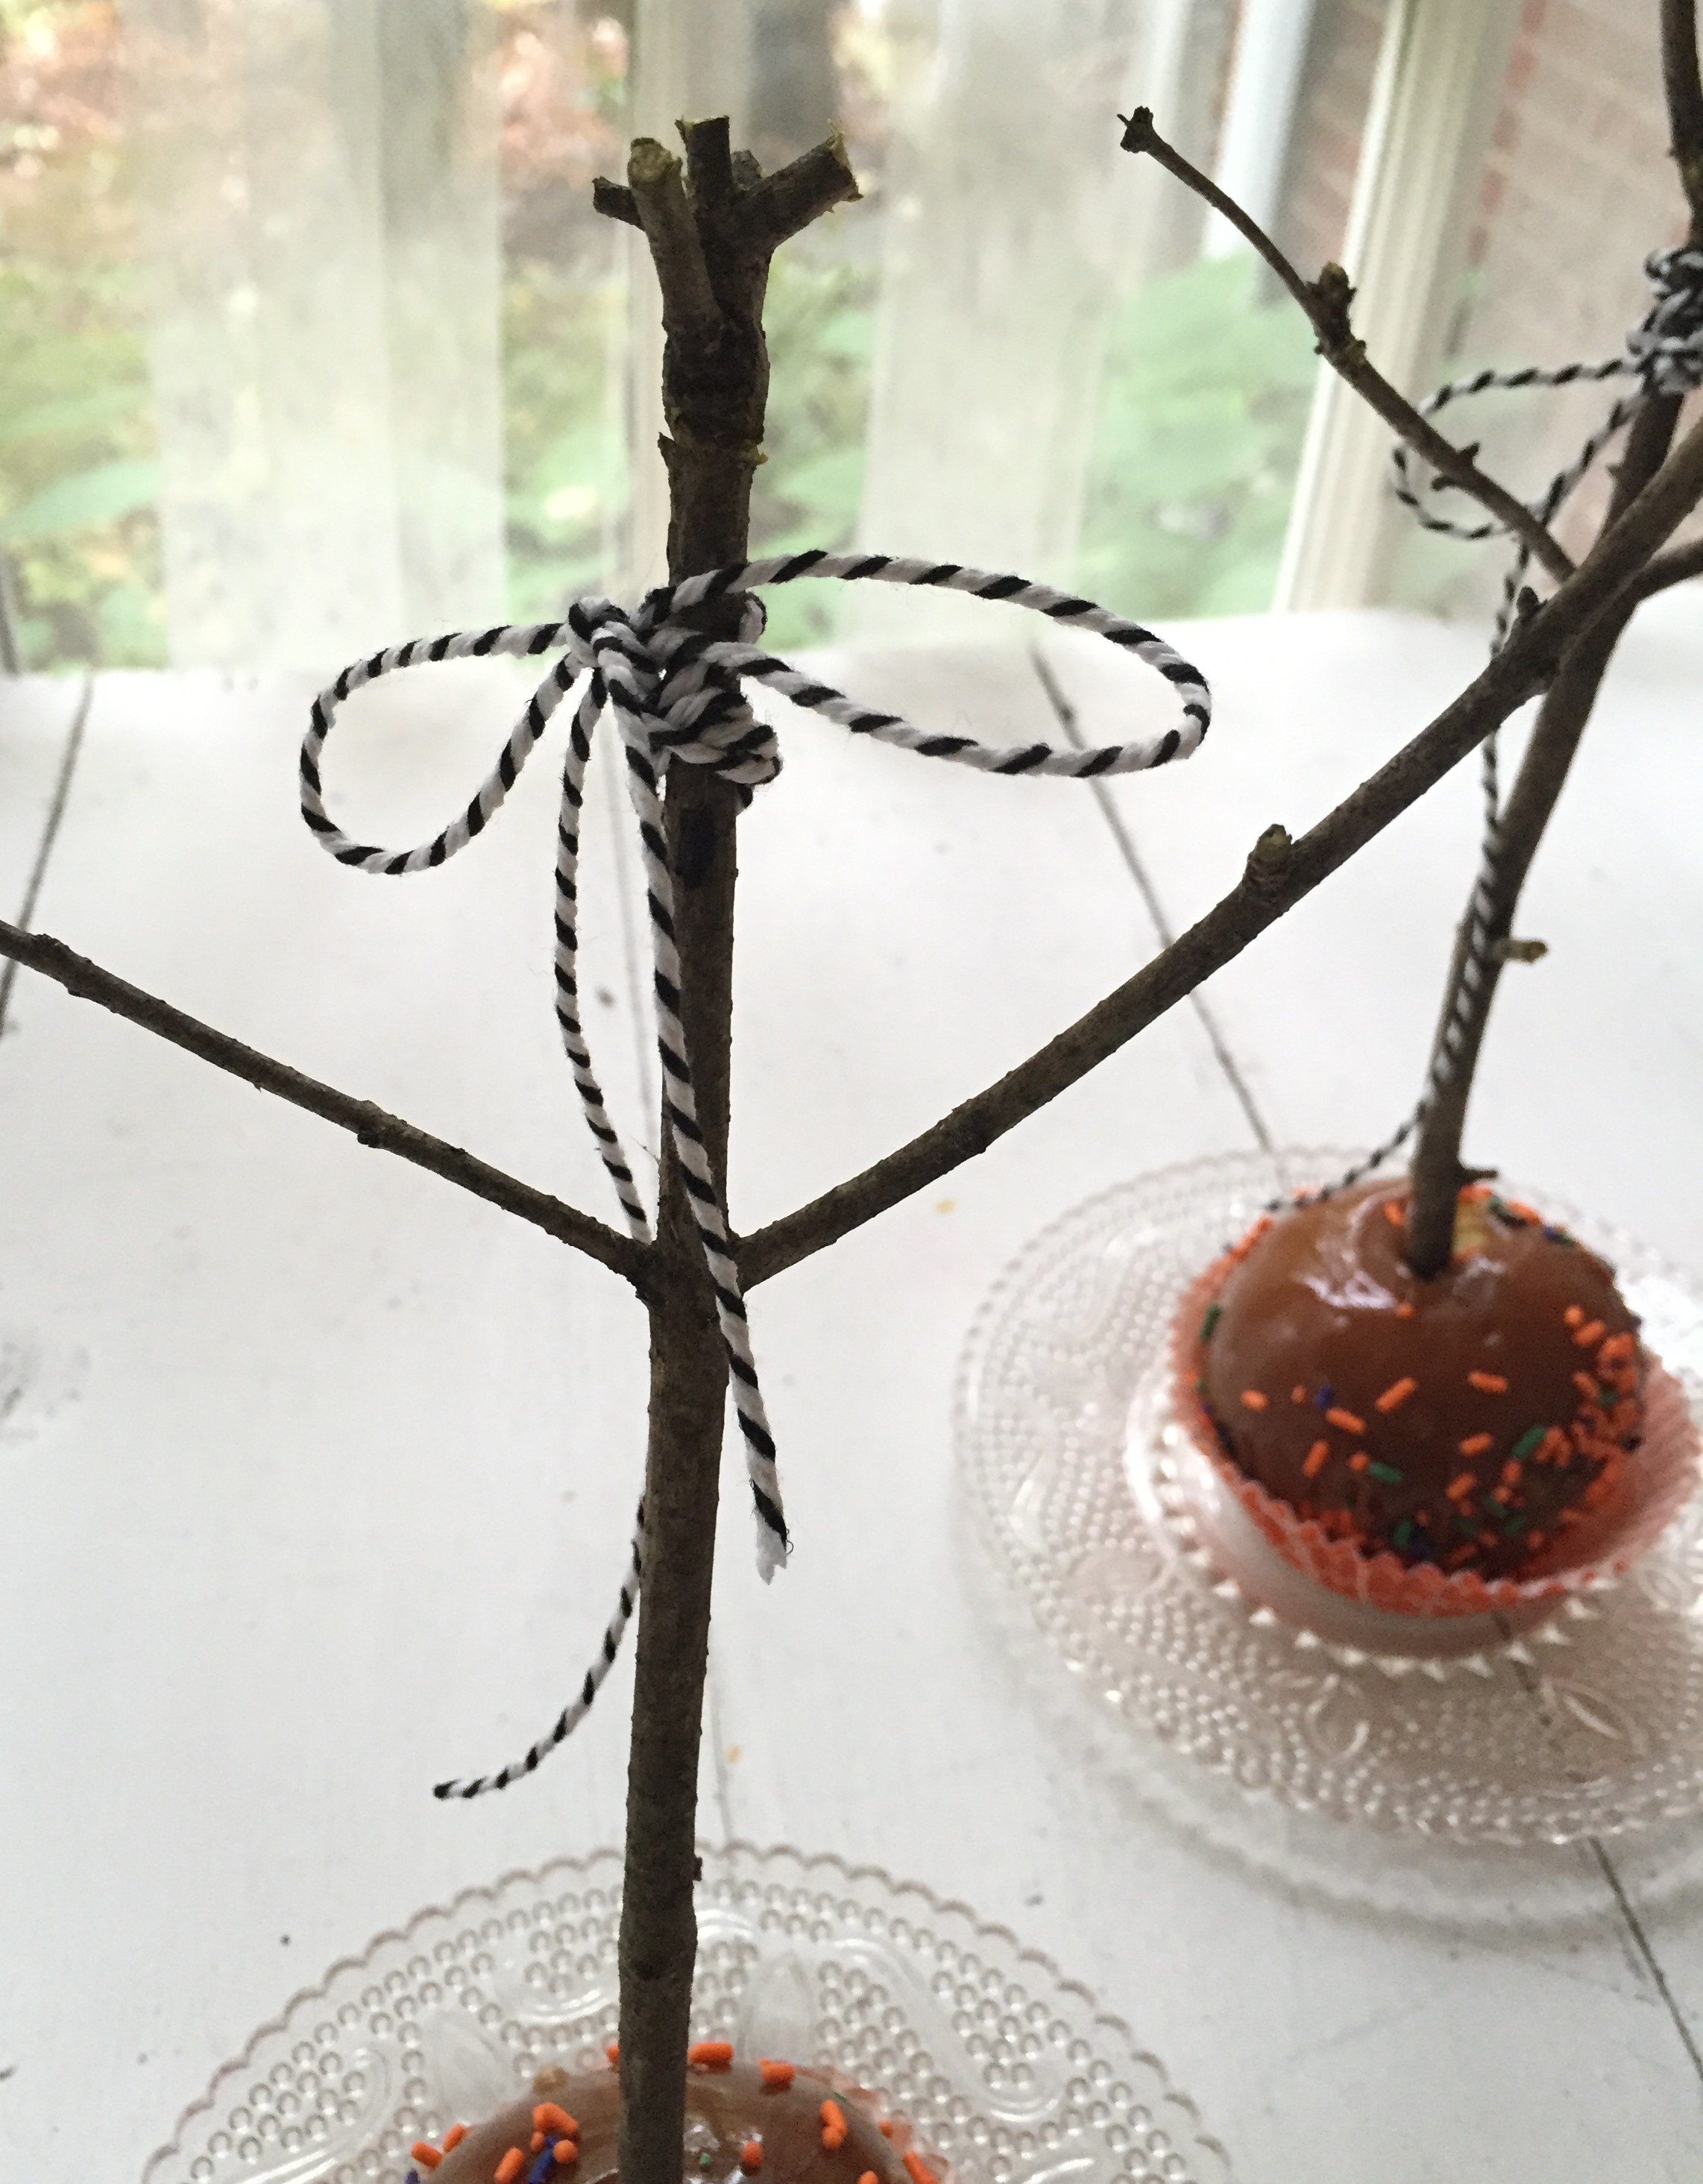
and tah dah! my easy, beautiful, & every-bit-as-nice-as-pinterest caramel apples!
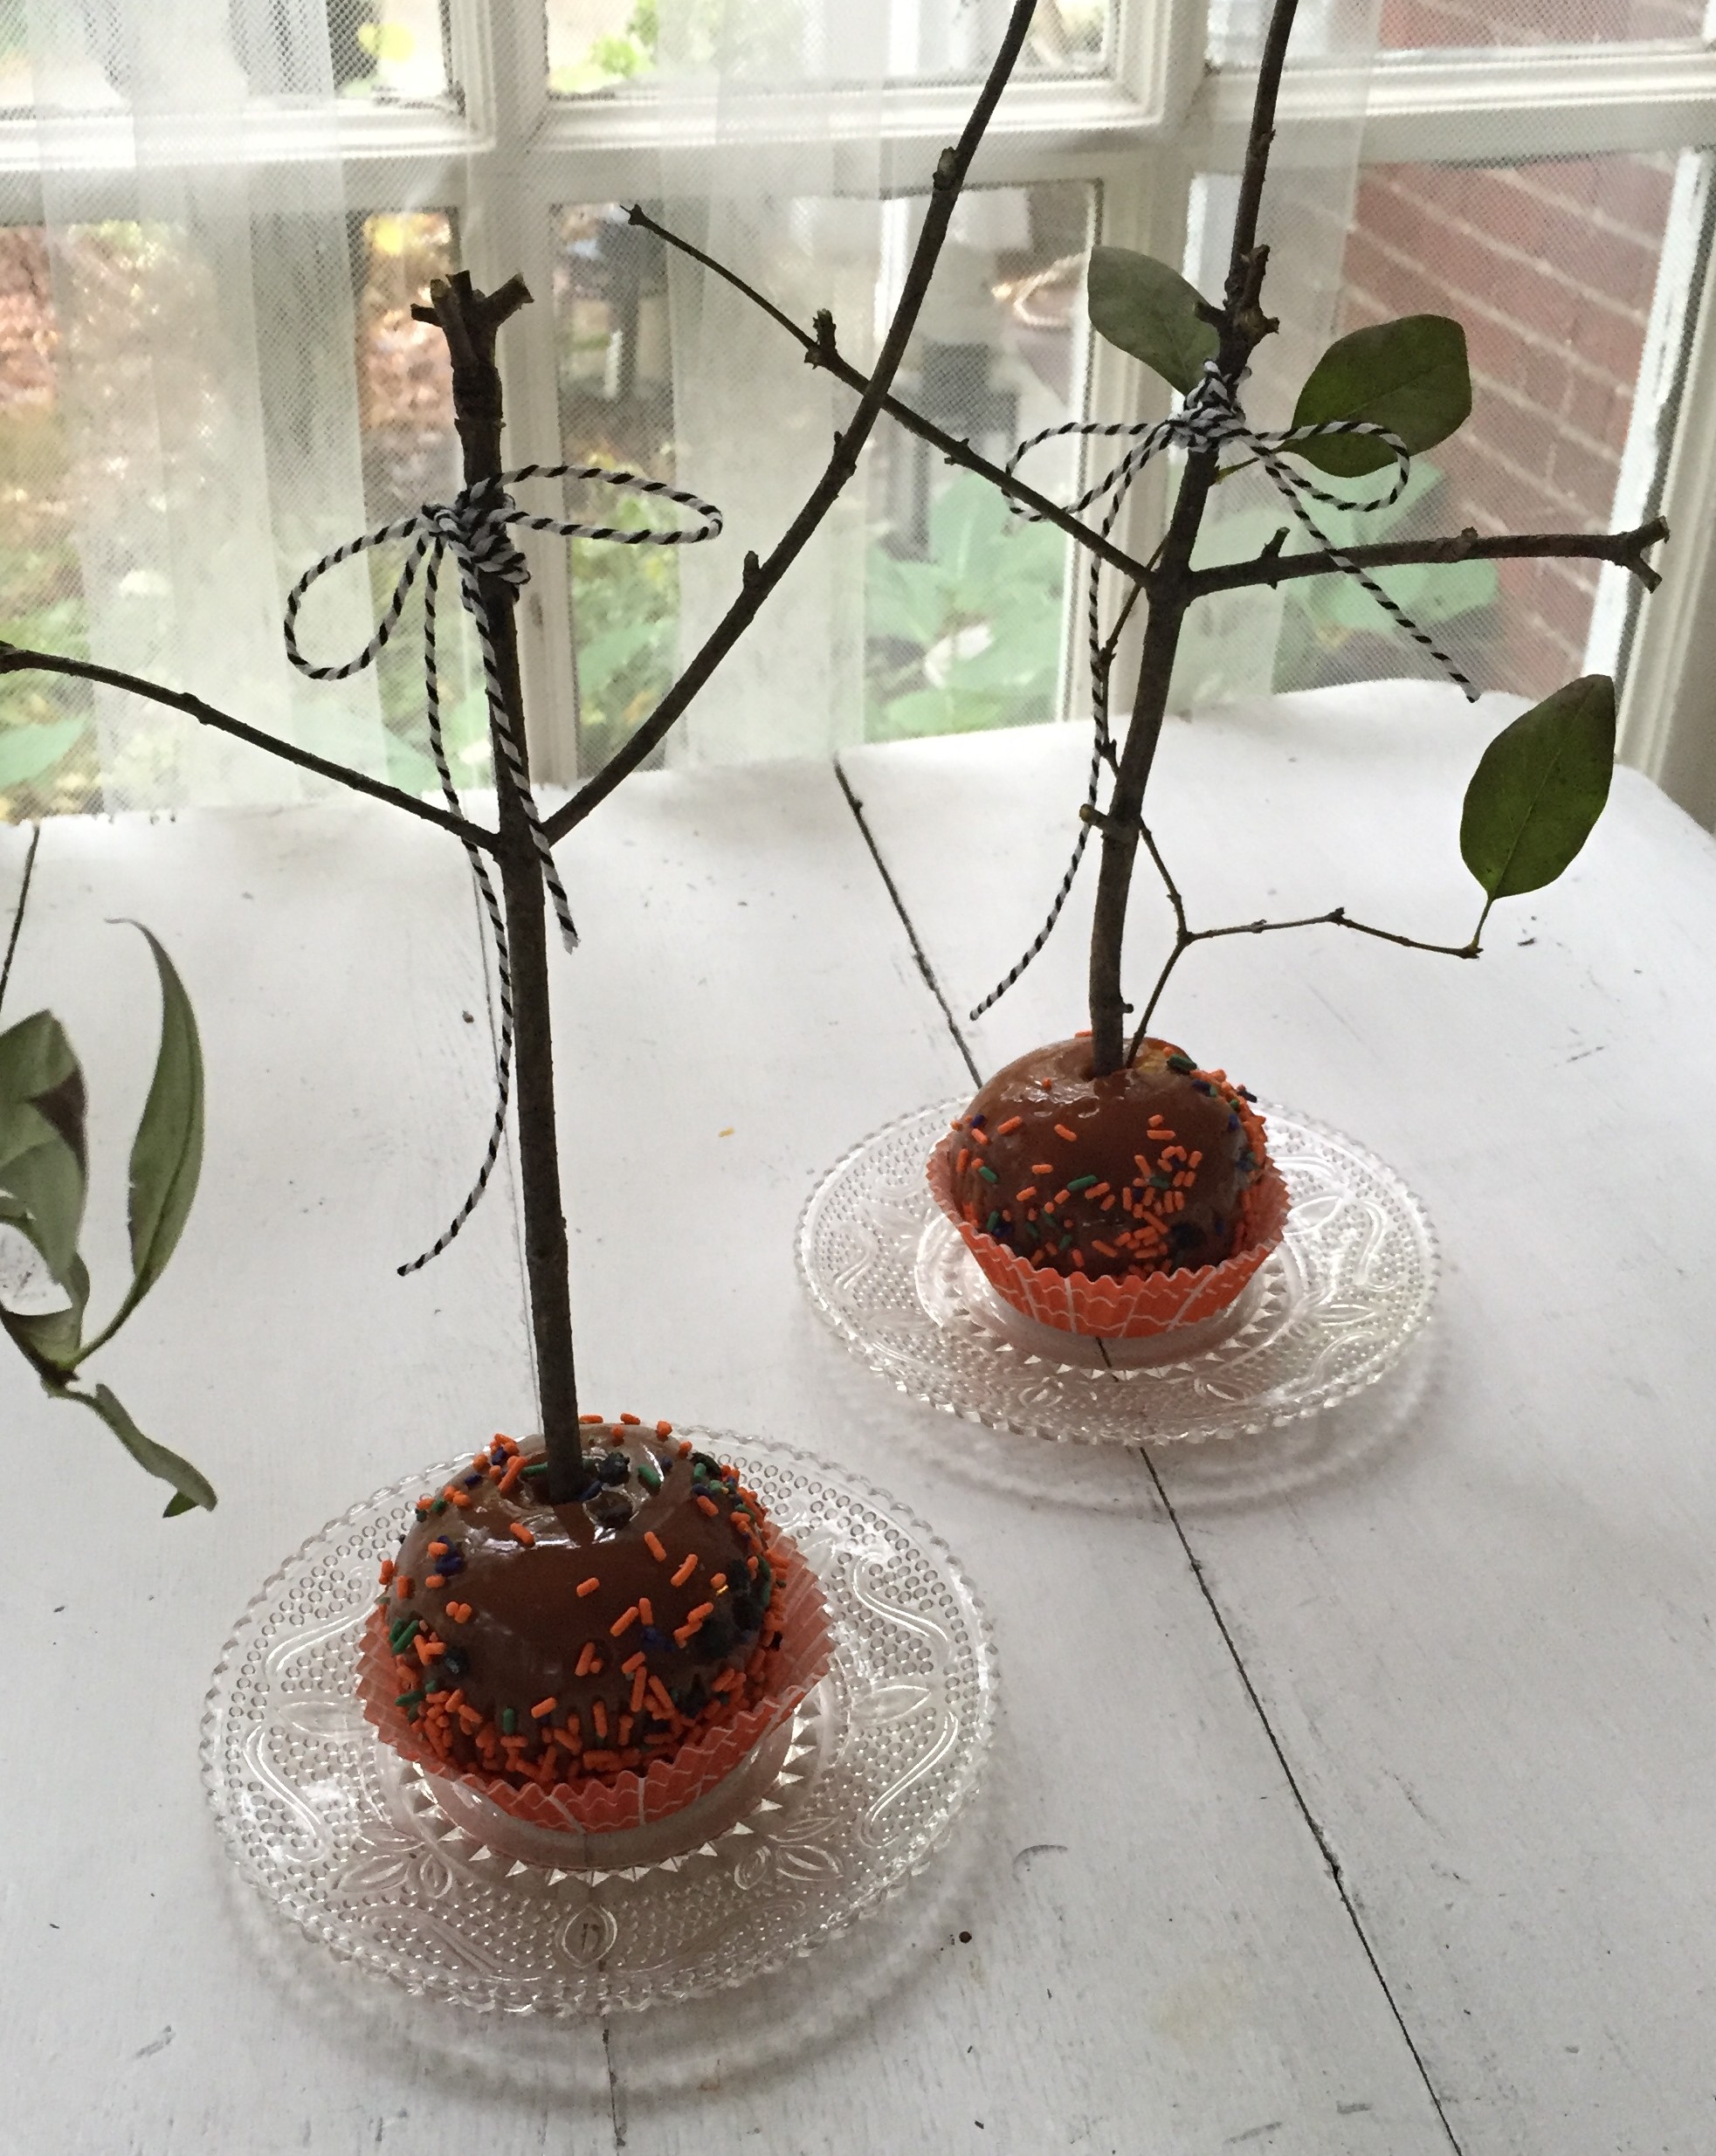
…and in a fraction of the time!

another easy DIY Halloween treat…
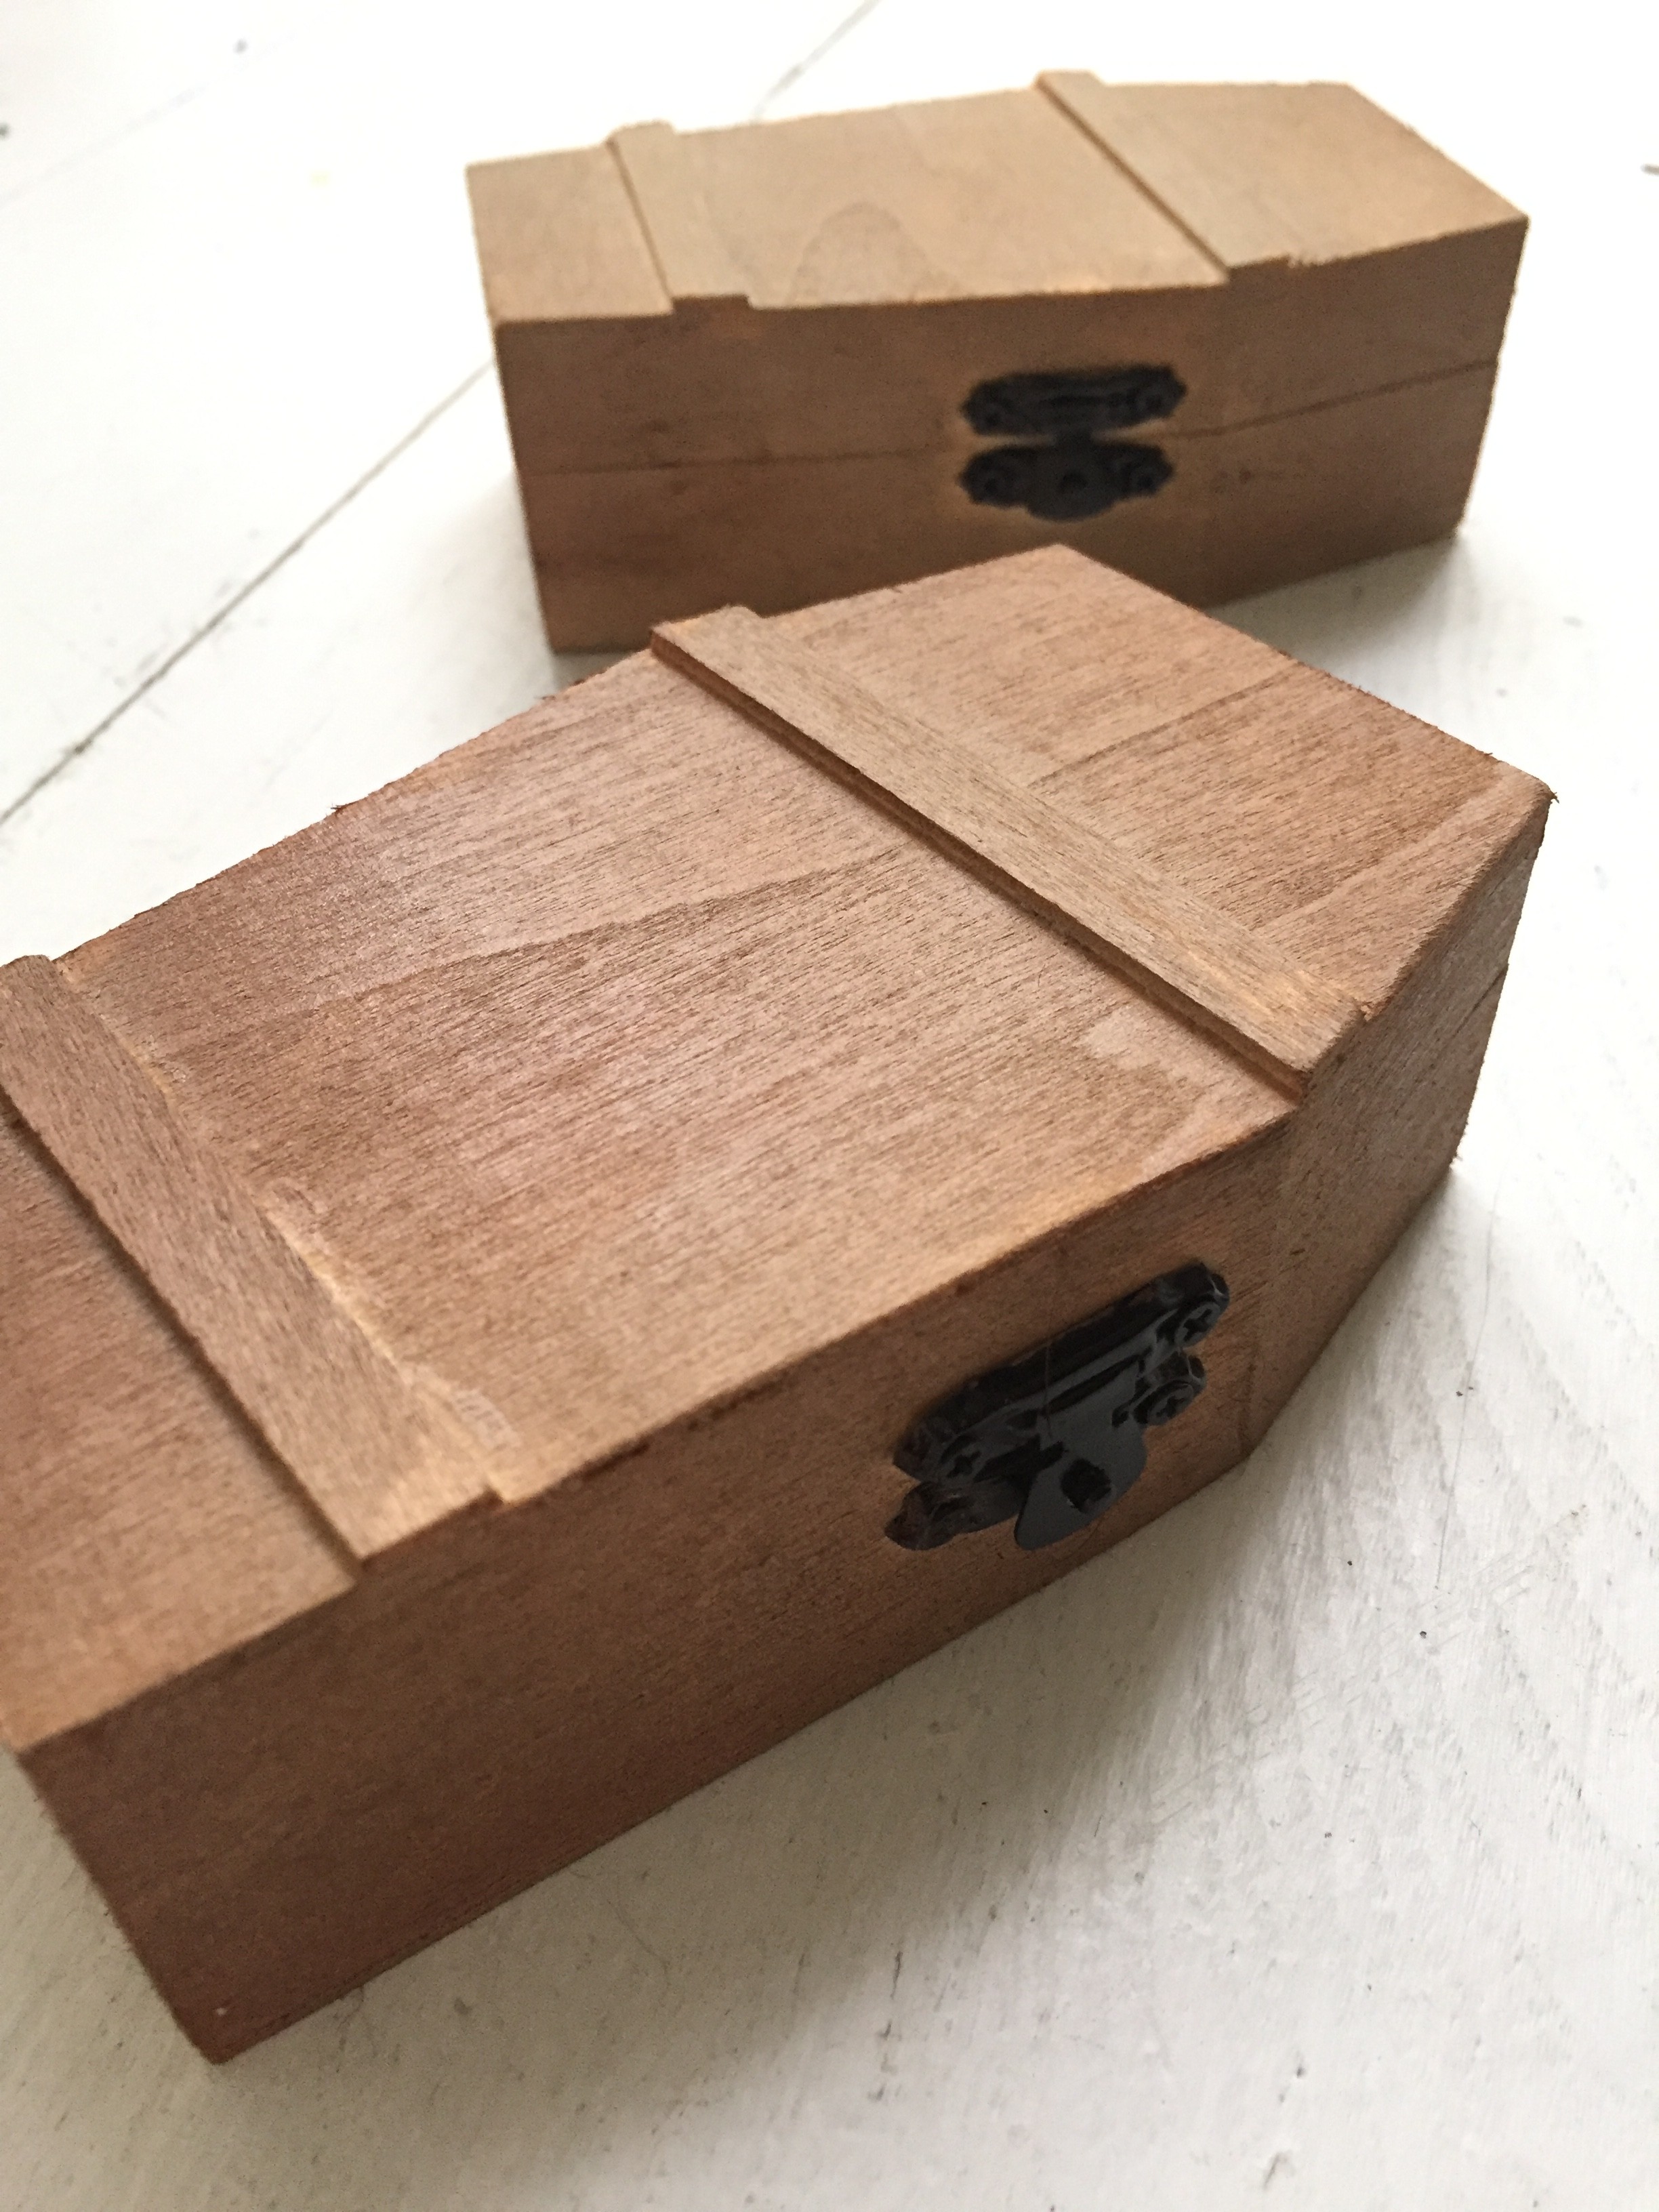
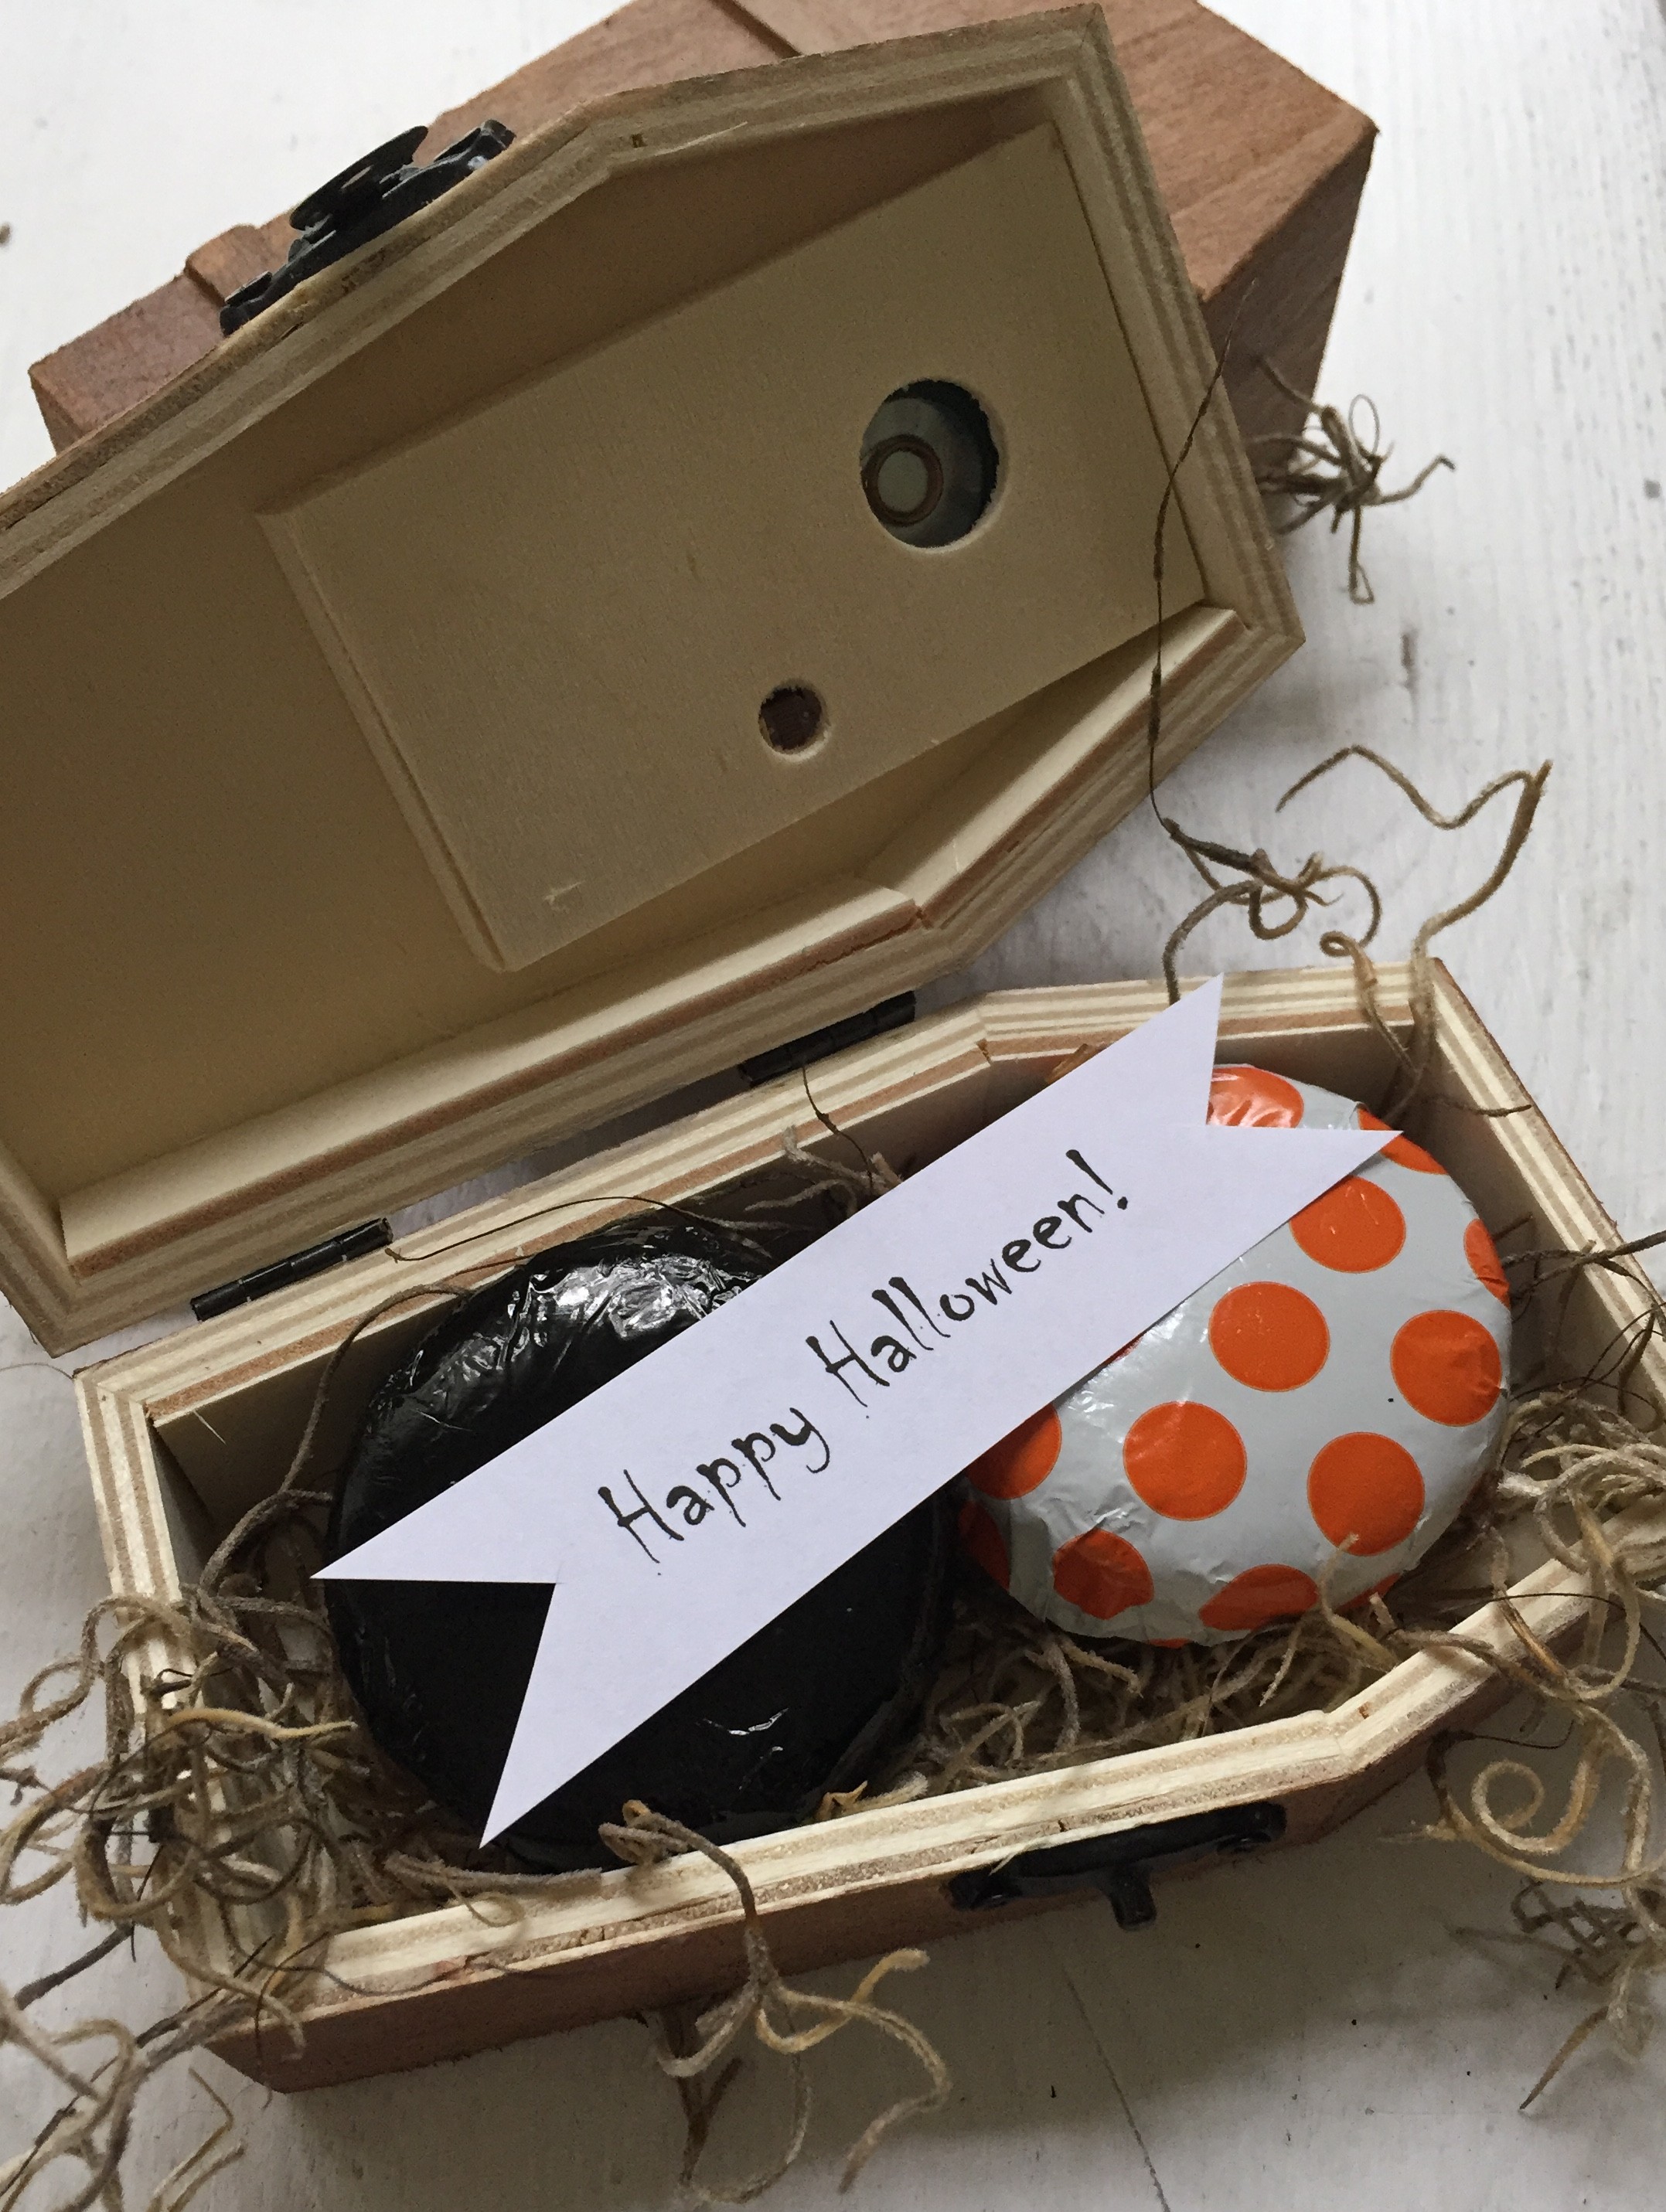
so for saturday’s holiday surprise…i found these cute, casket craft boxes at Michael’s and thought they would be so fun to hide a small sweet inside for each of my boys…
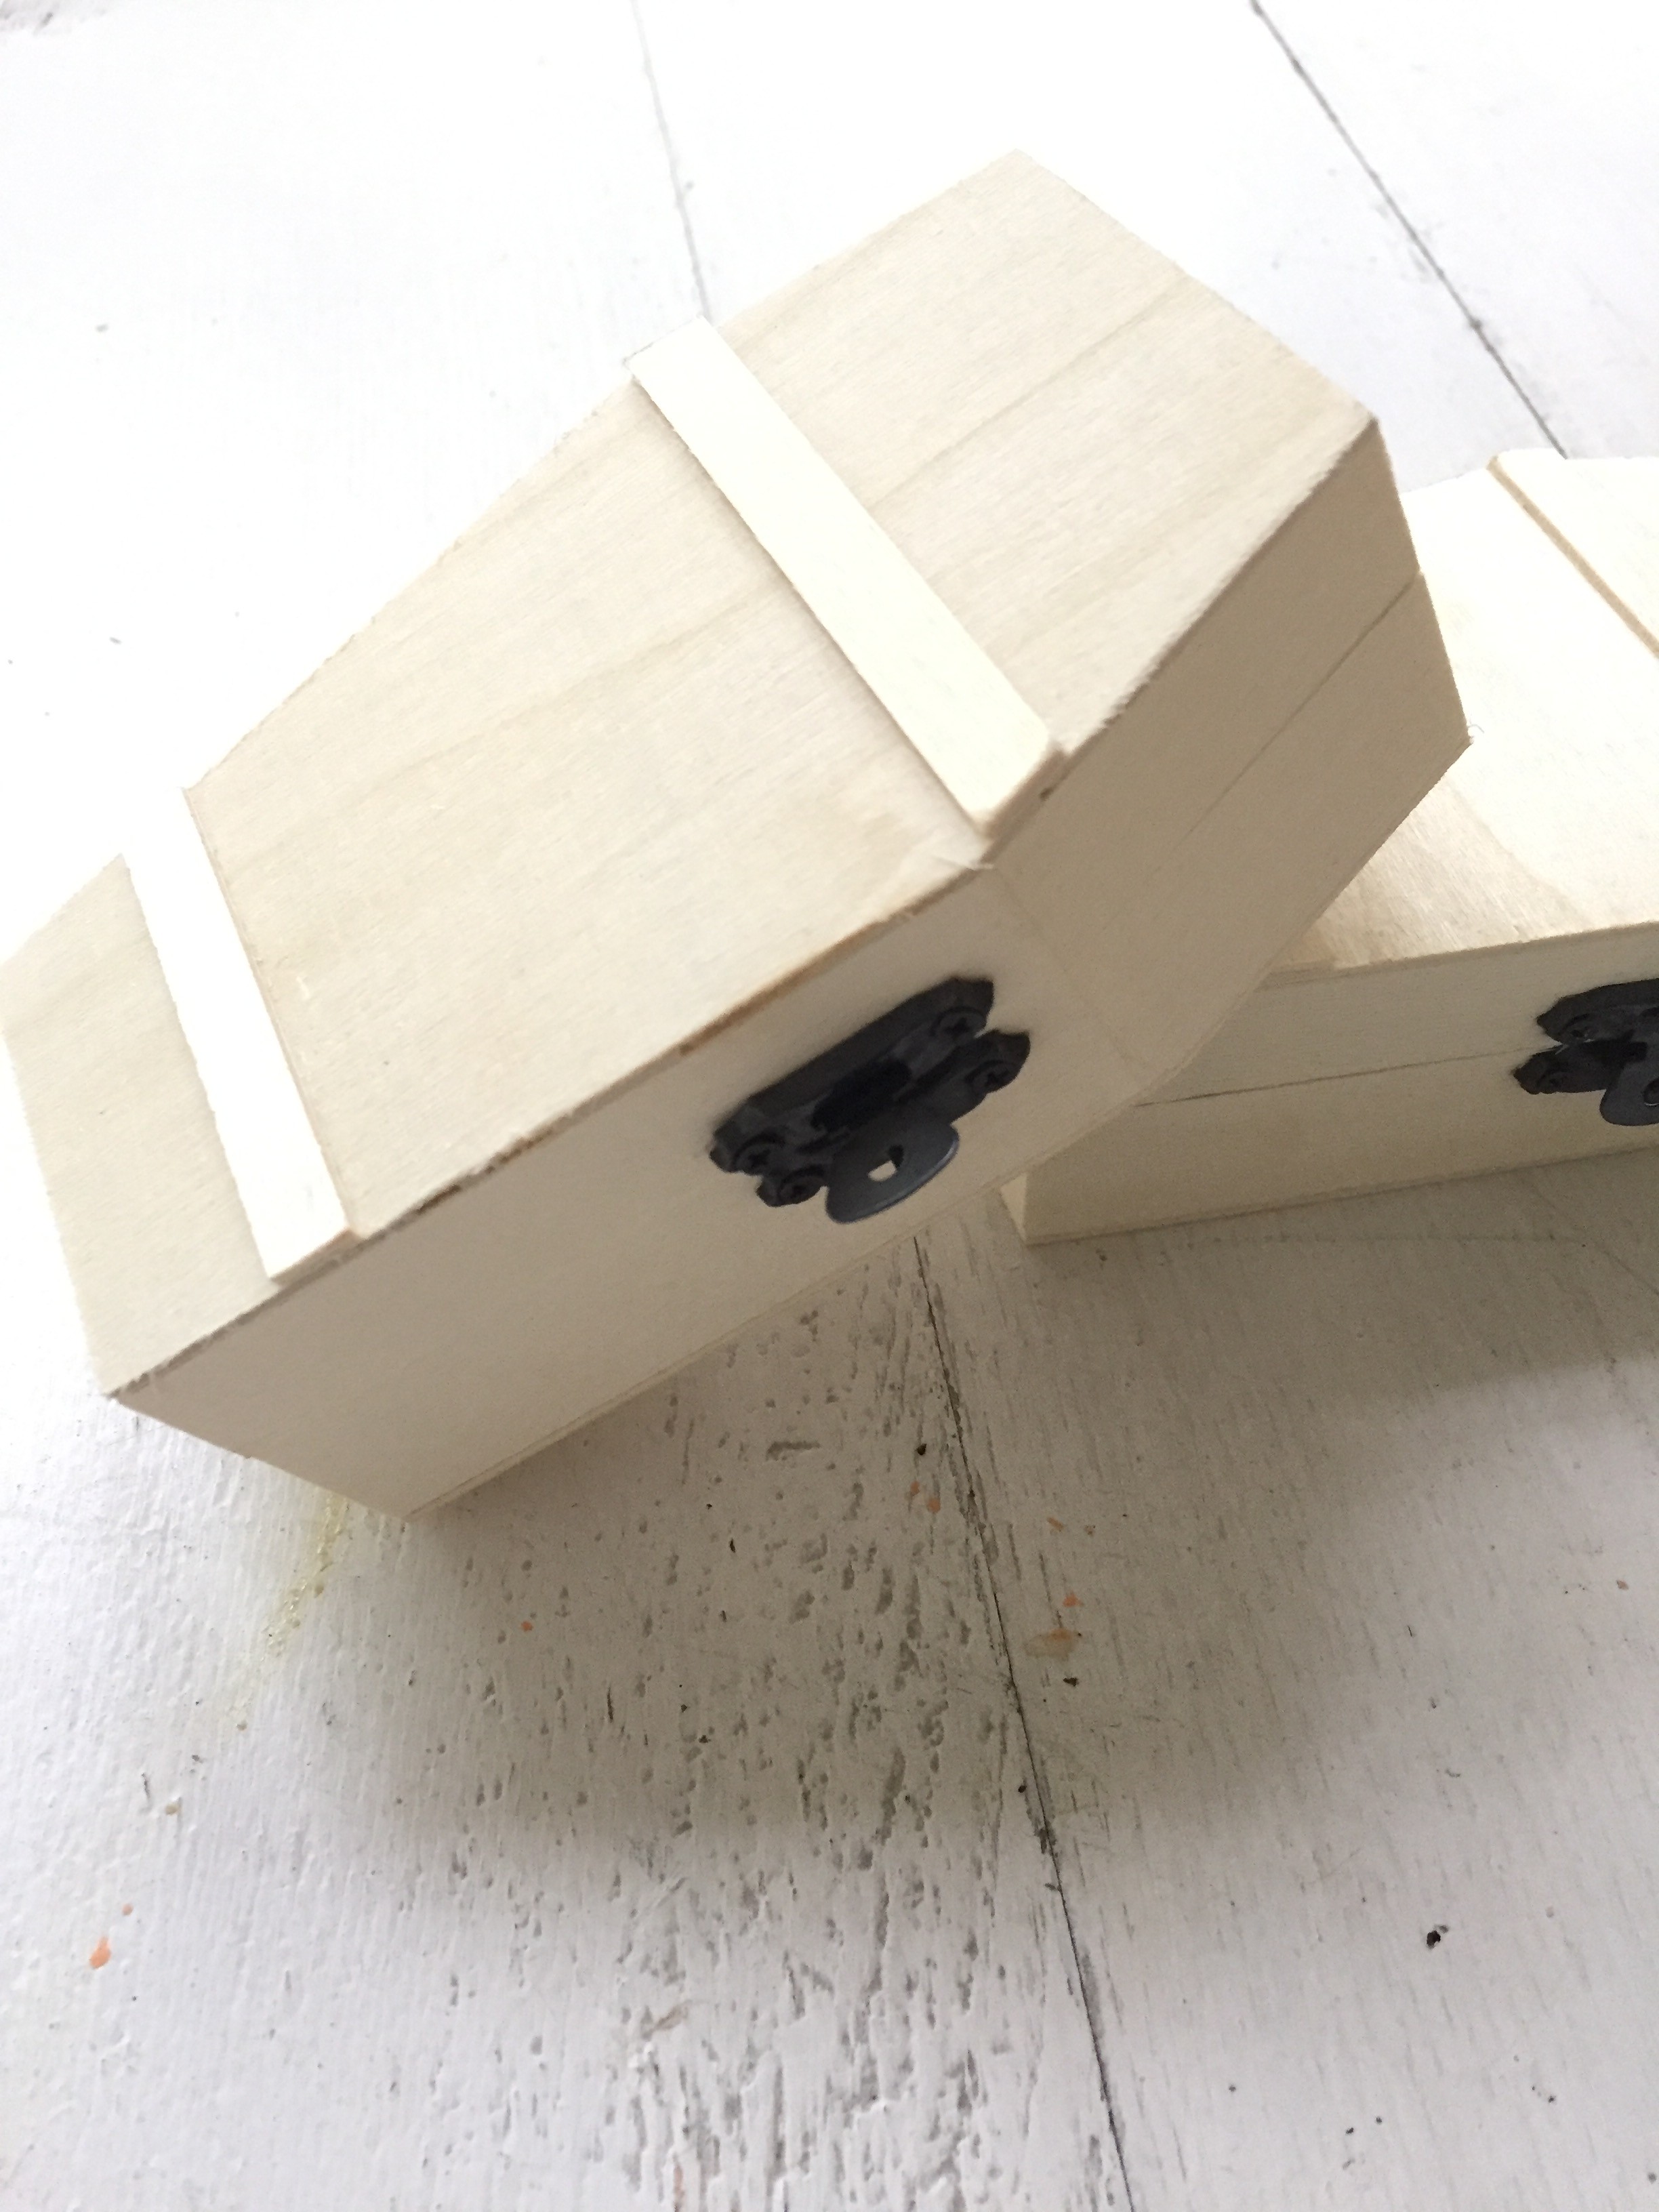
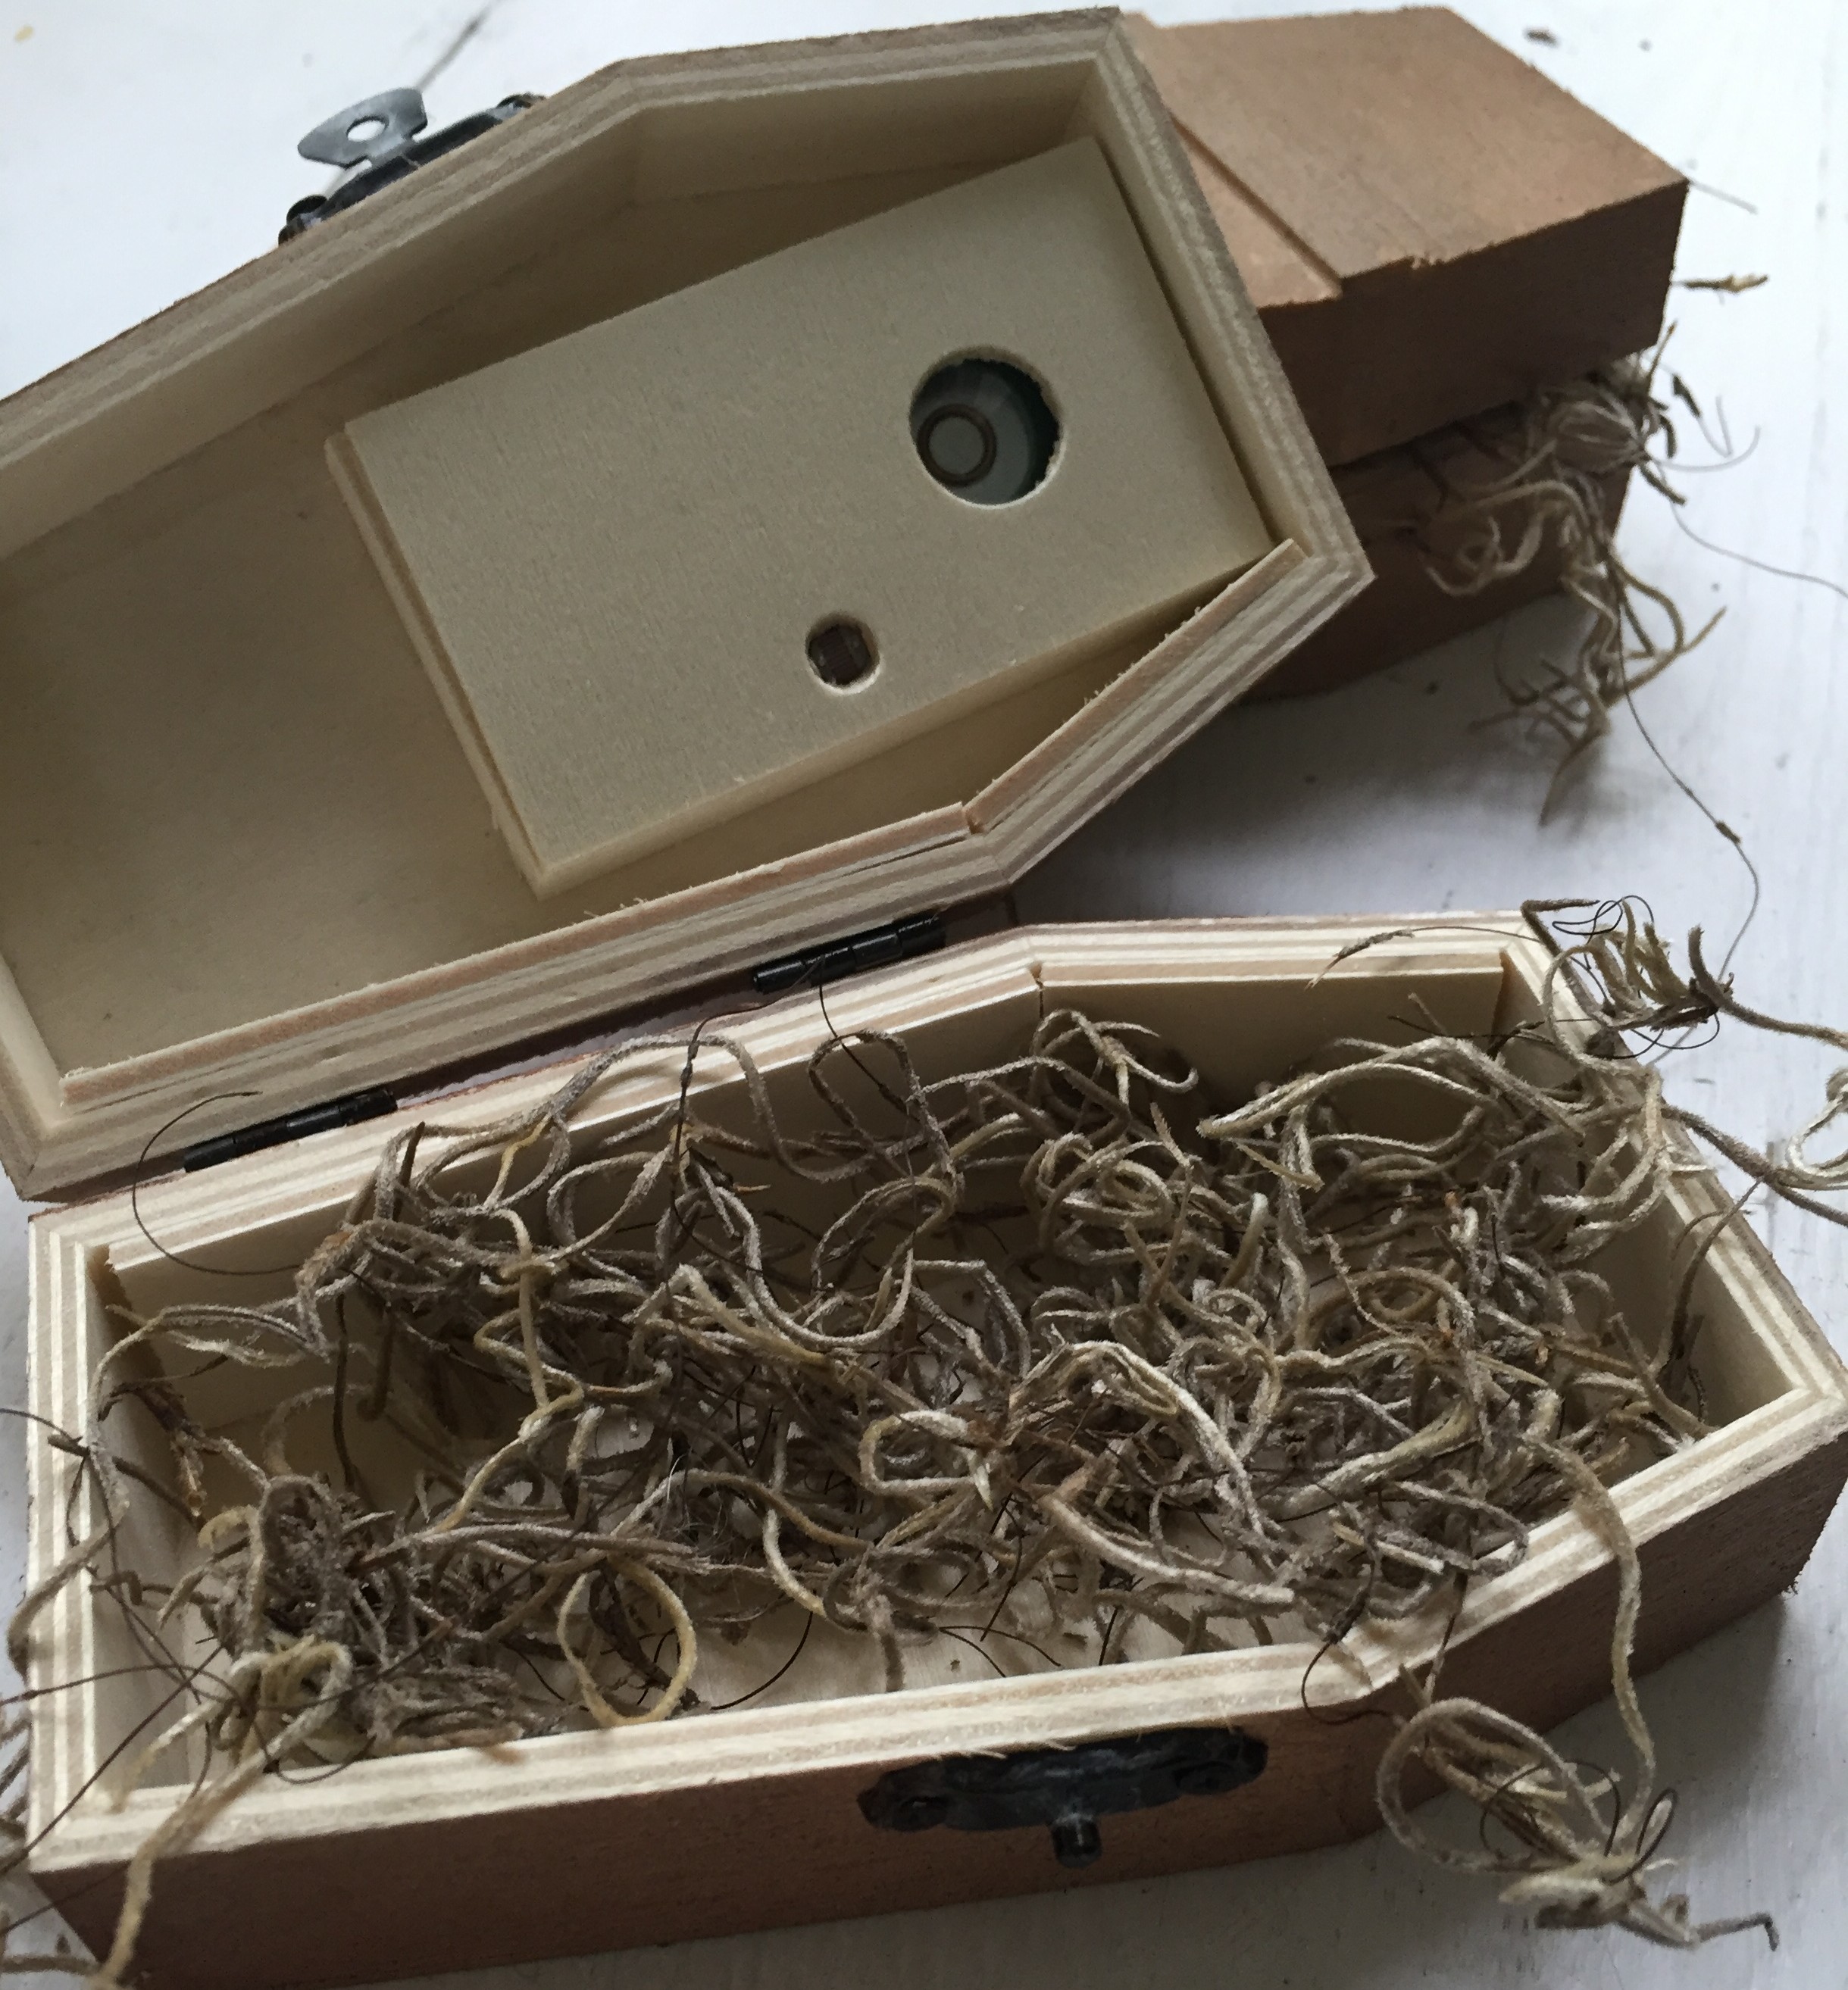
when you open them up they eerily laugh…i love them!
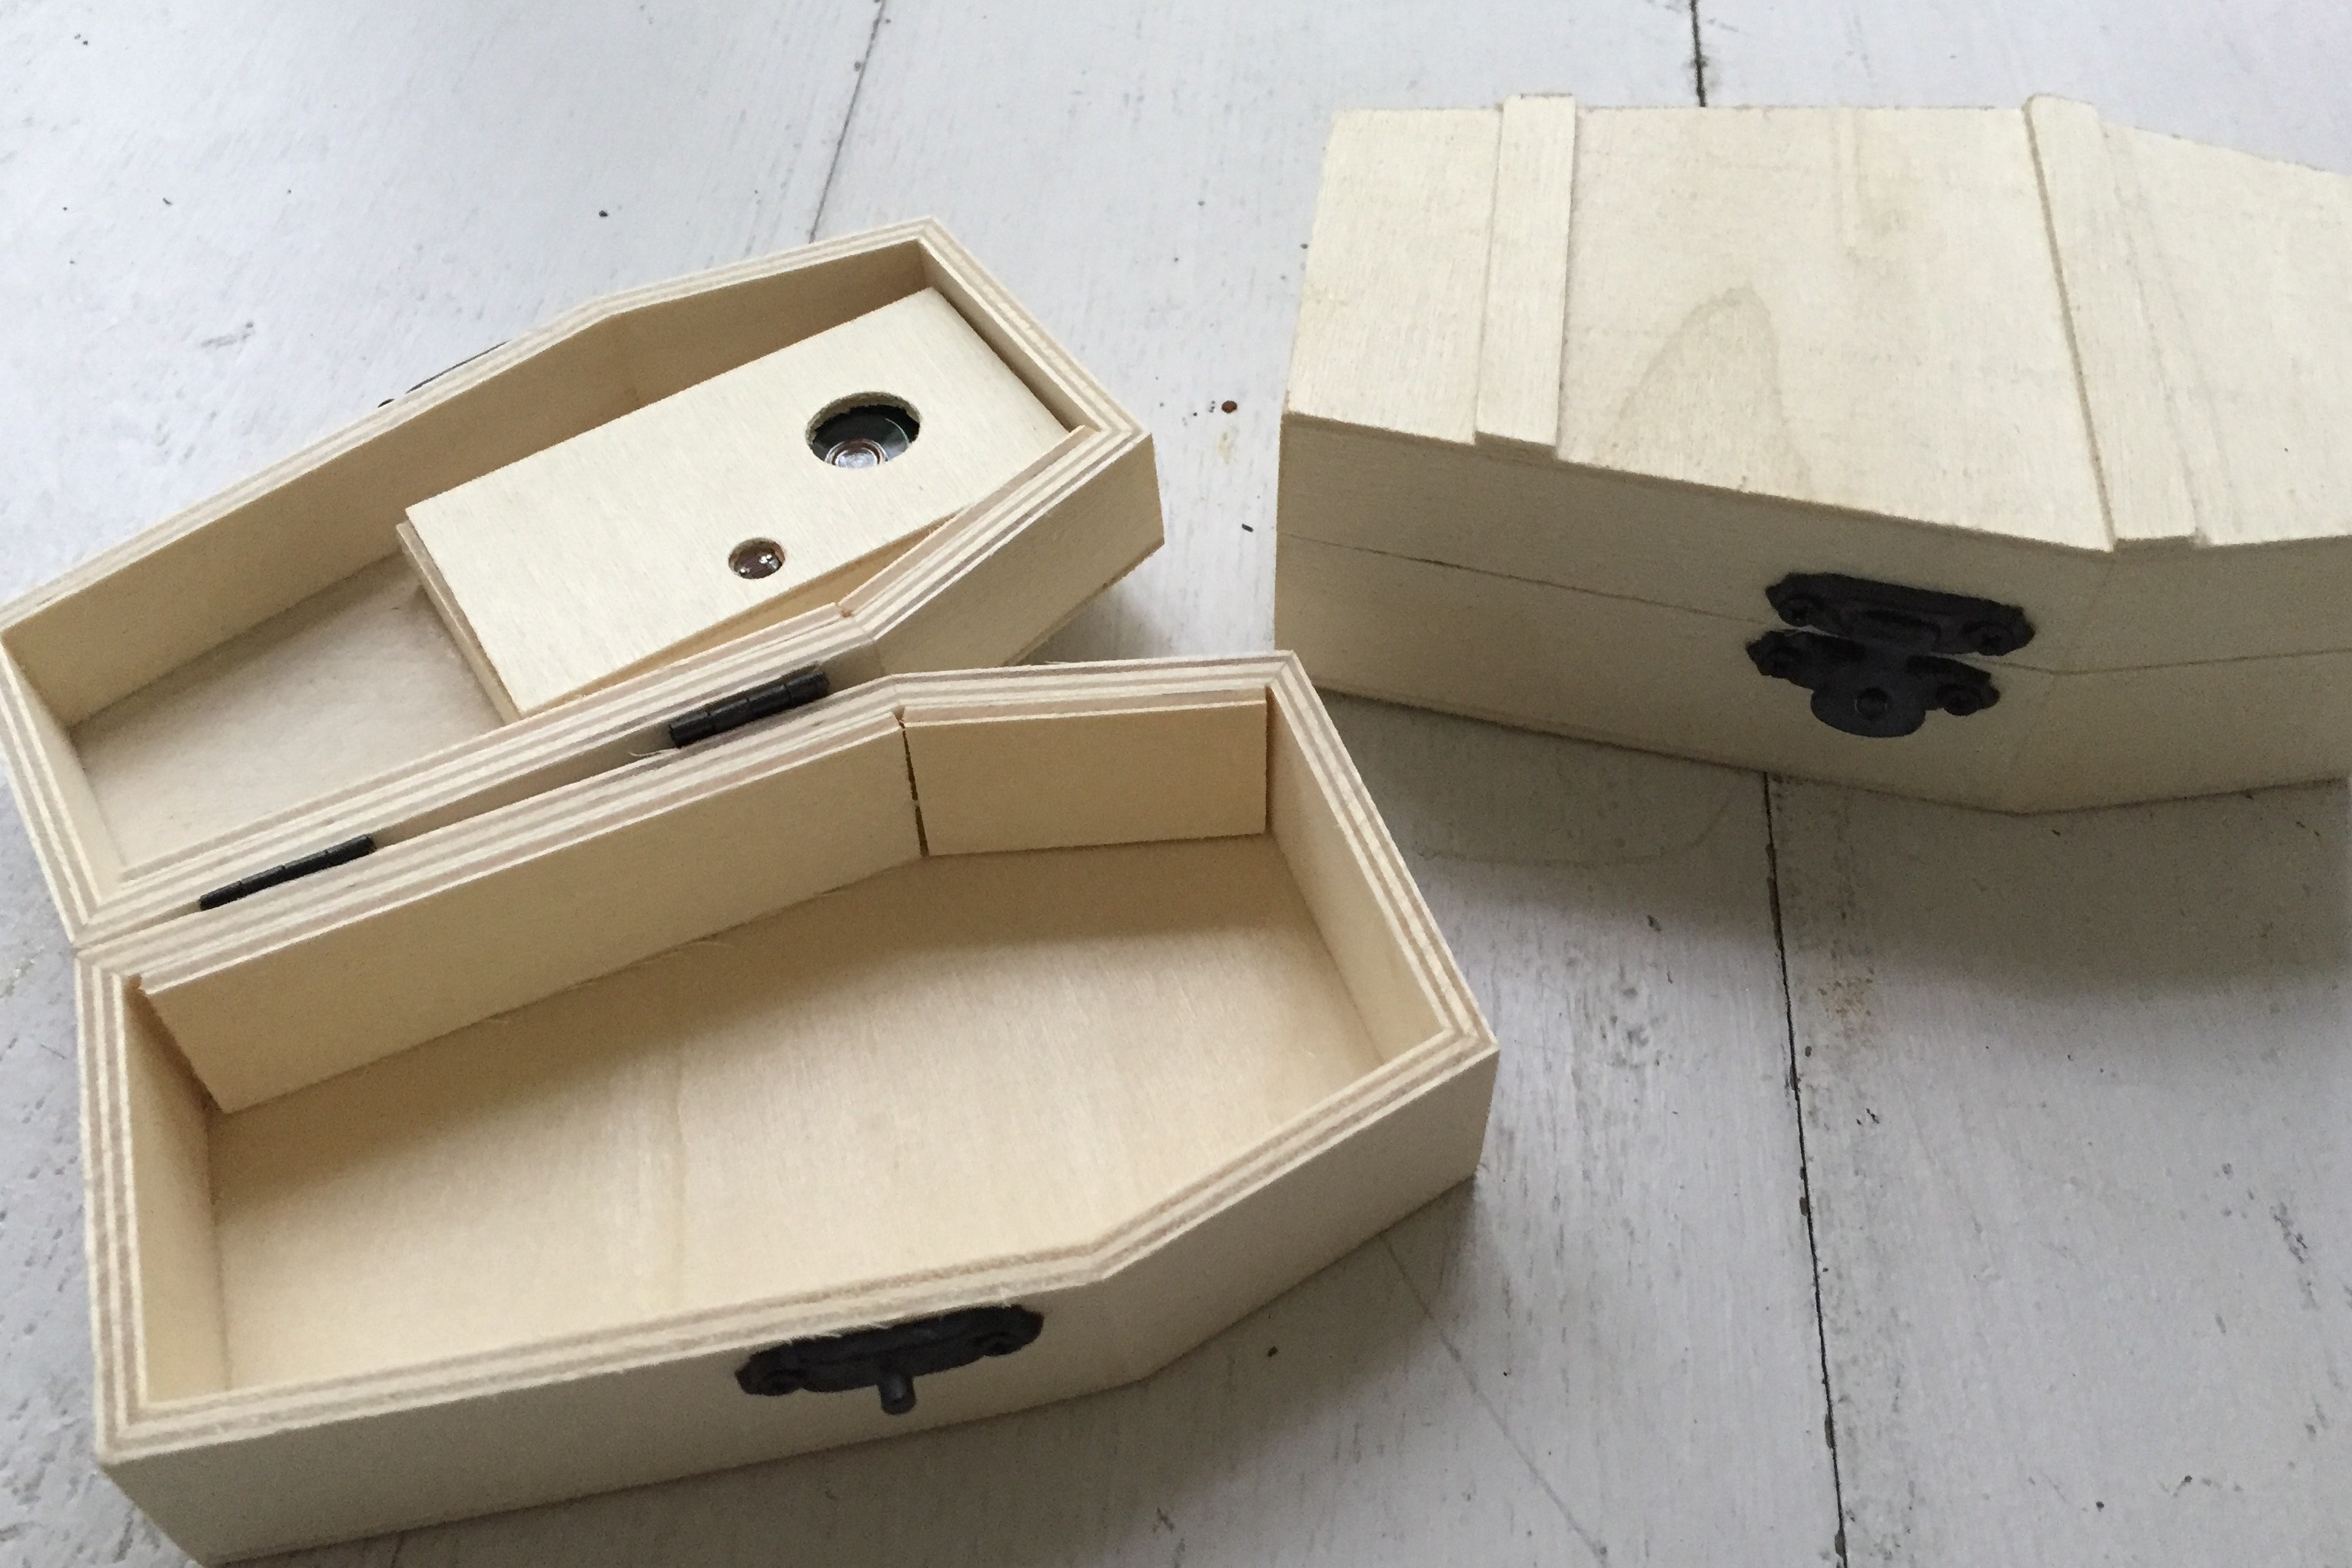
they came unfinished so they were very inexpensive. i did want to make them look a little more like a real casket so i used some simple supplies to antique them up a bit. and since it’s a Halloween treat they TOTALLY don’t need to be perfect! in fact, sometimes the less perfect the better! i took an old, ratty paint brush and just slopped the paint over the casket but tried not to get too much on the clasp.
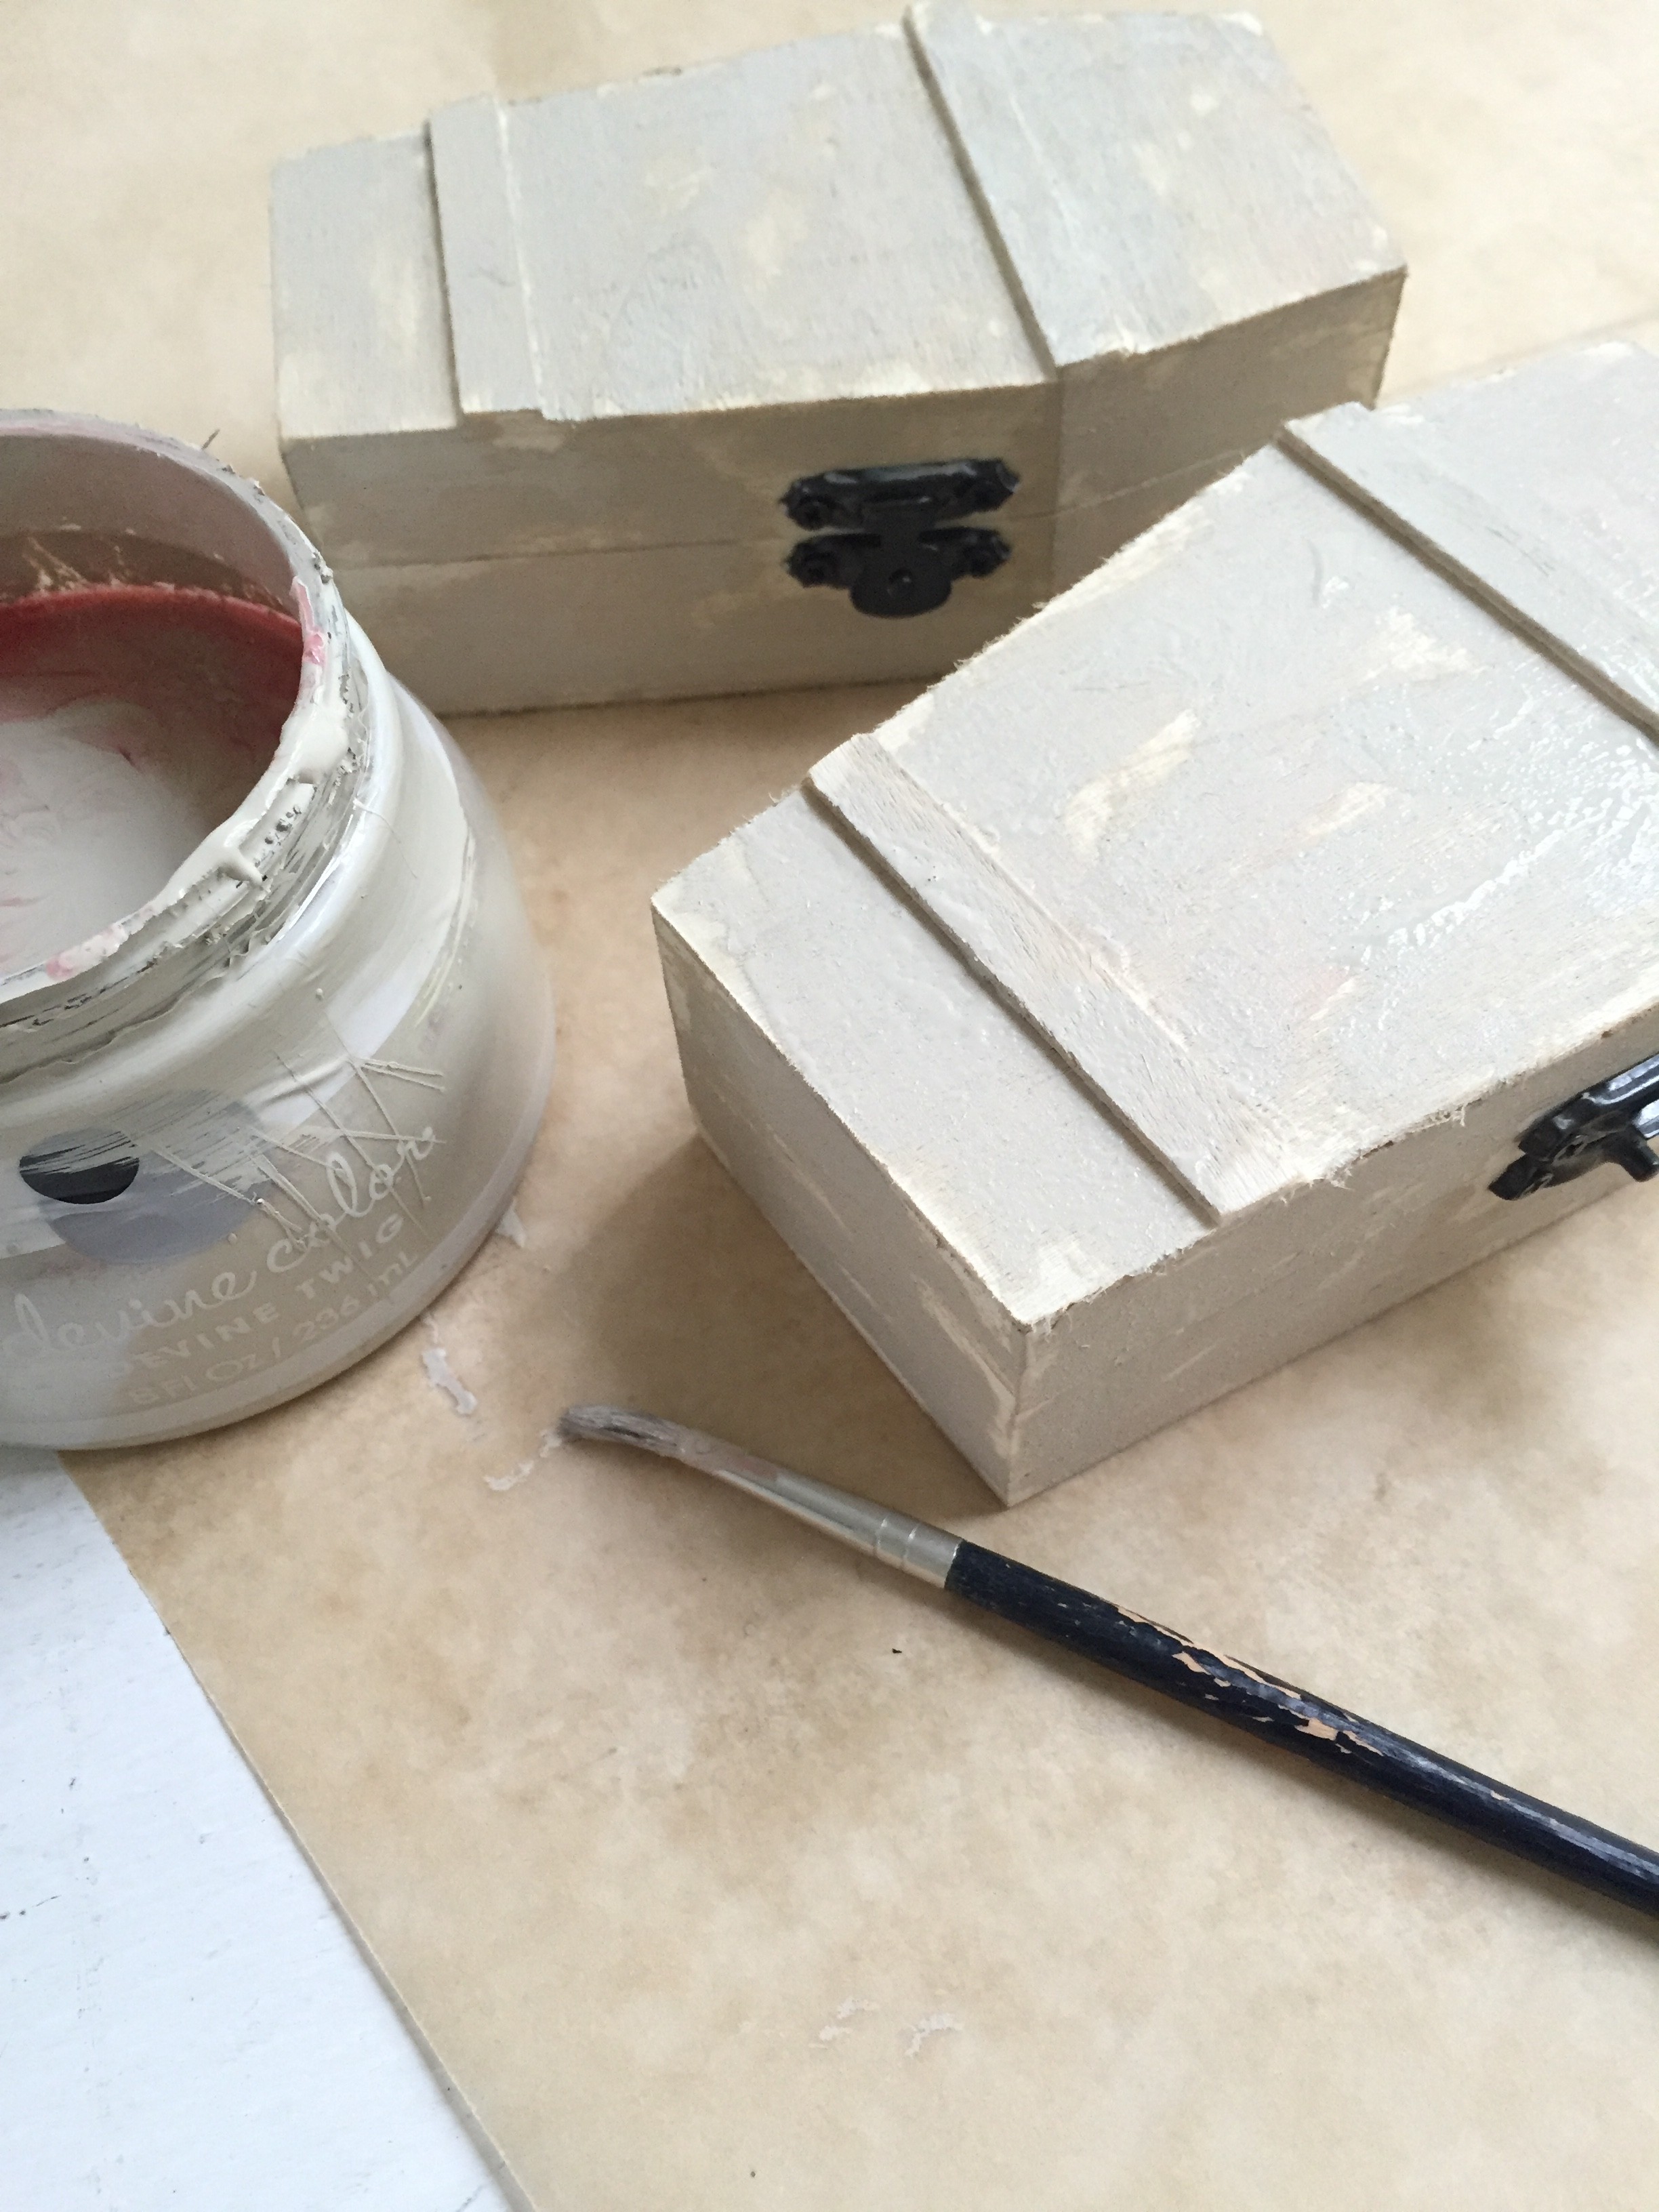
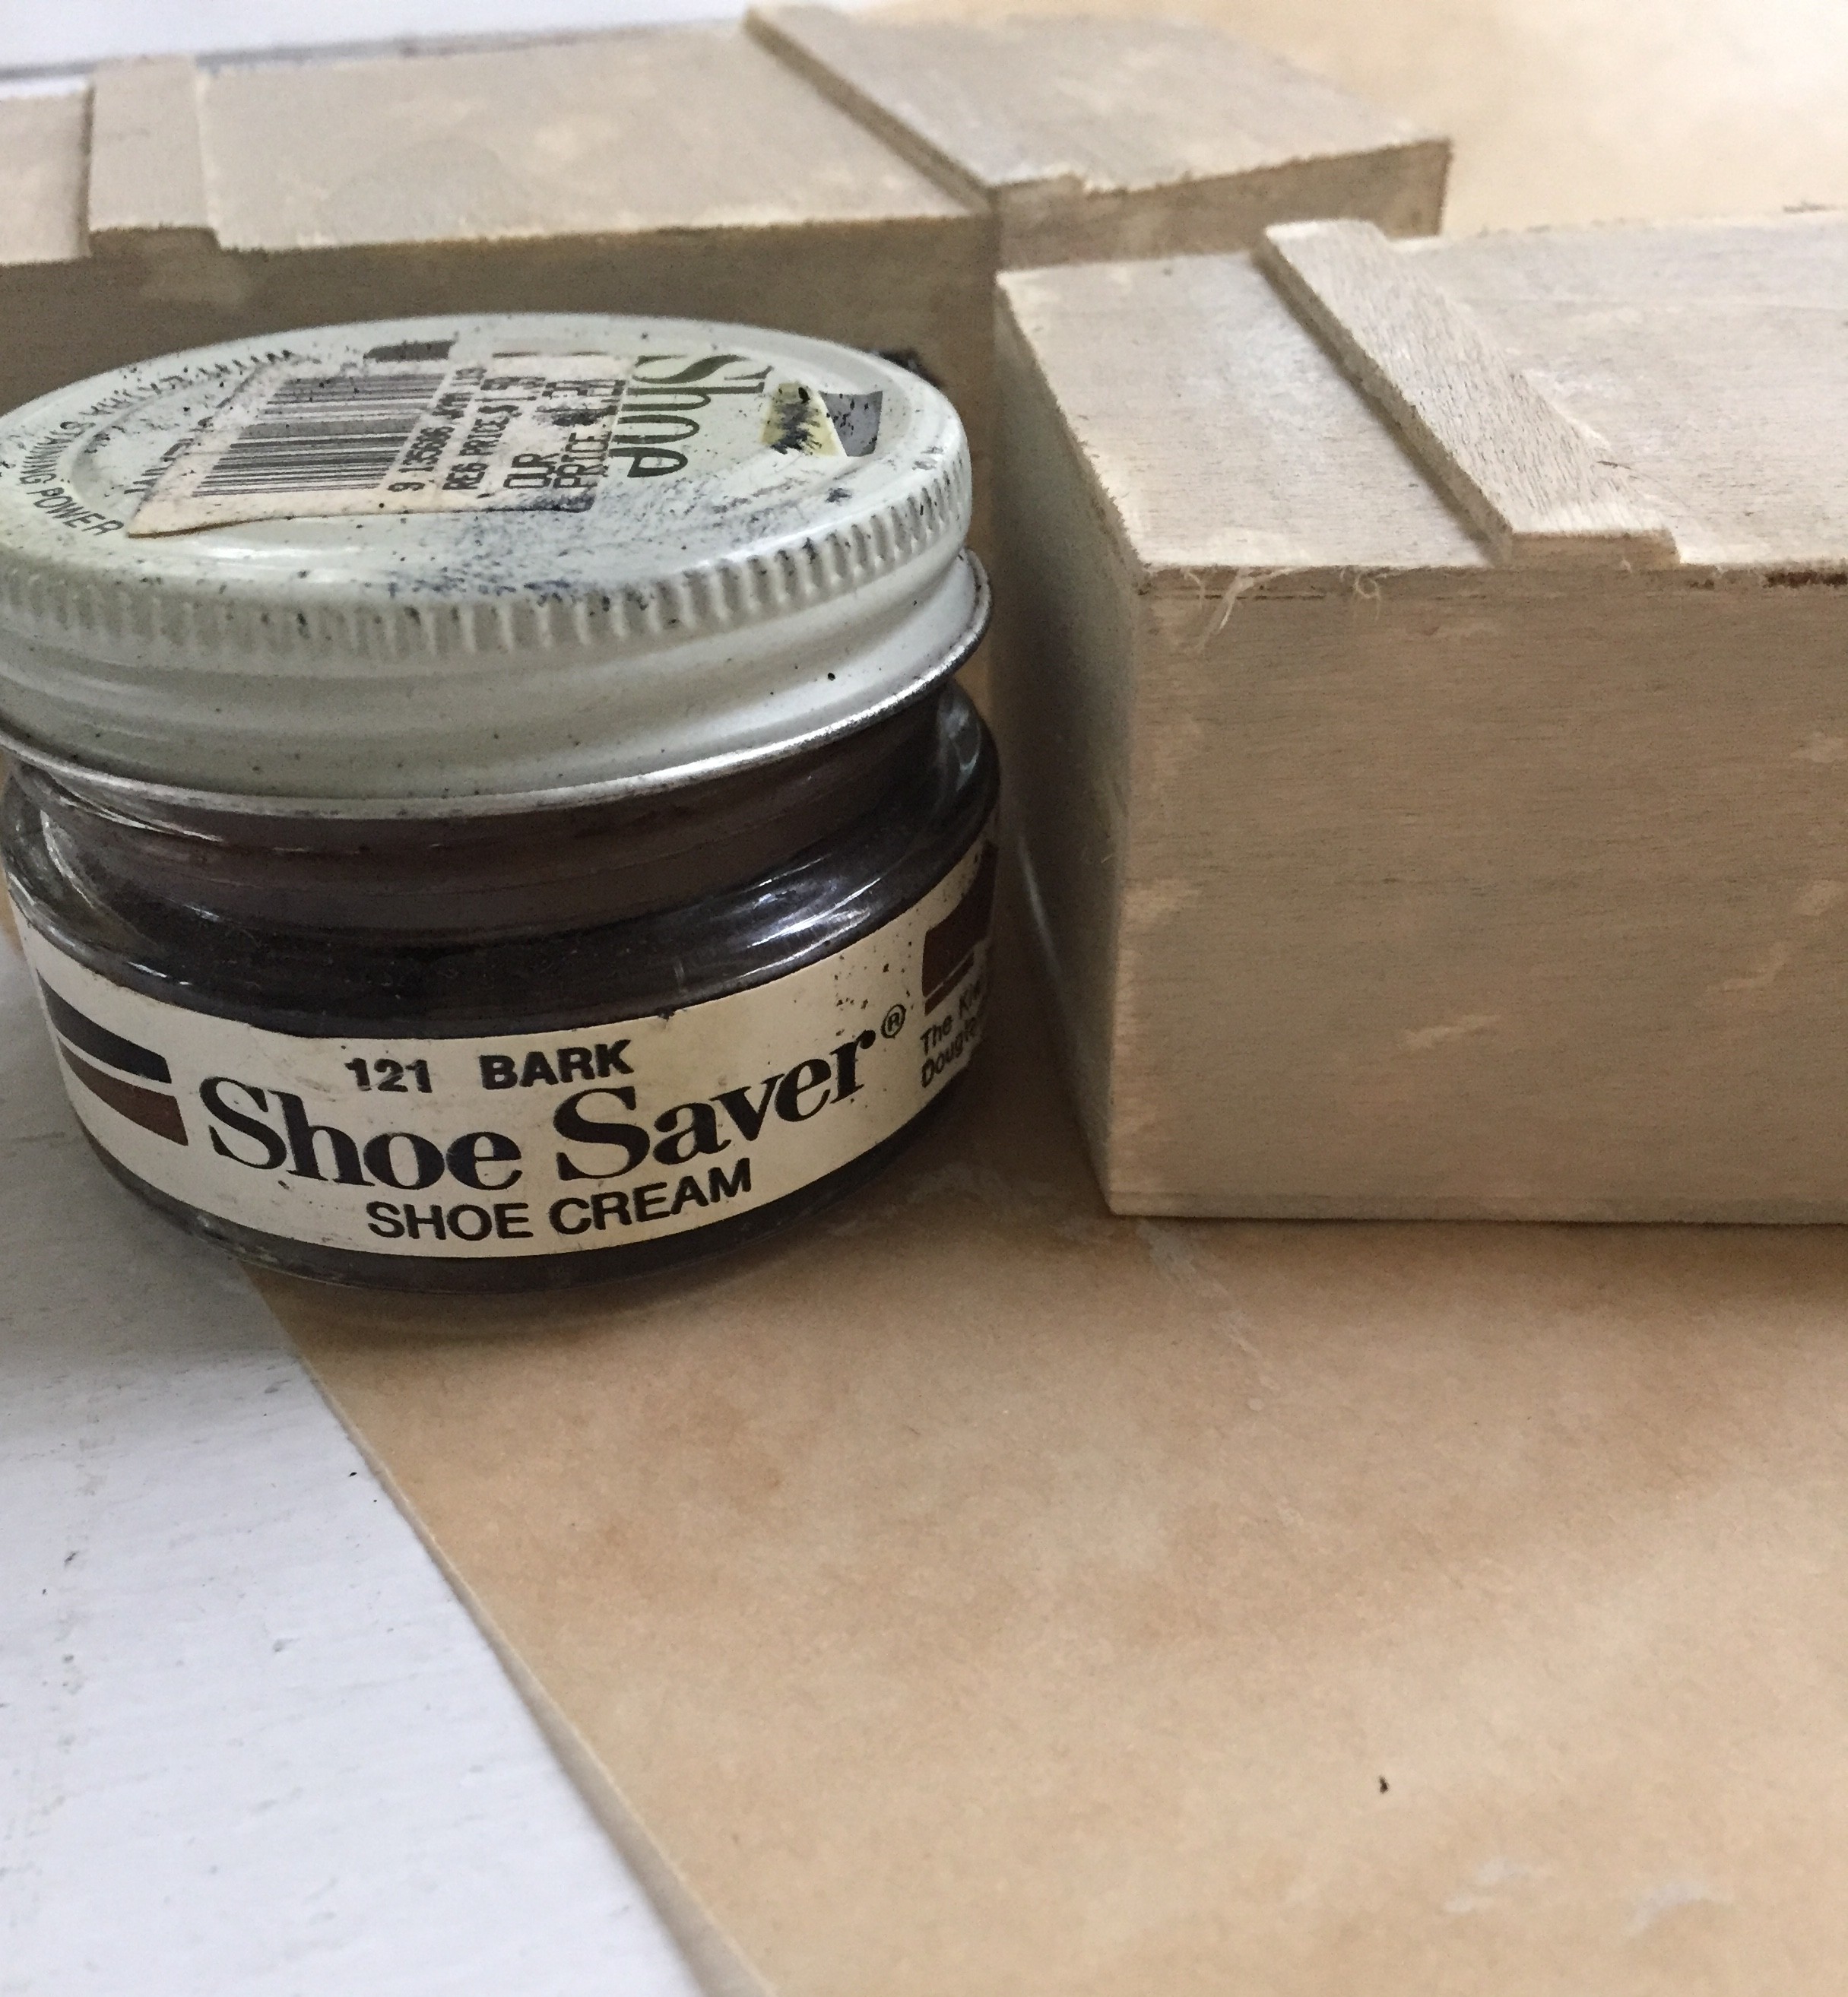
i’m all about finding stuff around the house to craft with…so to add some more layers of color i found some shoe polish to dab on
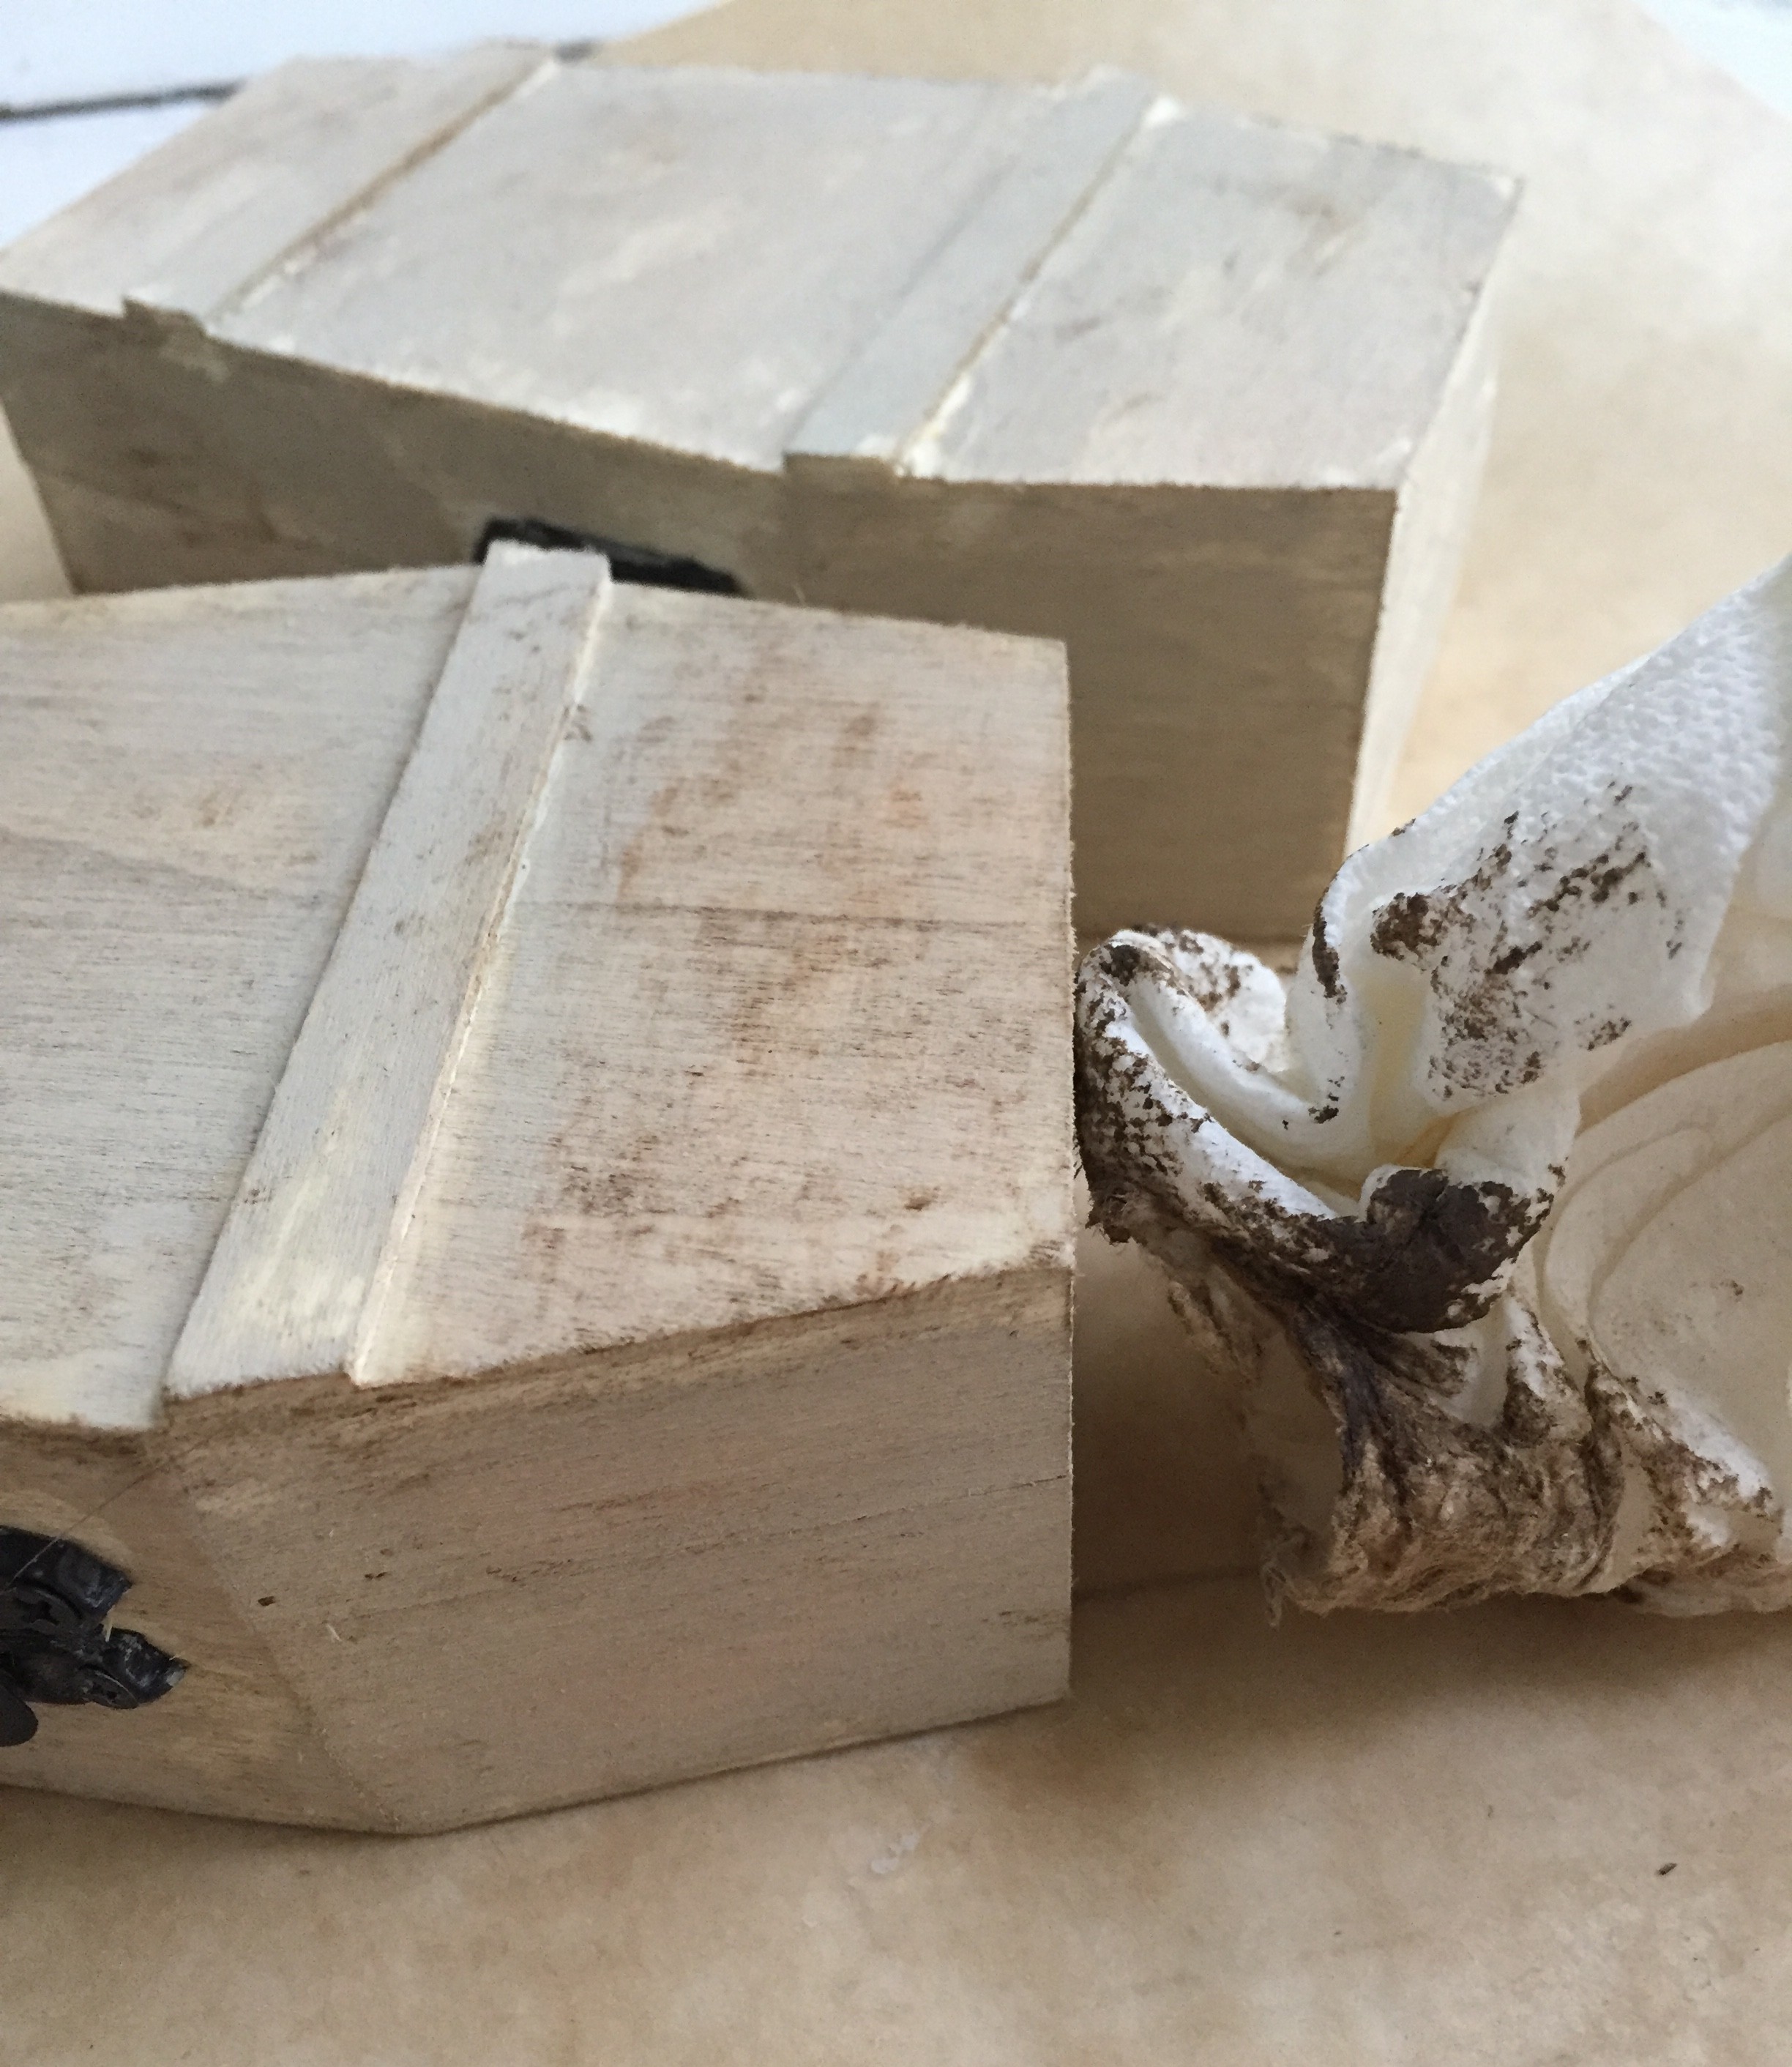
then a coating of one of my favorite products…glossy wood tone! this tinted top coat is so easy to use to give an antique wood finish to most anything. it doesn’t totally color whatever you spray, just deepens the tone. (to save more time, you could skip the other layers of color and just spray–making this step even easier!)

glossy wood tone dries almost instantly so it looks like i took a lot of time & effort creating these little boxes…but i didn’t! and the spray won’t alter the latches & hinges so no need to tape anything off! the mottled paint underneath the spray doesn’t show much in the photo but you really can see the speckles and irregularities making the caskets look sort of old! (but if i did it again i might pass on the polish!)
i didn’t paint the insides just in case it would mess up the sound box…but i did line it with moss to make it creepy!
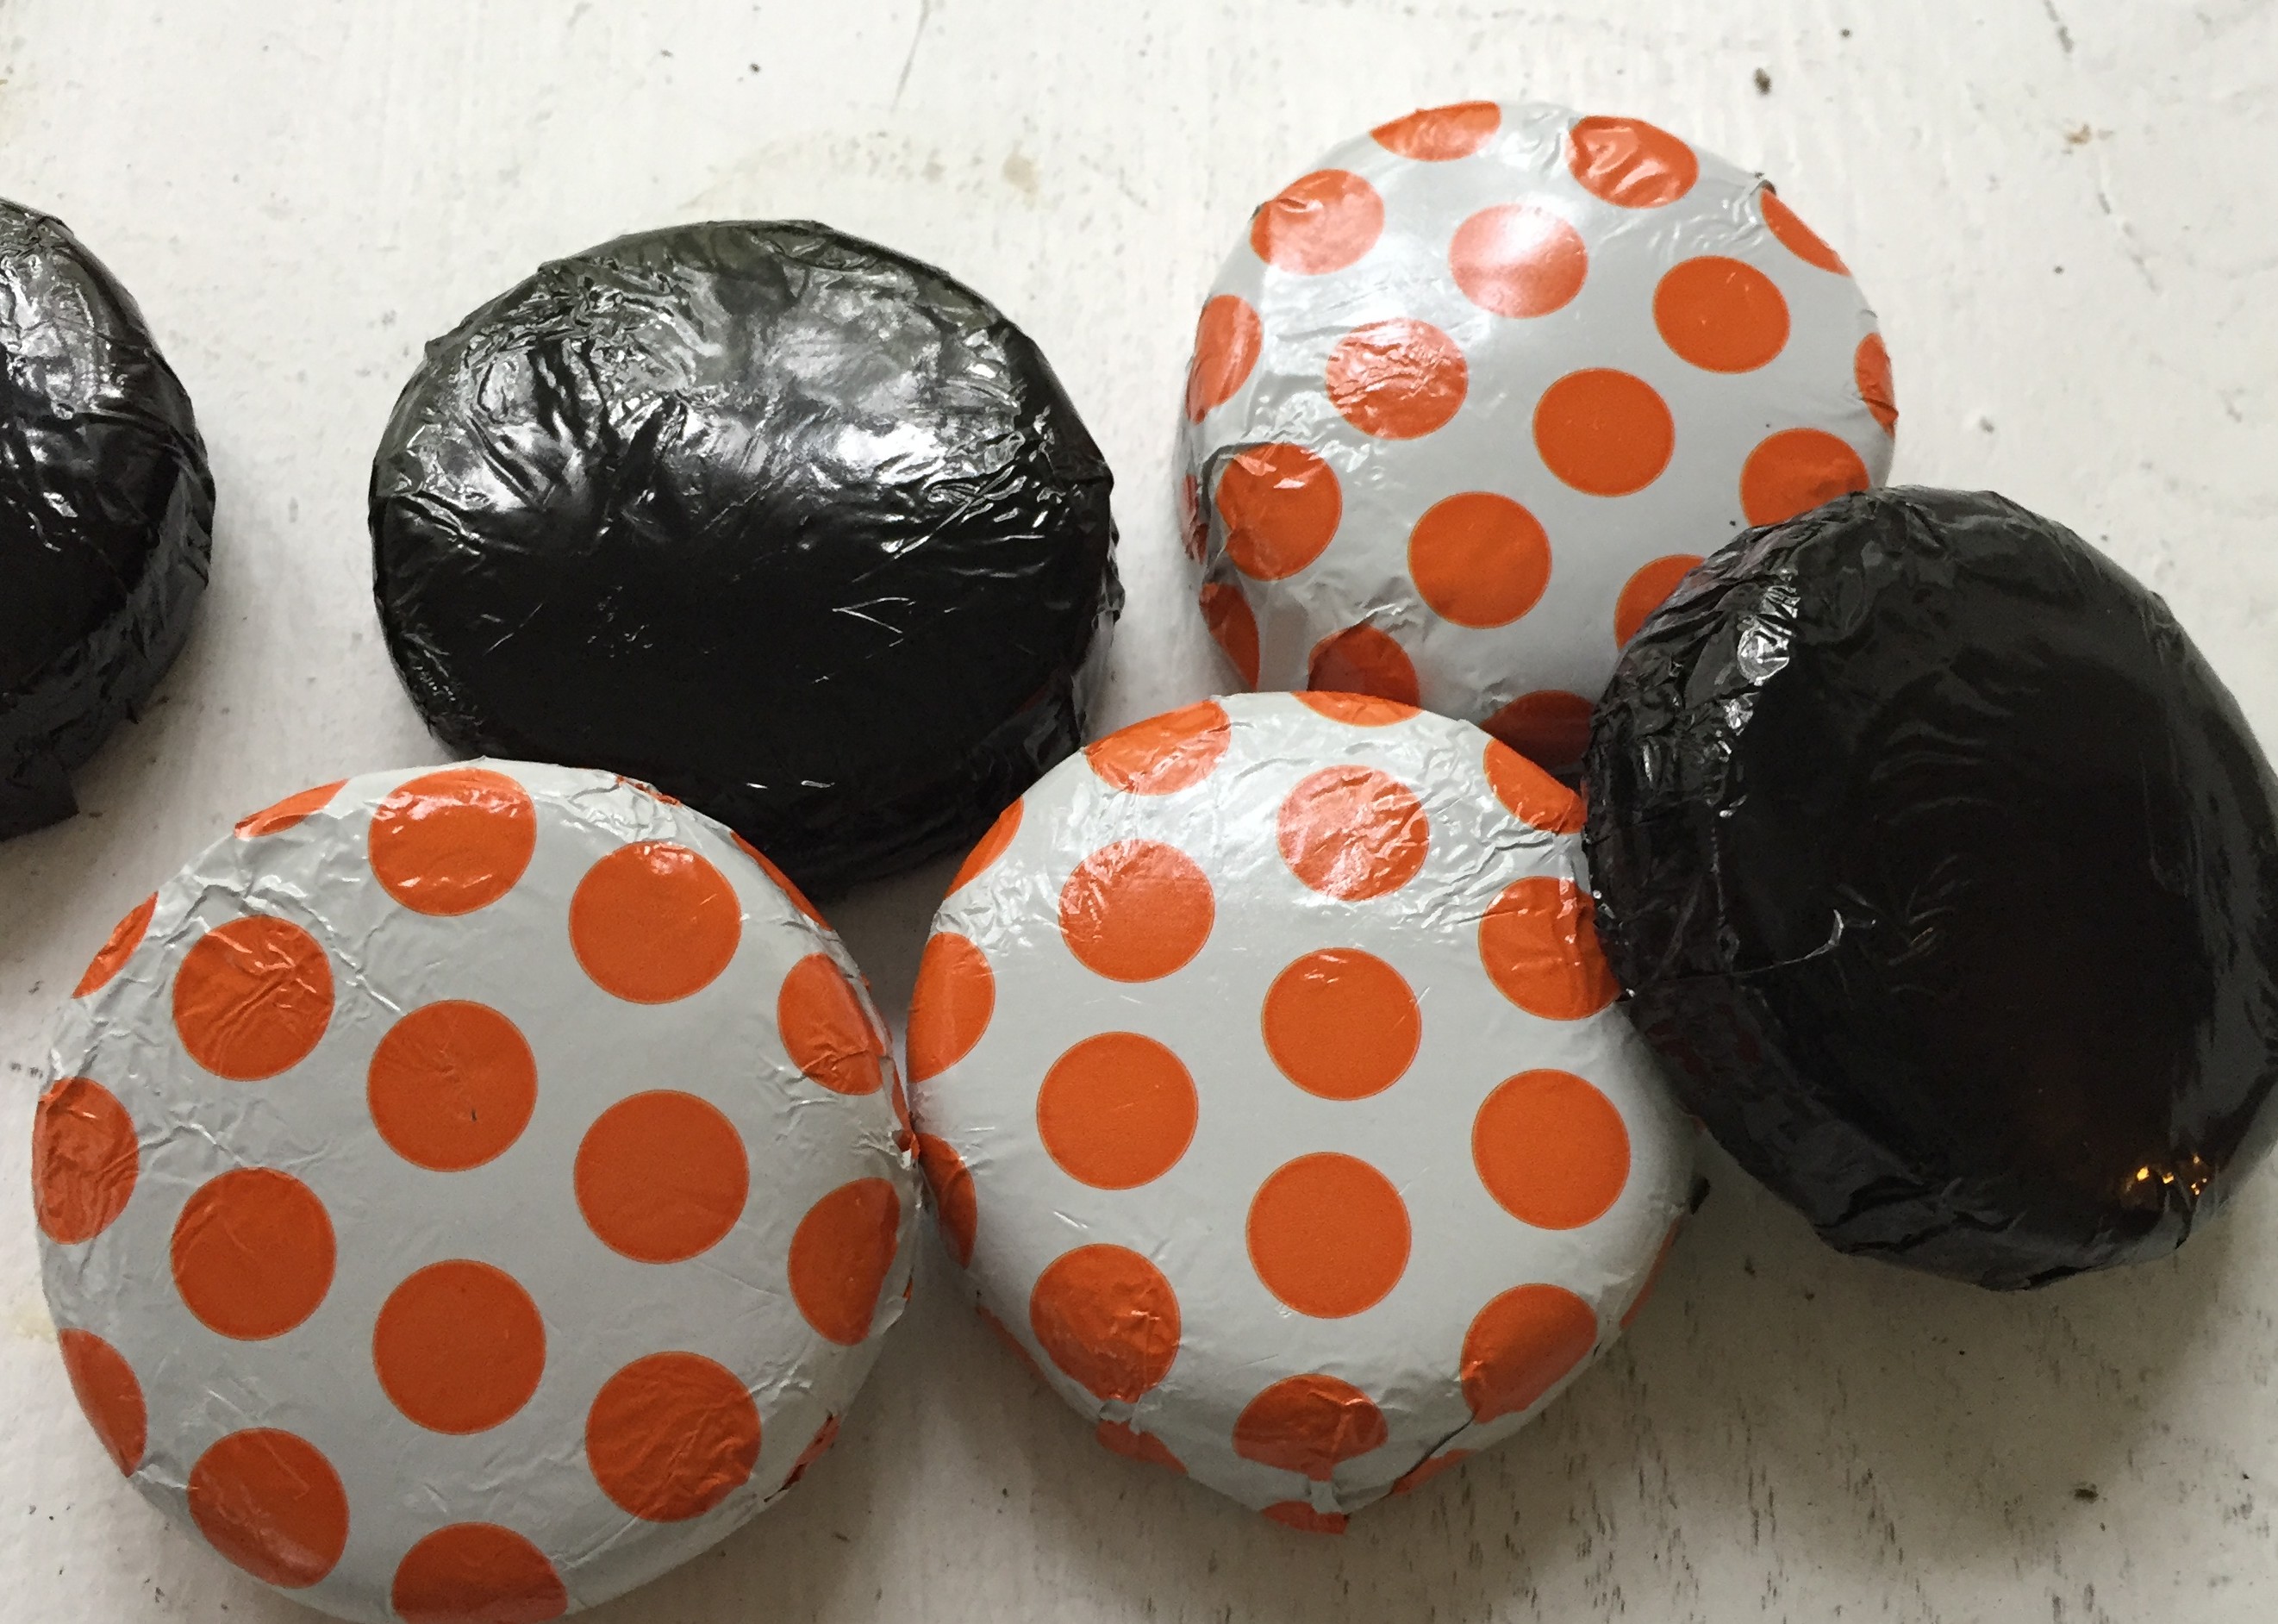
some yummy sweetness to hide inside…
who doesn’t love an Oreo covered in chocolate?
a holiday message…
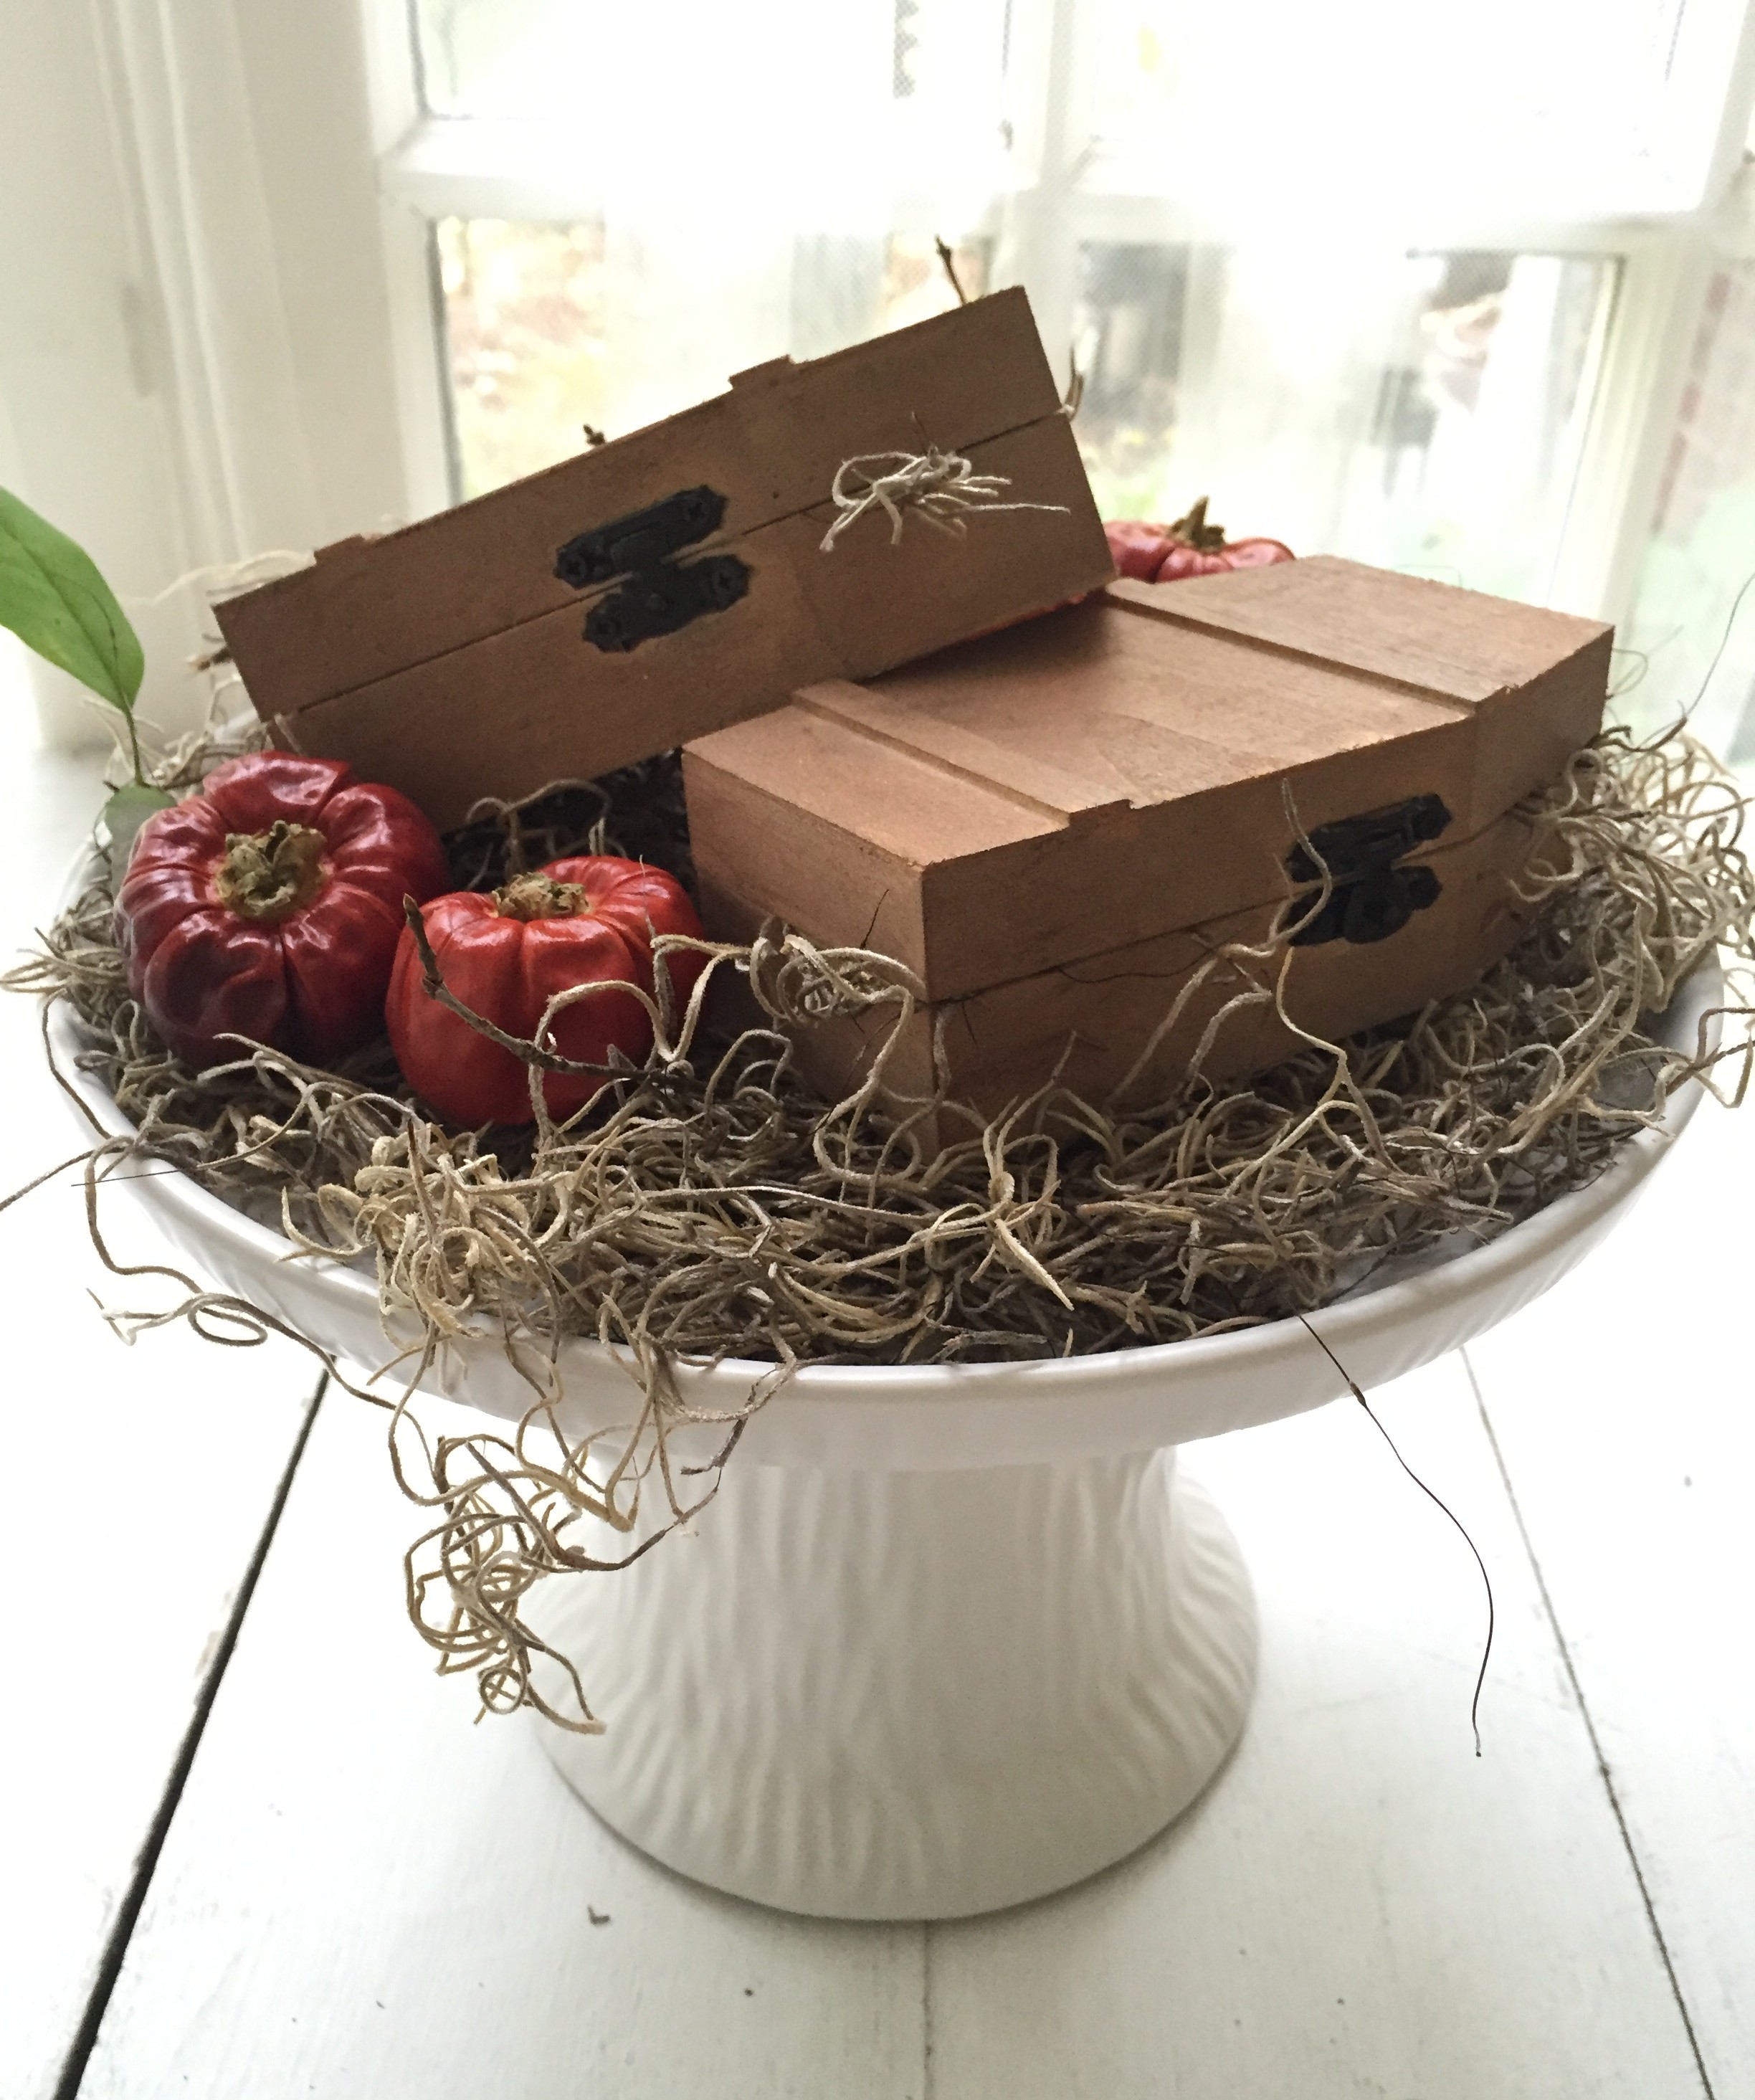
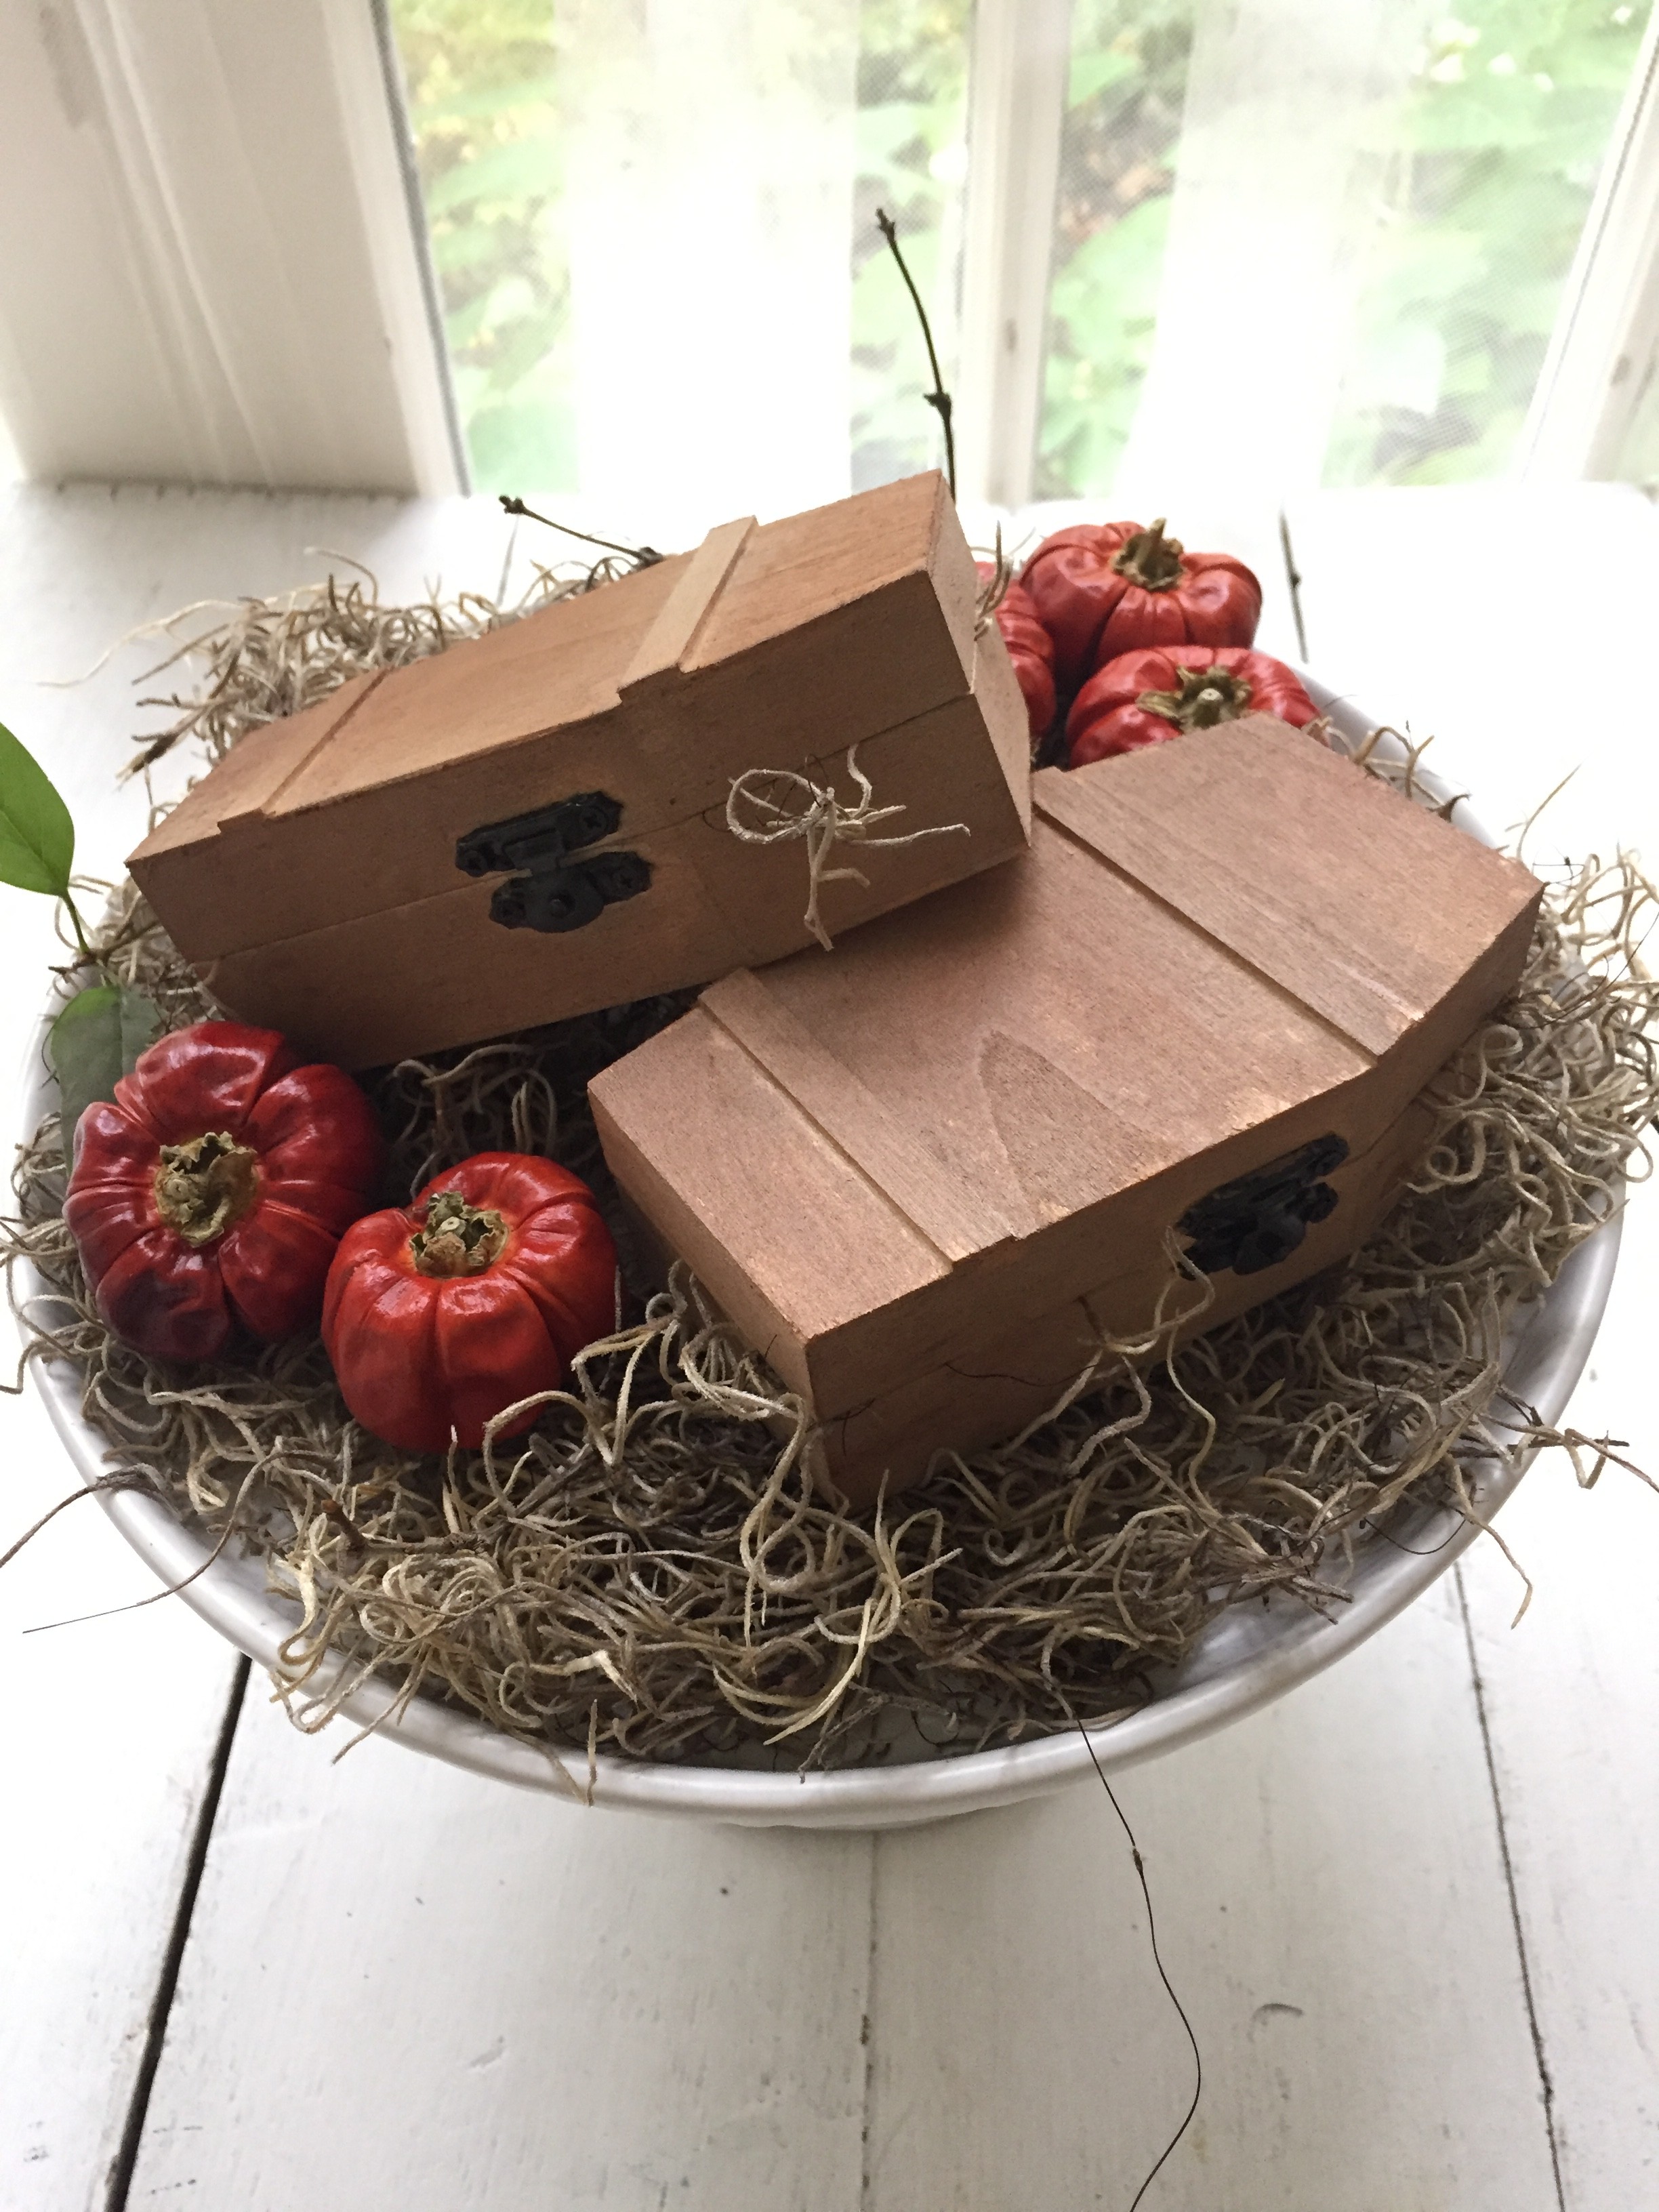
i stacked them on a cake plate covered with moss and dried pods…and here they will sit until saturday!
a sweet Halloween treat hidden inside a silly casket!
have some fun with holiday shortcuts and DIY treats…and make it a

