Today I’m sharing some “bunny” fun along with 9 other bloggers in a DIY inspired Instagram Loop! We’ve come together to create an easy way to “hop” from IG link to link grabbing up plenty of inspiration for Easter celebrations you may be hosting this weekend! Tonight at 7:30 pm EST you can easily loop through all our accounts and grab the blog links for all the DIY tutorials…so you won’t want to miss the inspiration from my talented friends! I’m sharing how I created some really simple and sweet place cards and favors that your guests will love! Check out the step-by-step instructions…
hop right into Easter!
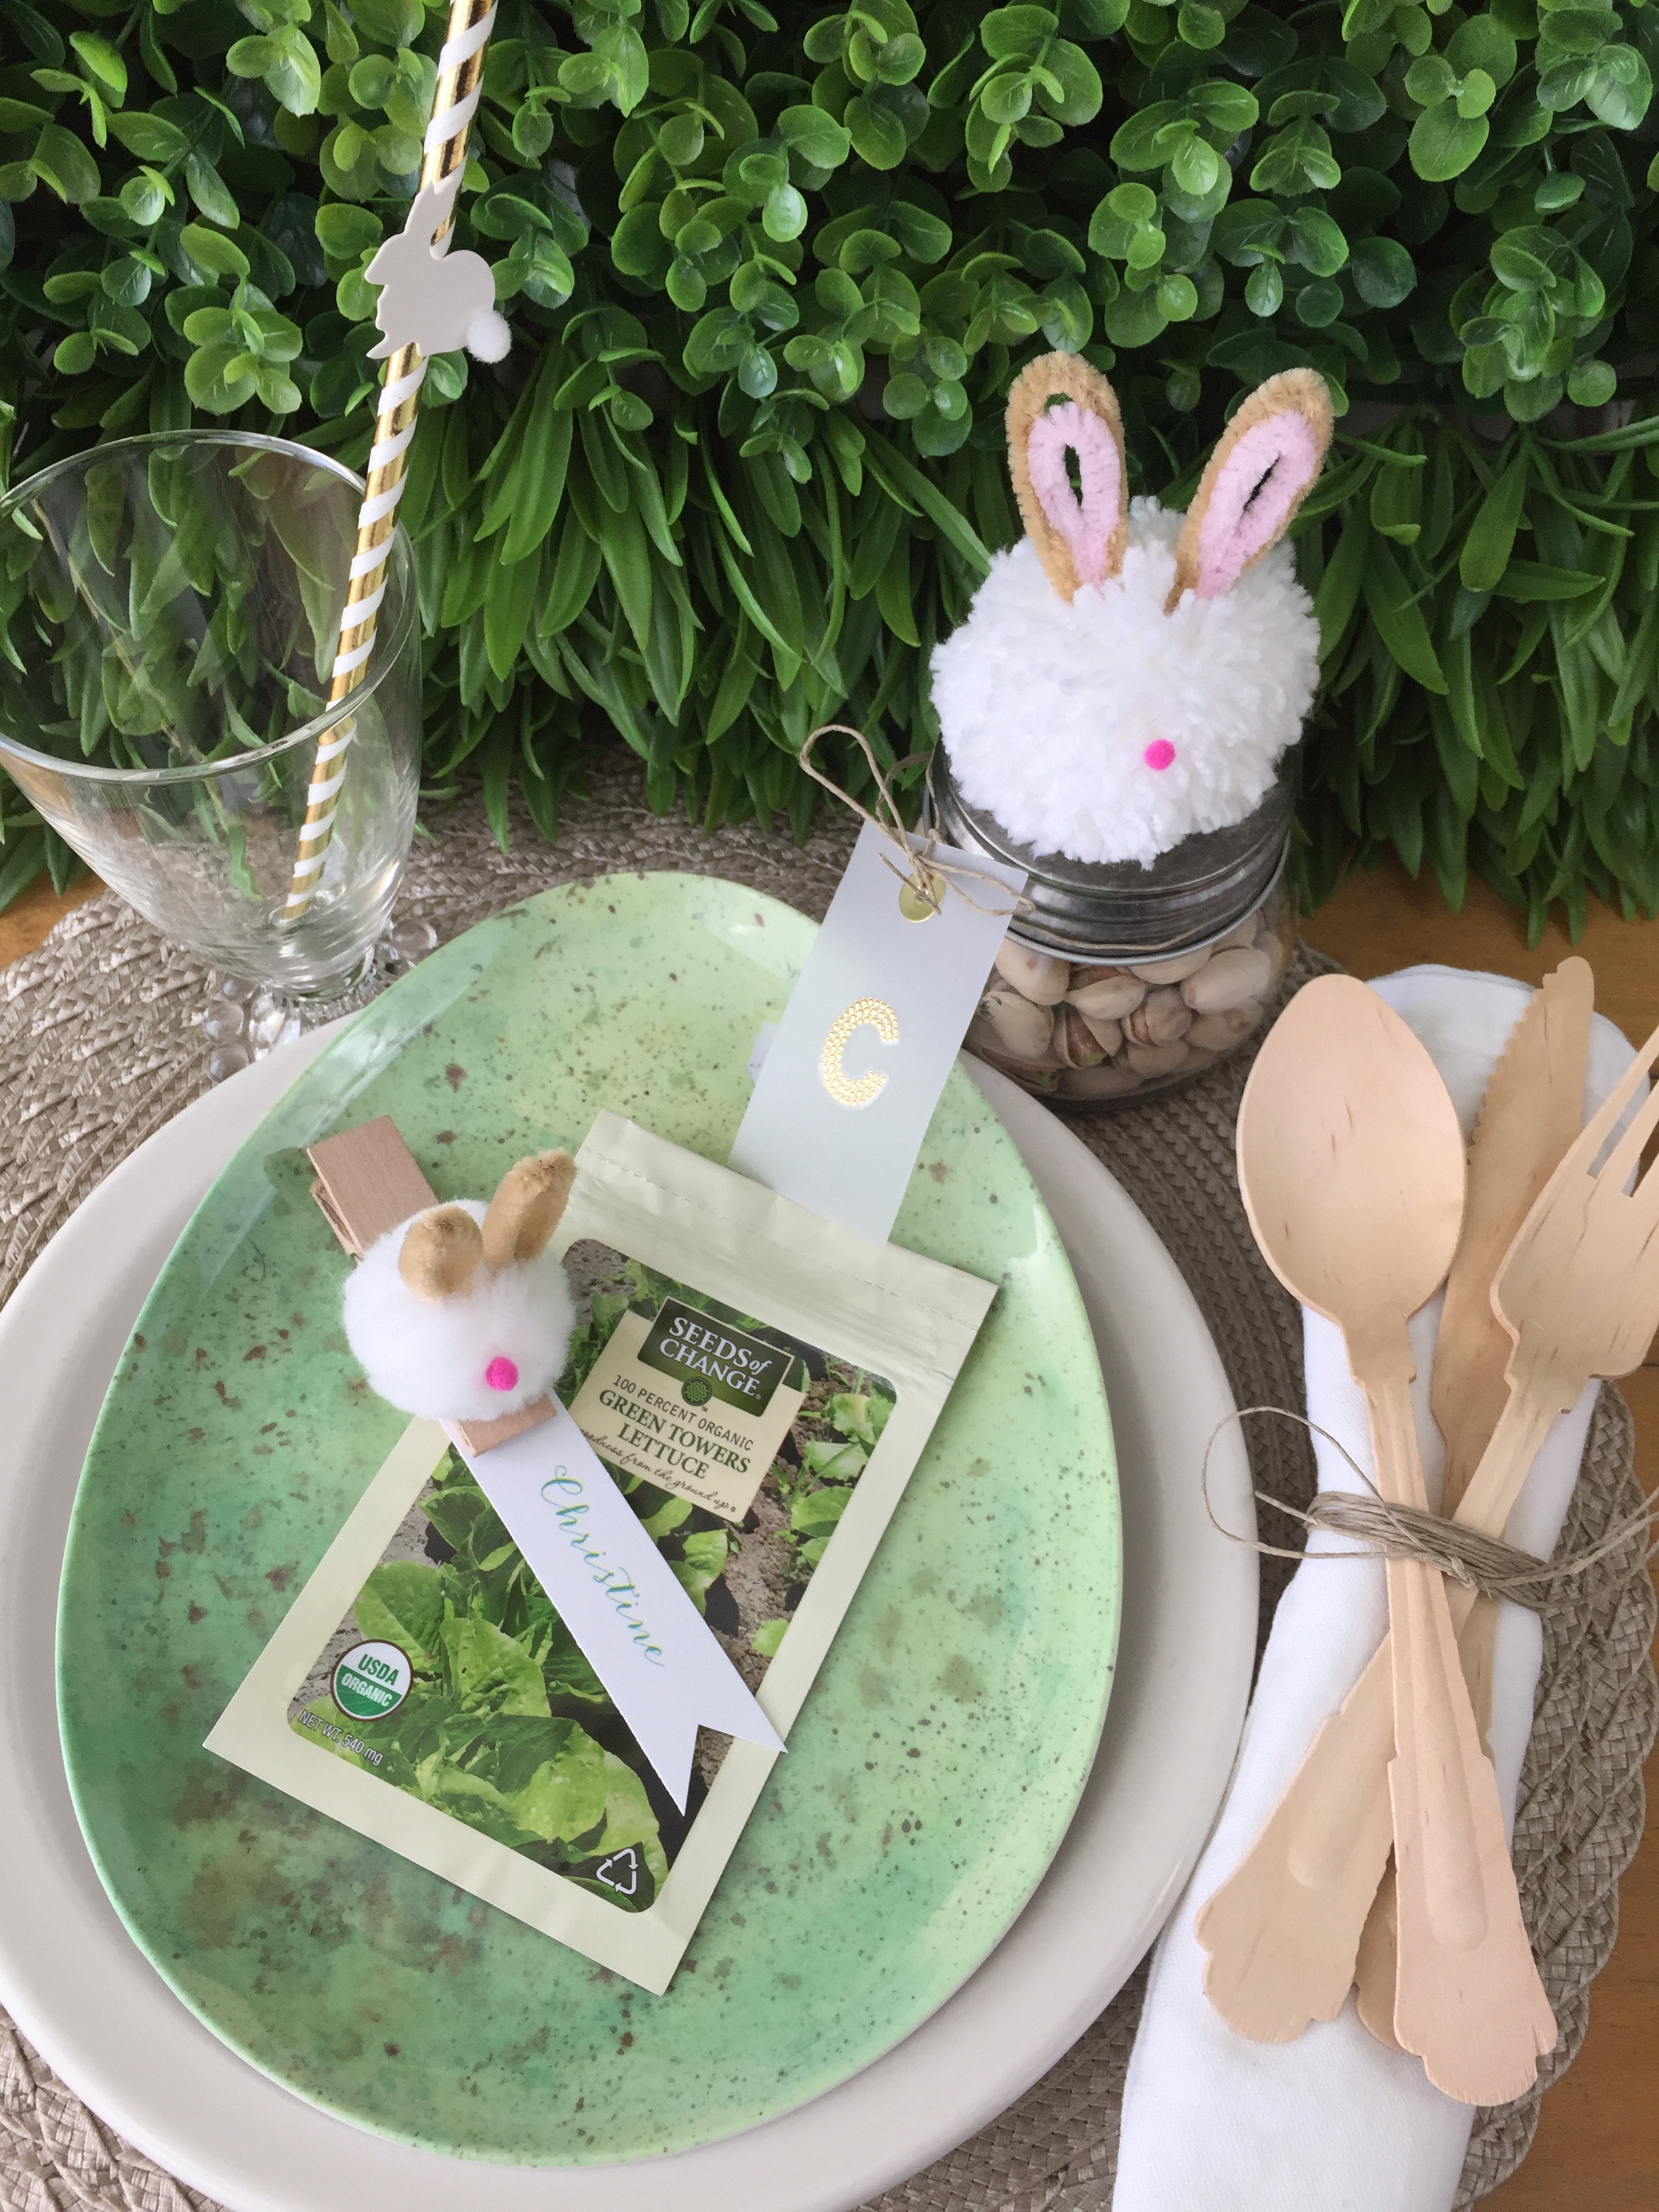
when it comes to setting a holiday table, it’s always fun to create festive details that make your guests feel special! i’m going to show you how to make super sweet and EASY place cards for your table AND favors to match! you can even use the favor as the place card if you’d like…mix and match…just have fun! this is what we’re making today…
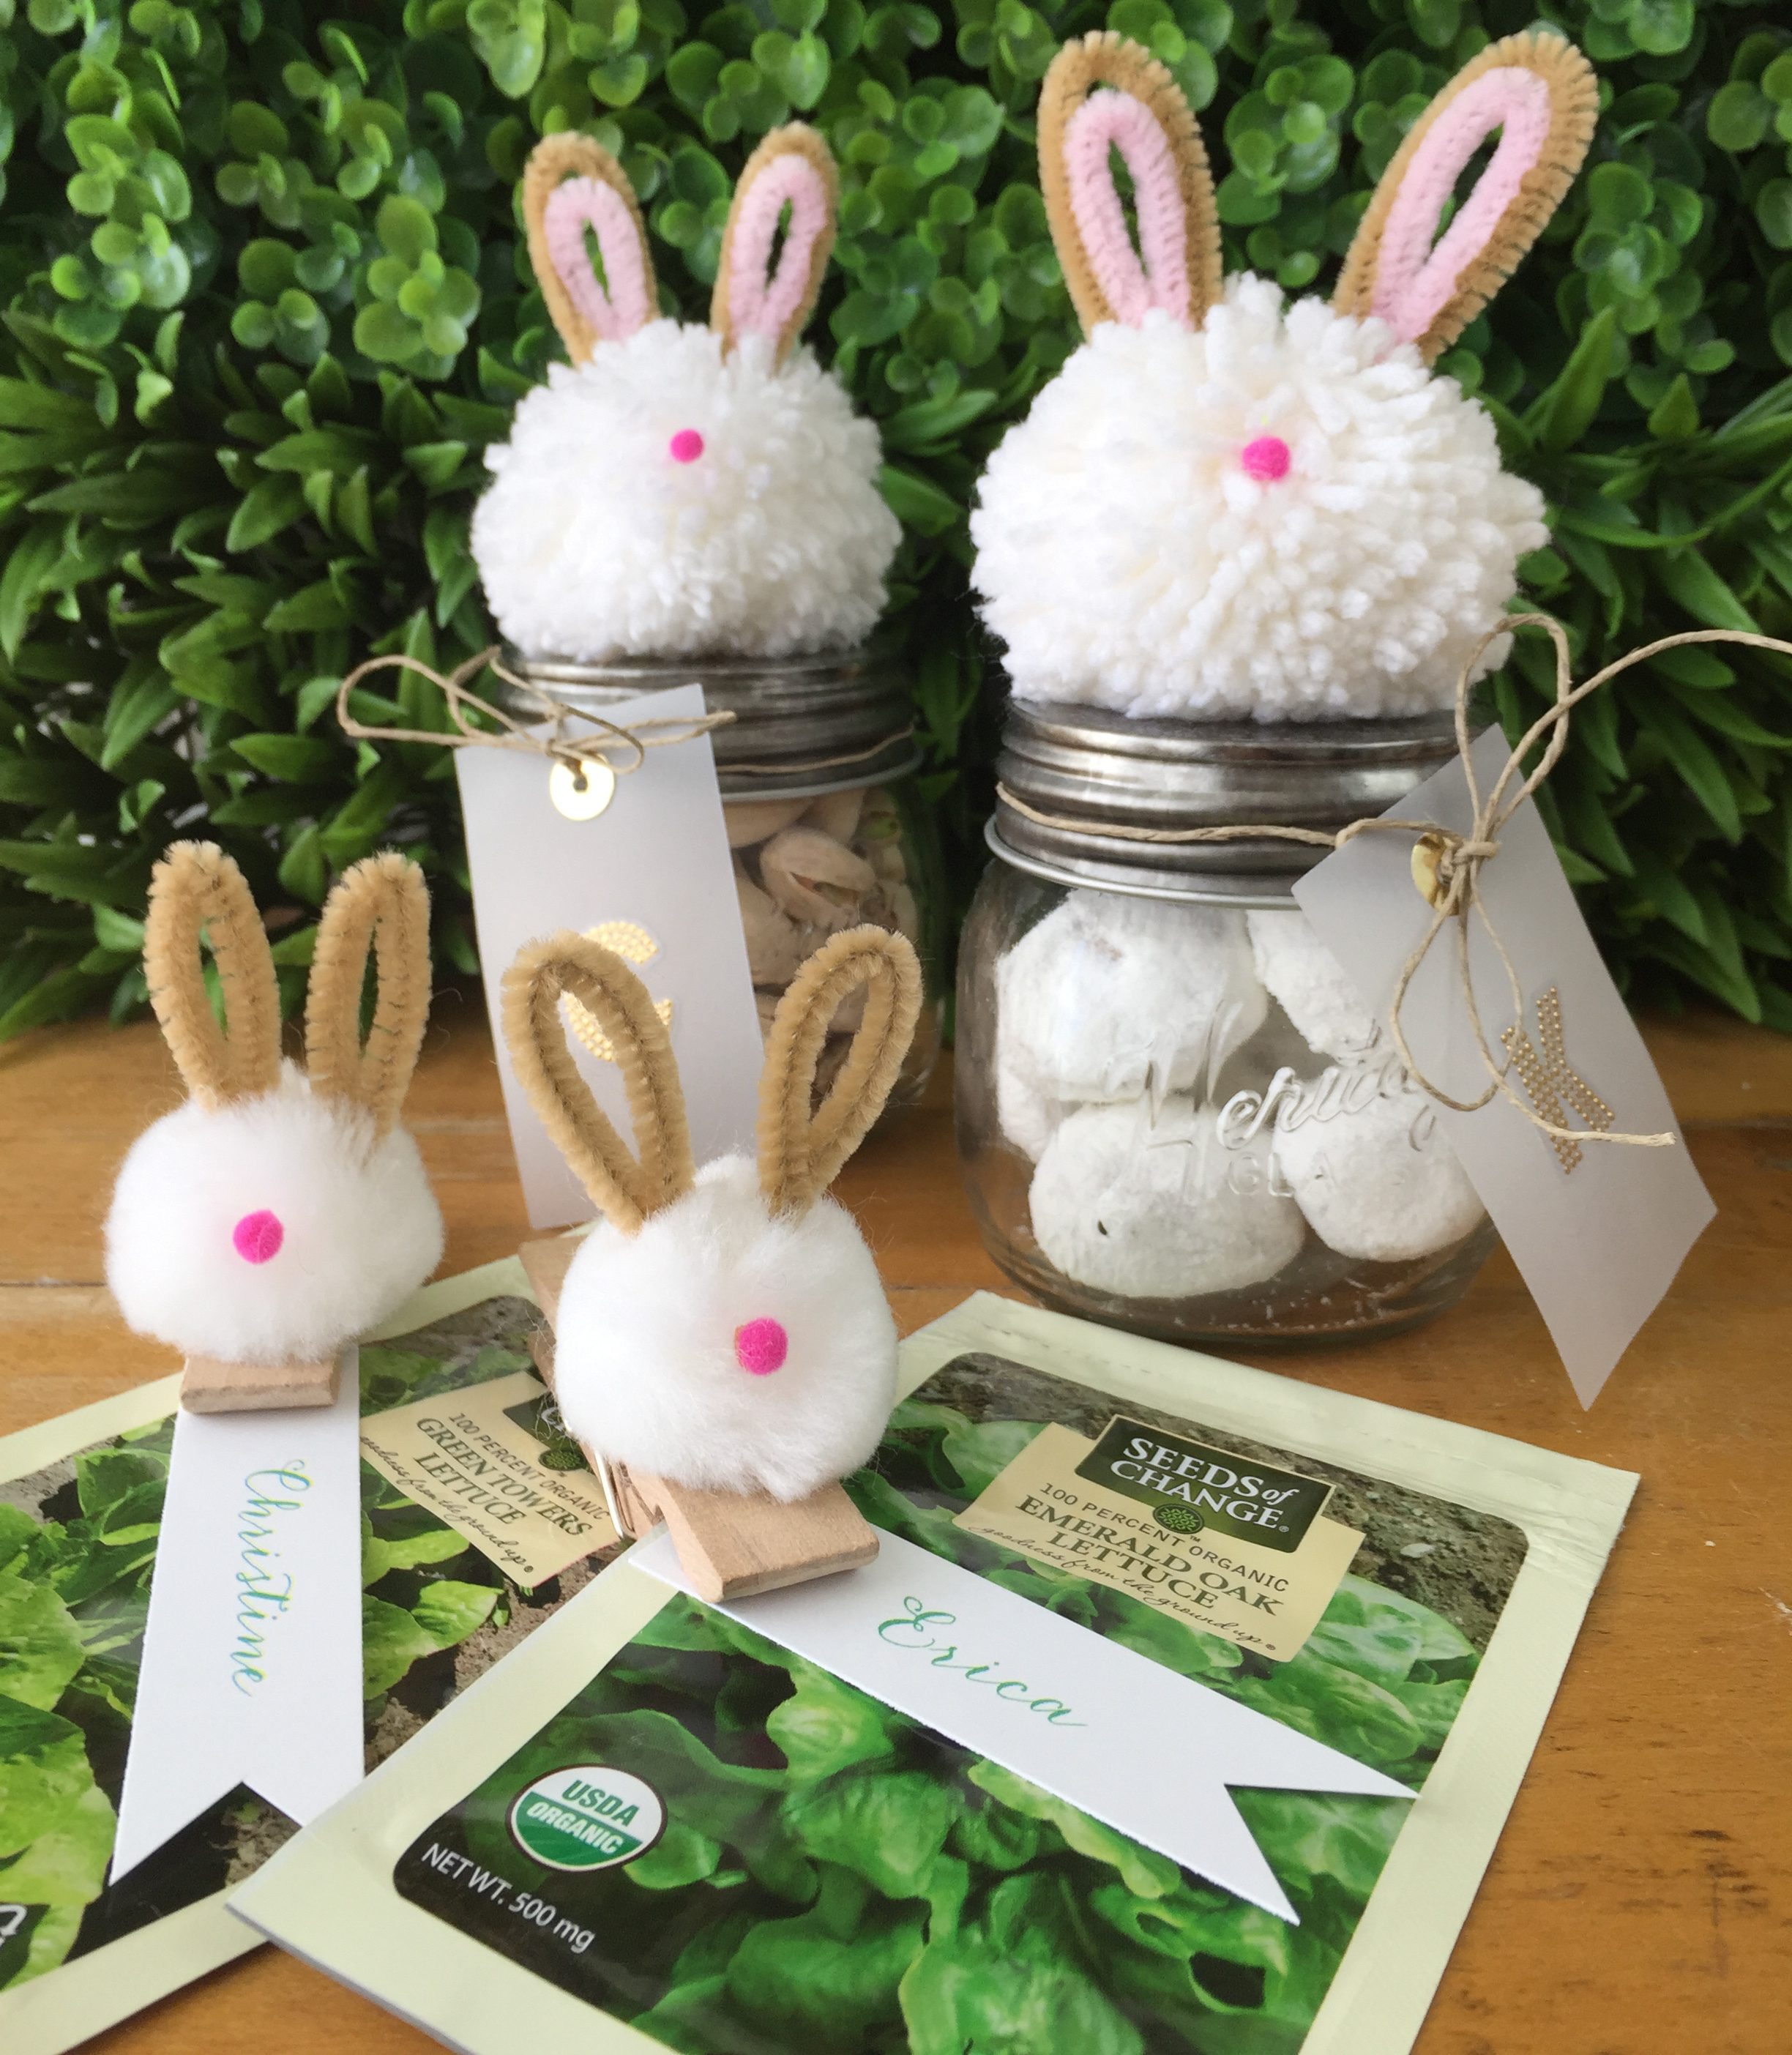
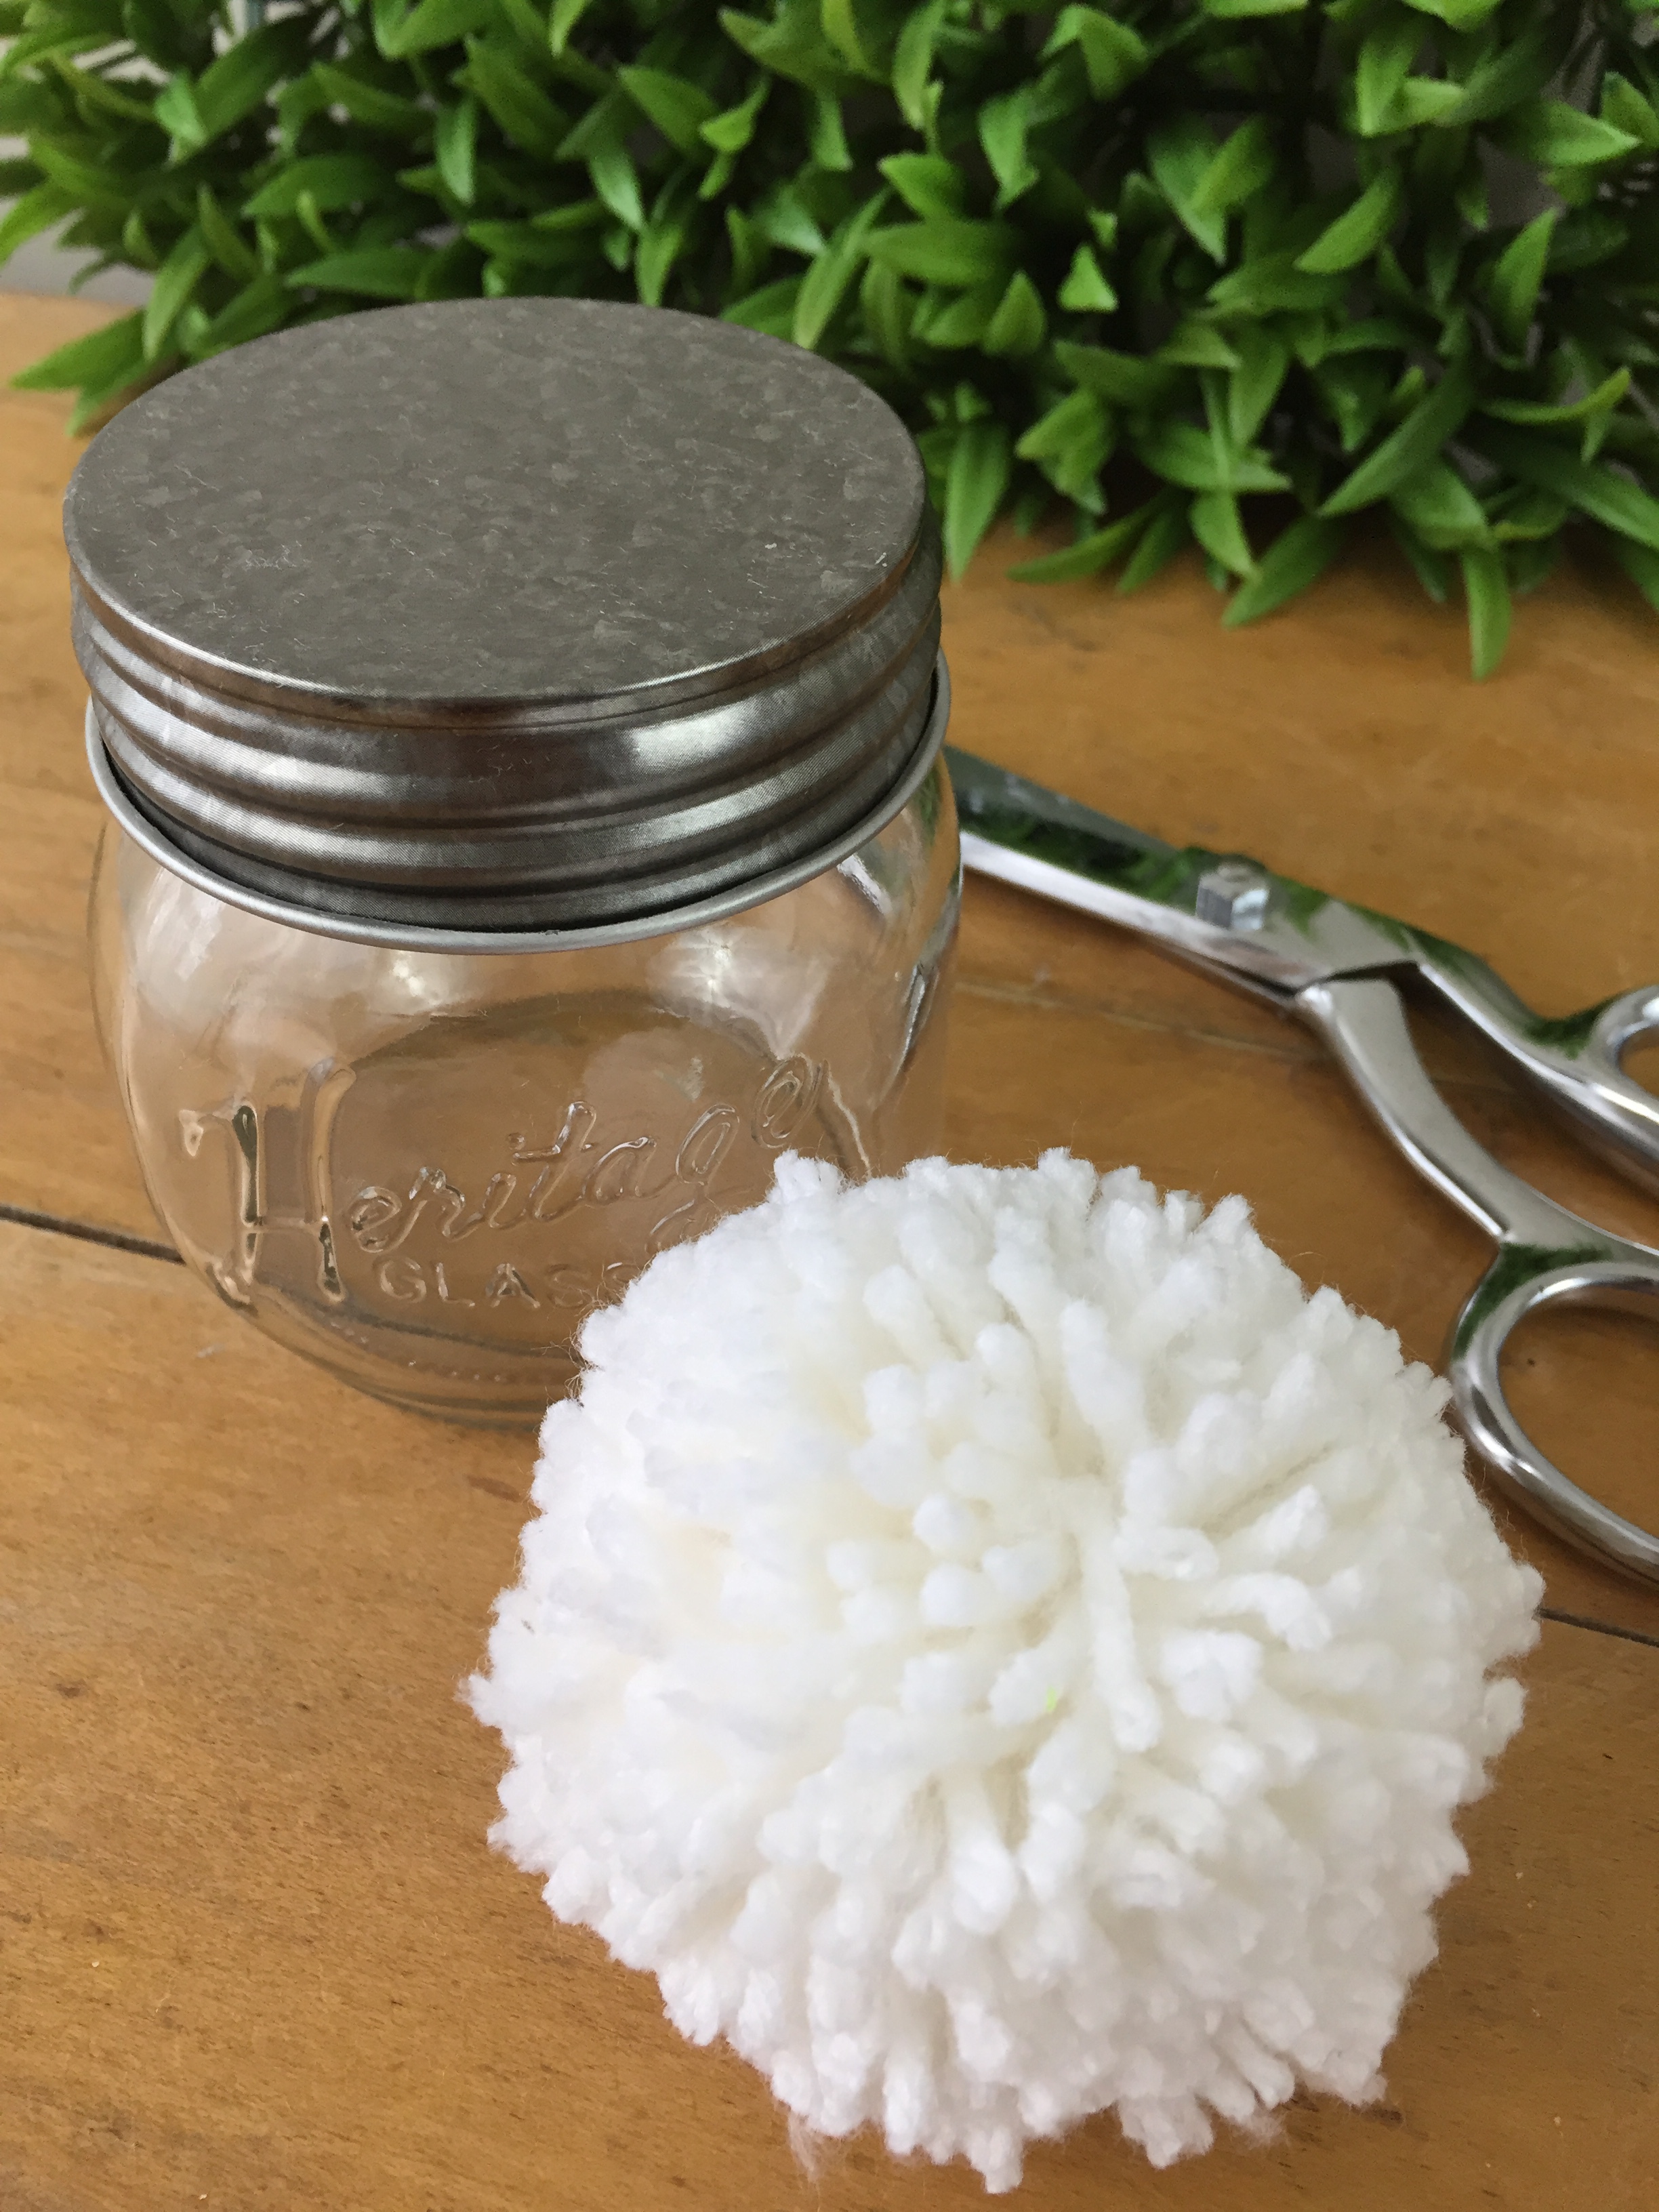
even for special celebrations, i never like to get too uptight about the perfection of my tablesettings, decorations, or favors. the purpose of a celebration is to cherish the moment or the meaning of the holiday and the rest is just fun fluff and i recommend not taking it too seriously! so that said, let’s play and make these cuties starting with the favor jars. the first thing you will need to do is make a yarn pom. you can purchase a pom pom maker at most craft stores, but unless you plan to make them all the time, you can use a piece of cardboard to help you make your form. i used some heavy card stock approximately 3″ wide. this will give you a pom about the same size once it’s trimmed down.
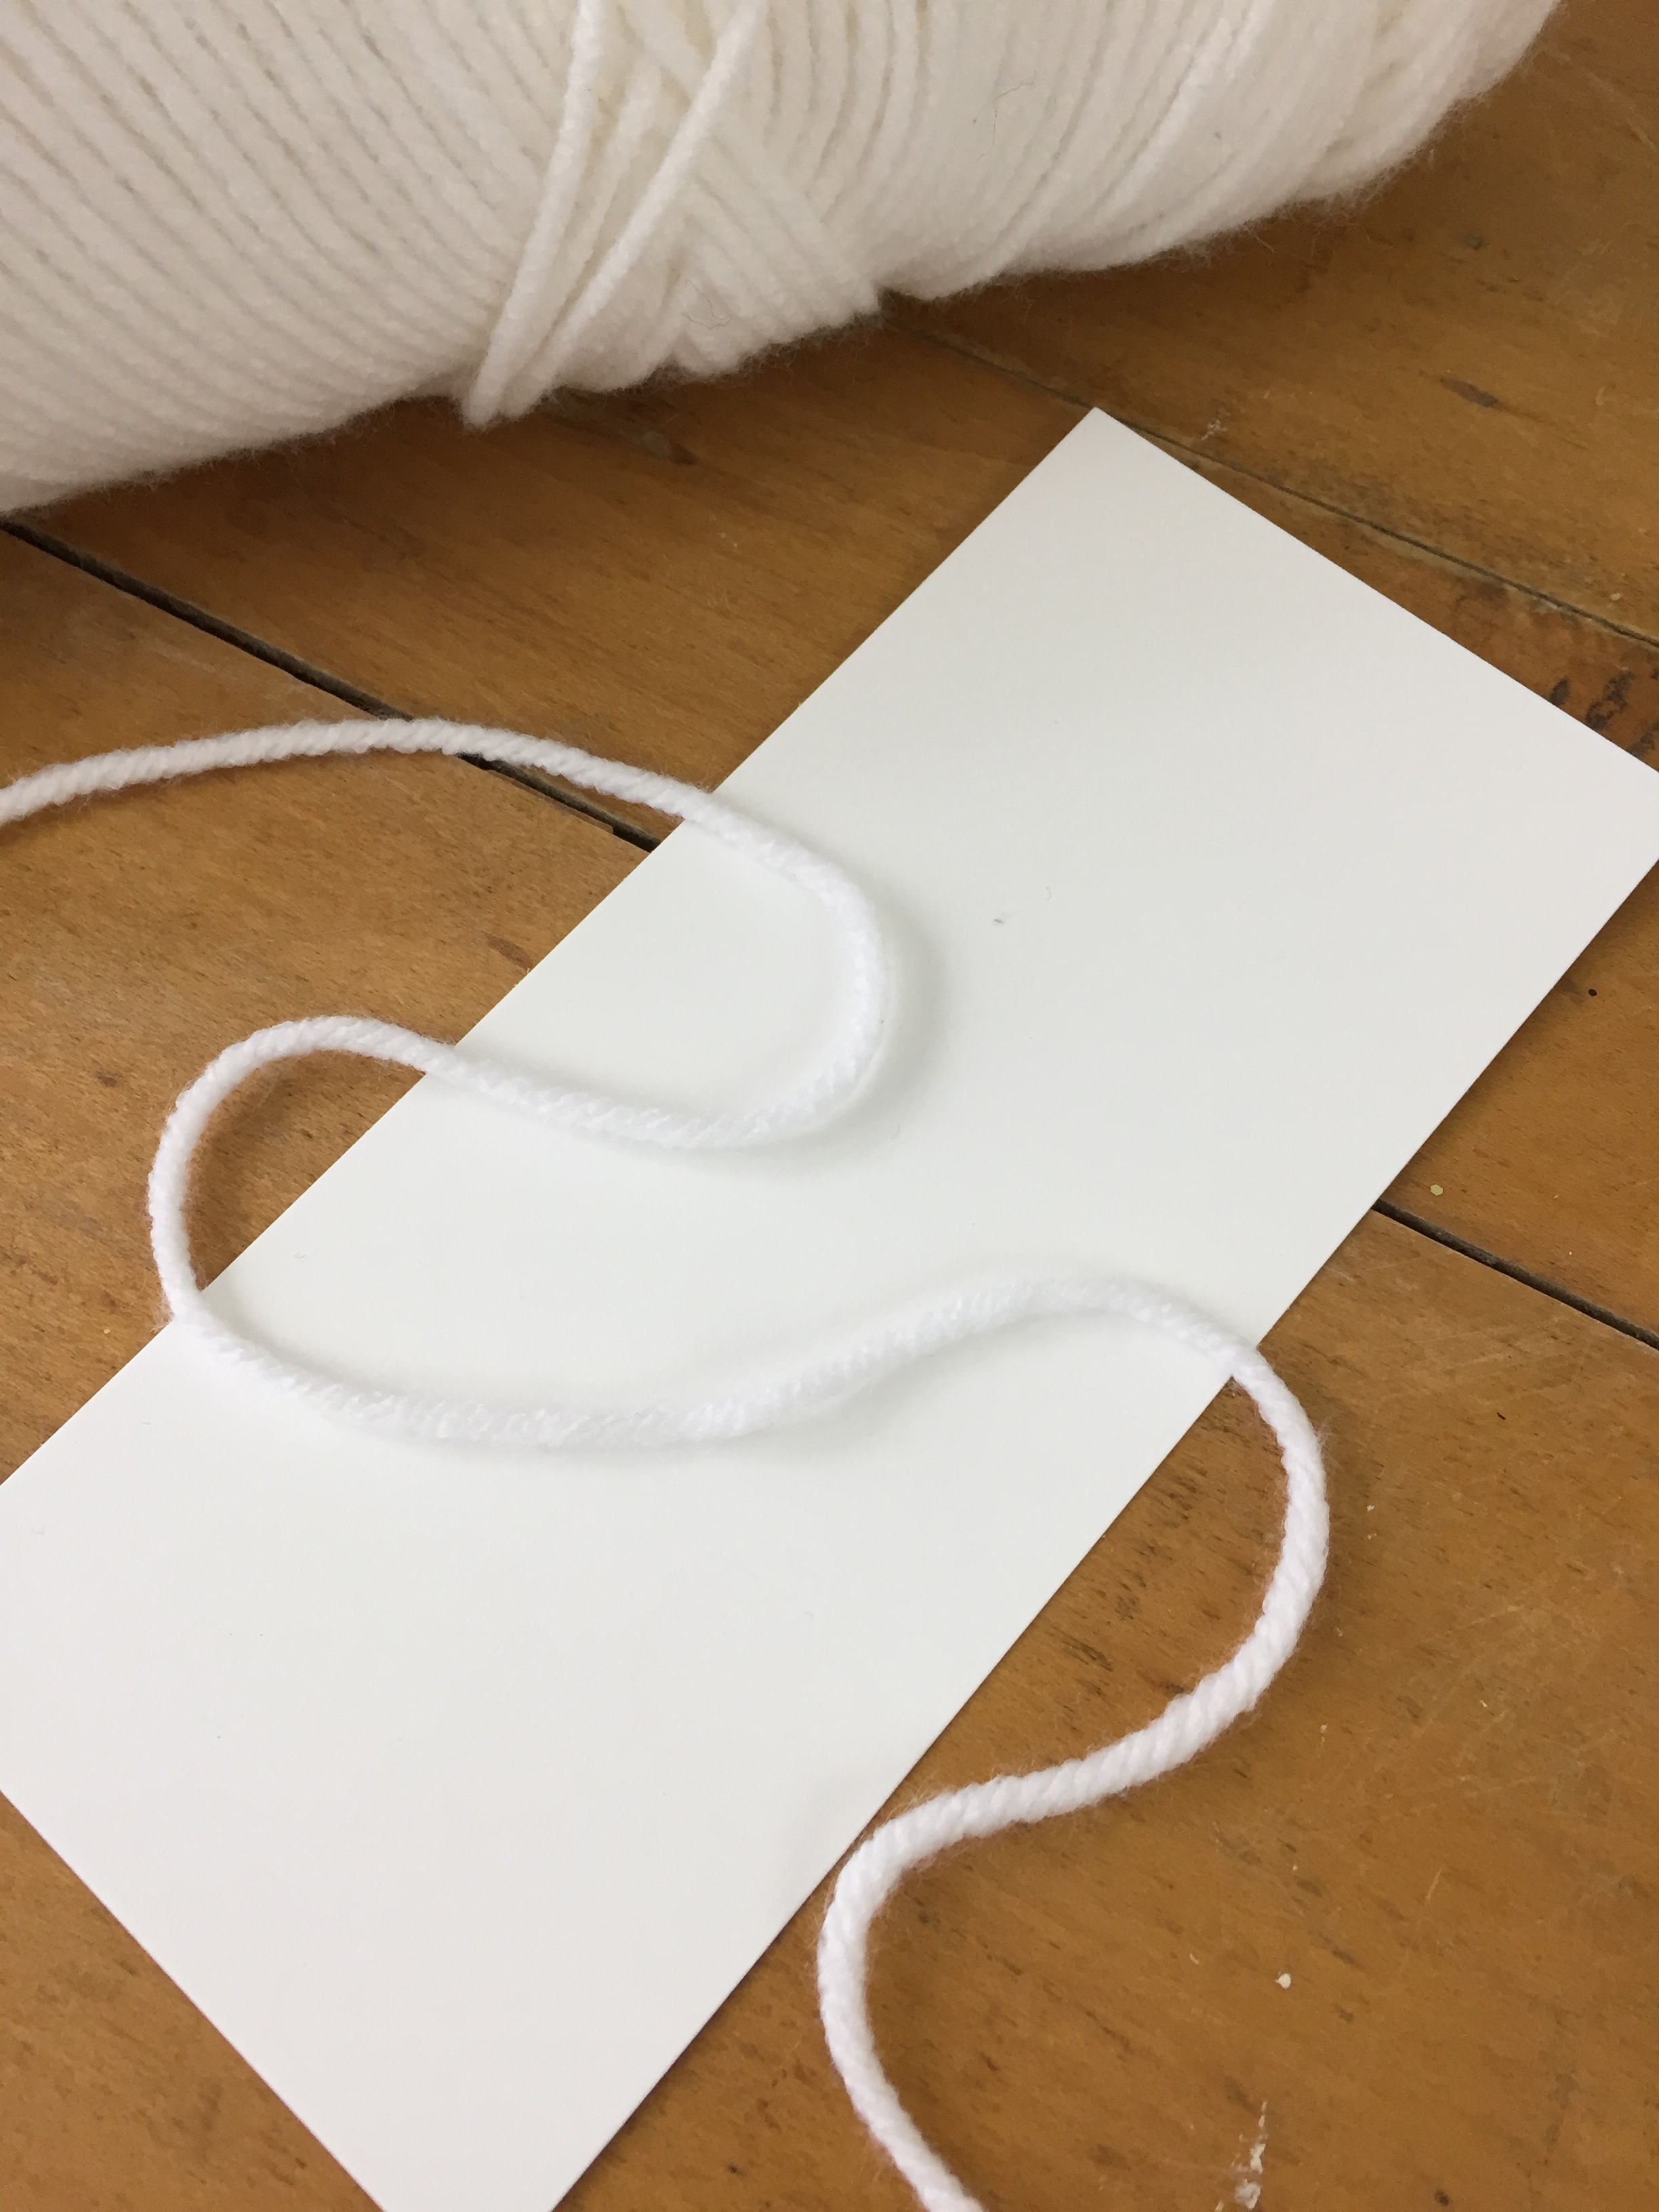
wrap the yarn around the form until you have a pretty good sized ball. the more yarn you use, the thicker the pom will be…
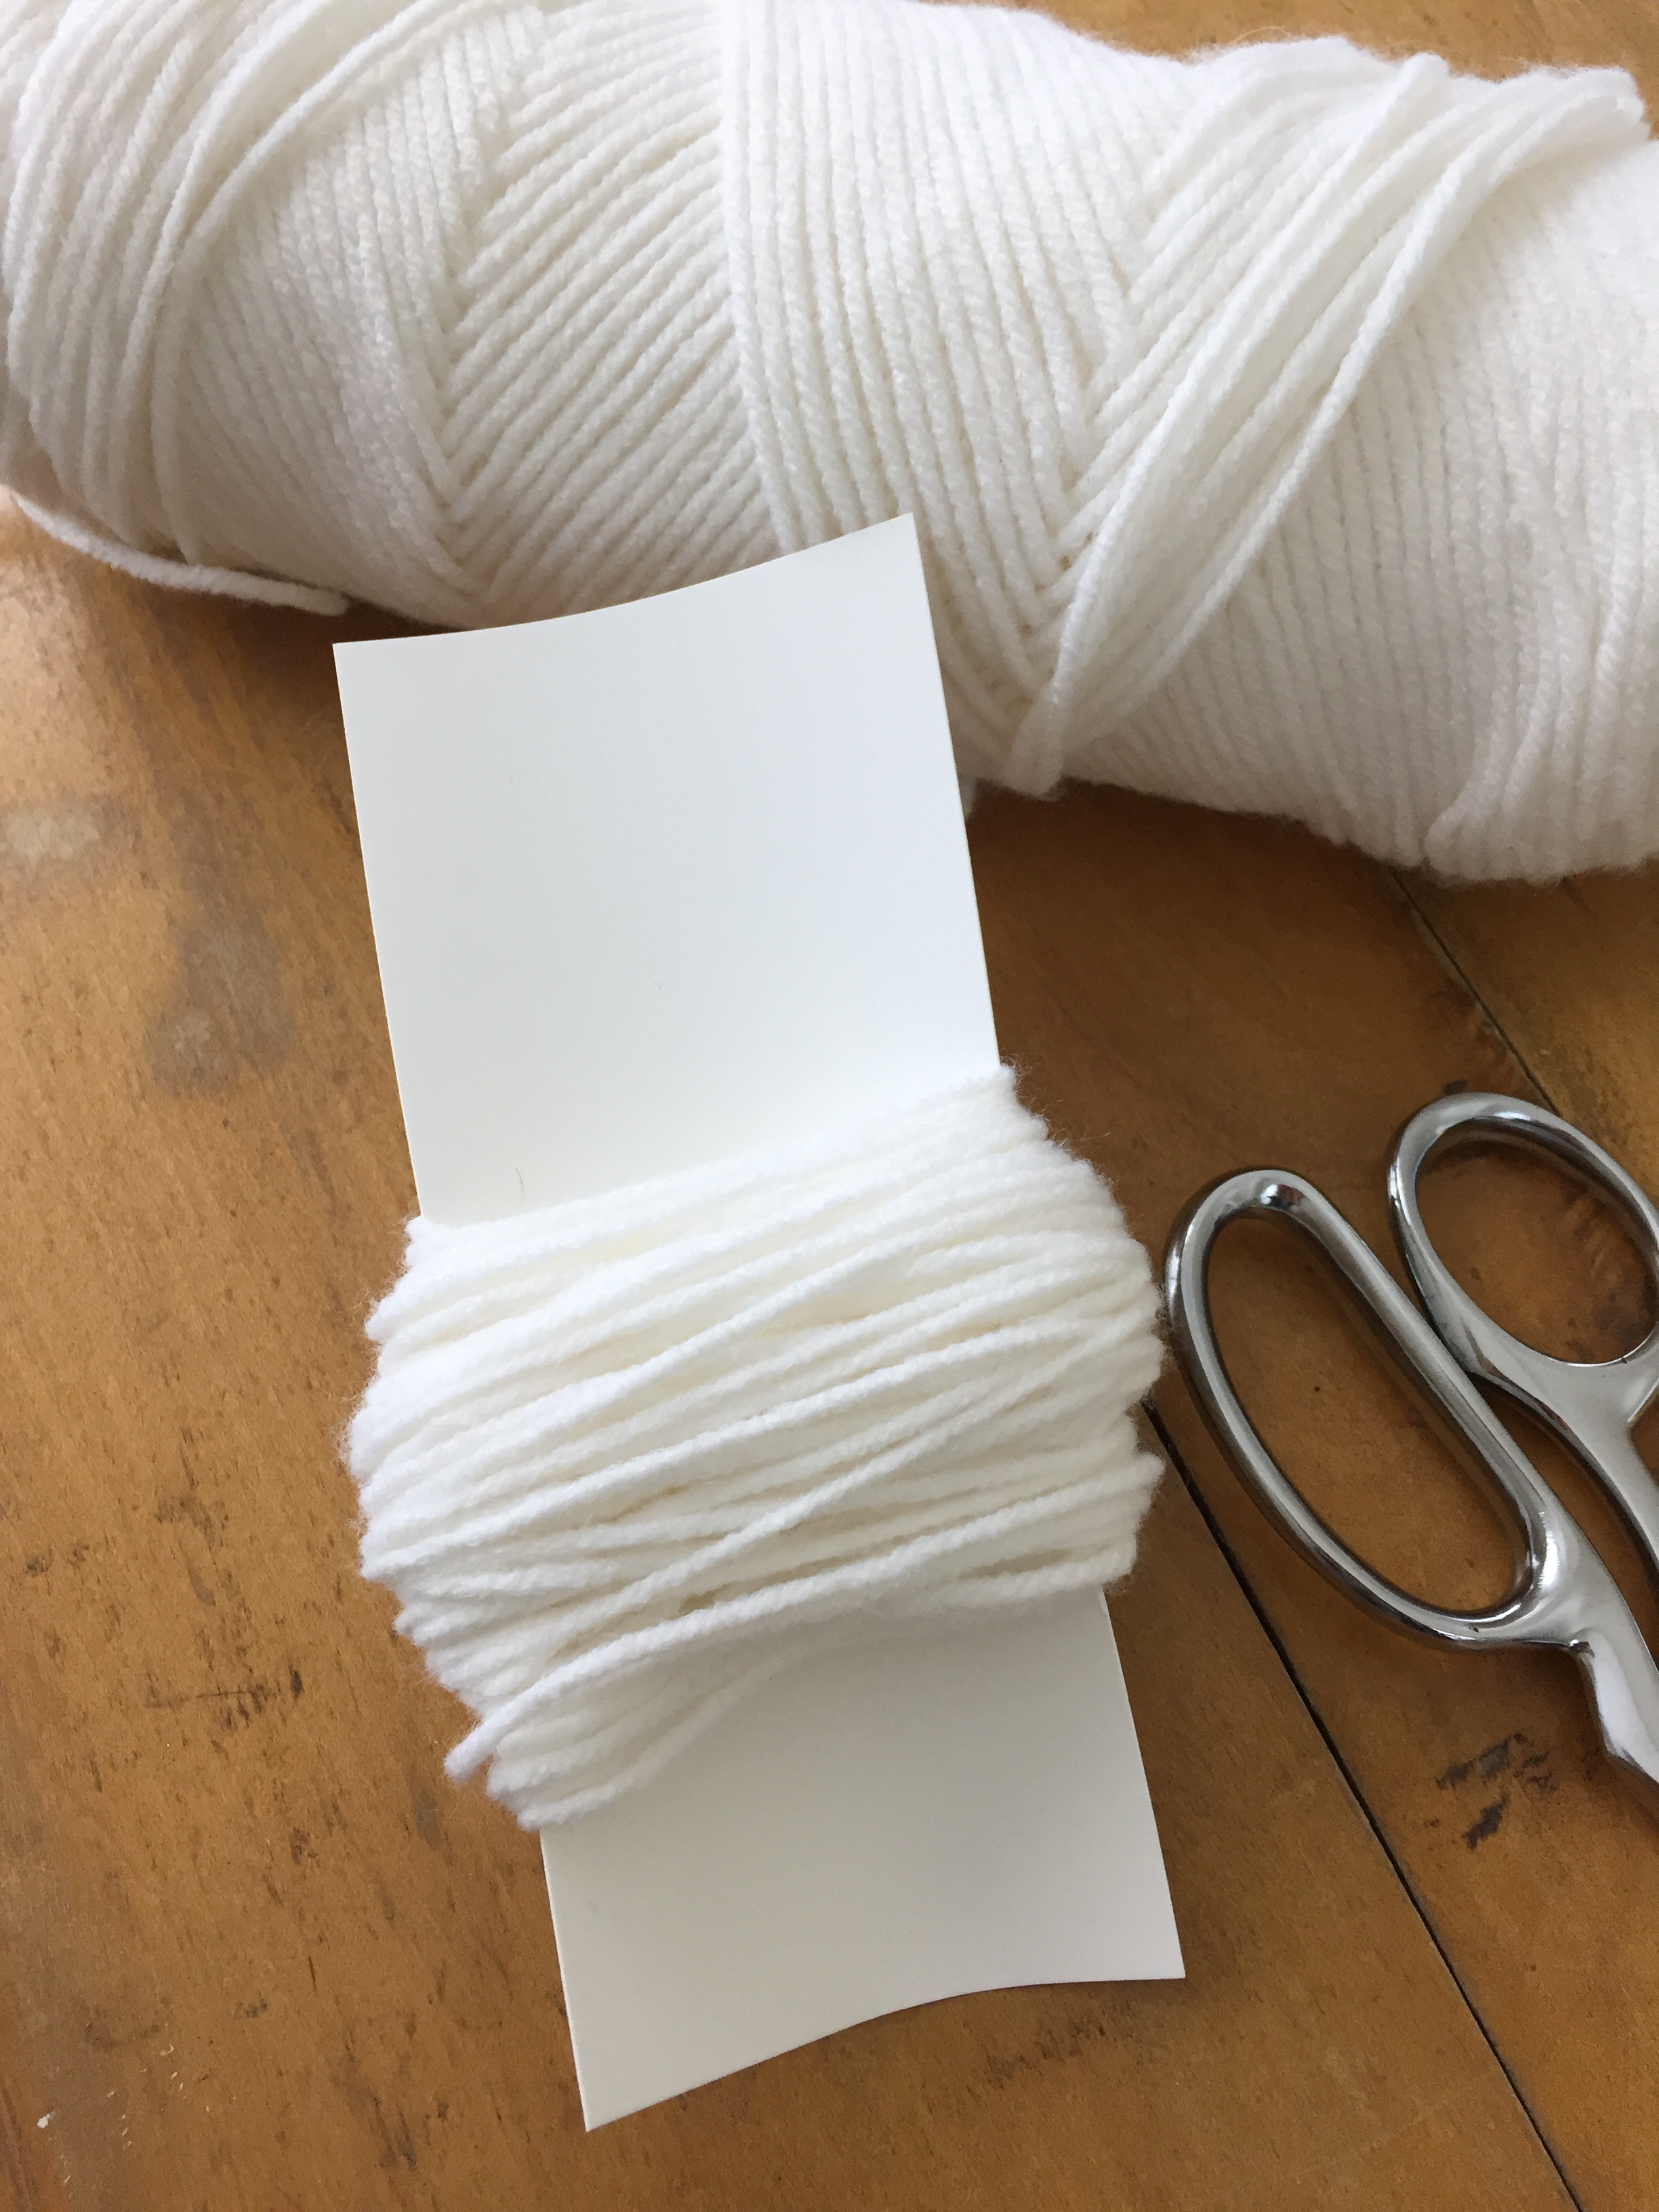
slide the paper form out…
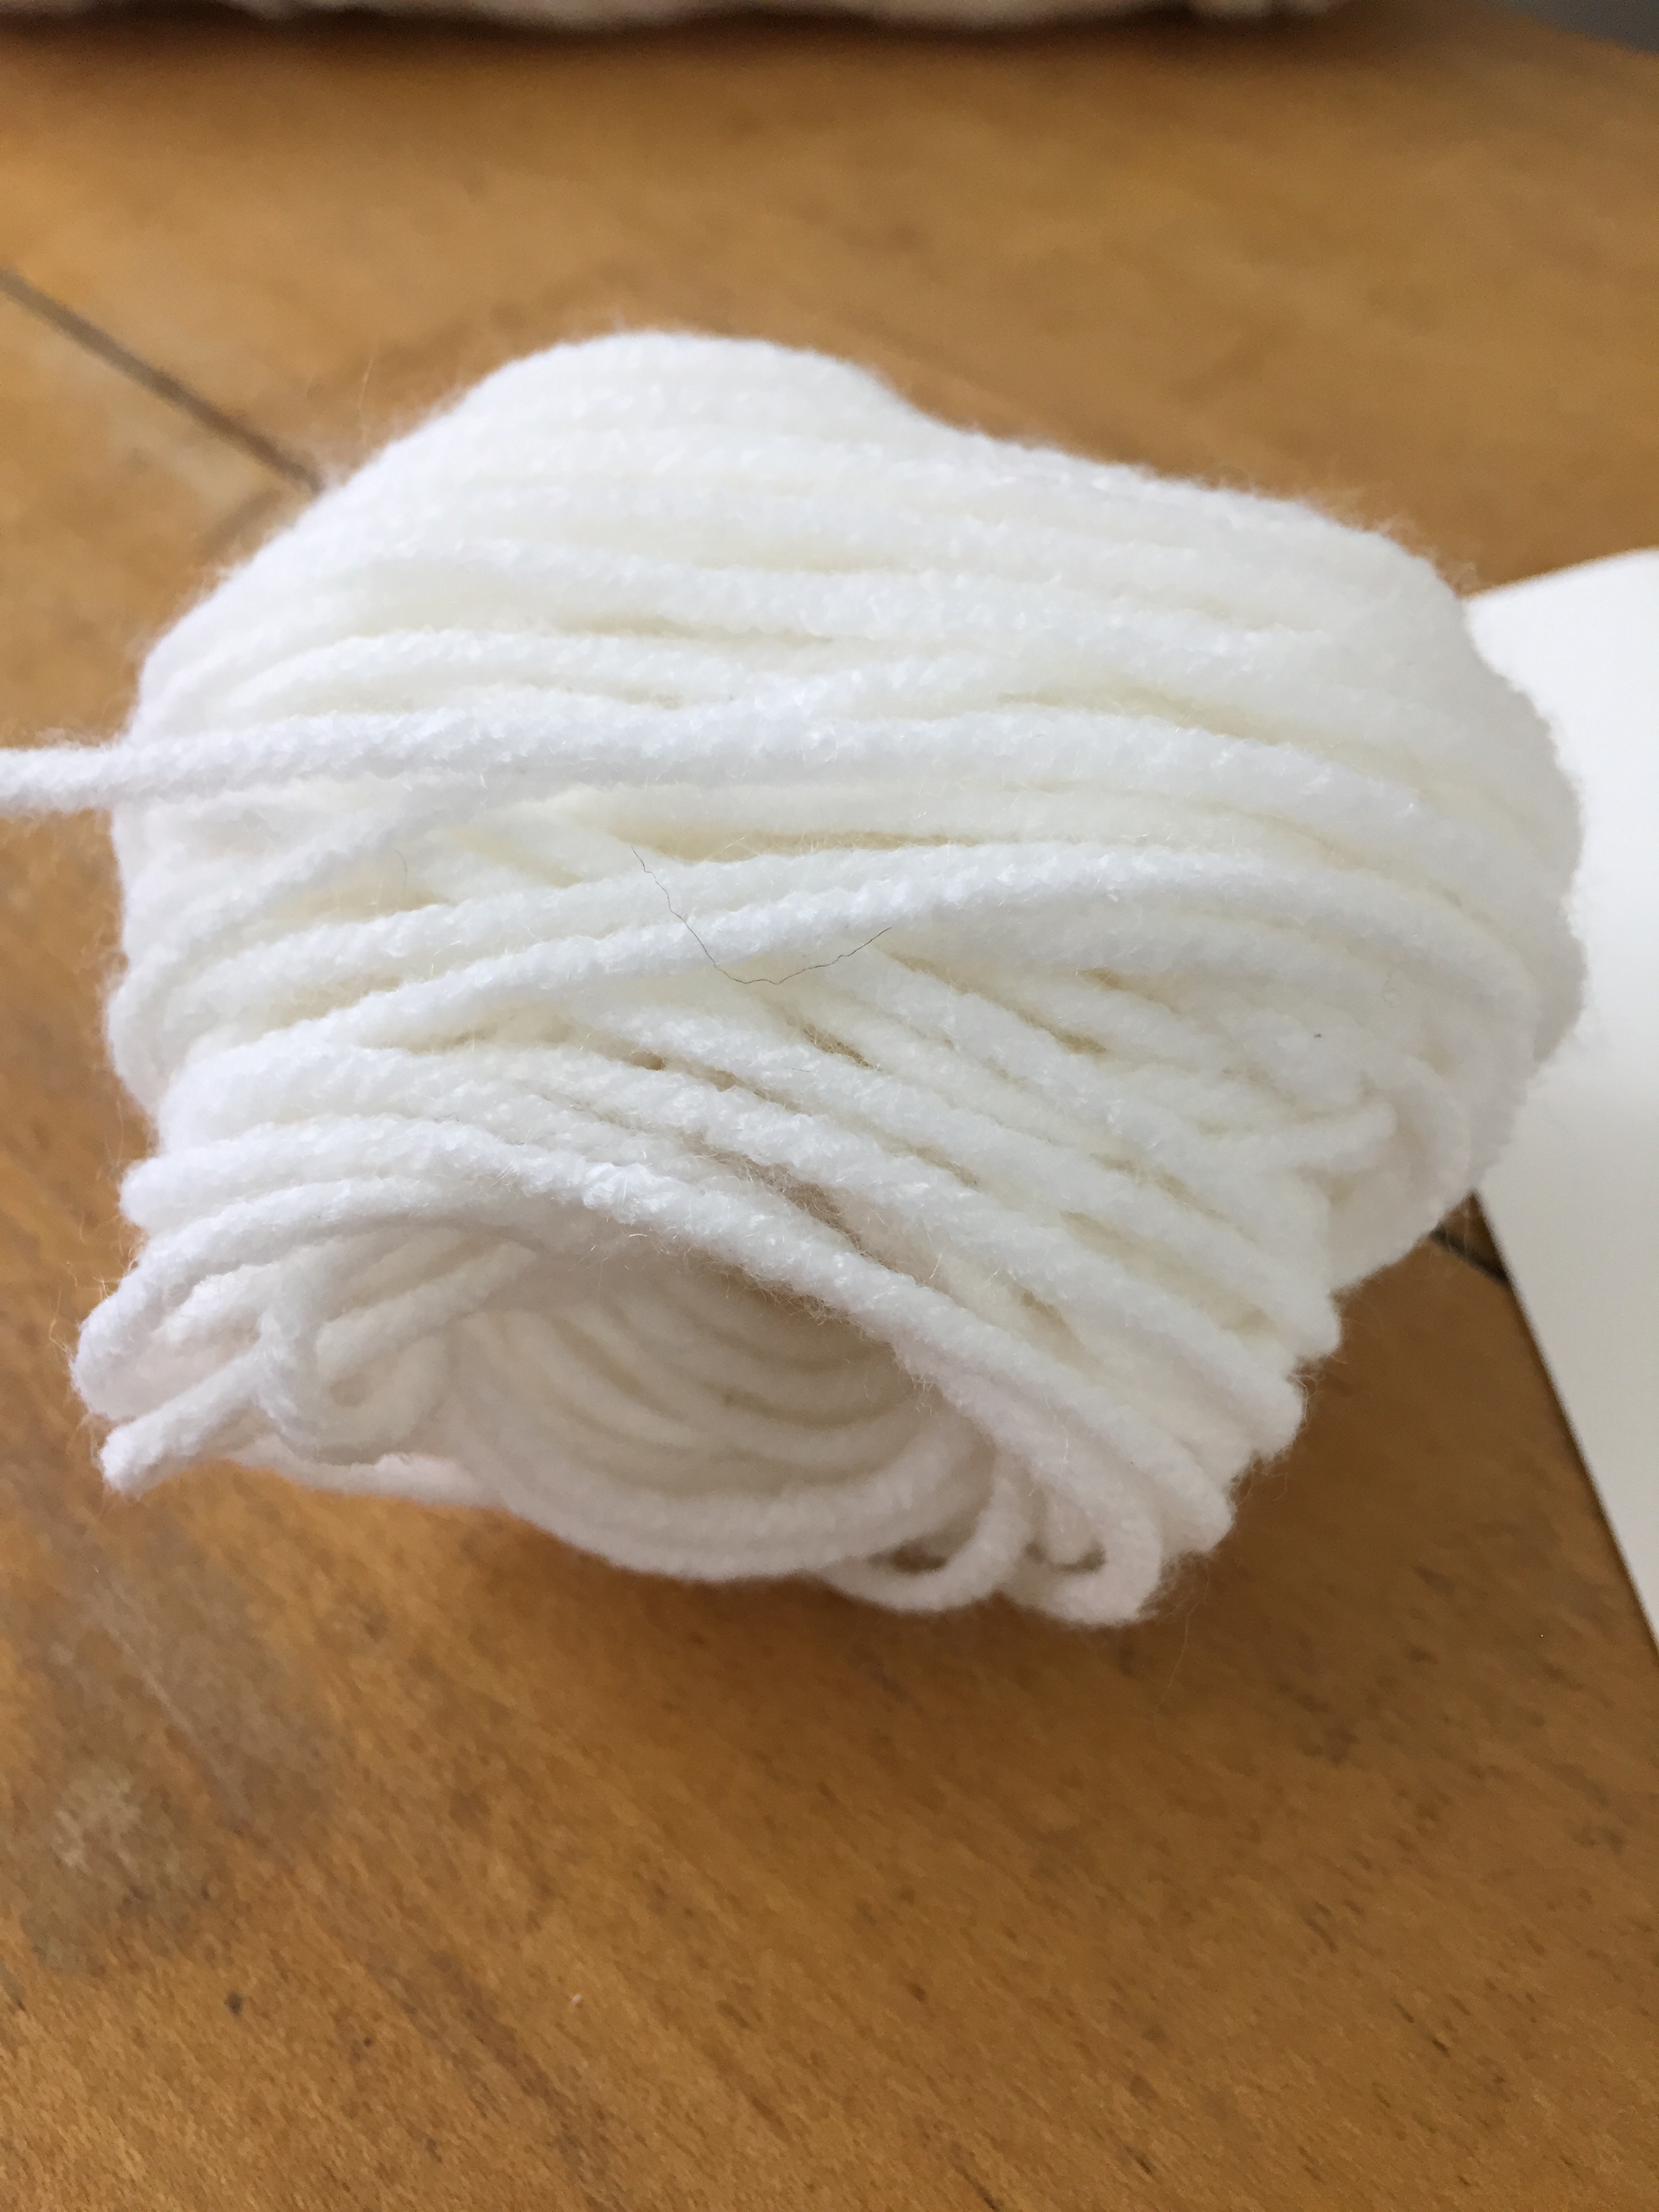
and lay the ball on top of another section of yarn so that you can tie it around the middle. it looks like it’s going through the center but the string is actually underneath the ball. make sure the open ends of your pom pom ball are vertical to the string…
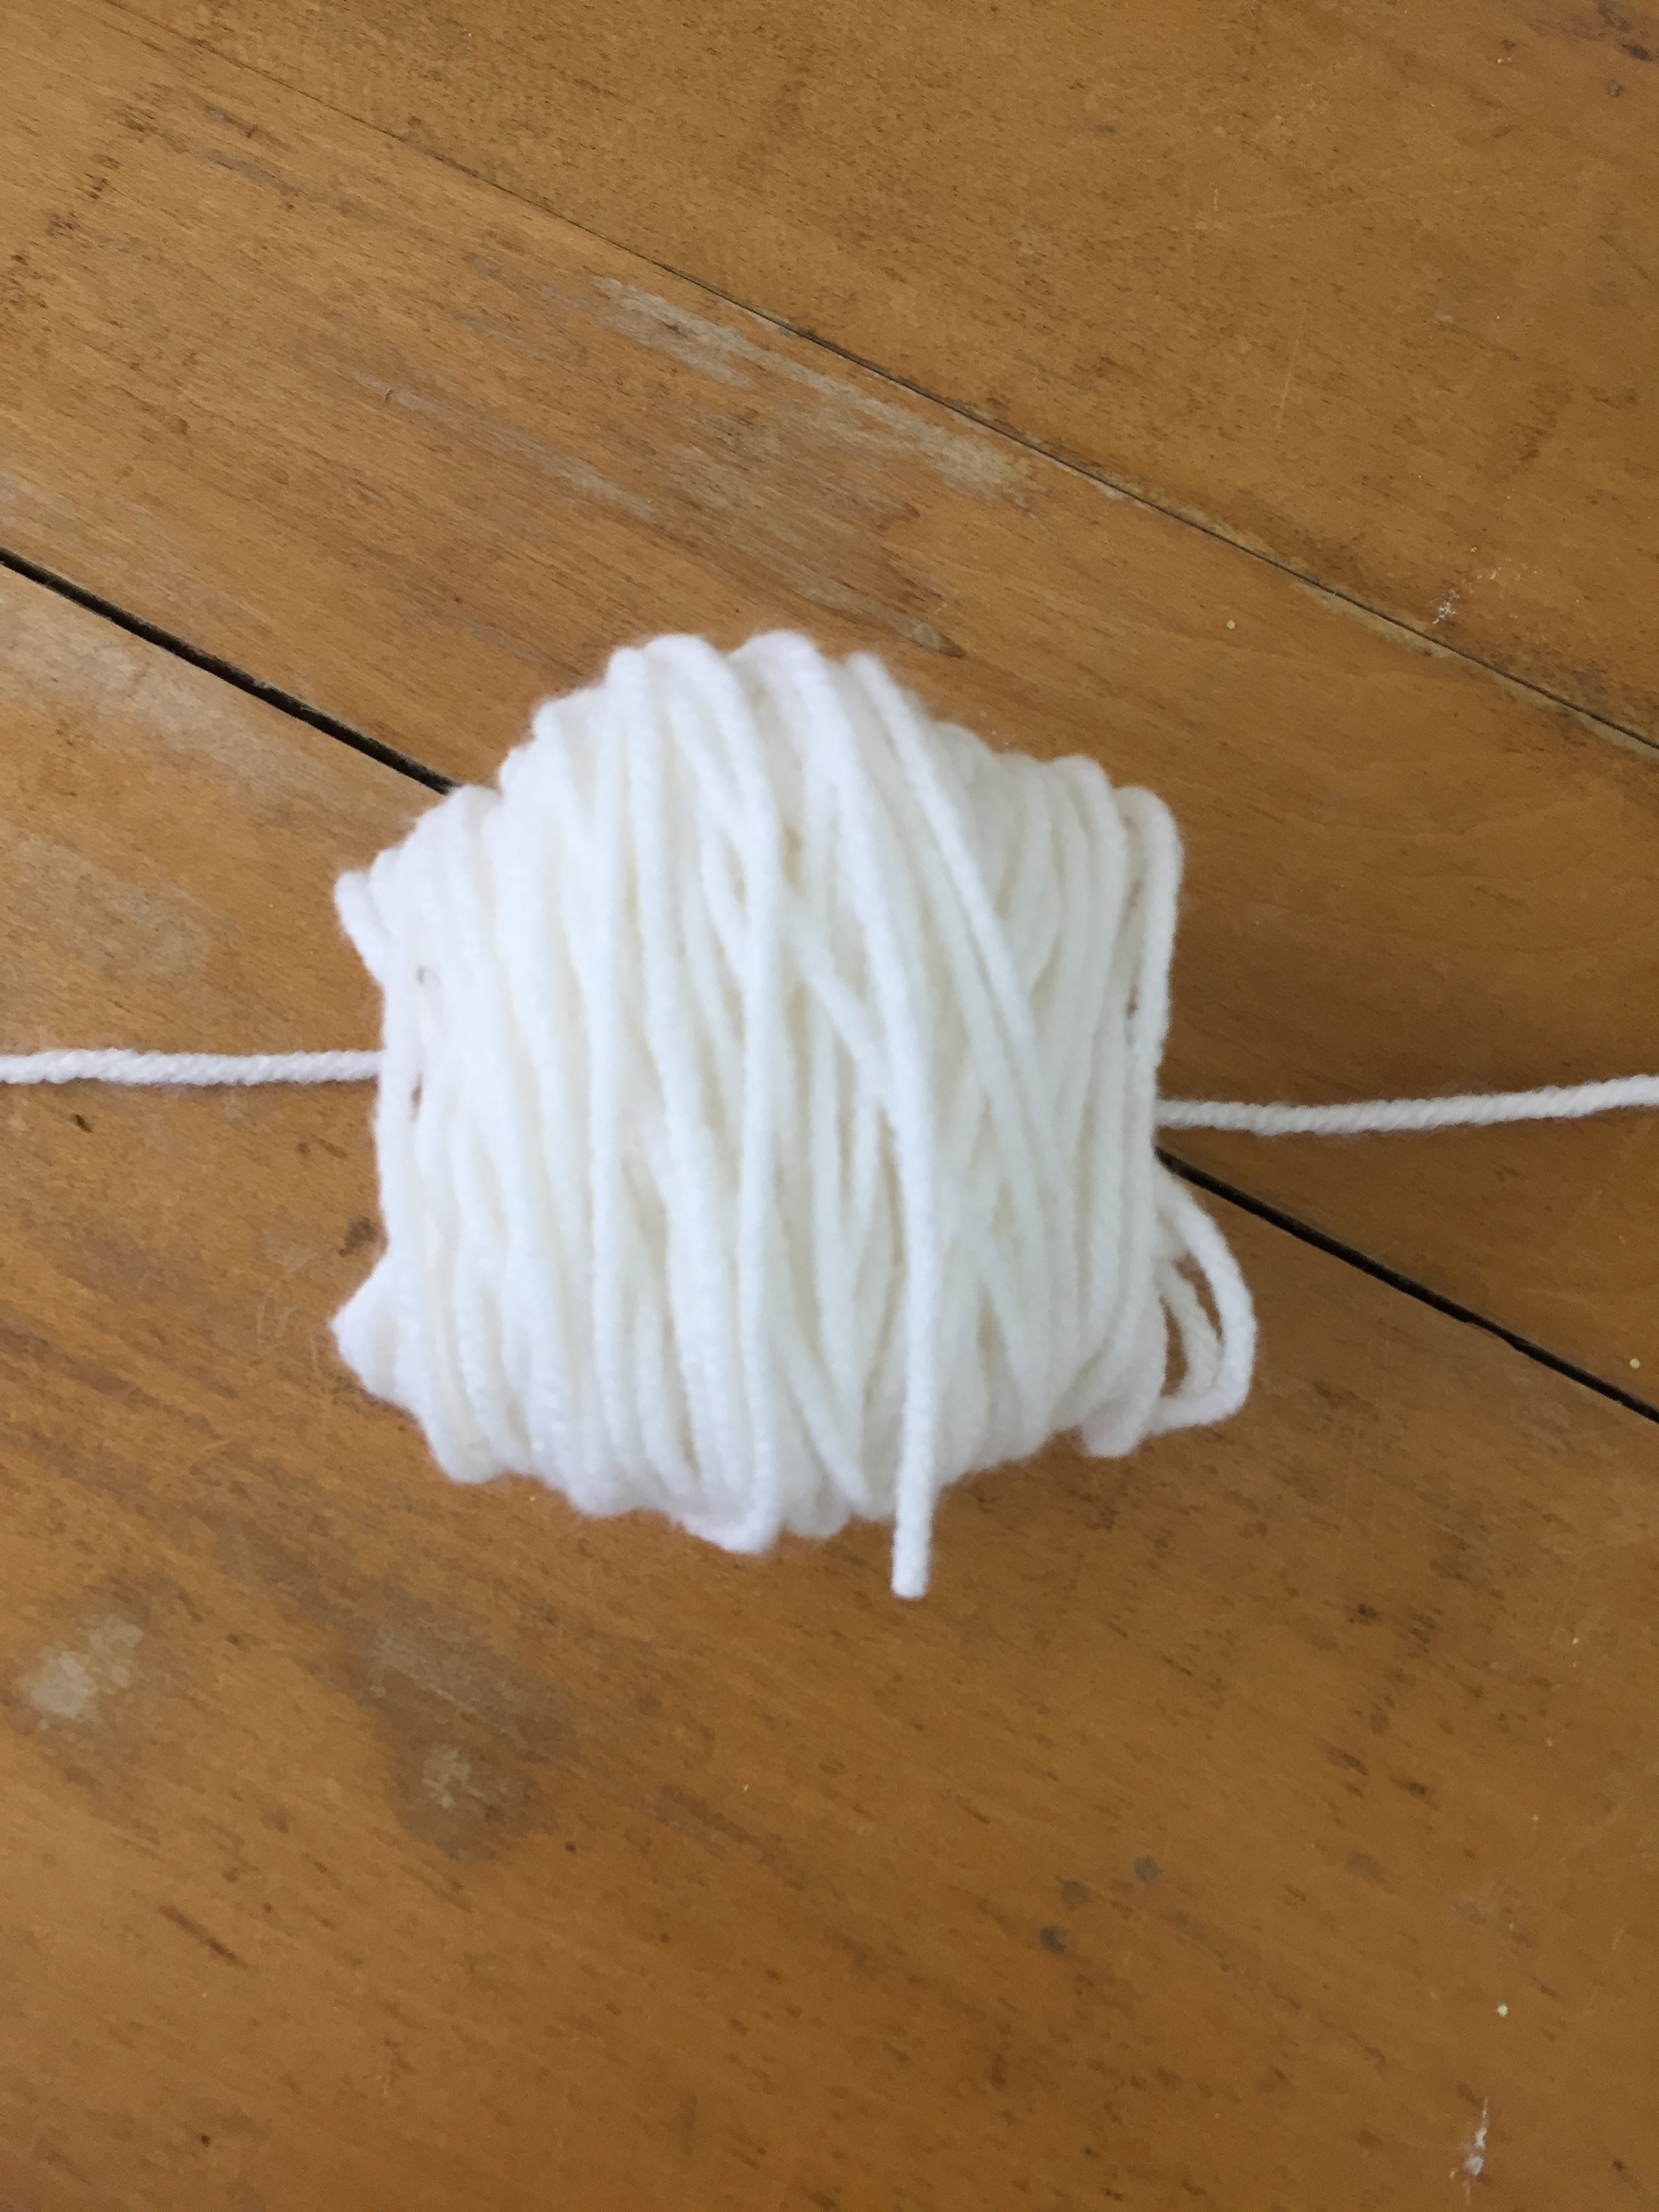
bring up the edges and tie…
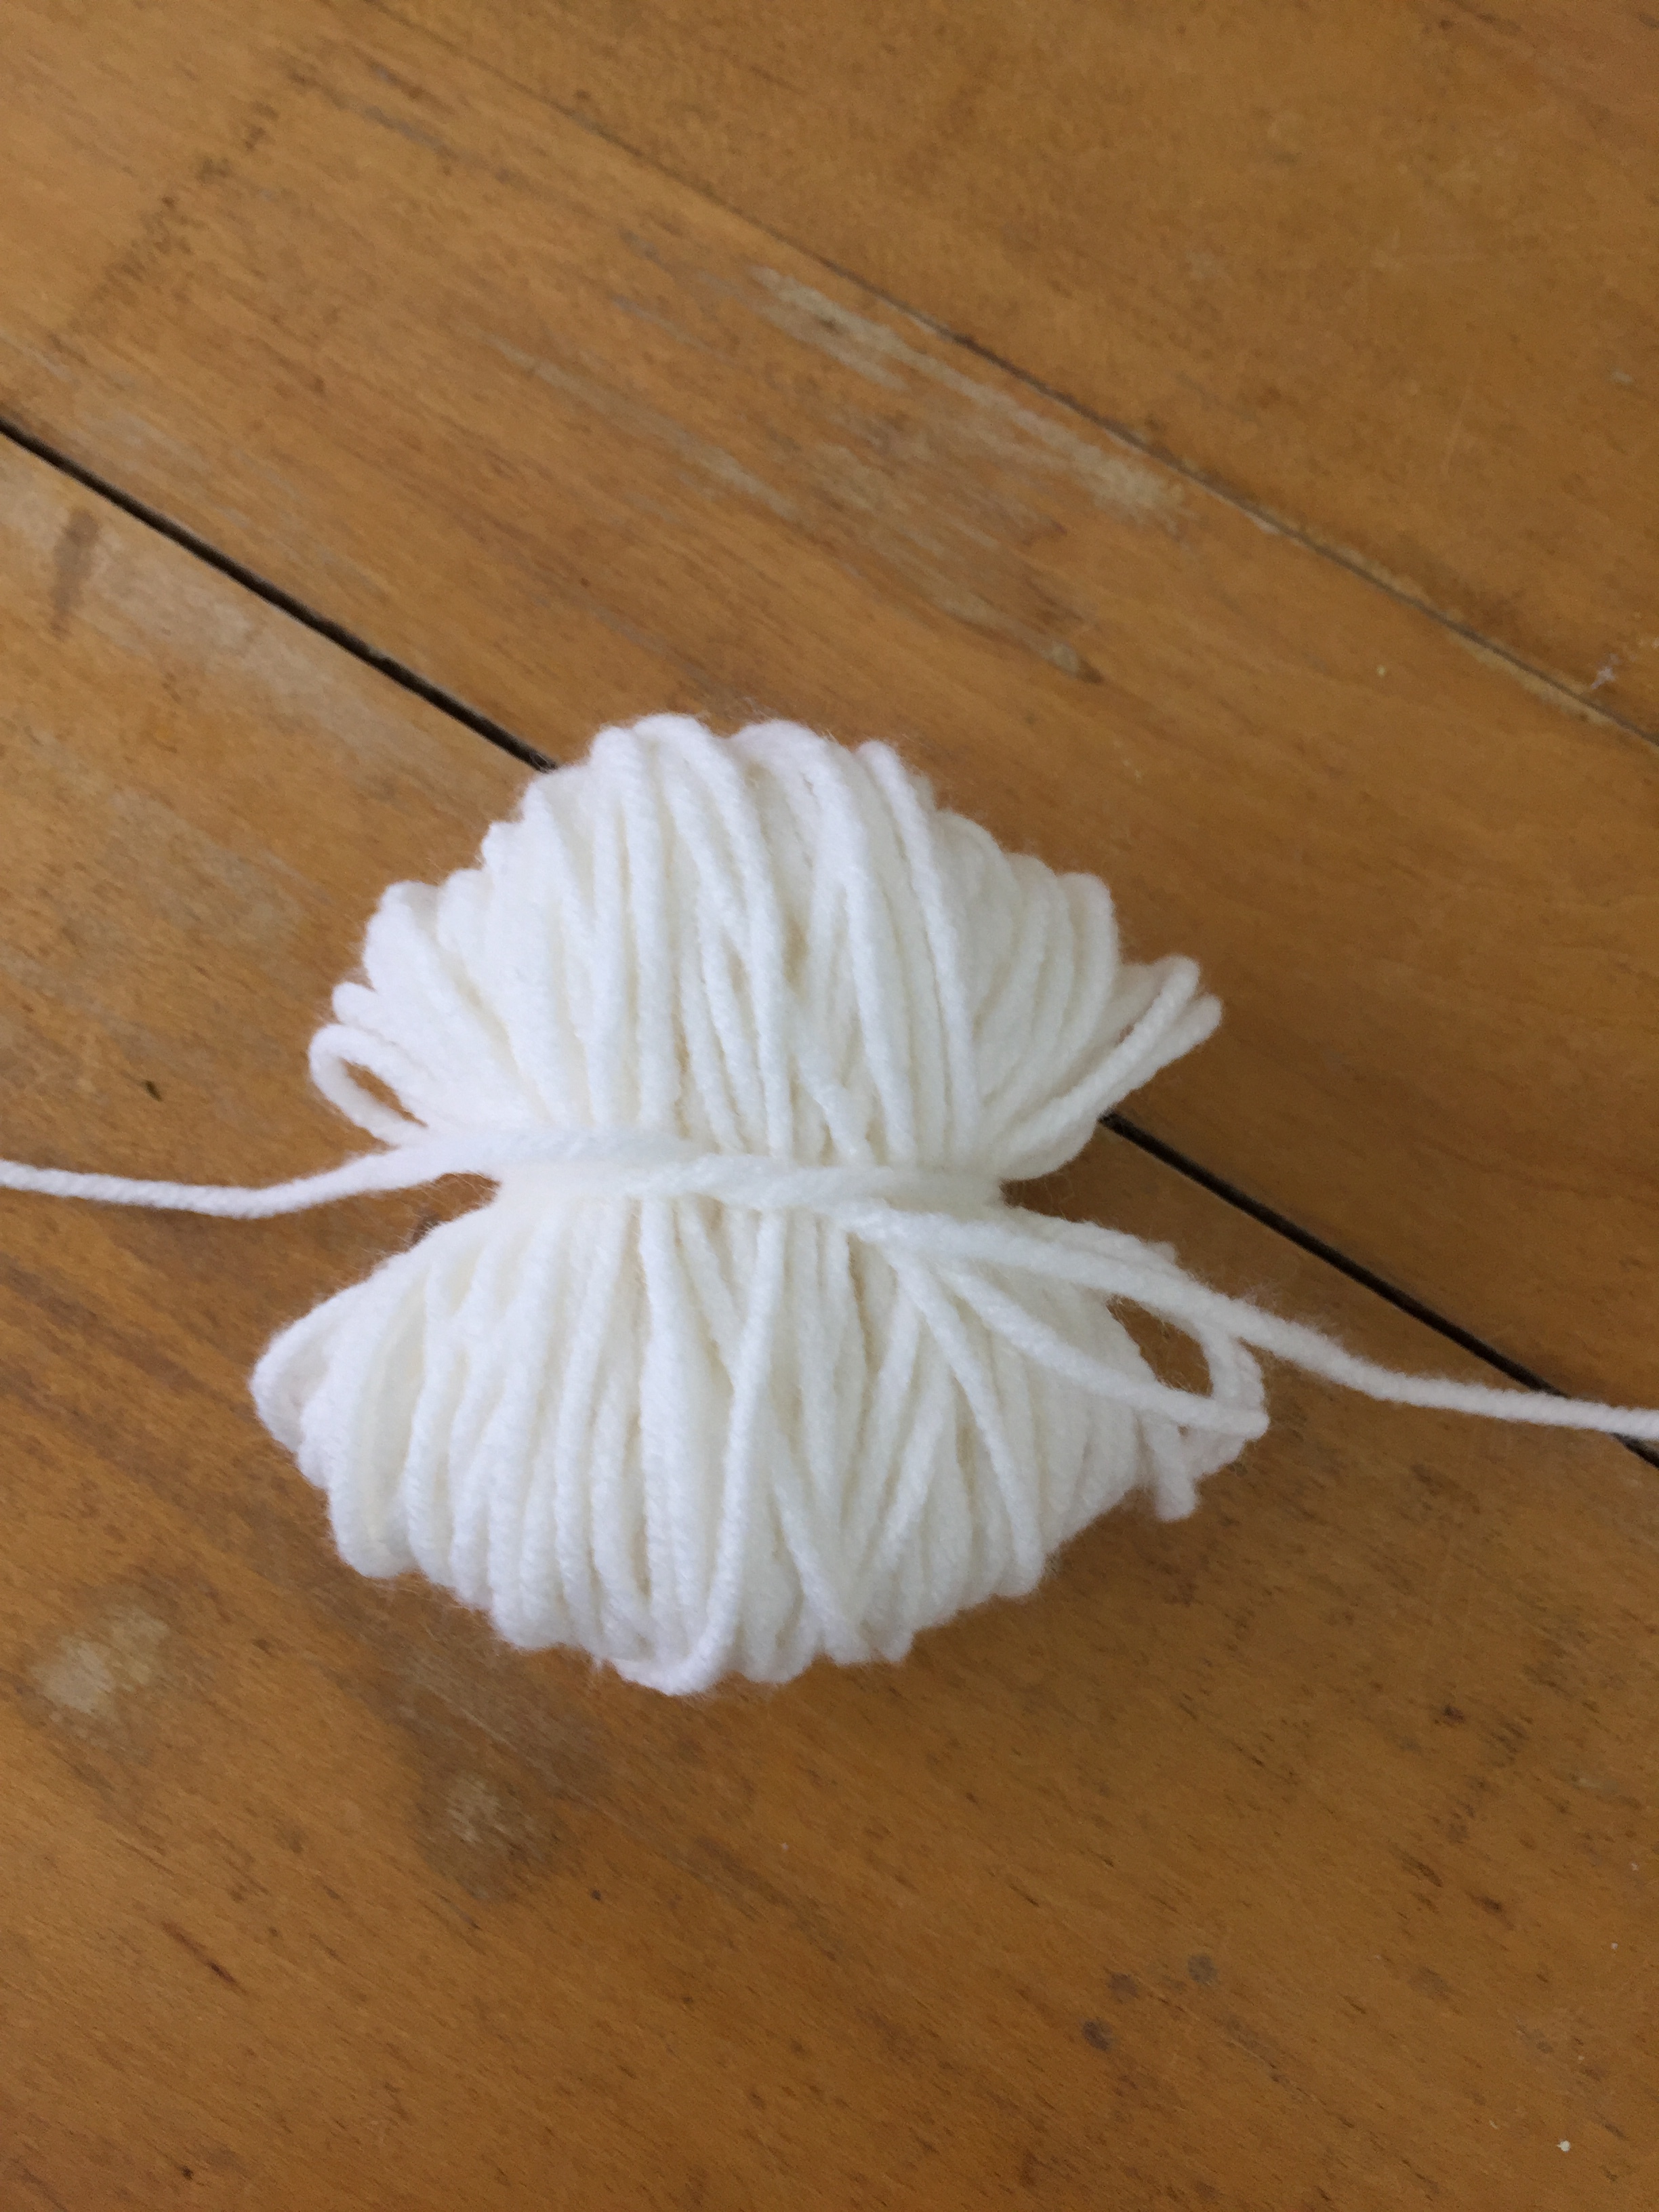
pull it as tight as possible and knot it.
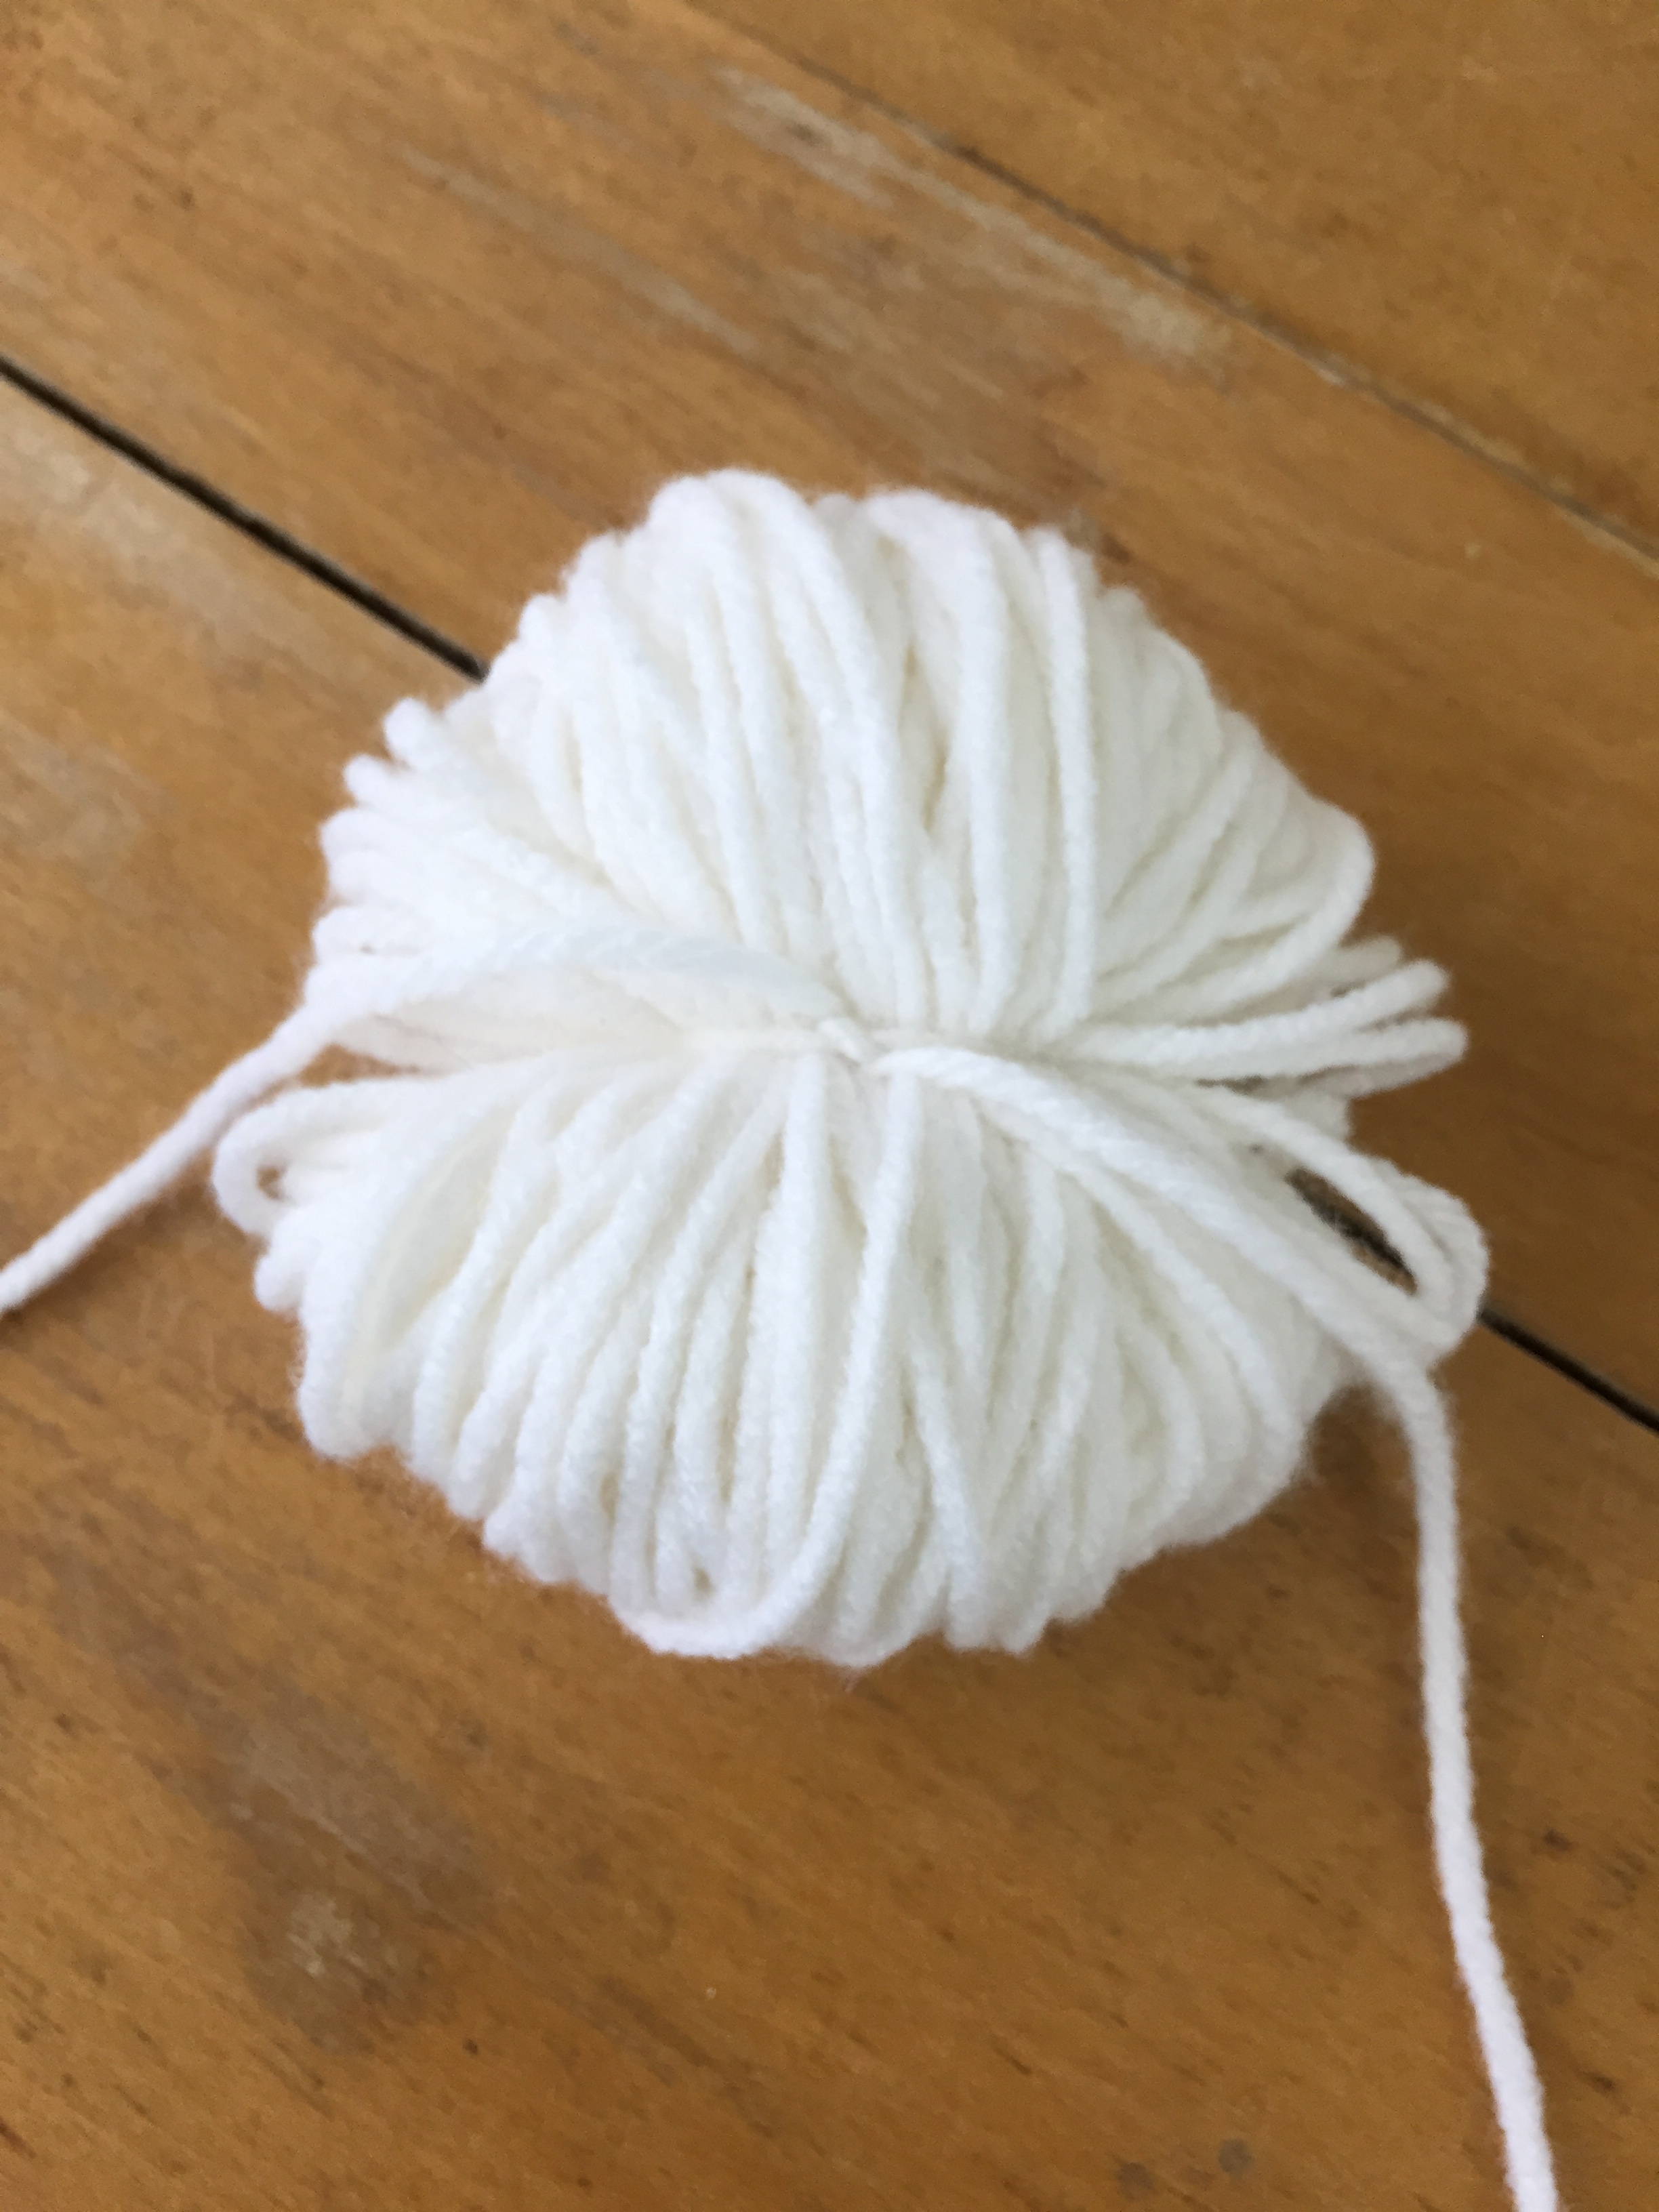
slide the blade of your scissors through the loop on each side and cut…
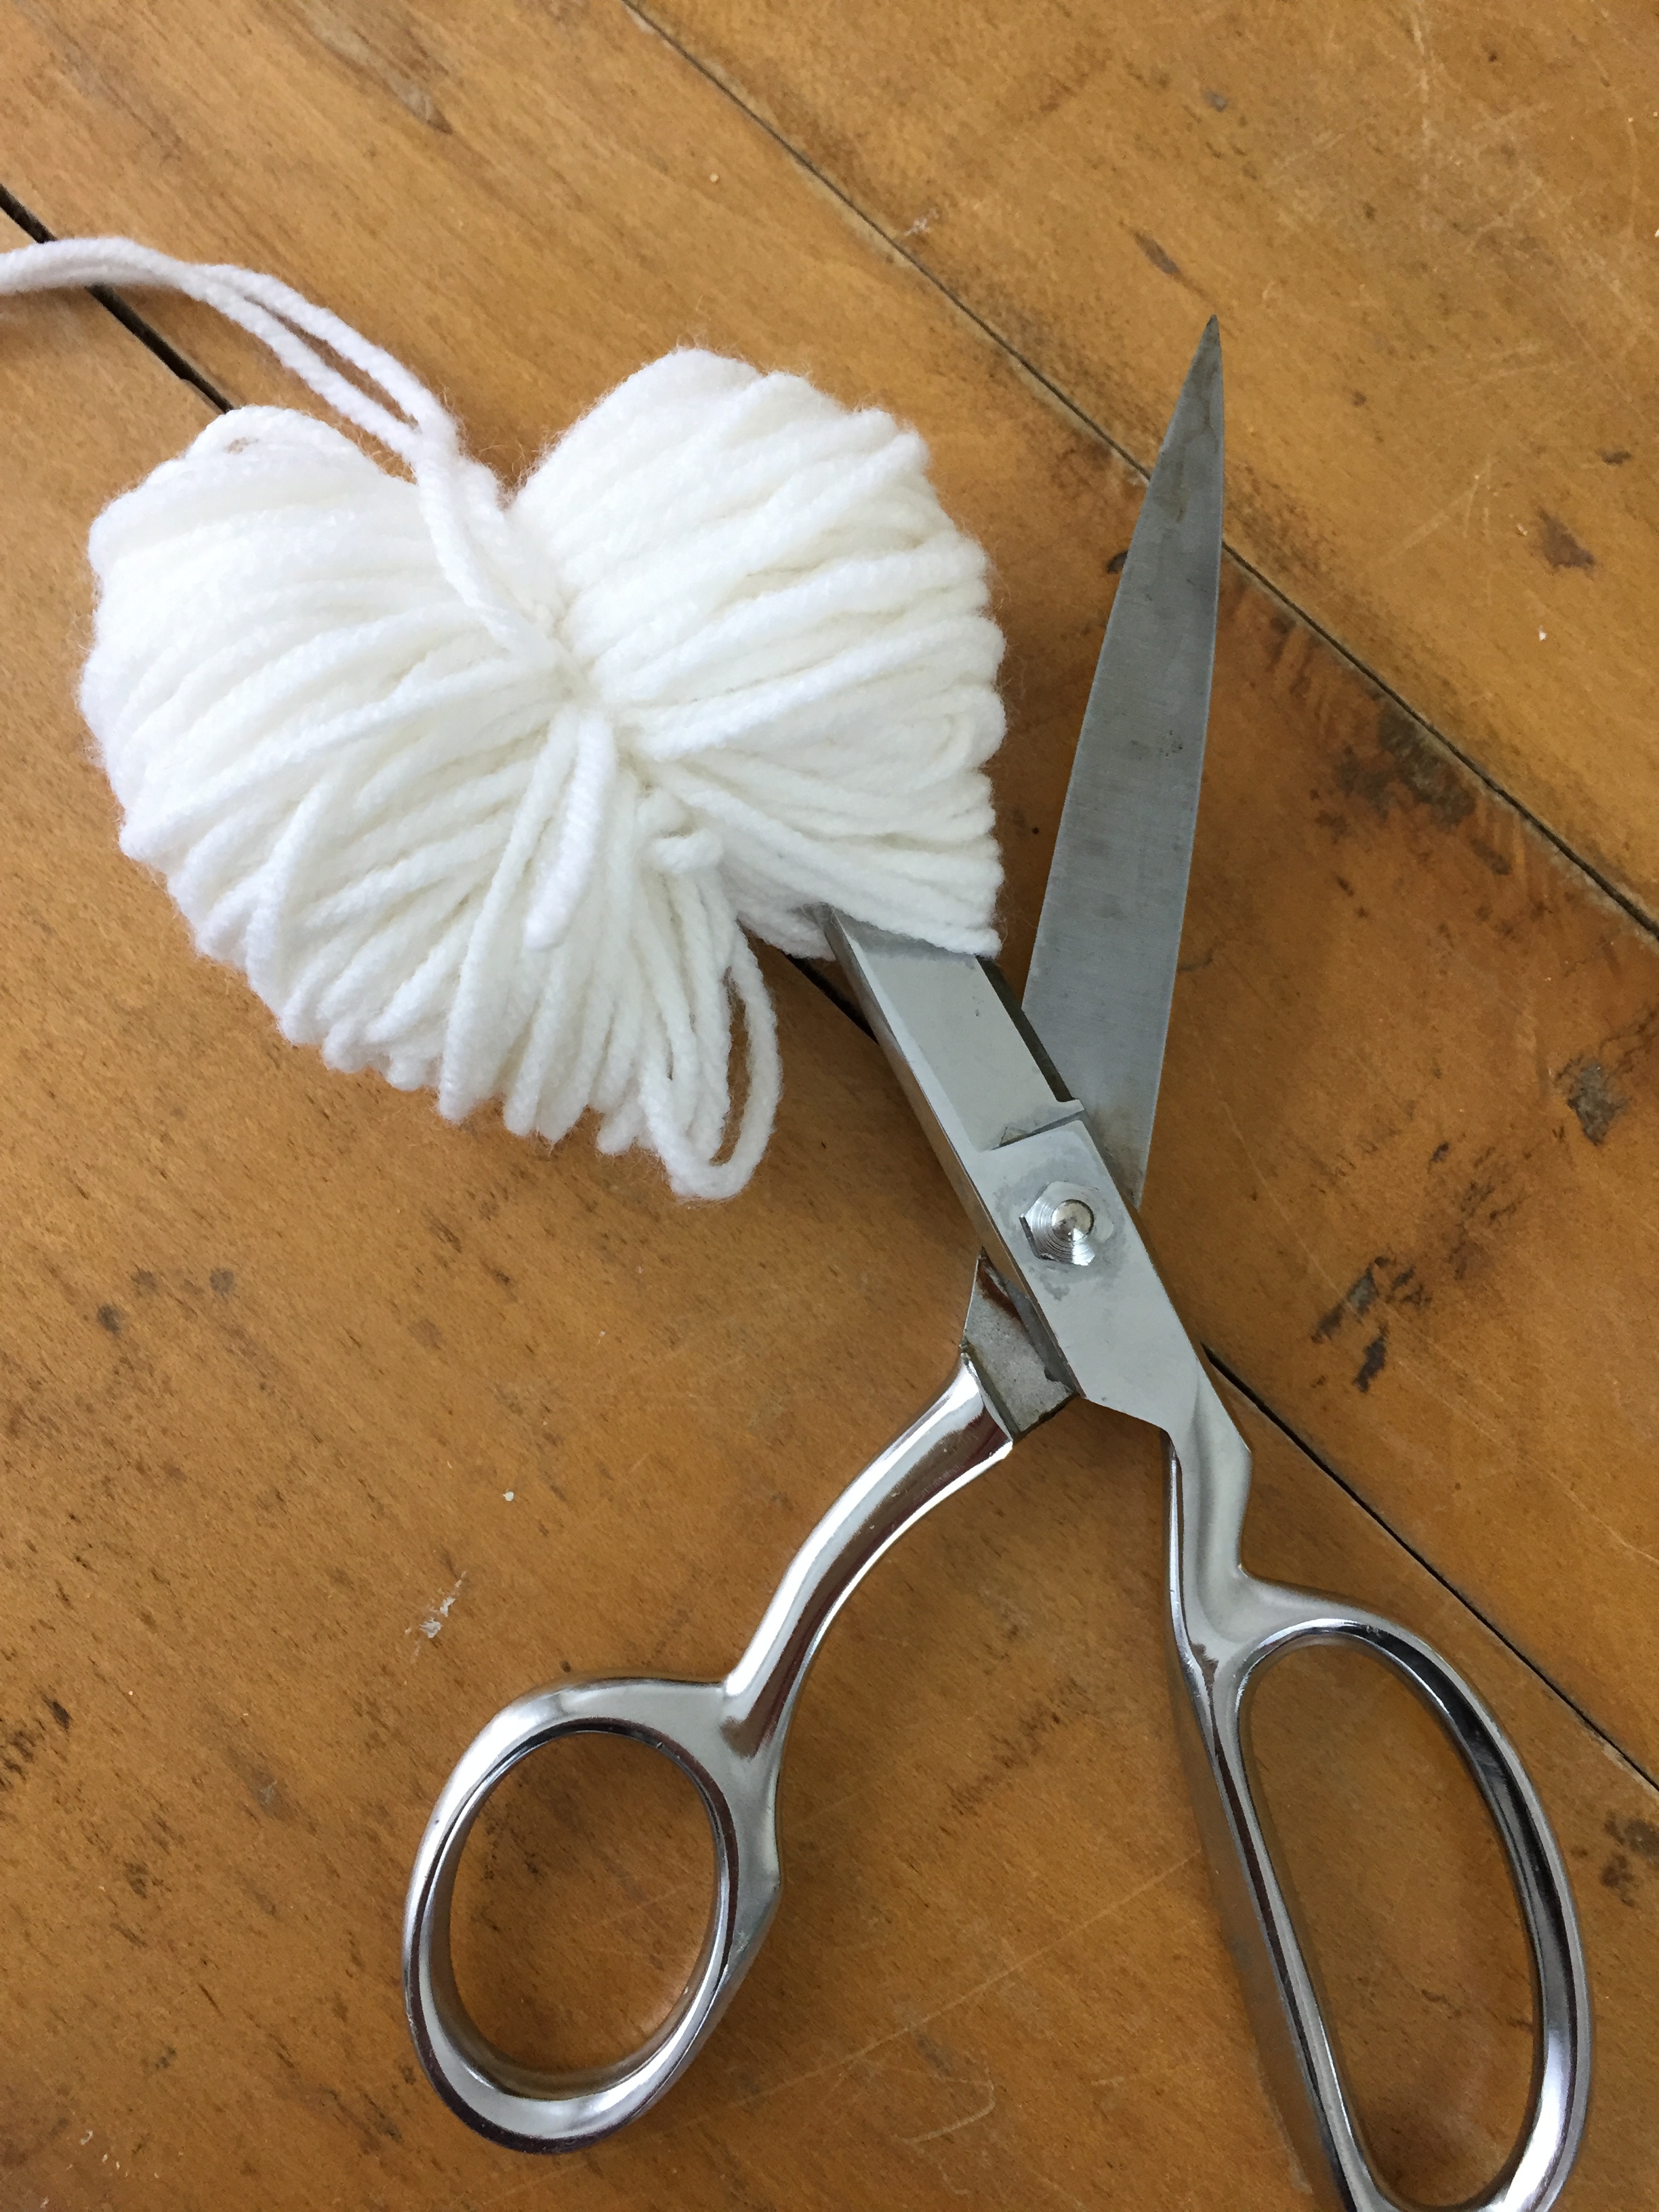
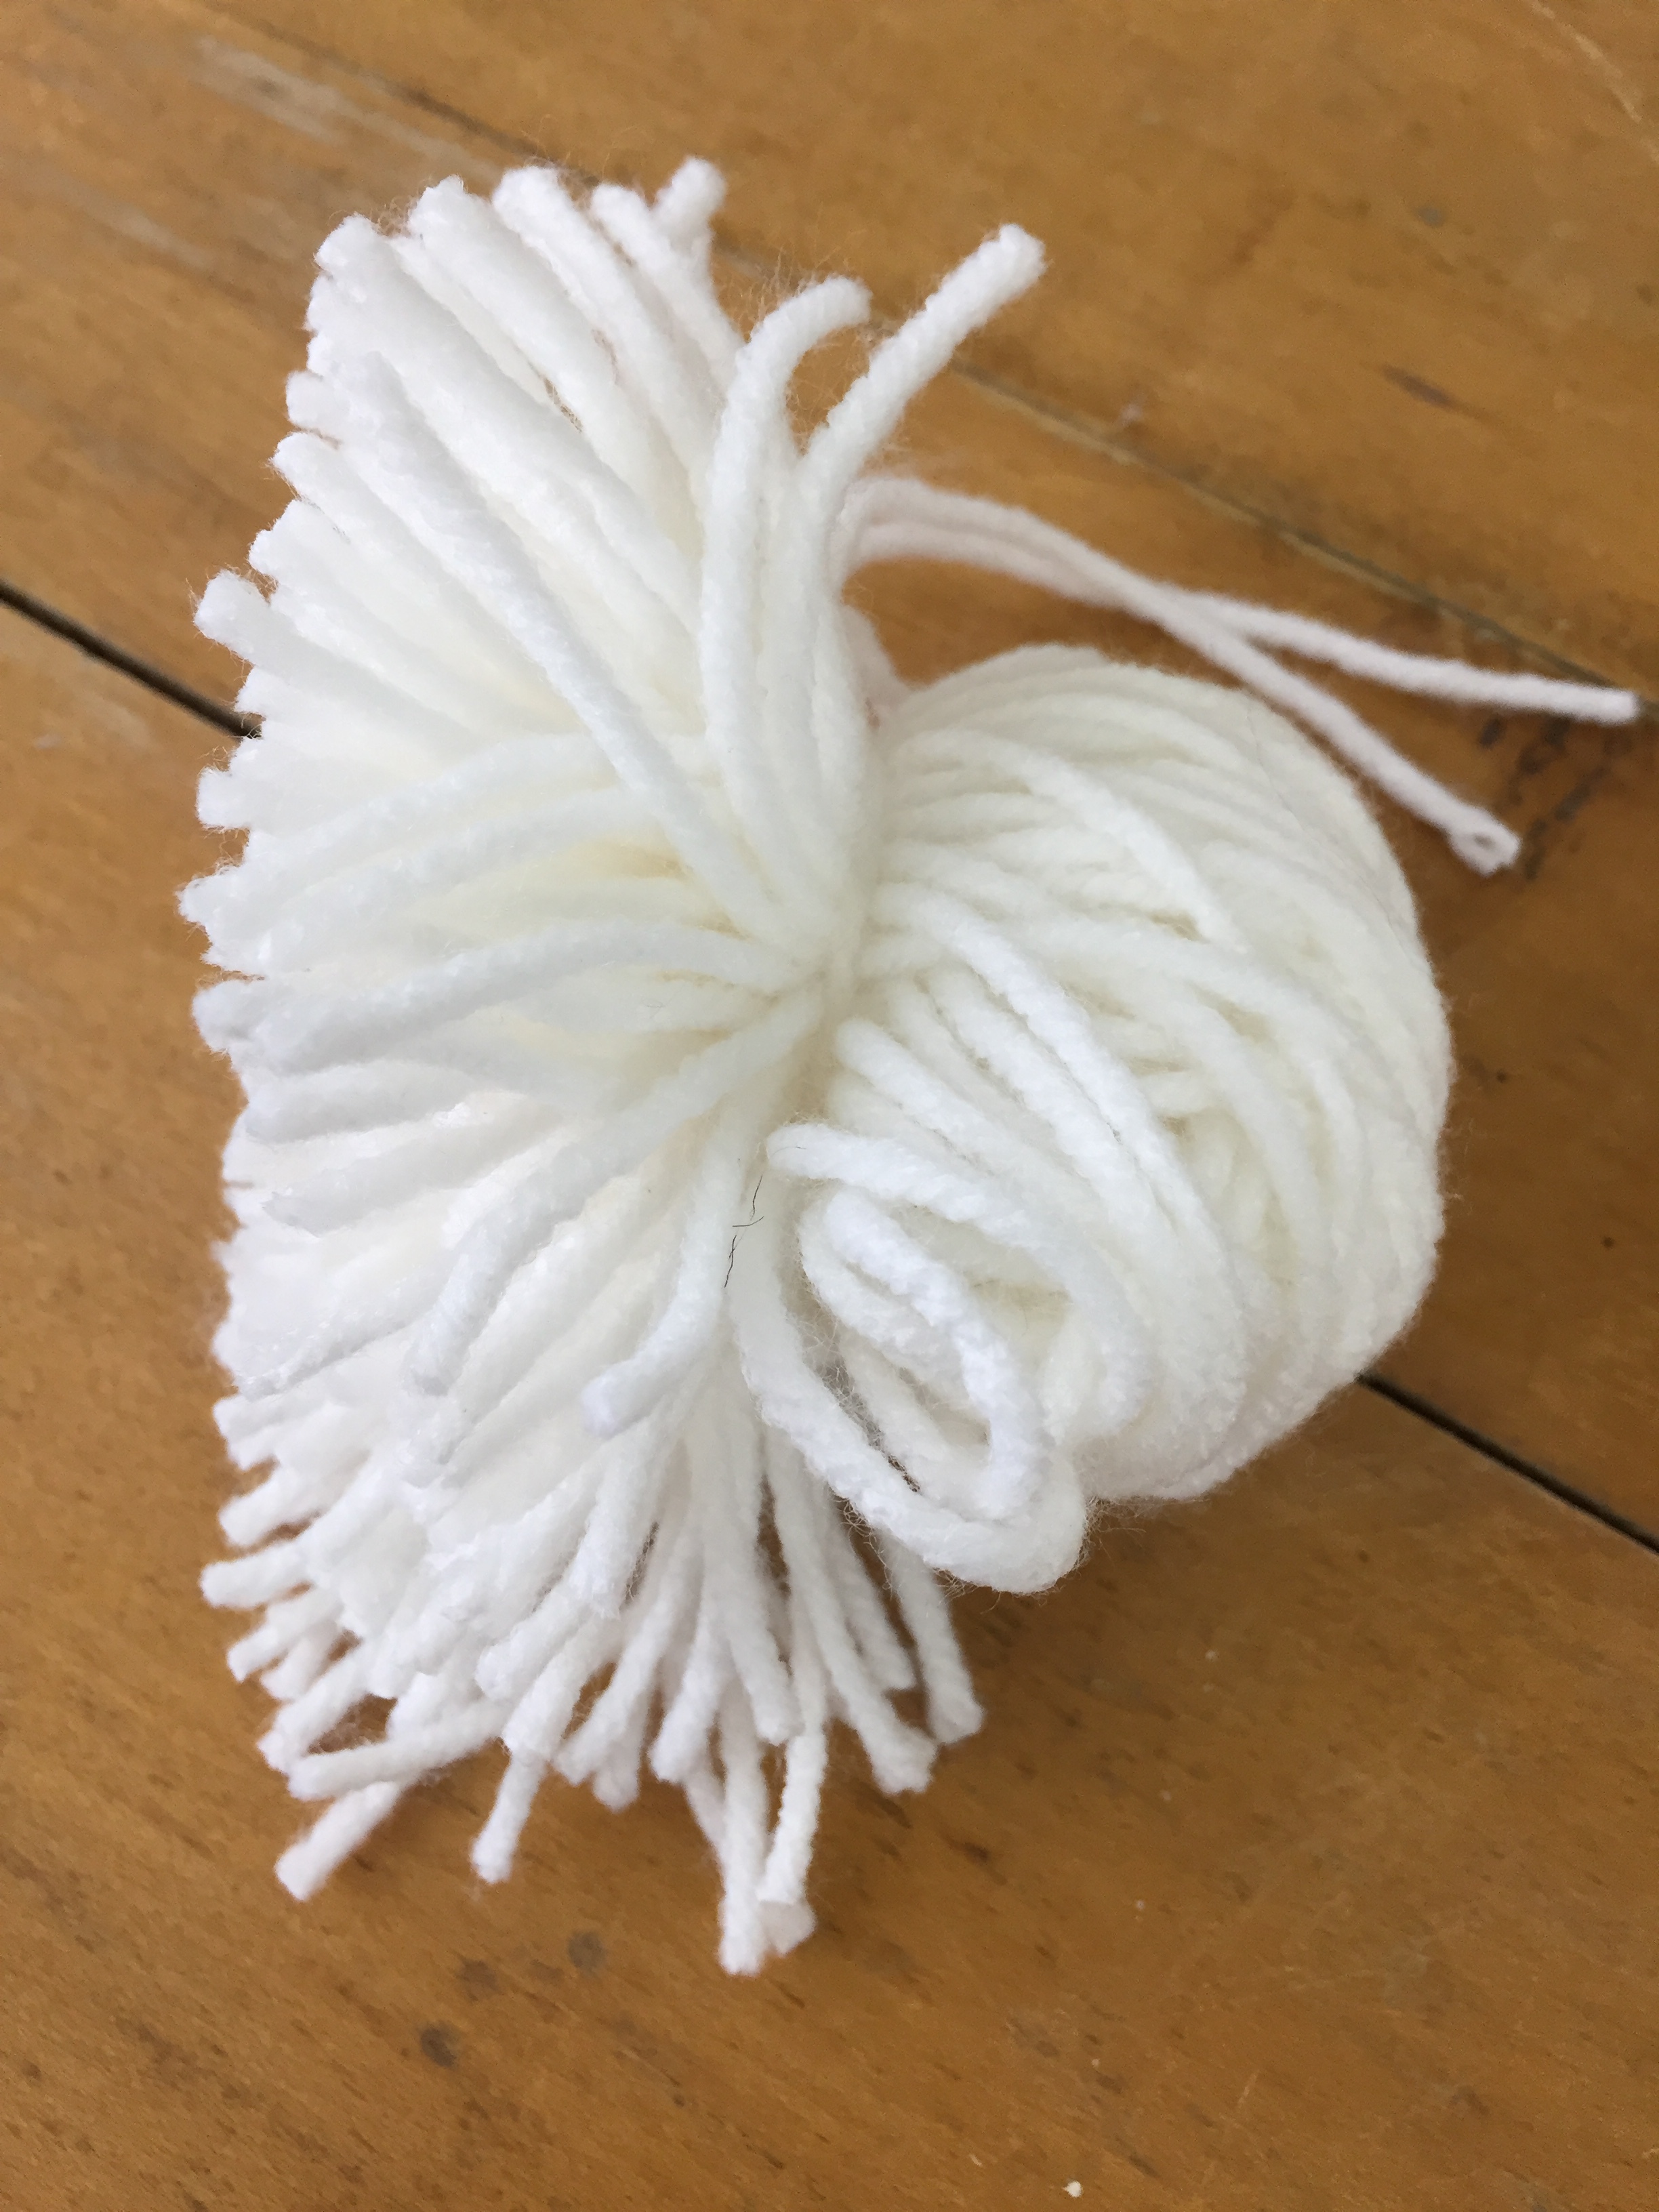
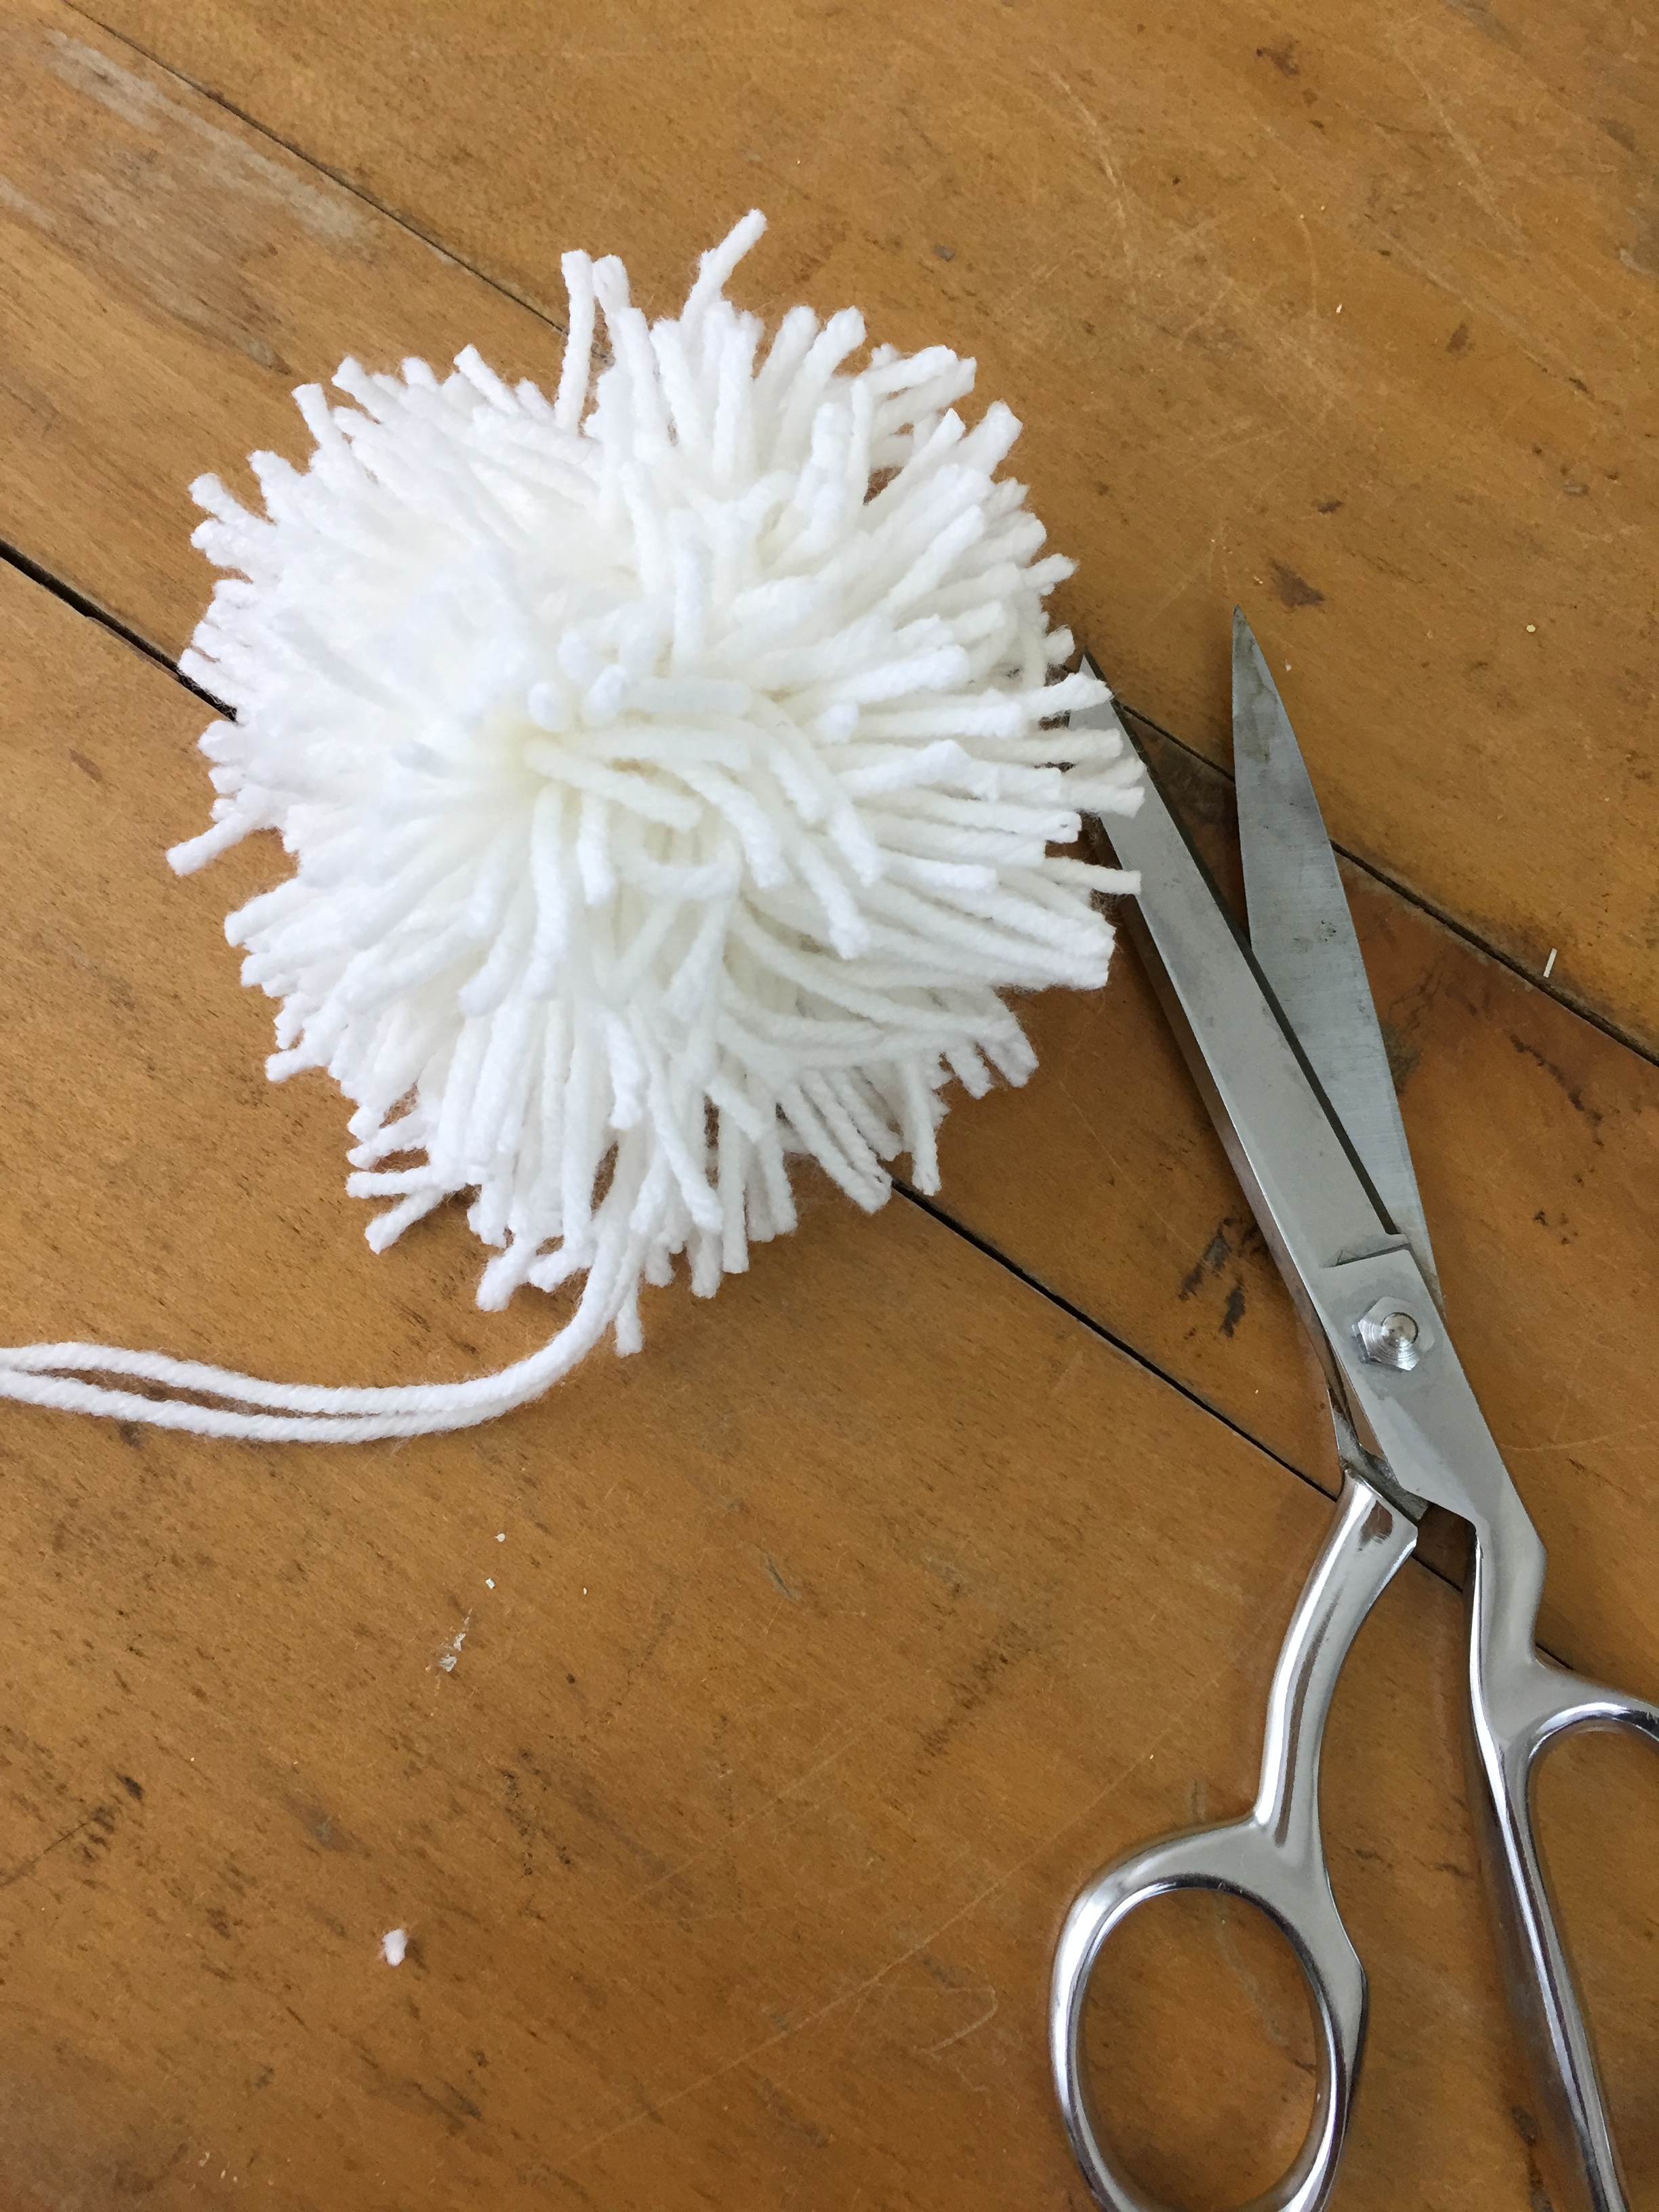
now the fun part! over a bowl or trash can, give your pom a good trim! this part is actually very therapeutic to me!
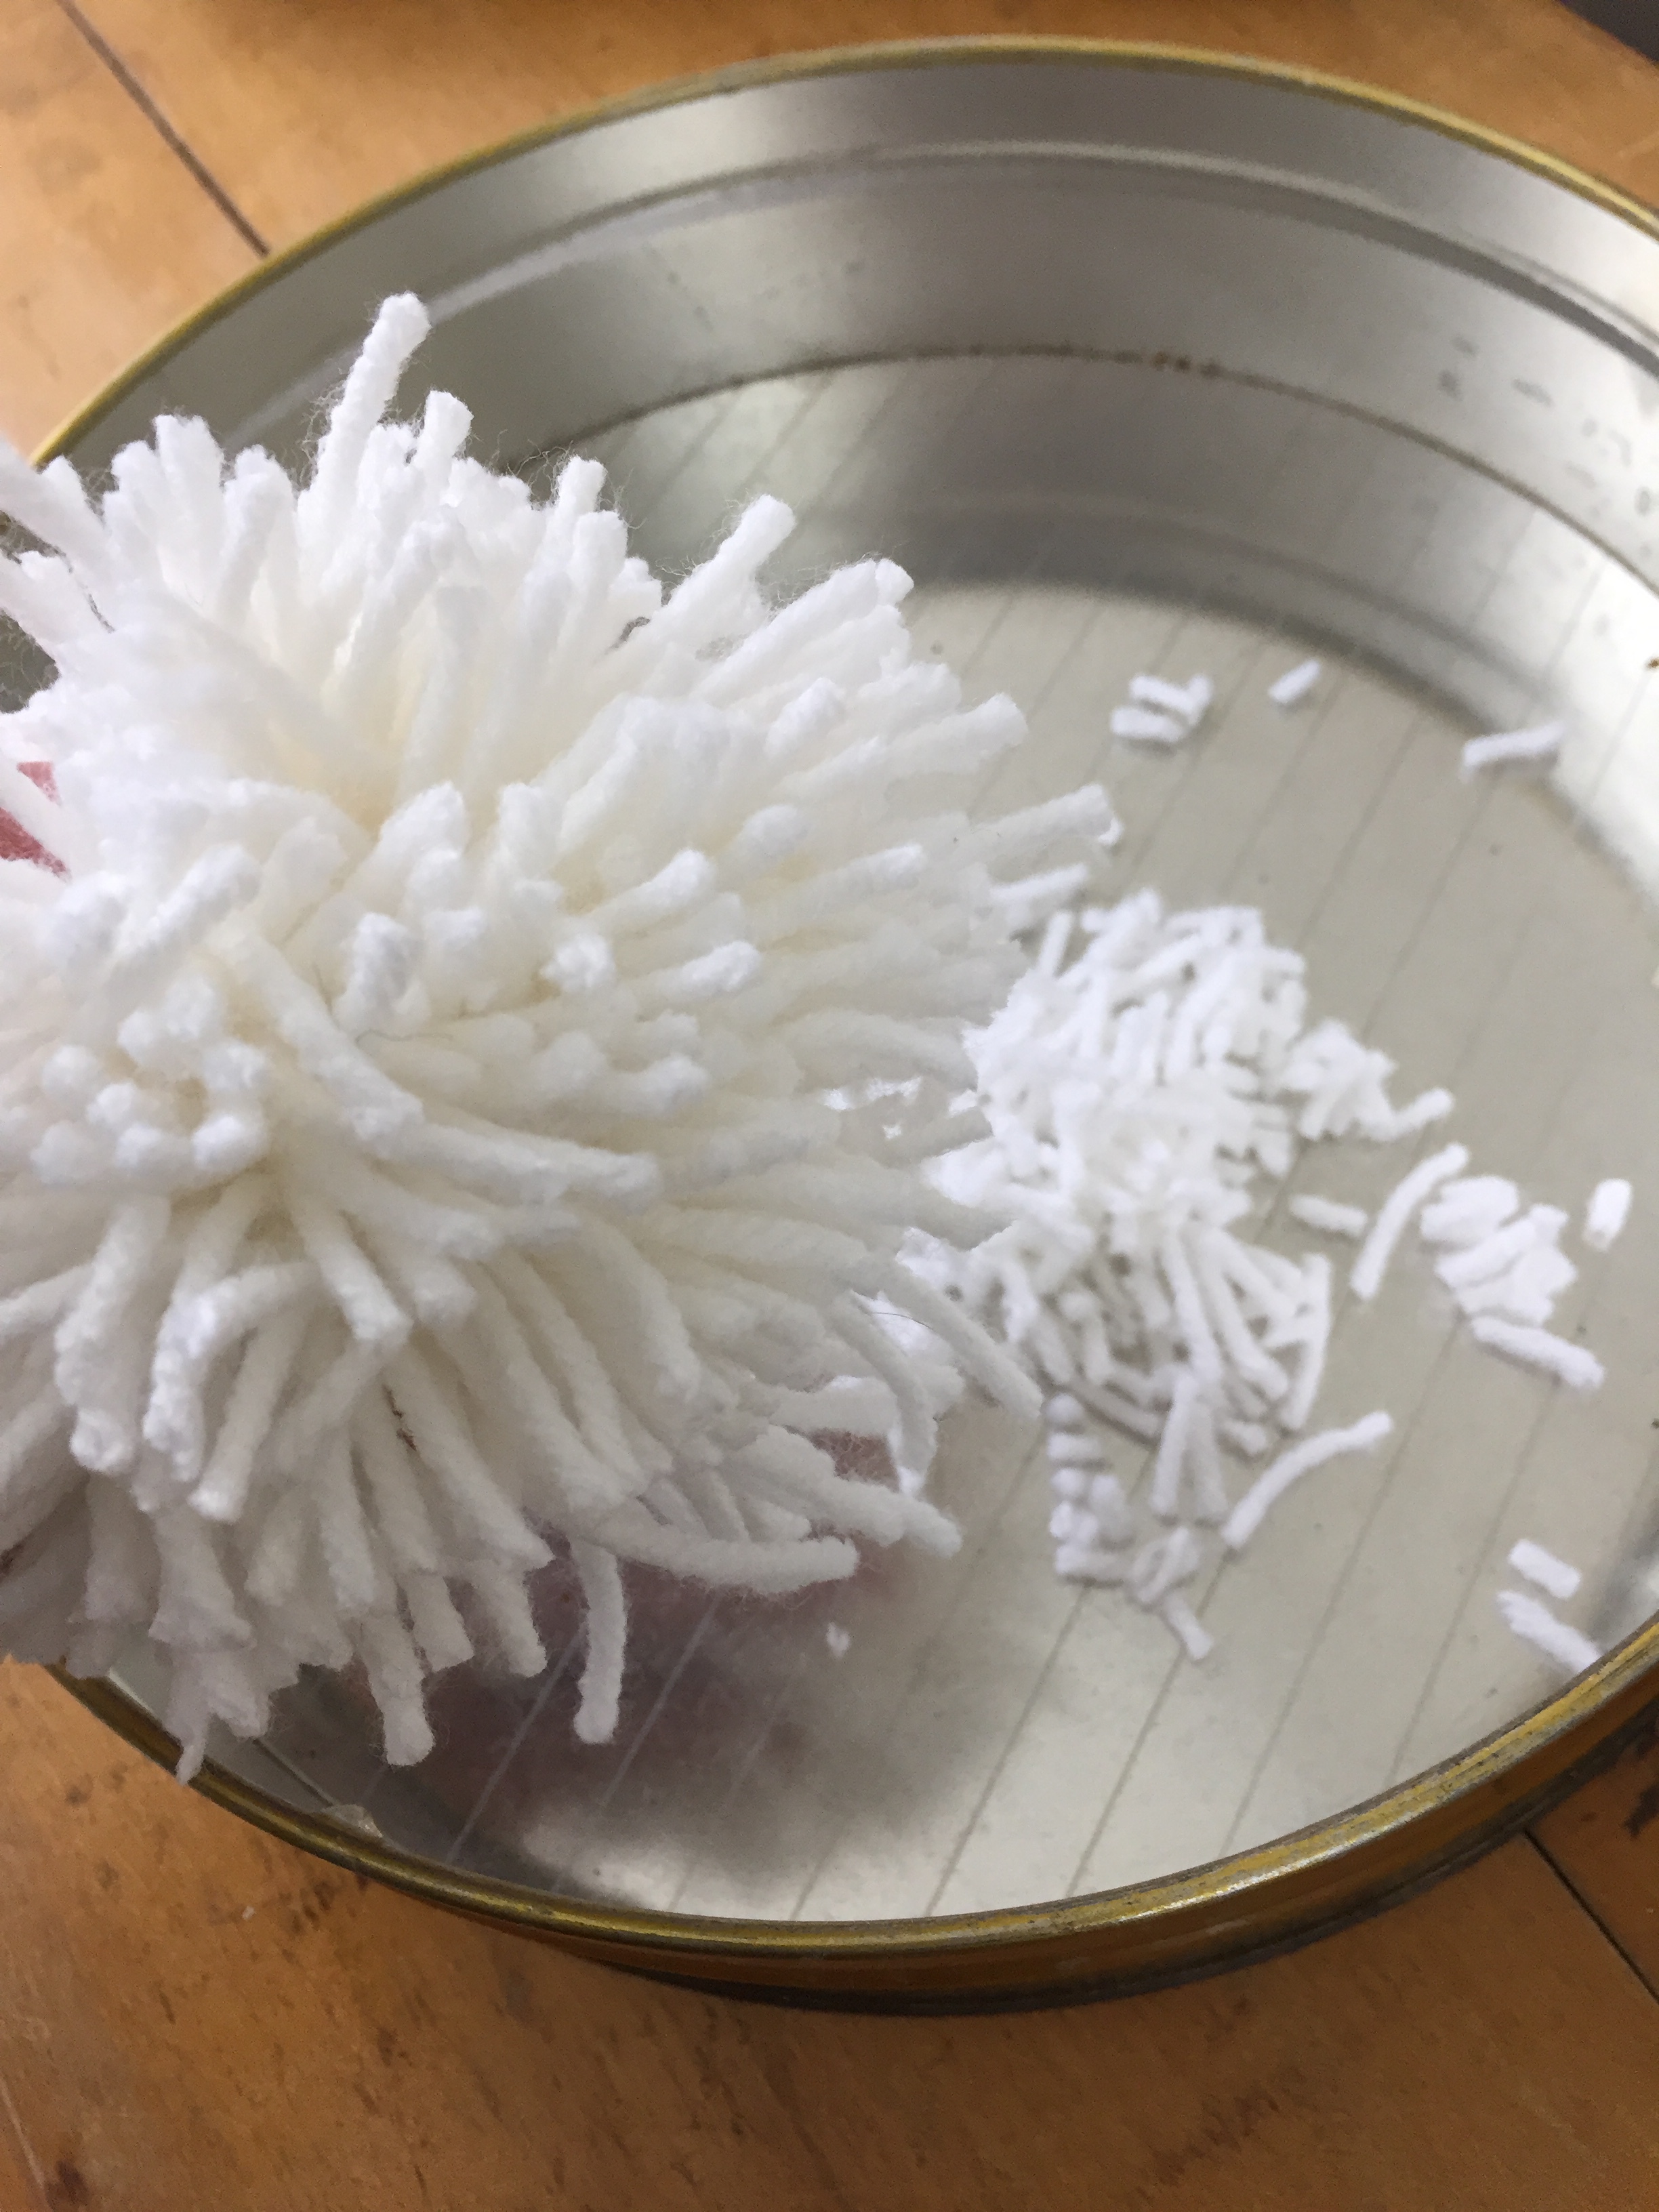
just keep turning and trimming until the shape is relatively round and the size you want. it will look much tighter after it’s all trimmed up!
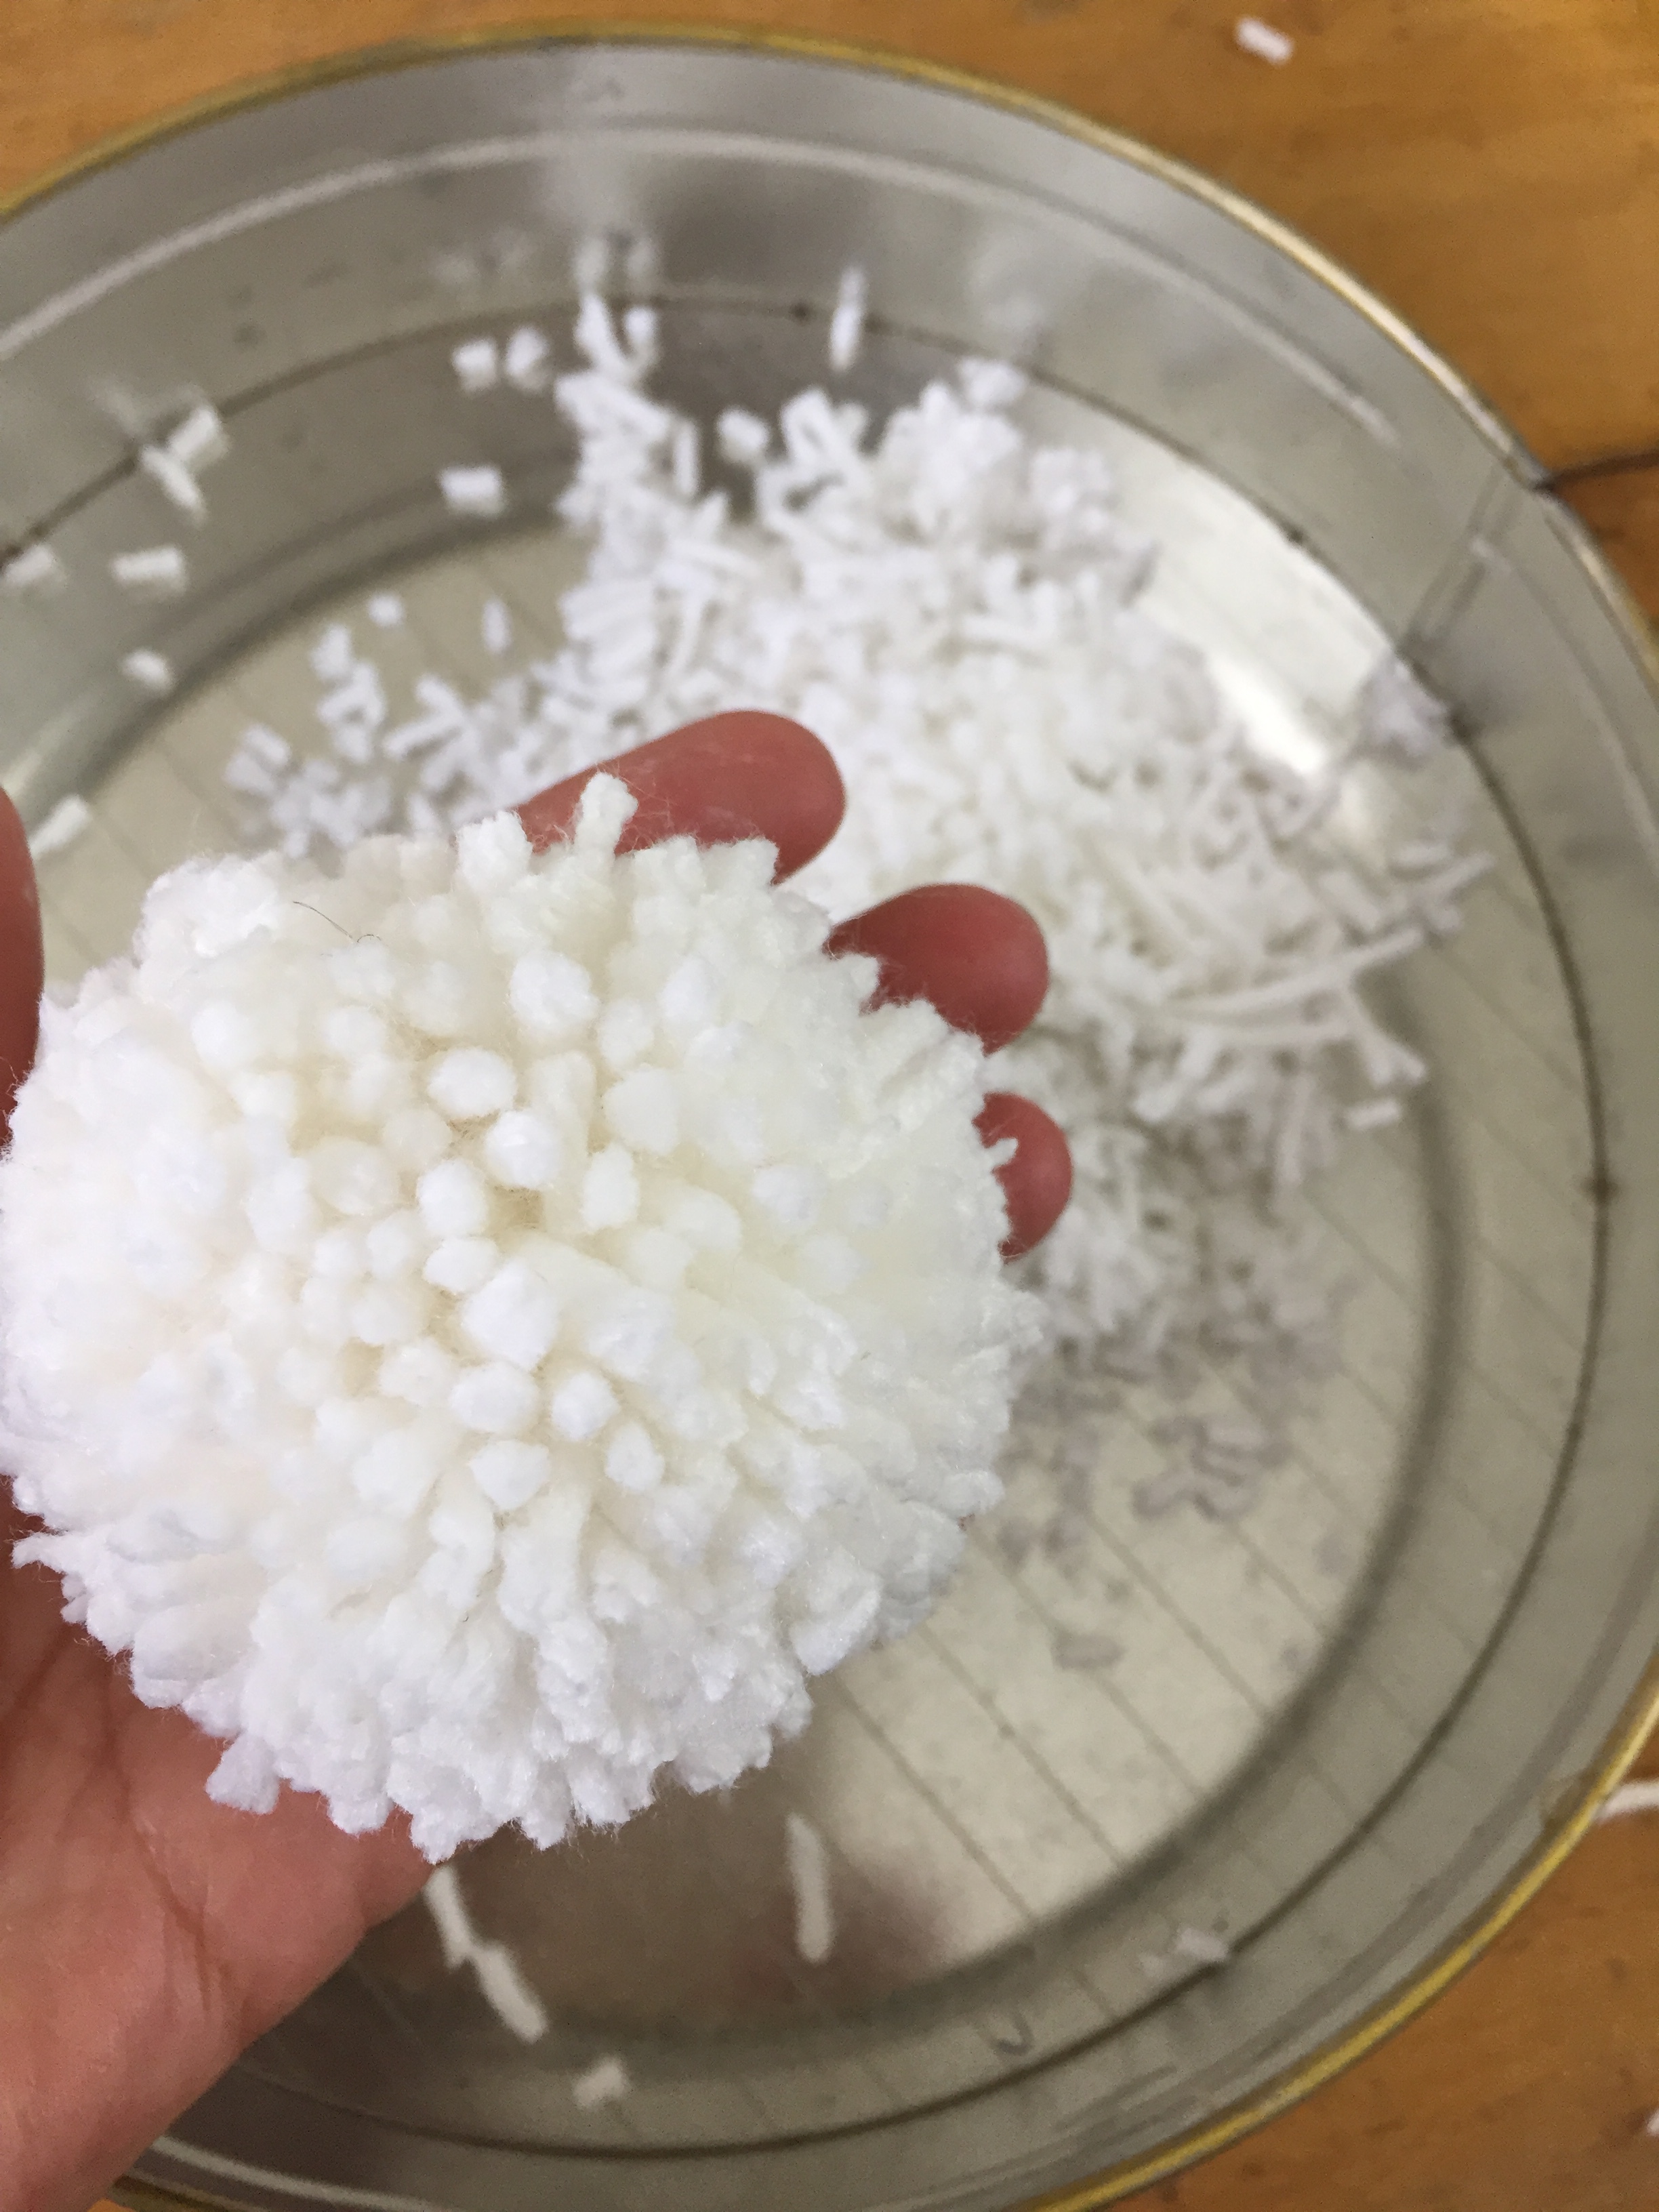
now the really fun part…making it into a bunny topper for a small jar!
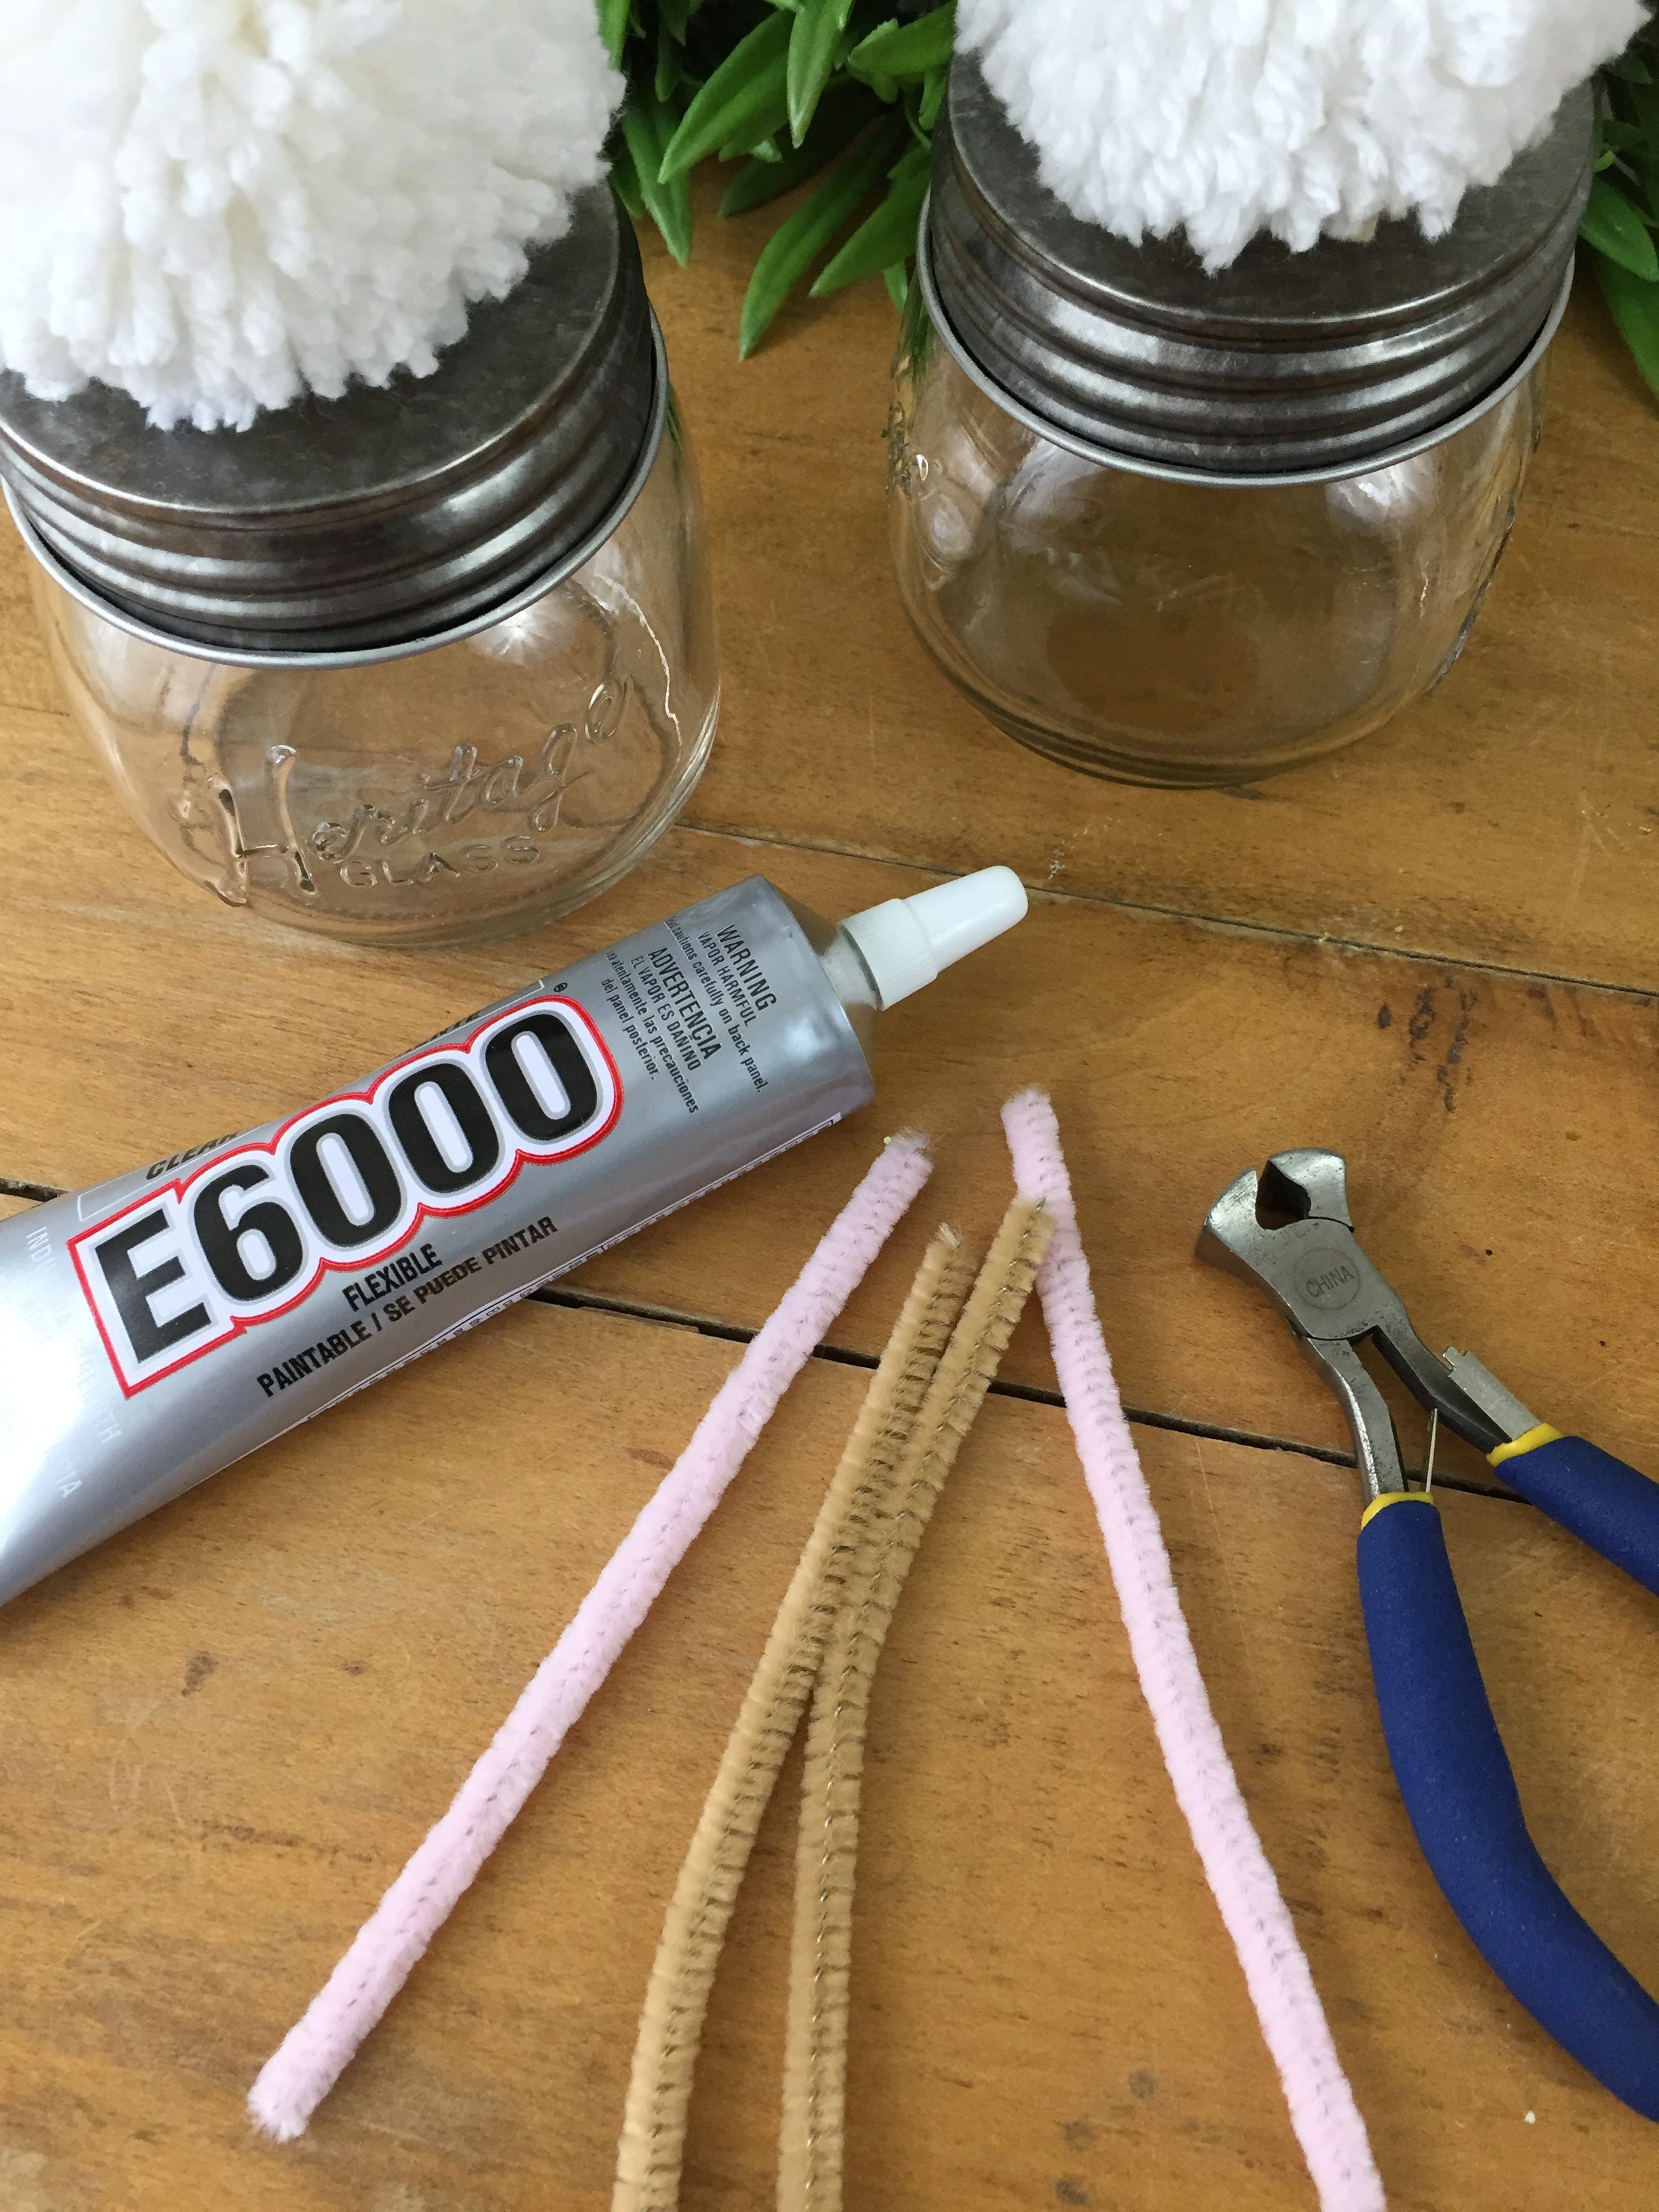
you will just need some glue…i like E600 for a permanent hold but i also used some hot glue. if that’s all you have it’s perfectly fine for the entire project! you will also need pipe cleaners. i used light brown and pale pink for the bunny’s ears…
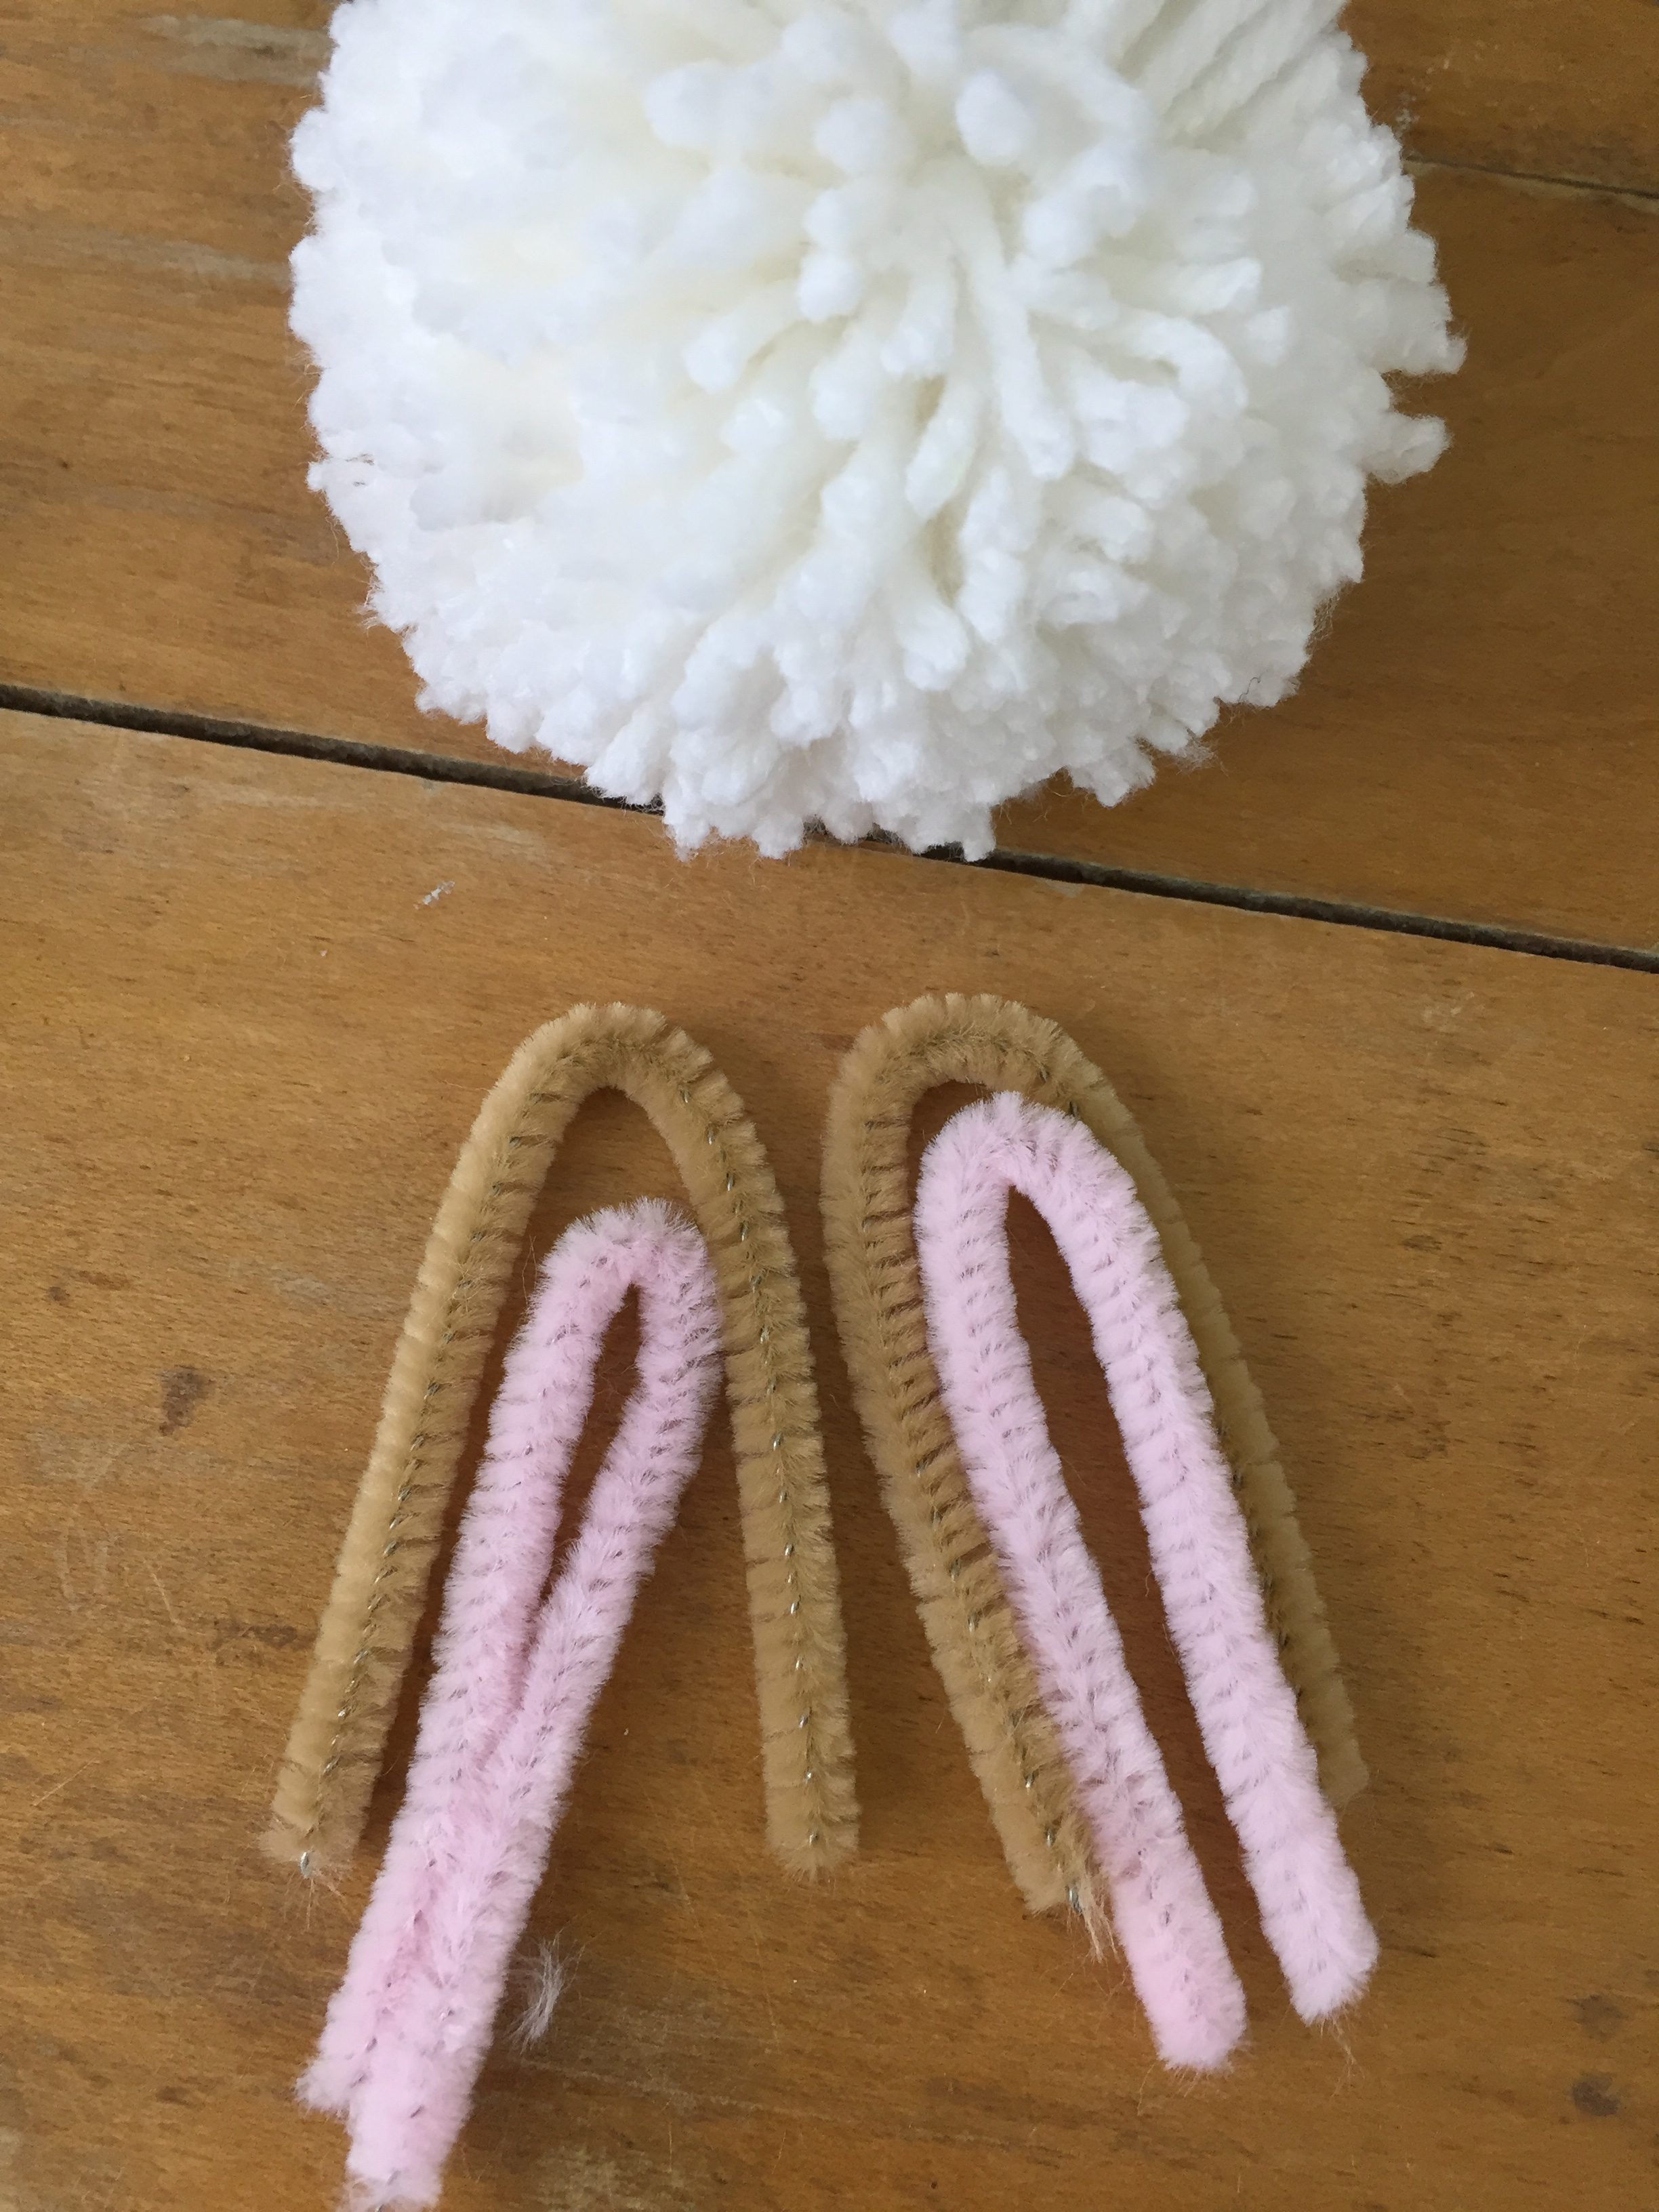
cut sections of the pipe cleaners to make your ears…the length is up to you! short, ears, long ears, or something in between! fold the sections in half and slightly pinch the top to make the shape you like…
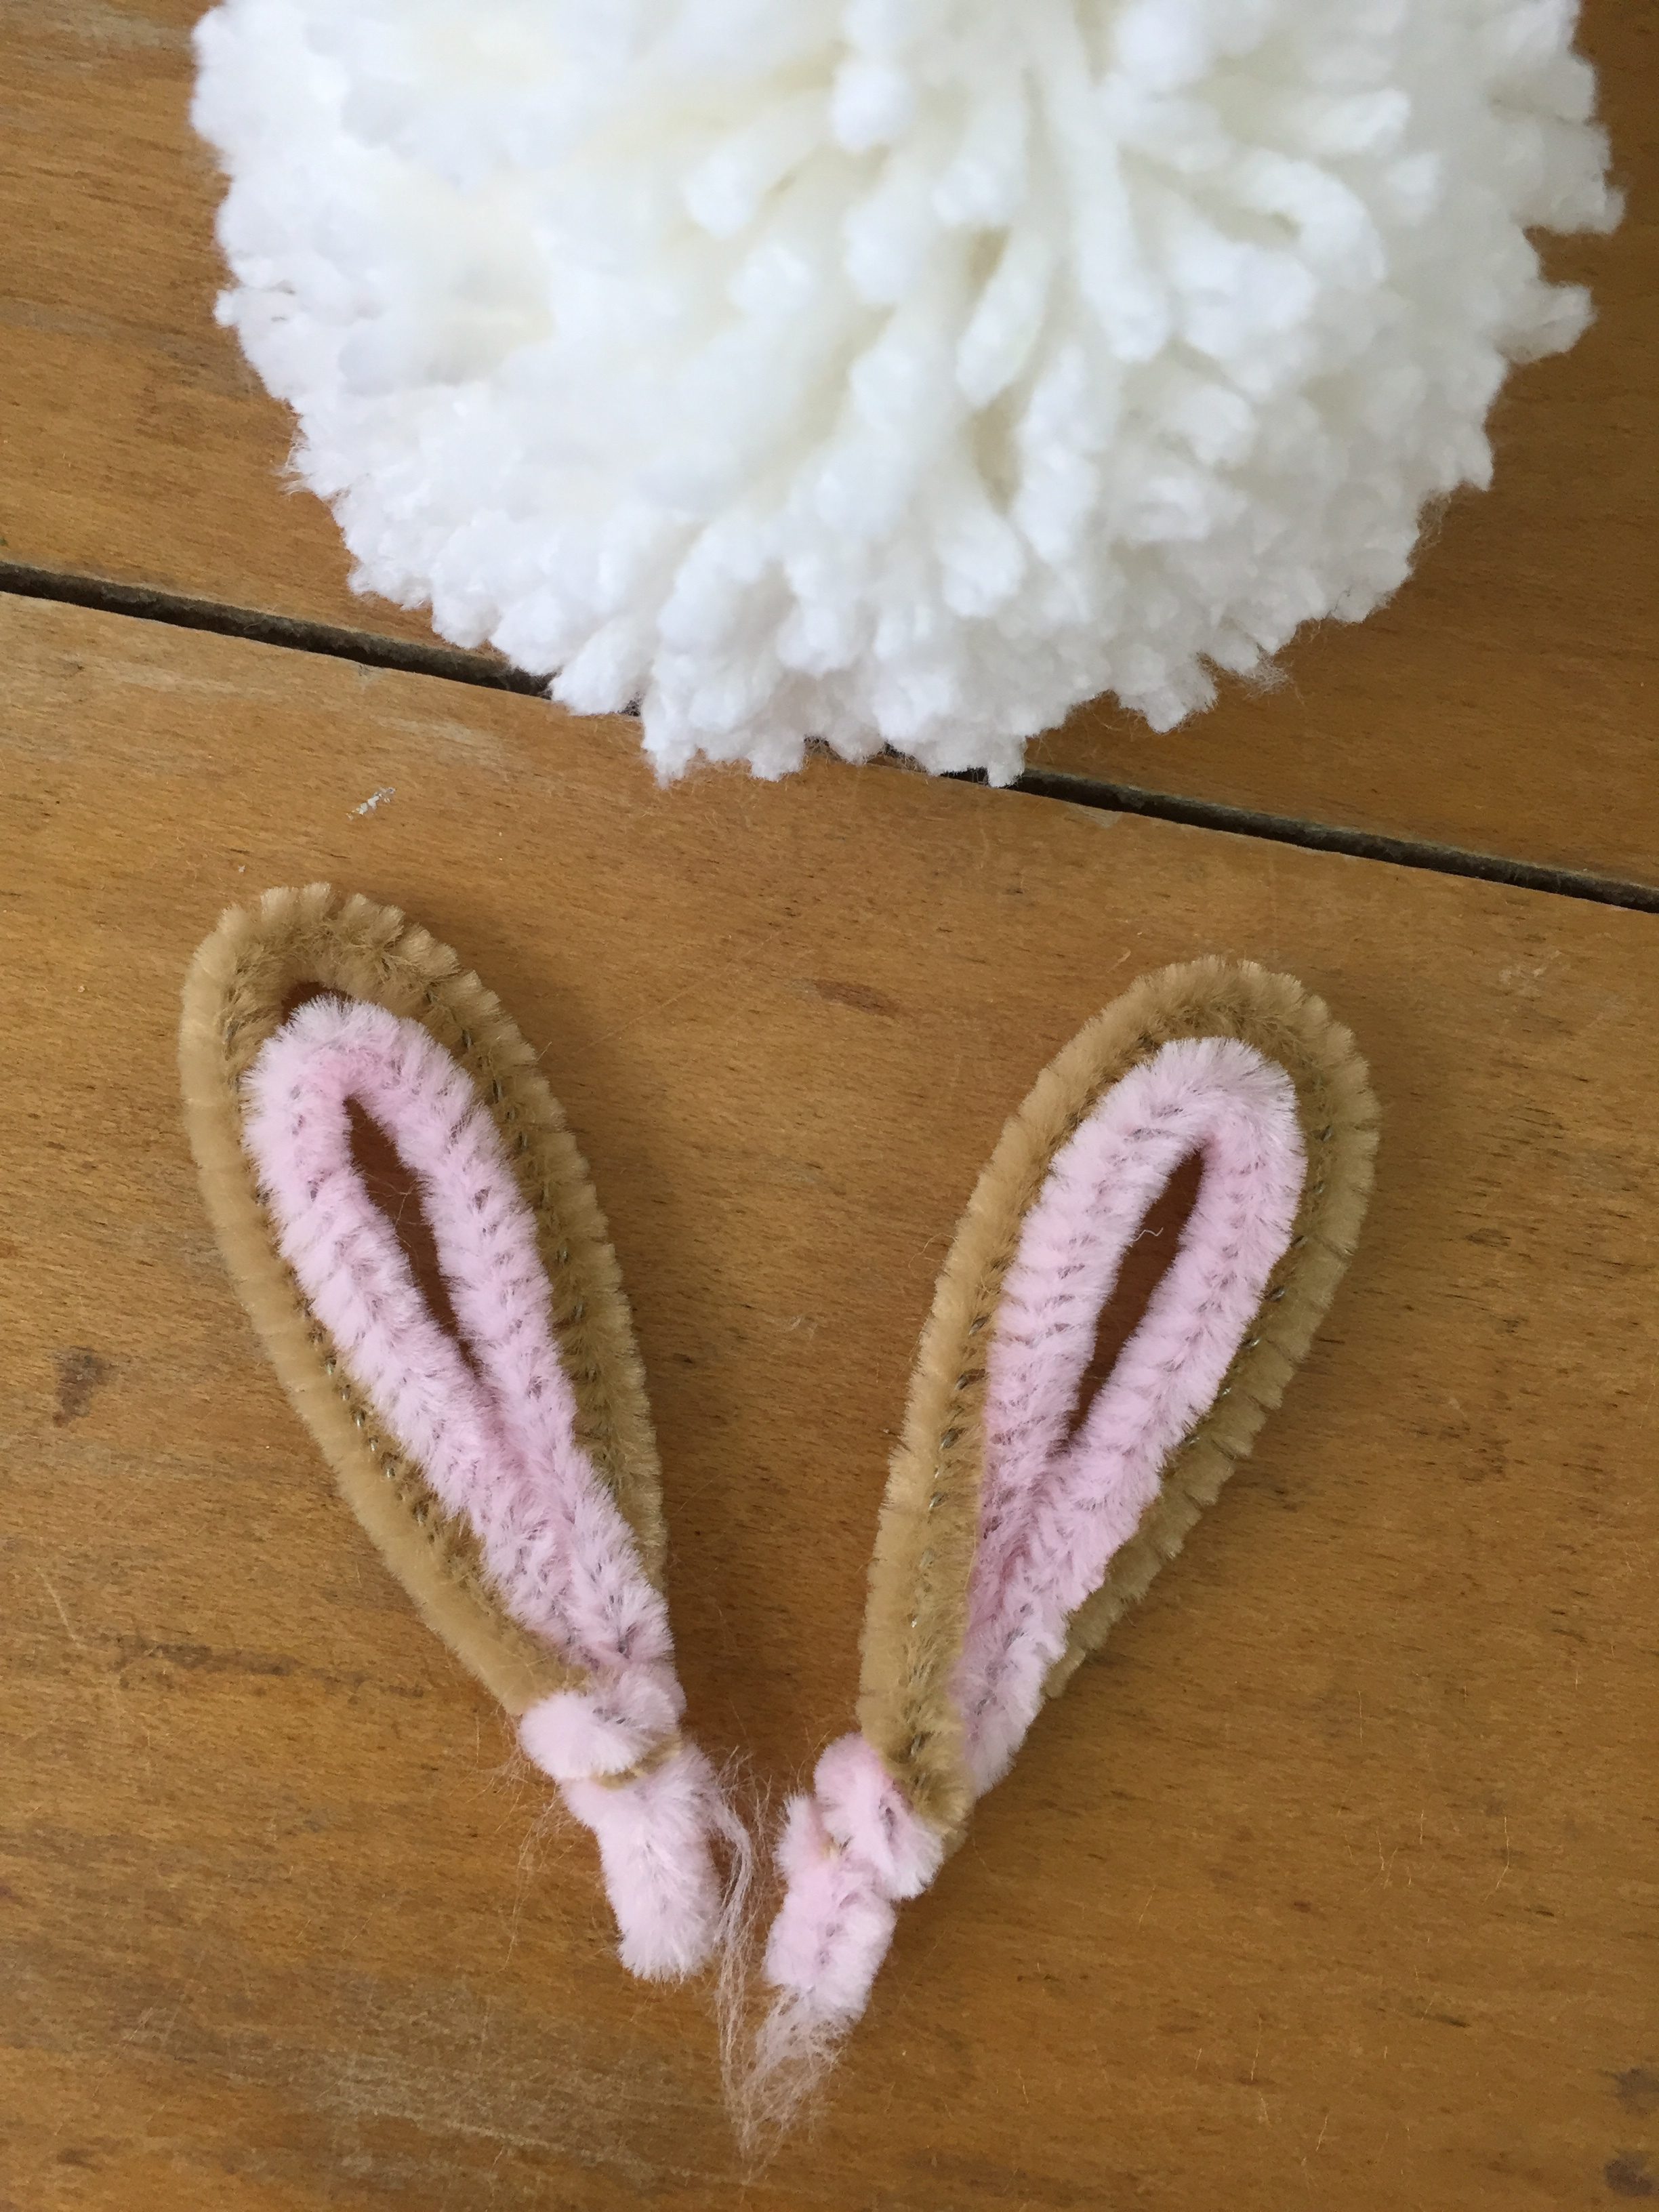
if you layer them, the pink inner pipe cleaner will stick out at the bottom. use those ends to twist them together…
now you can put a generous coating of glue on the jar lid and press the pom down to make sure it’s secure. use a dollop of hot glue to attach the ears and push them down into the pom…
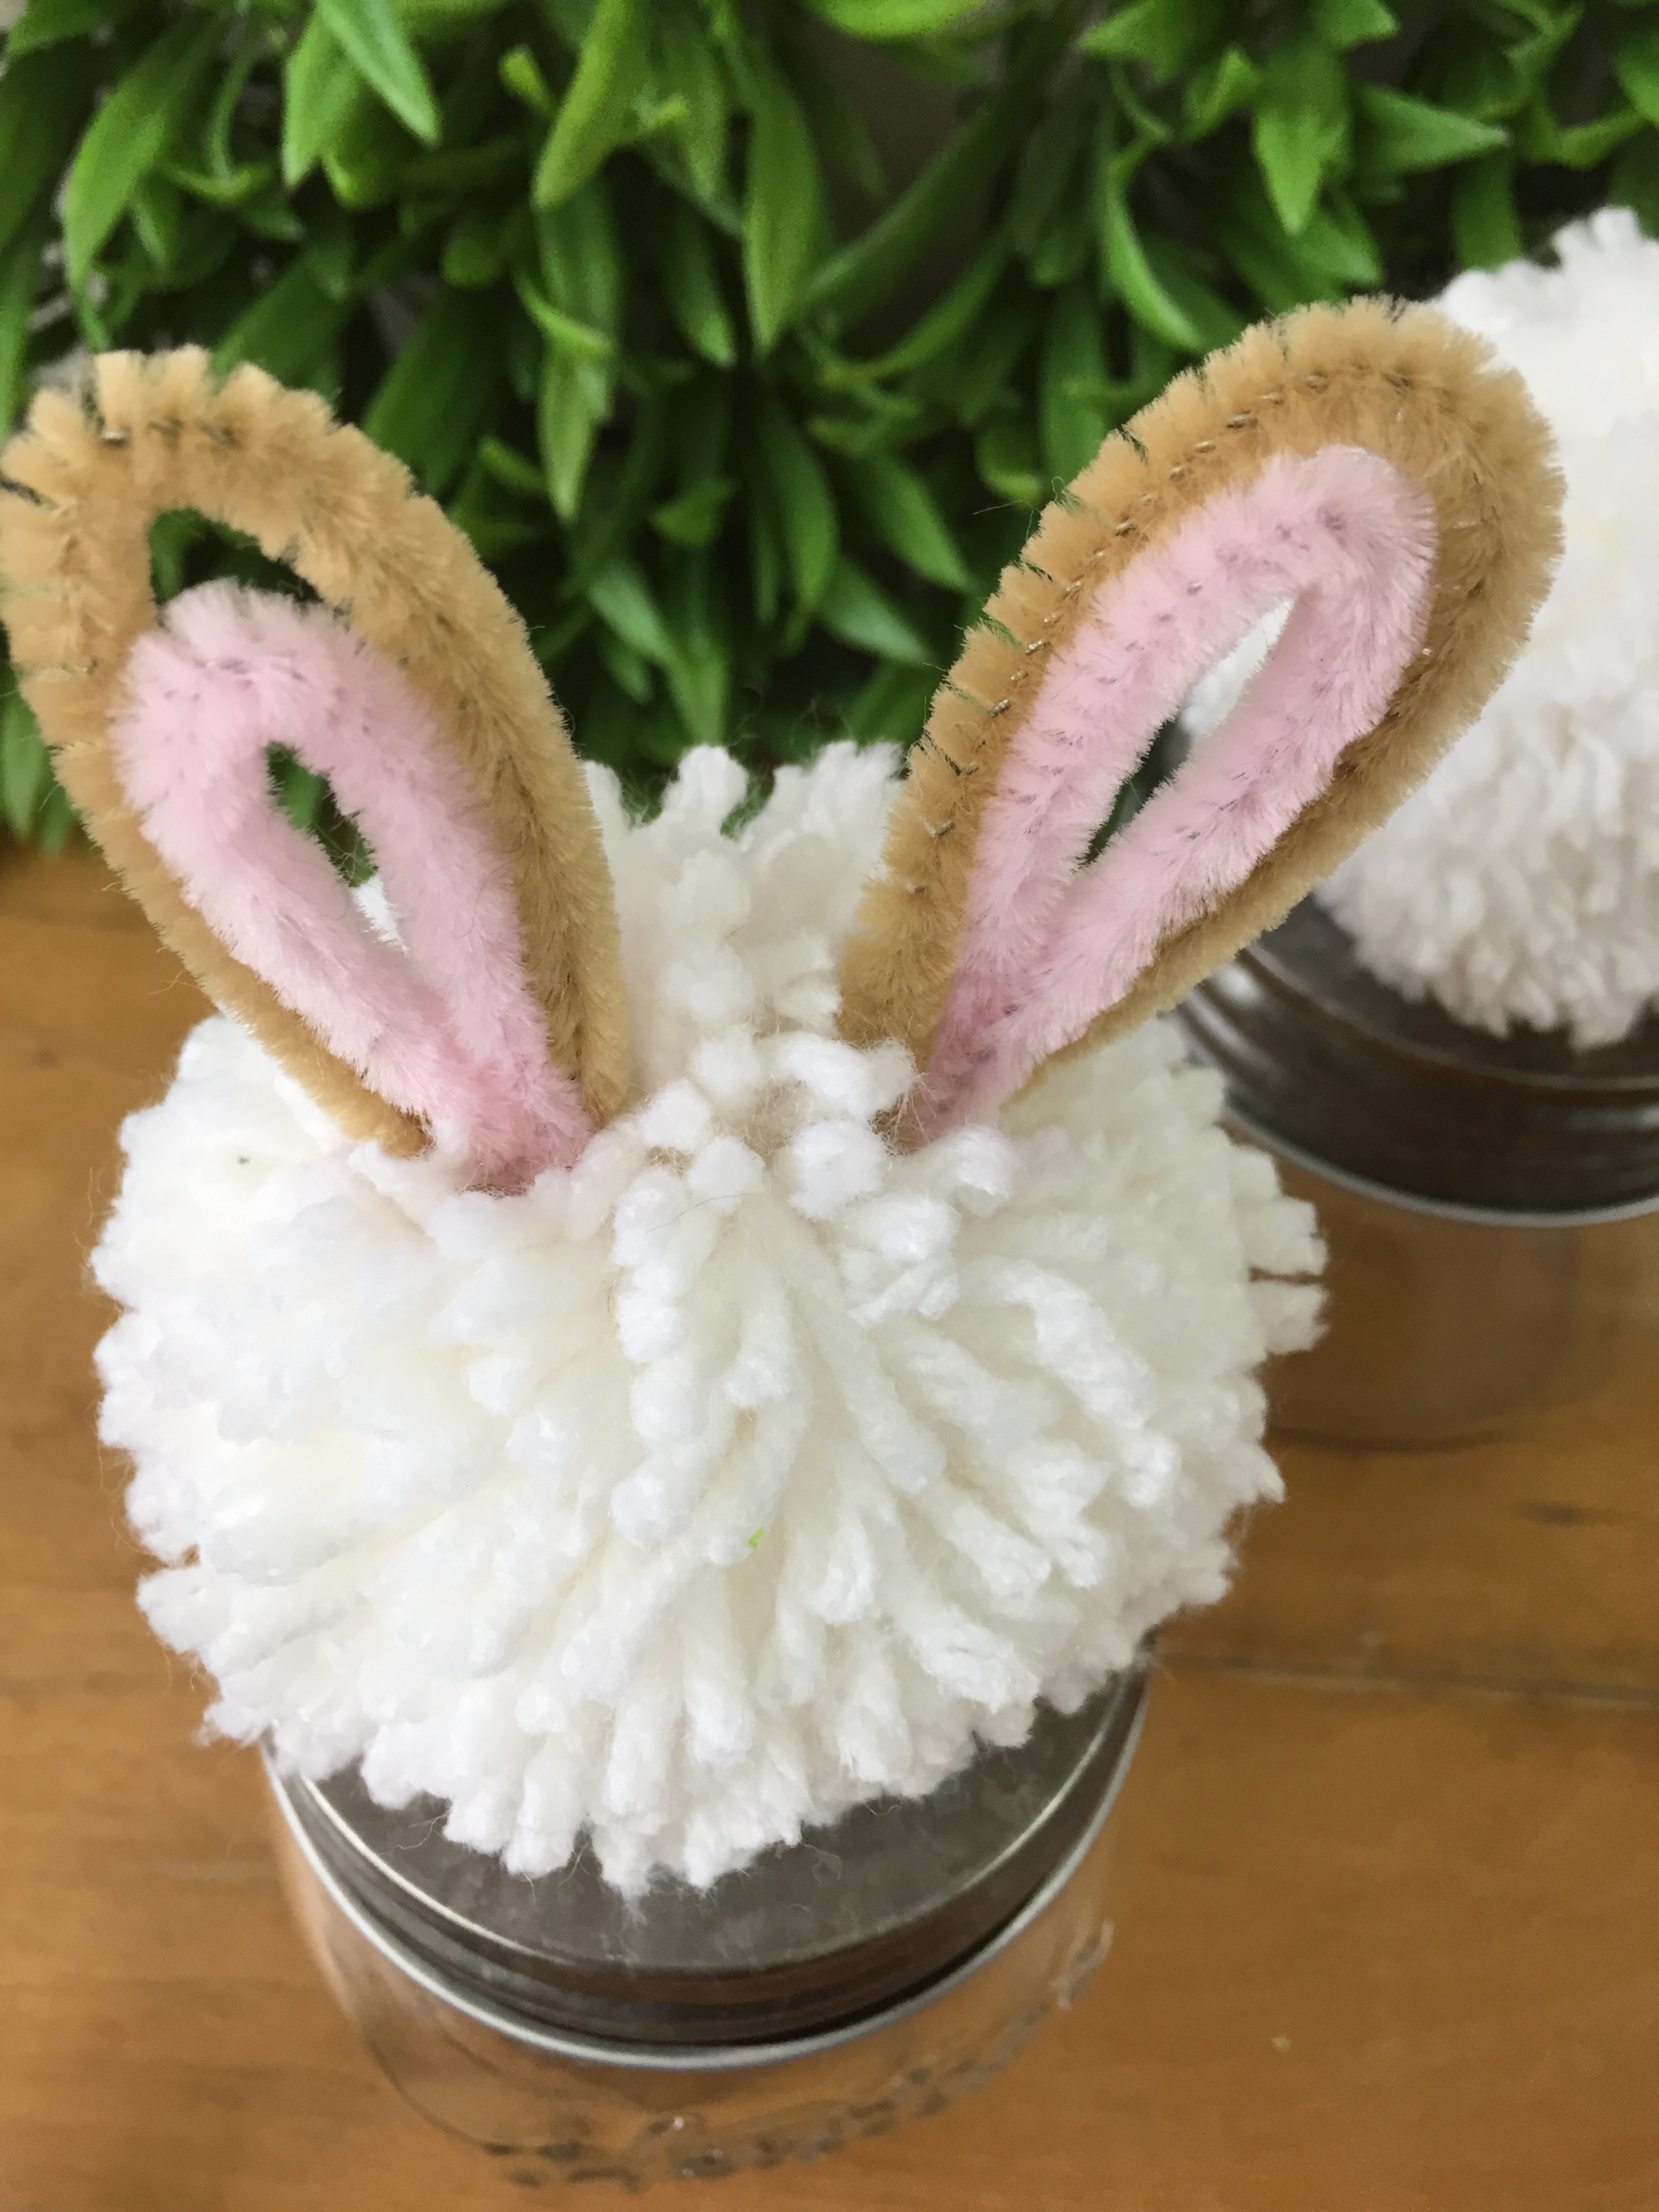
you can also add a tiny pink pom for a nose…
![IMG_8457[1]](http://www.giggleliving.com/wp-content/uploads/2017/04/IMG_84571.jpg)
now you can fill ’em with whatever you wish! i used mini cookies and pistachios for a neutral look. the nuts are a nice alternative to all the Easter sugar, and much healthier too…but you can fill them with any favorite treat! i tied a tag with each guest’s initial around the jar. this way you could do double duty with this gift as a place card AND a favor all in one!
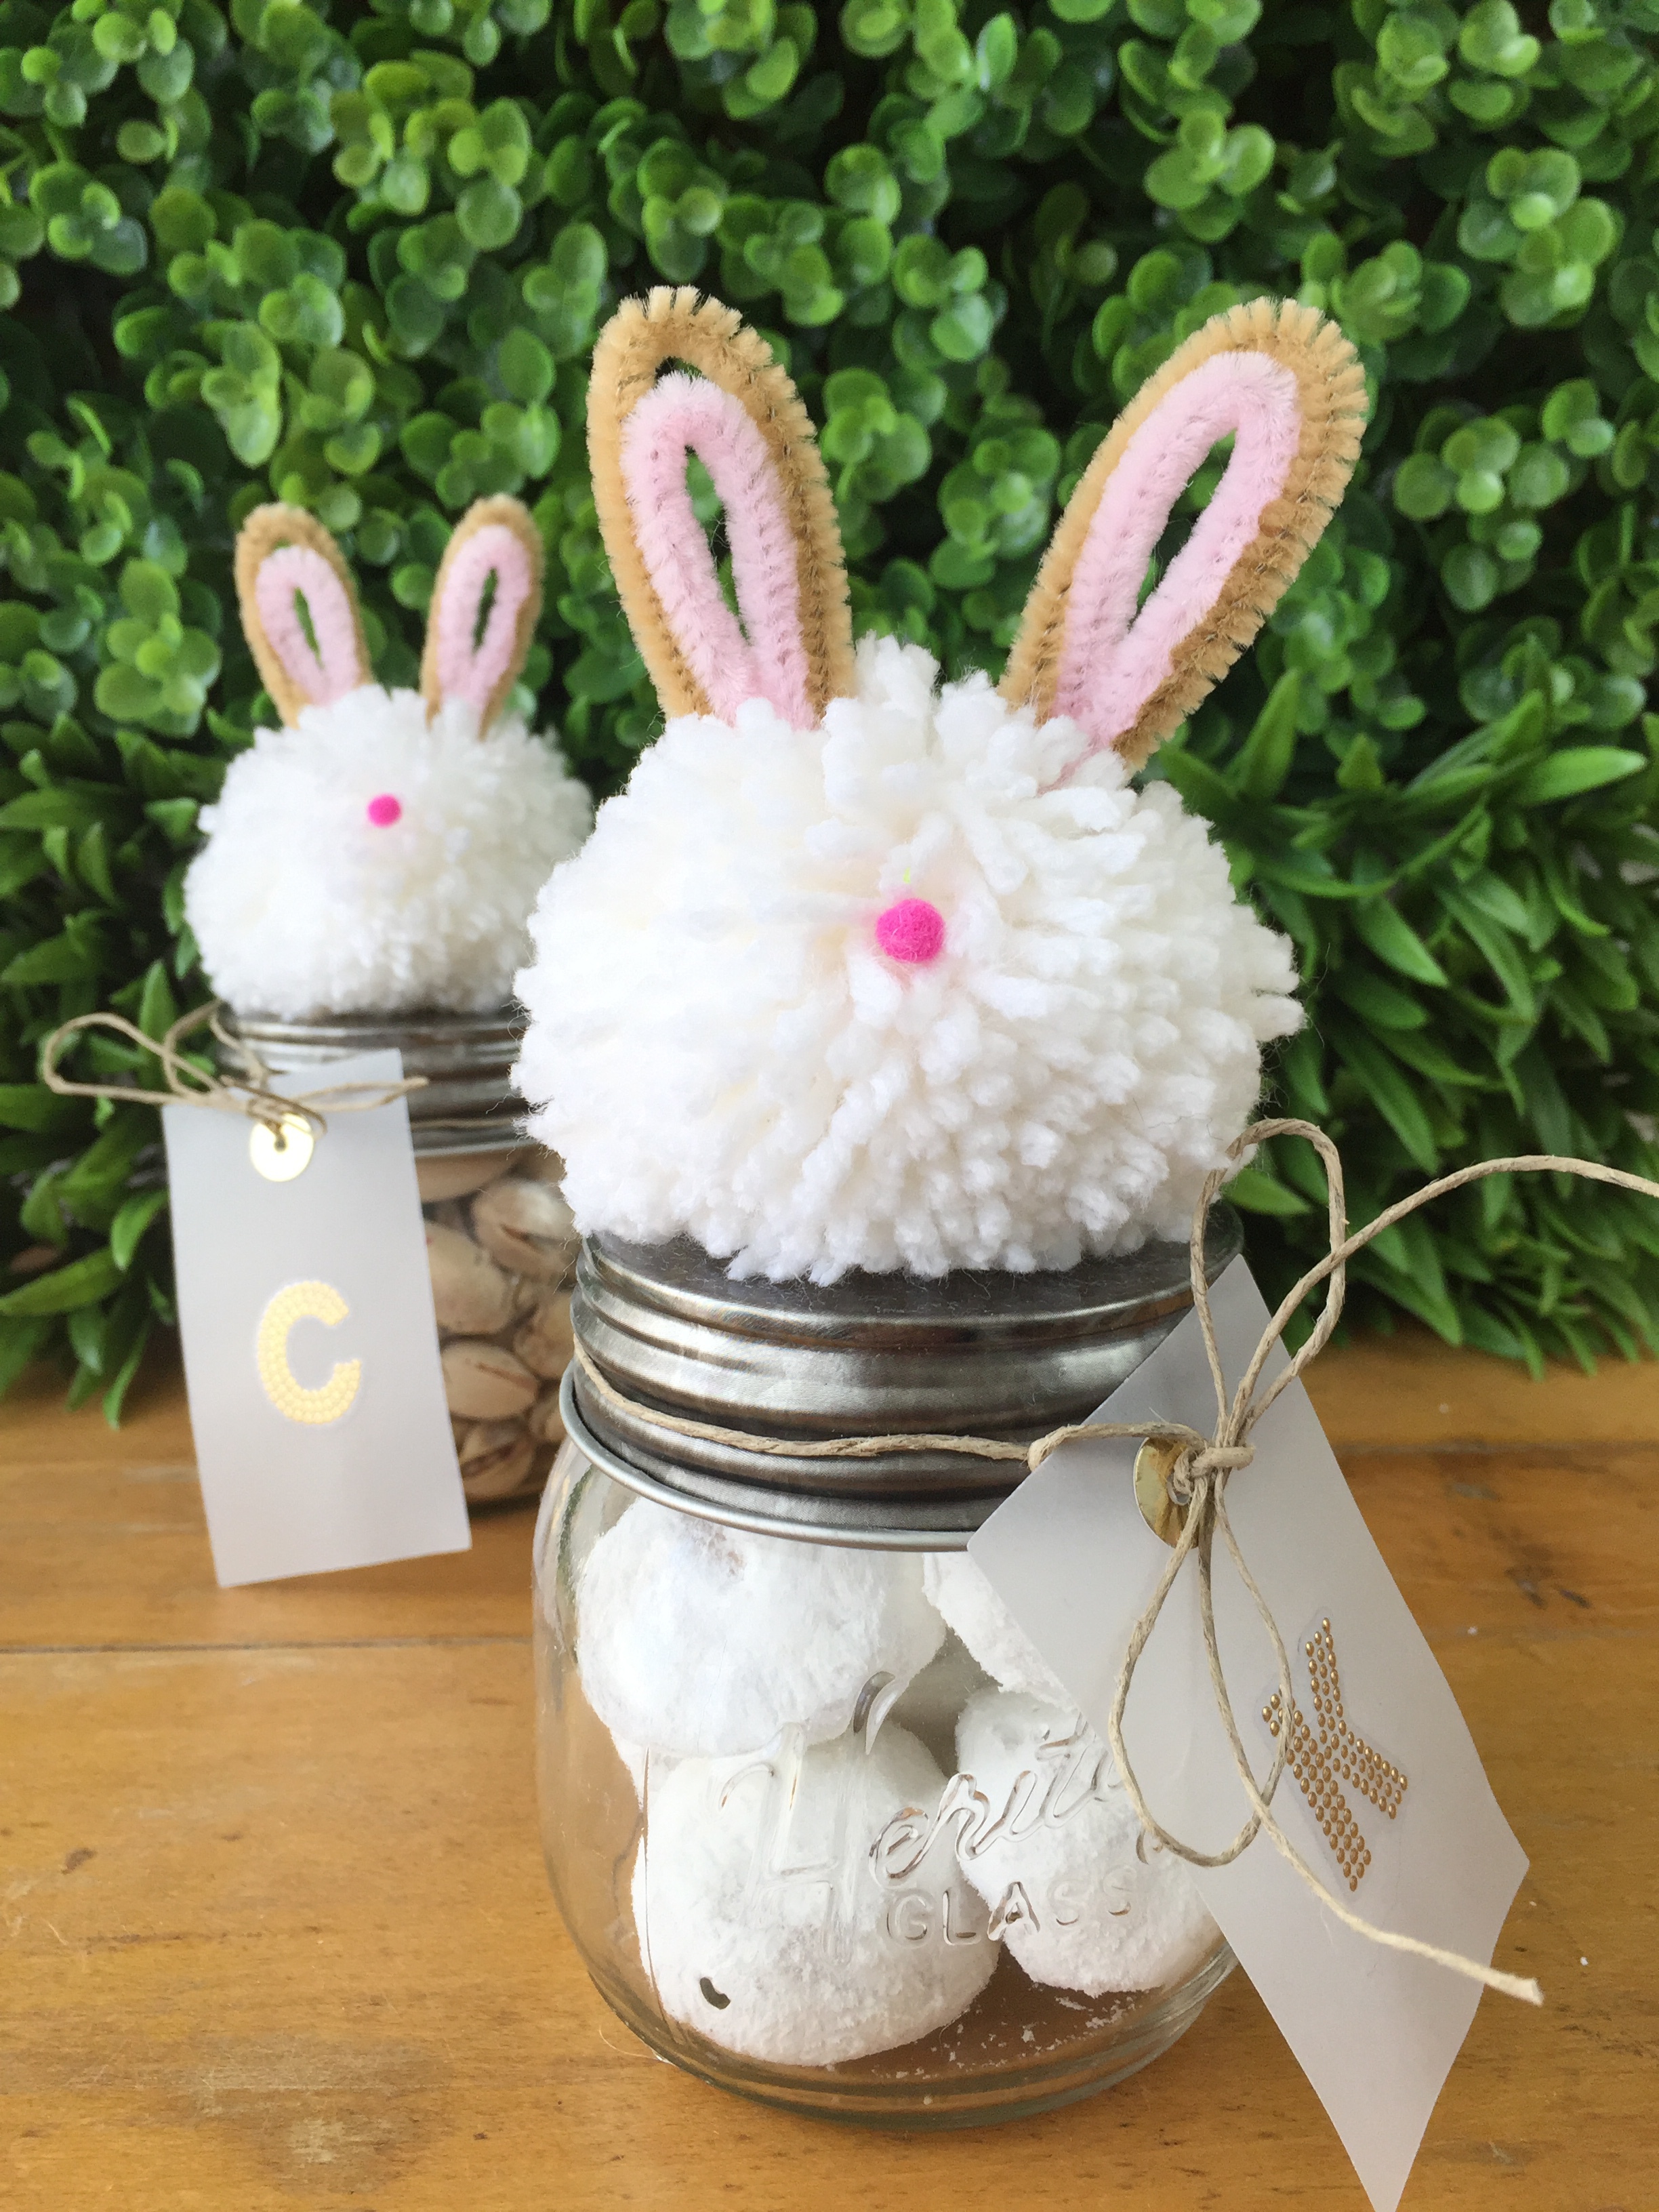
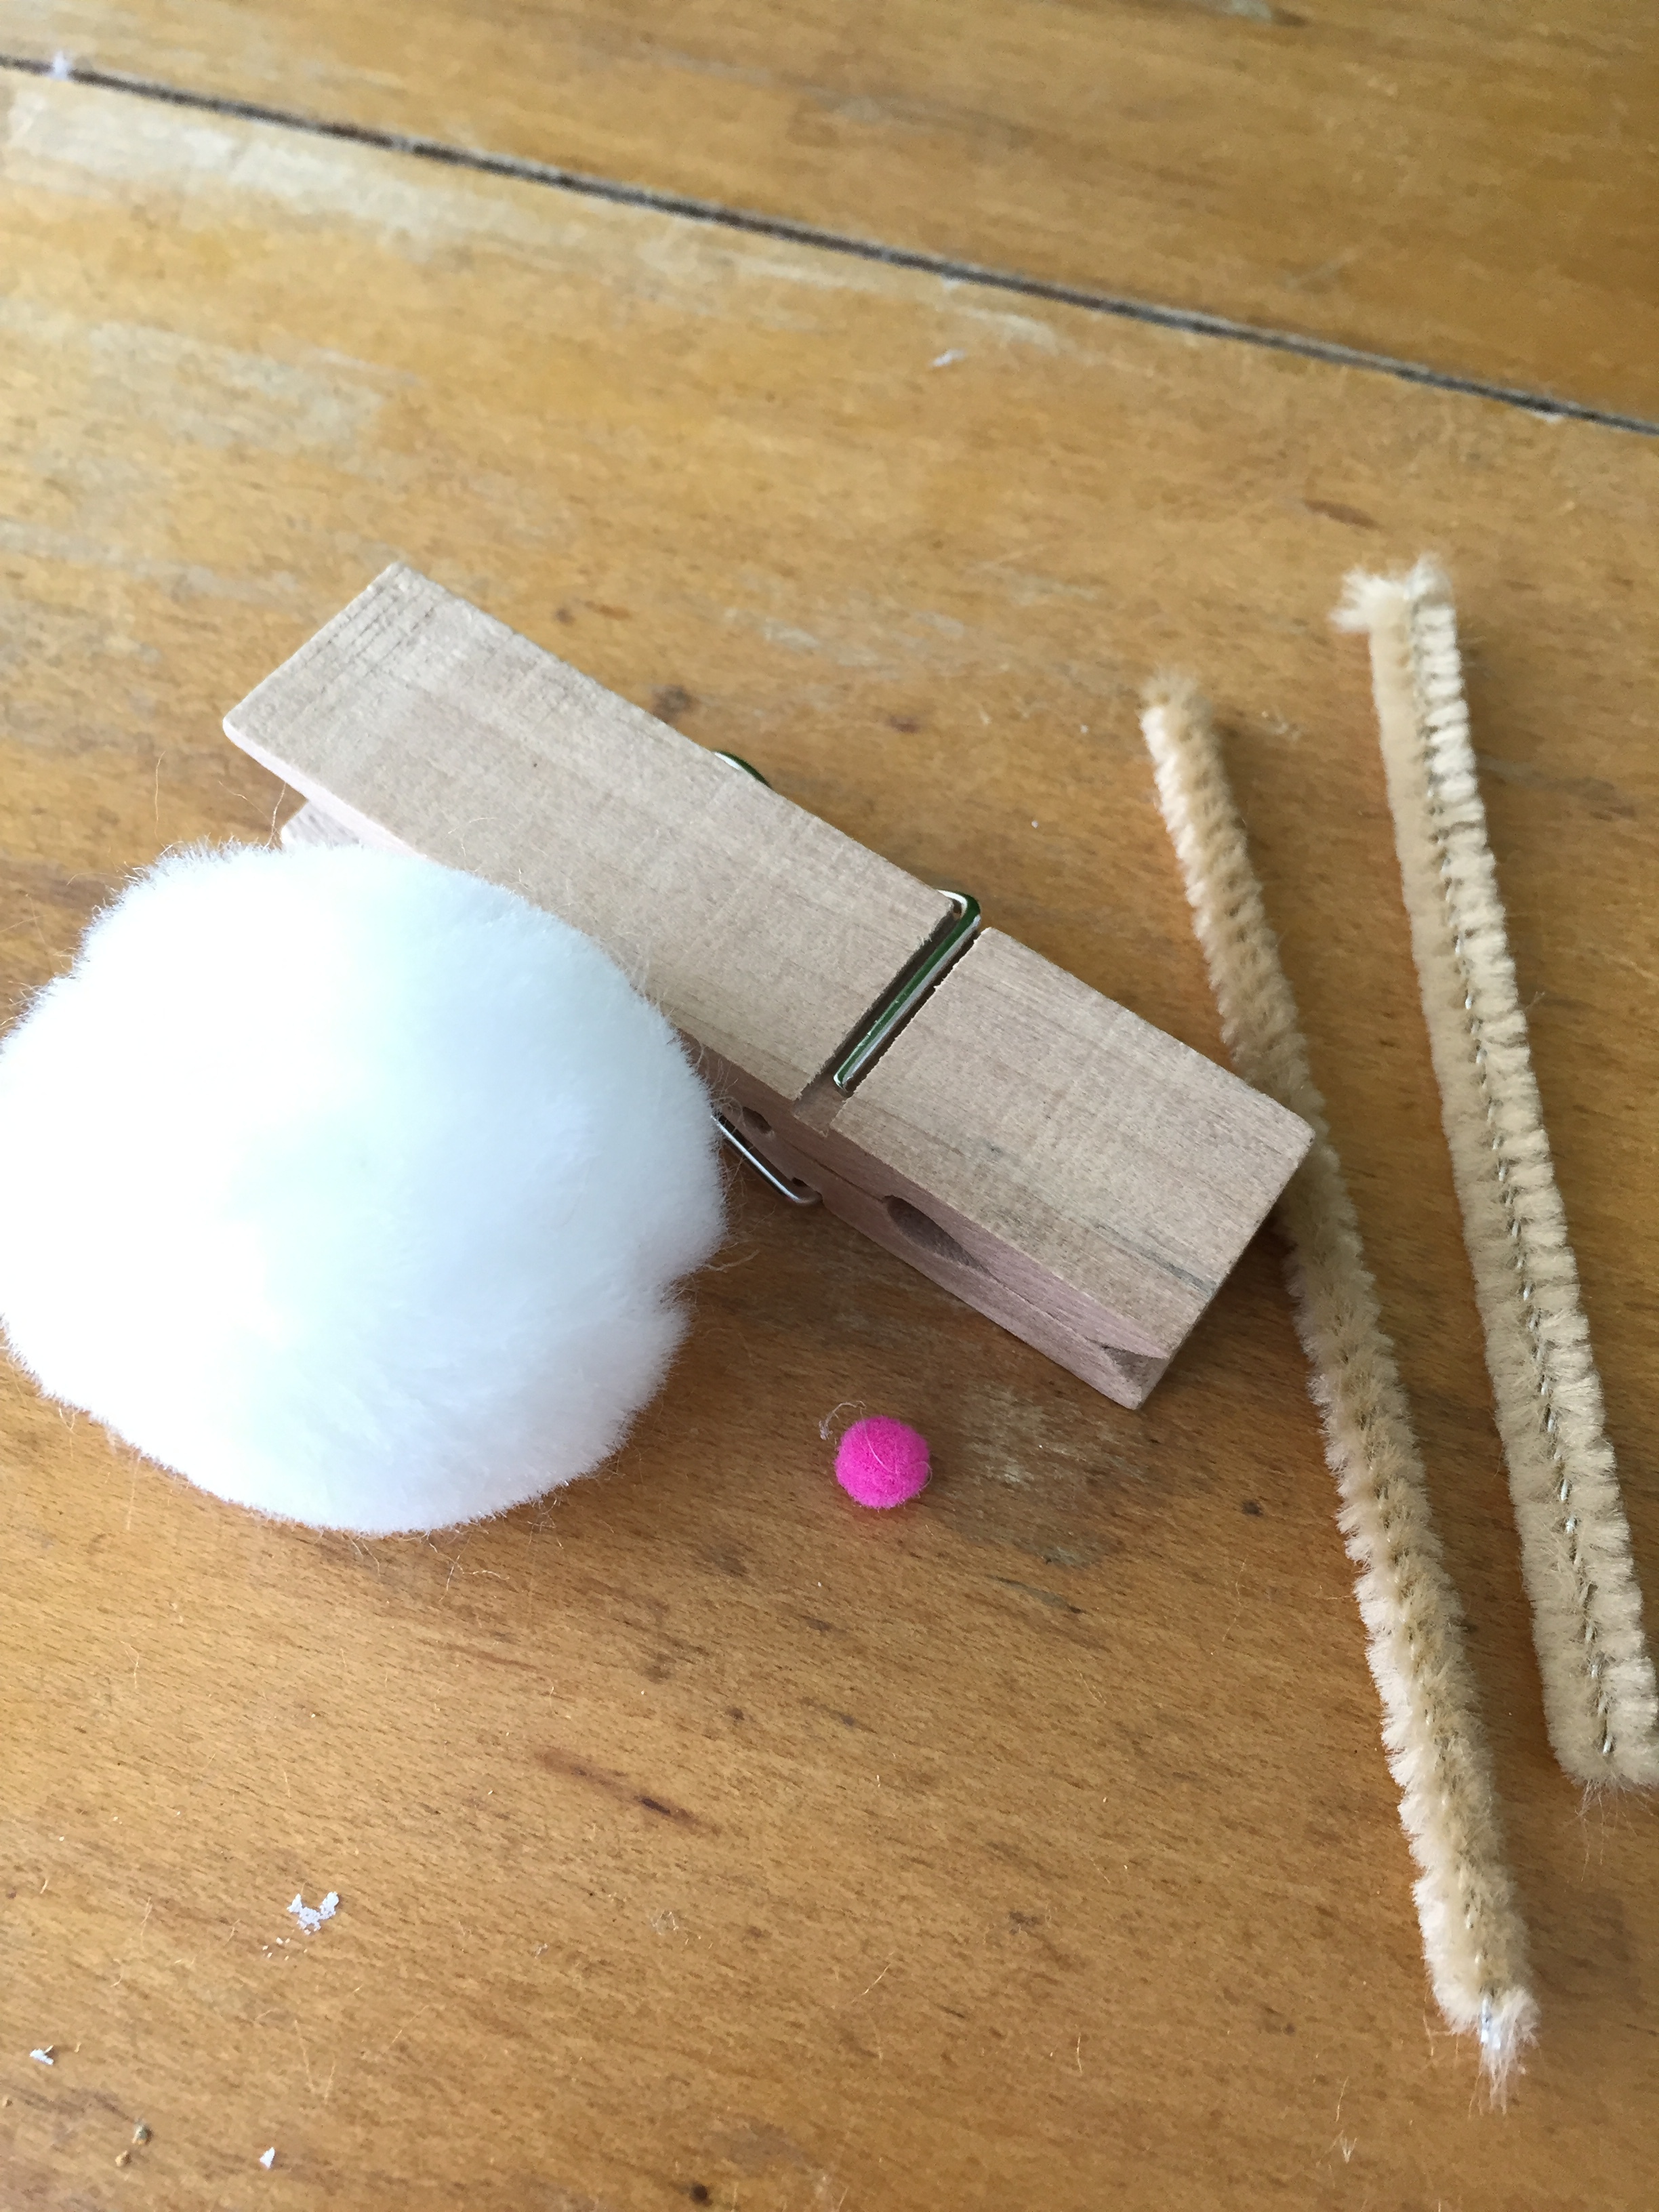
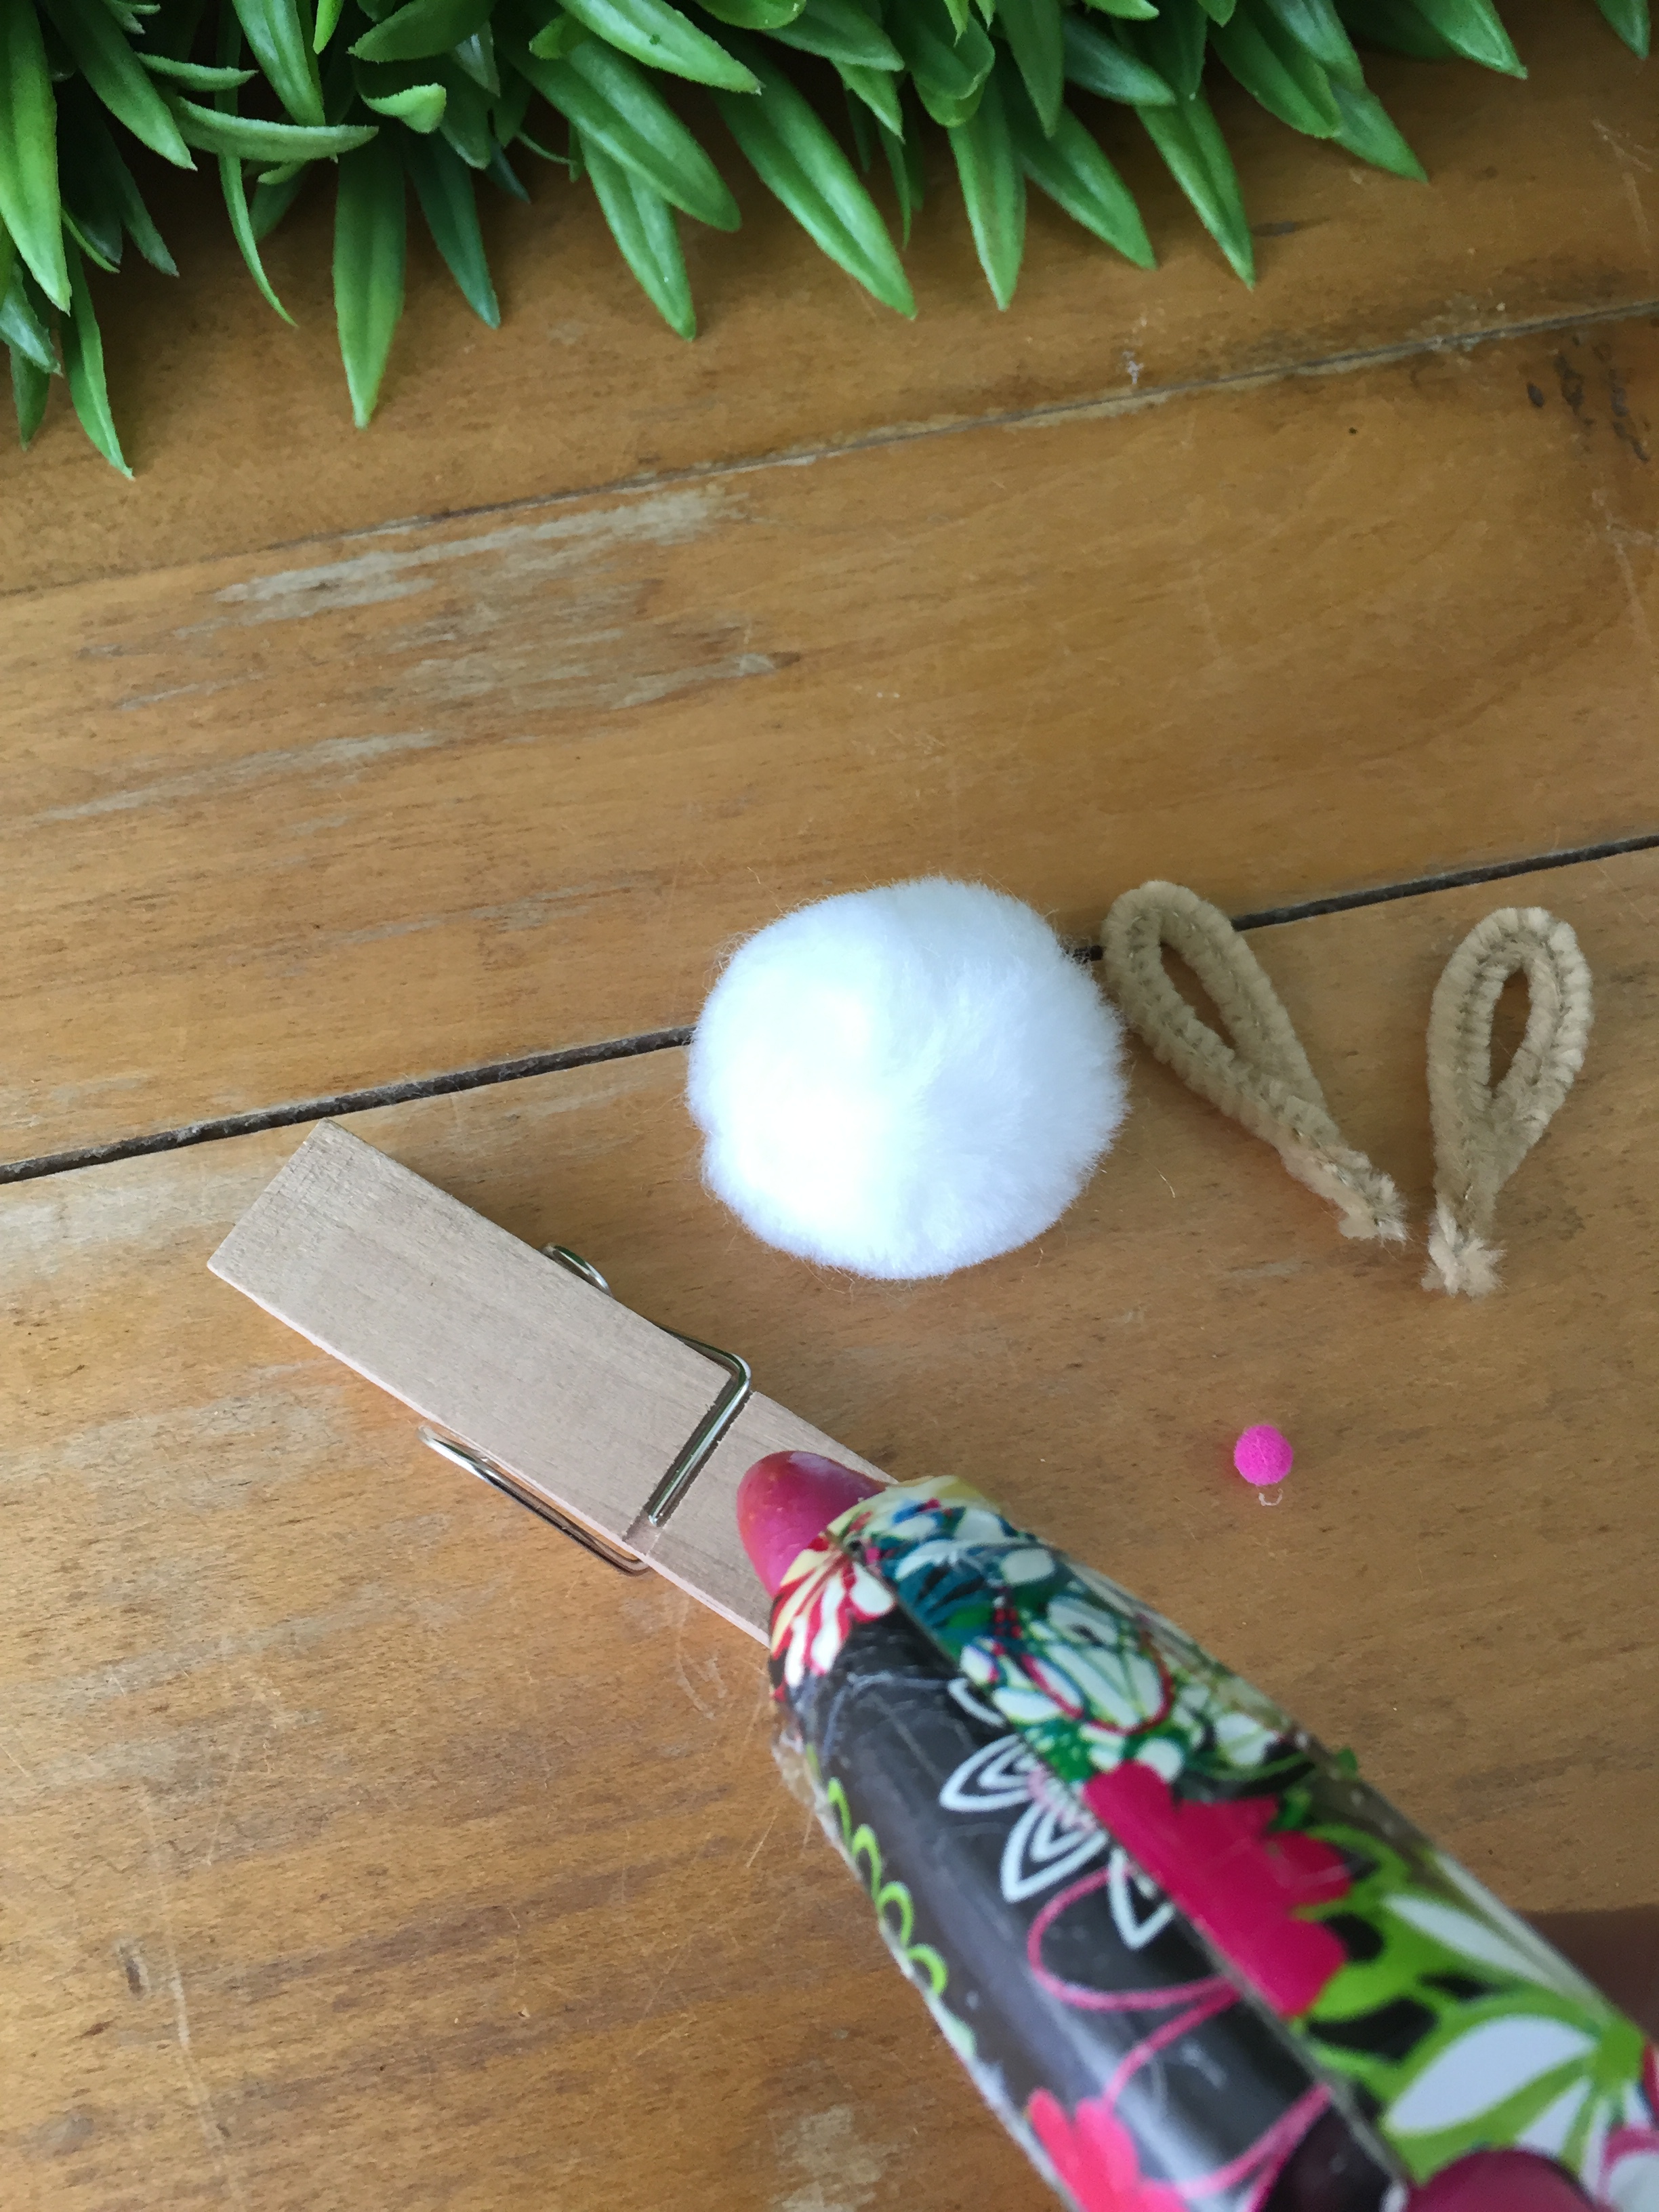
but if you’d rather use a tiny place card or create a companion to the bunny jar…this next DIY is even easier but just as cute! you COULD make your own mini yarn poms but i decided to use an oversized, cotton-ball style pom from a package instead! here’s what else you’ll need…
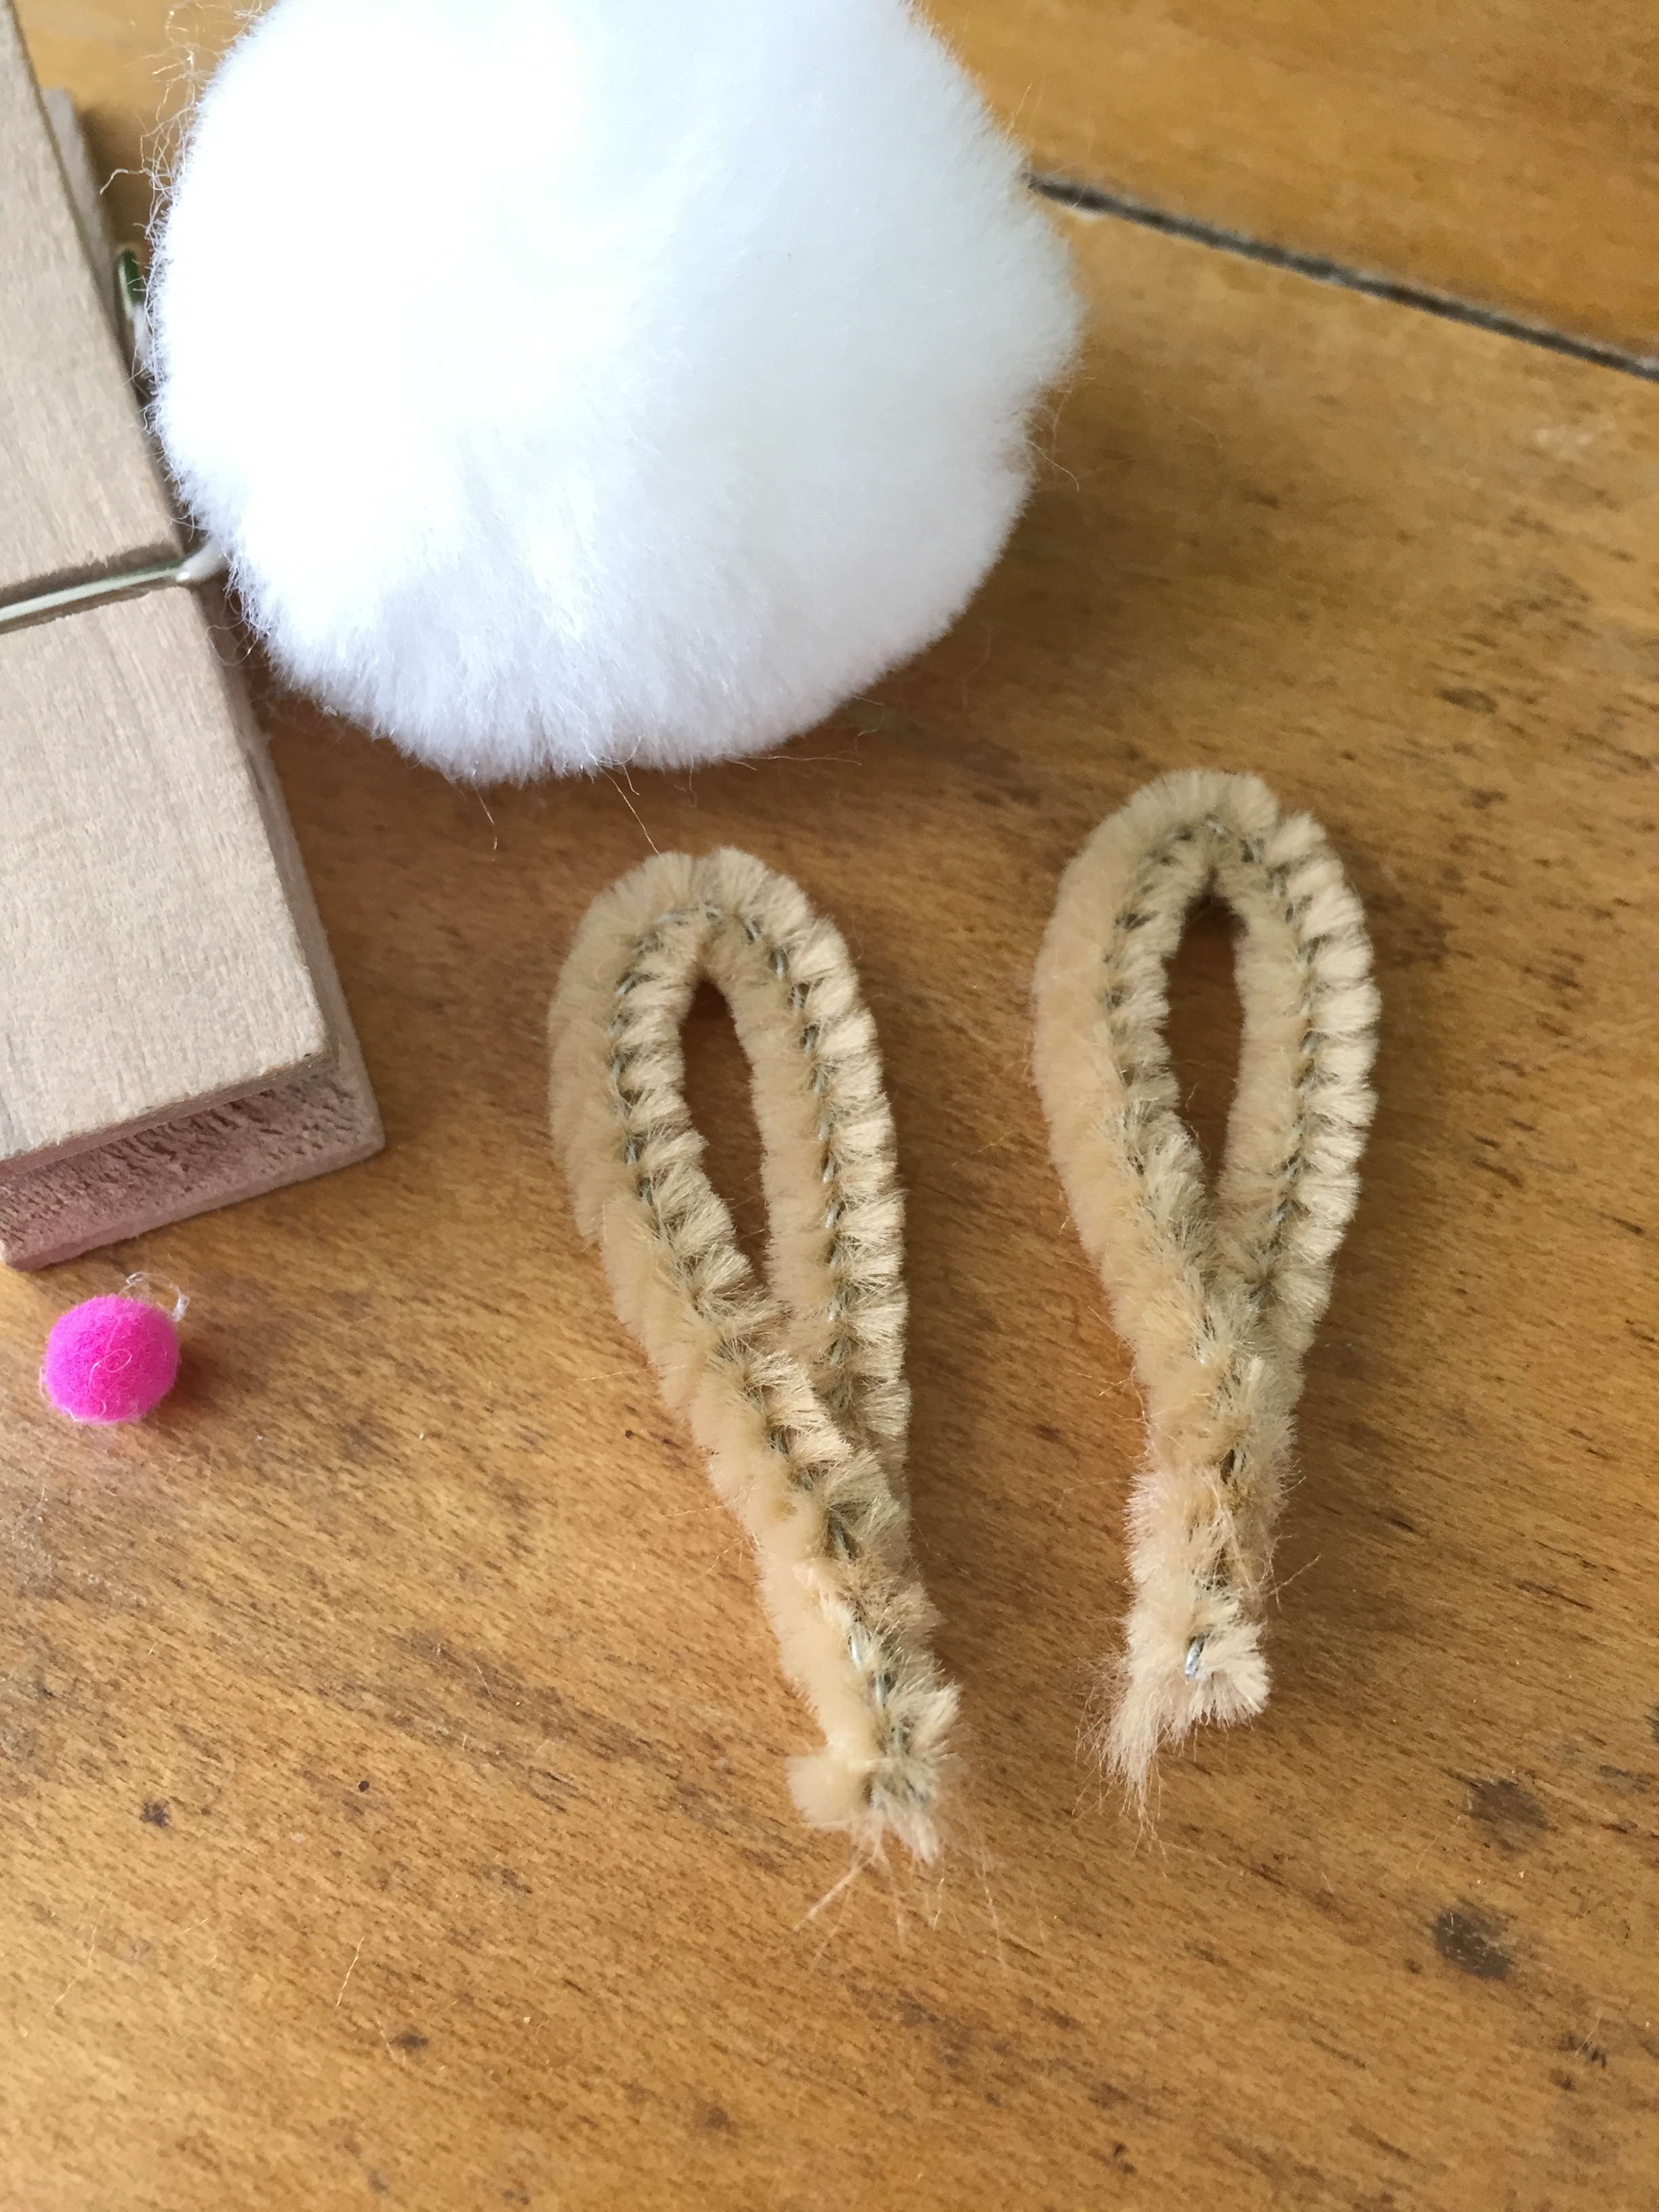
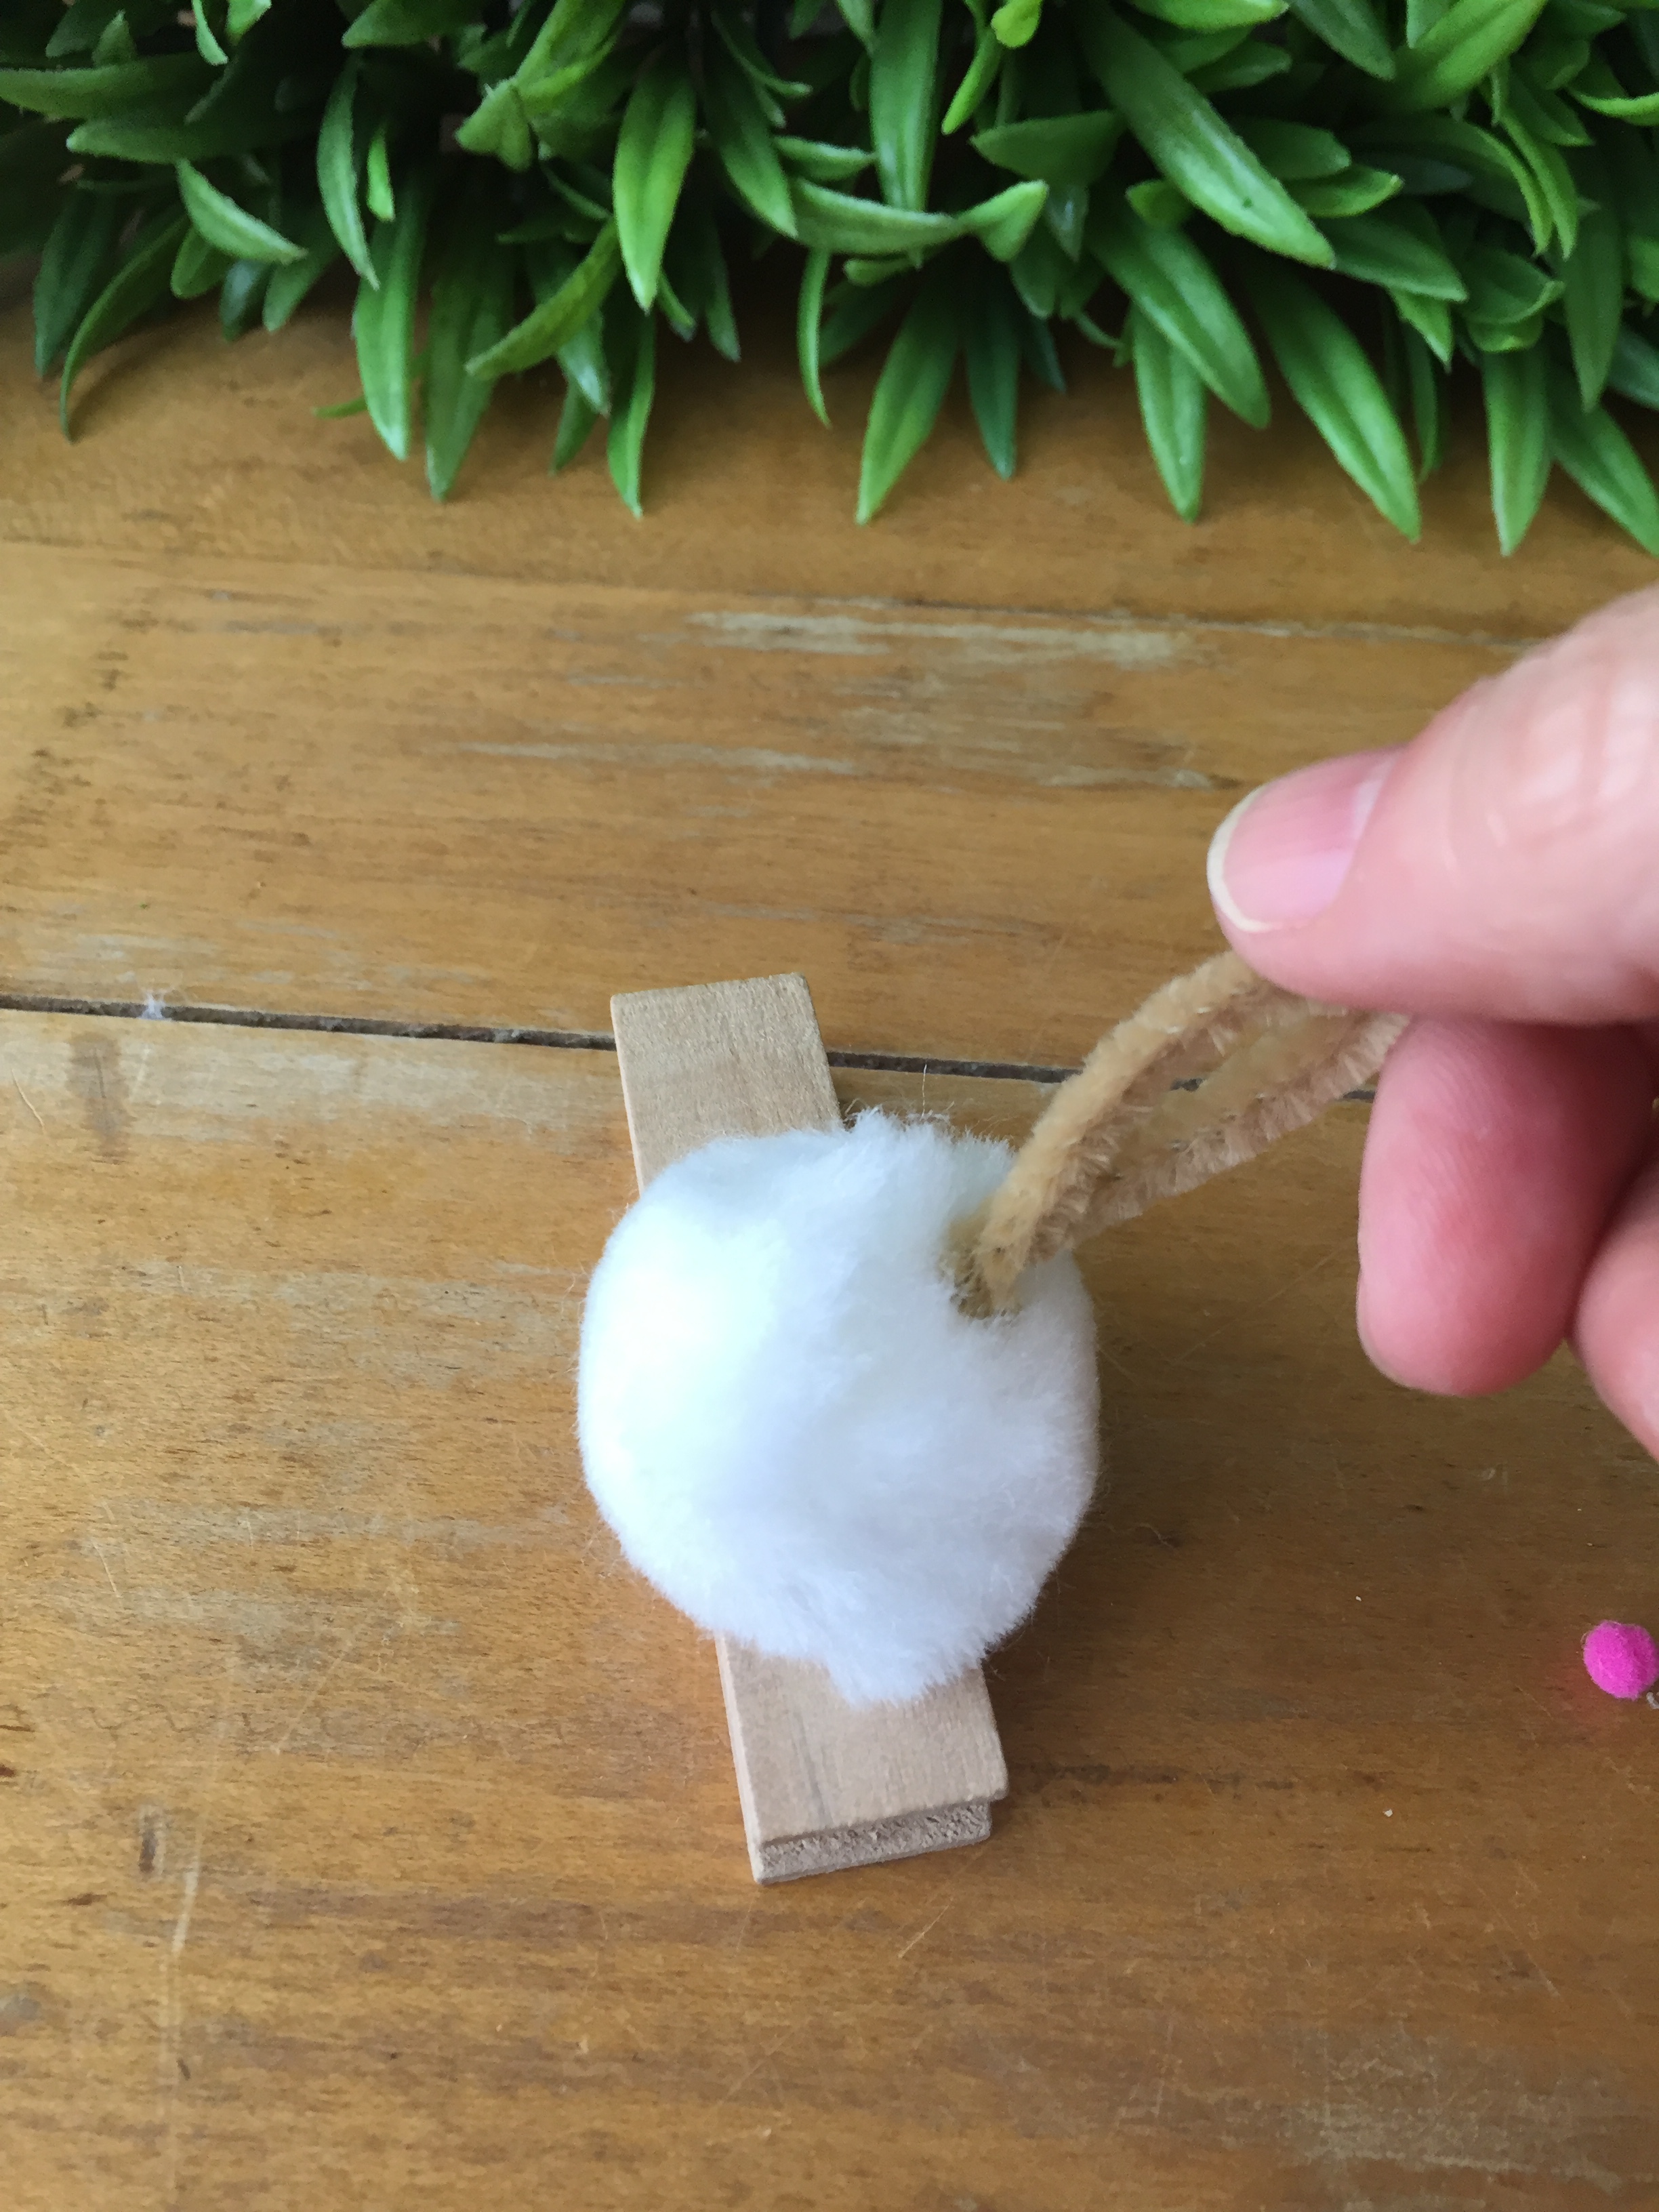
using the same general process as the favor jars, make the ears…
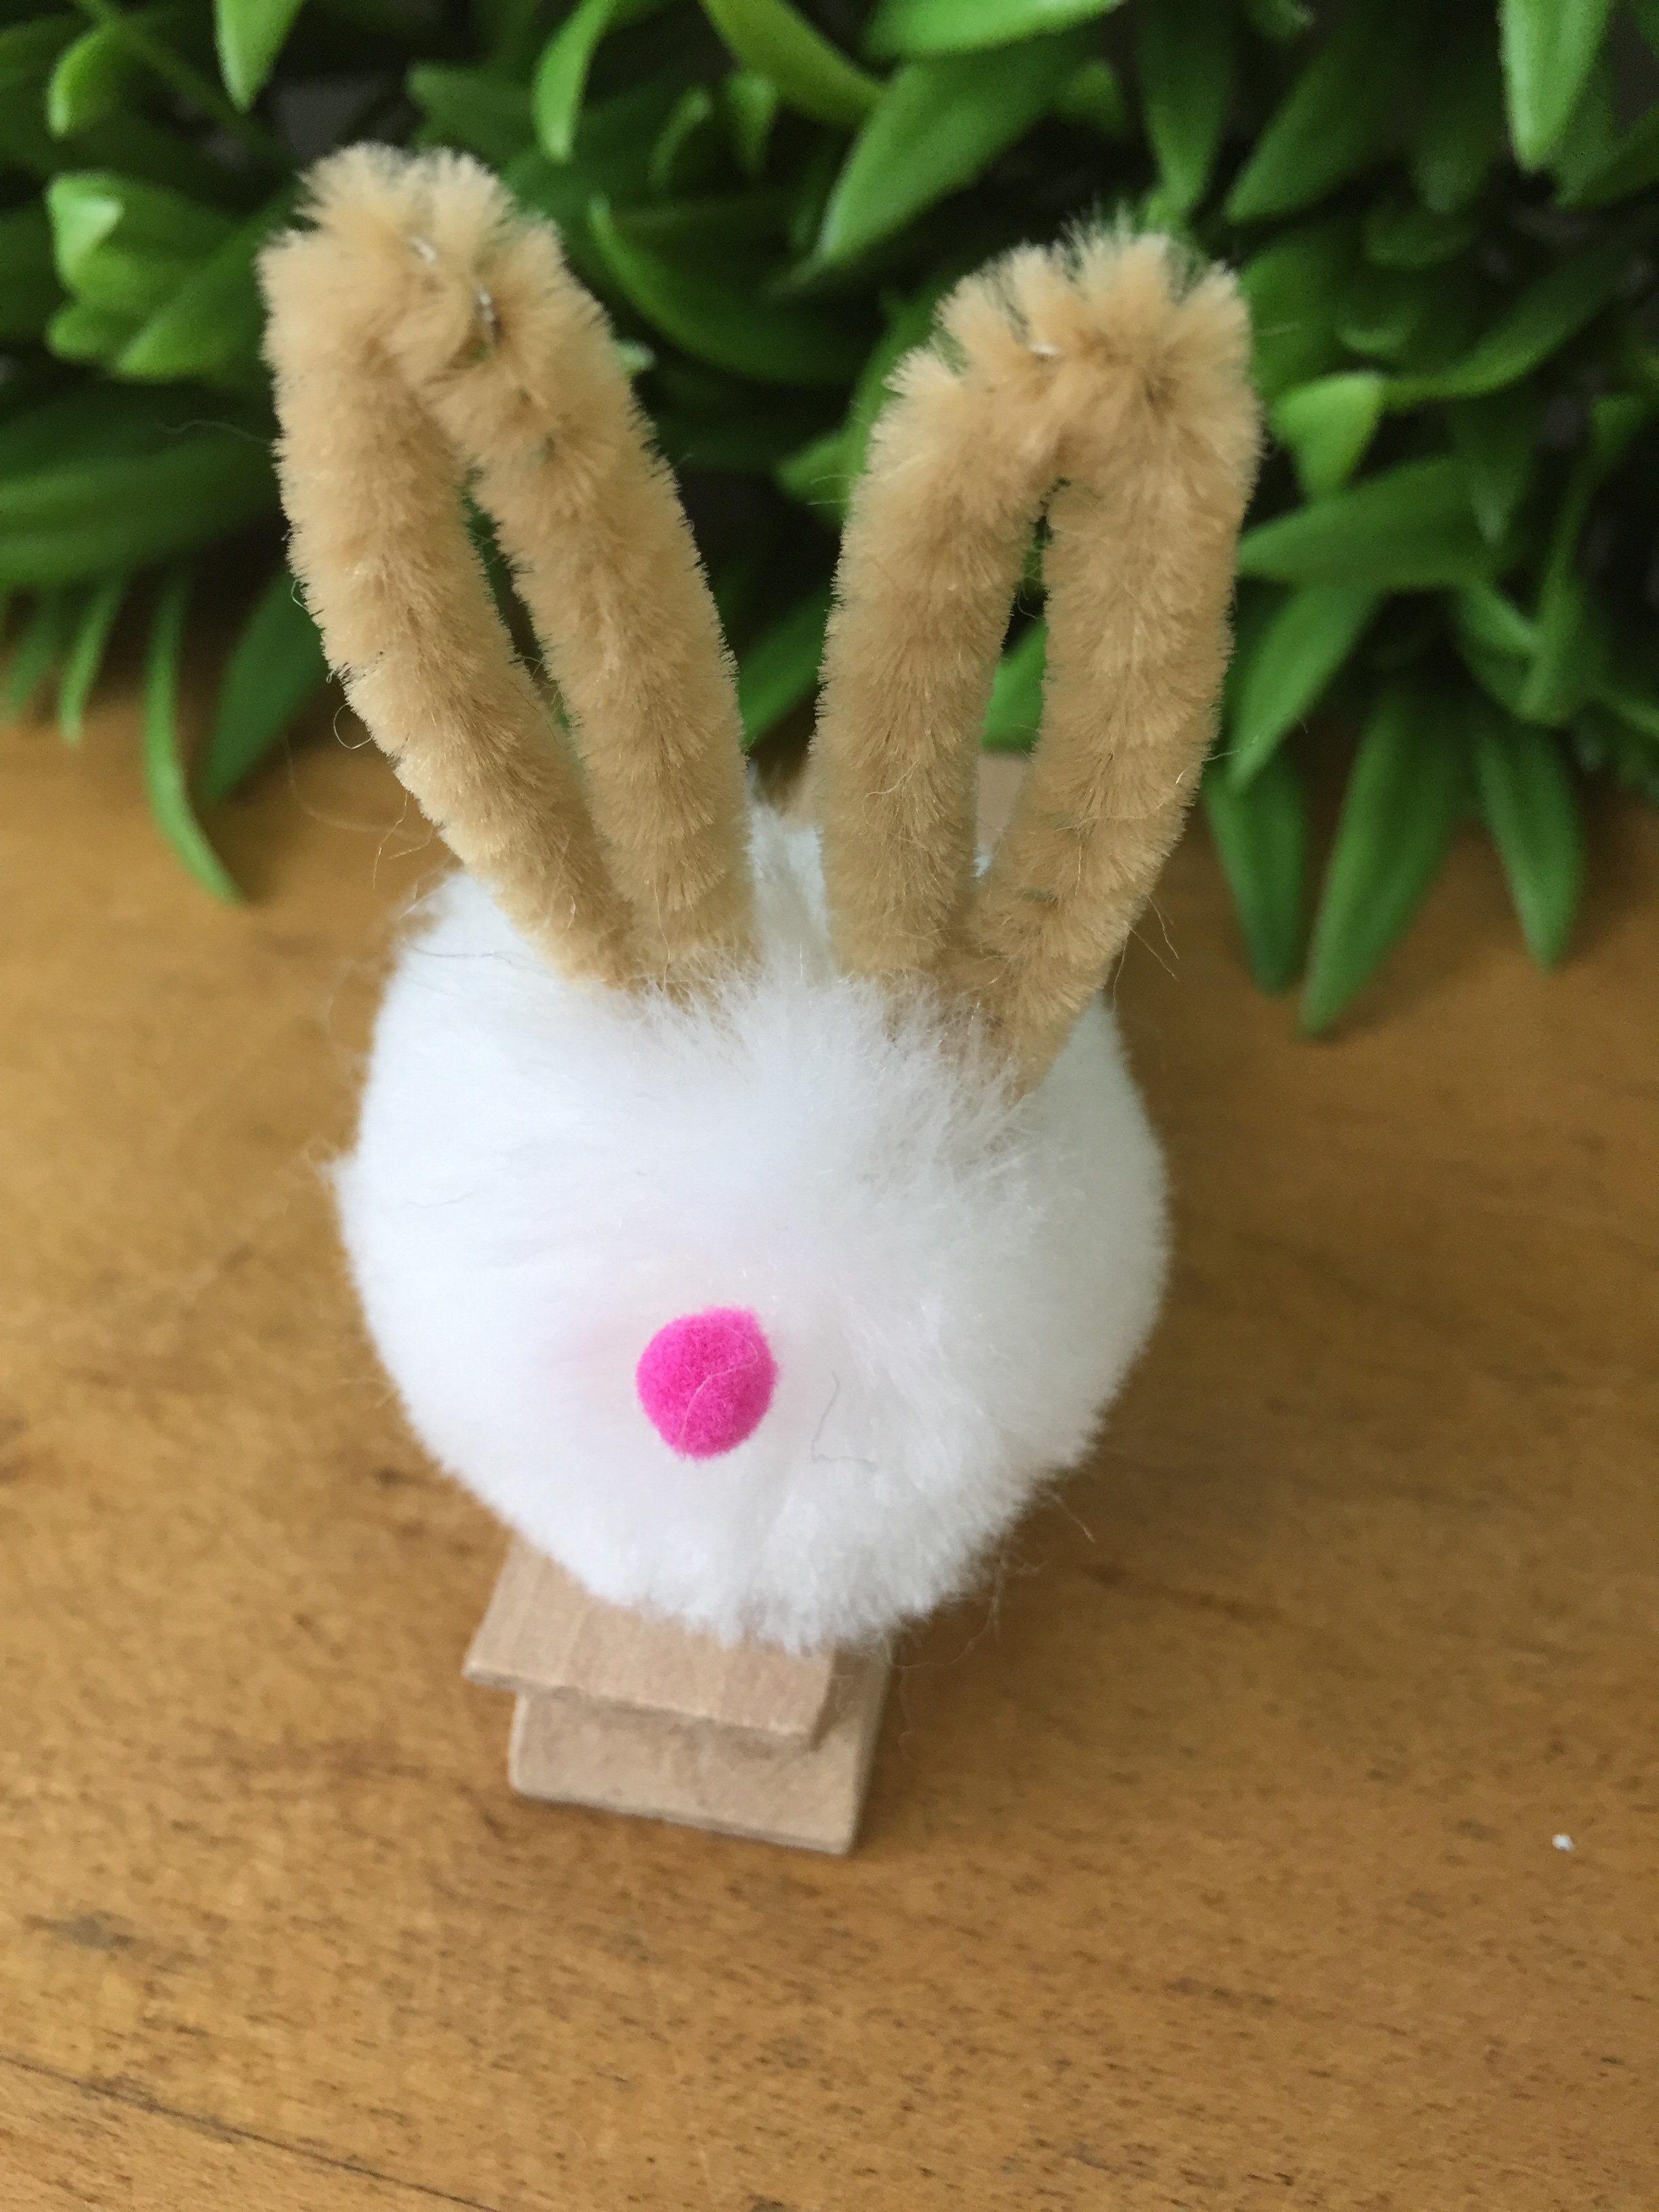
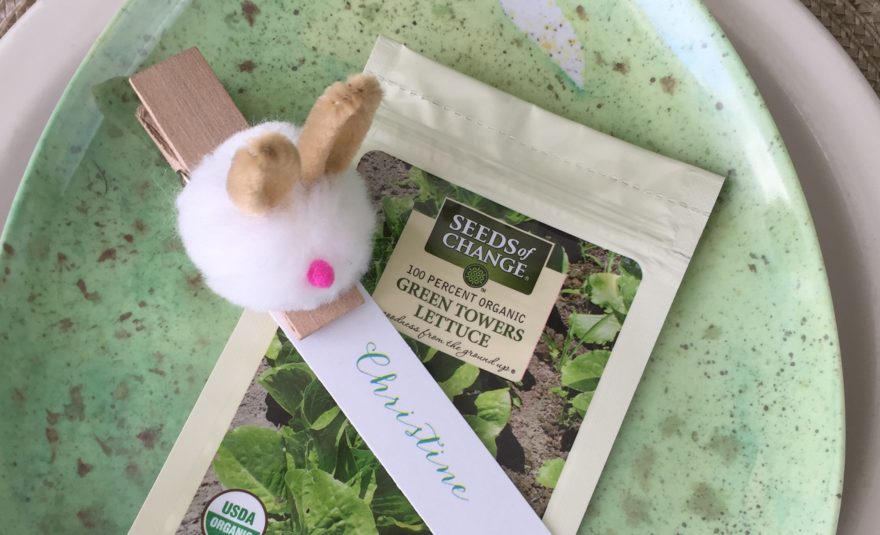
glue the pom to the clip…then attach the ears & nose to the pom…
what an easy cutie…
i grabbed some seed packets to combine with a name tag simply printed from my computer…
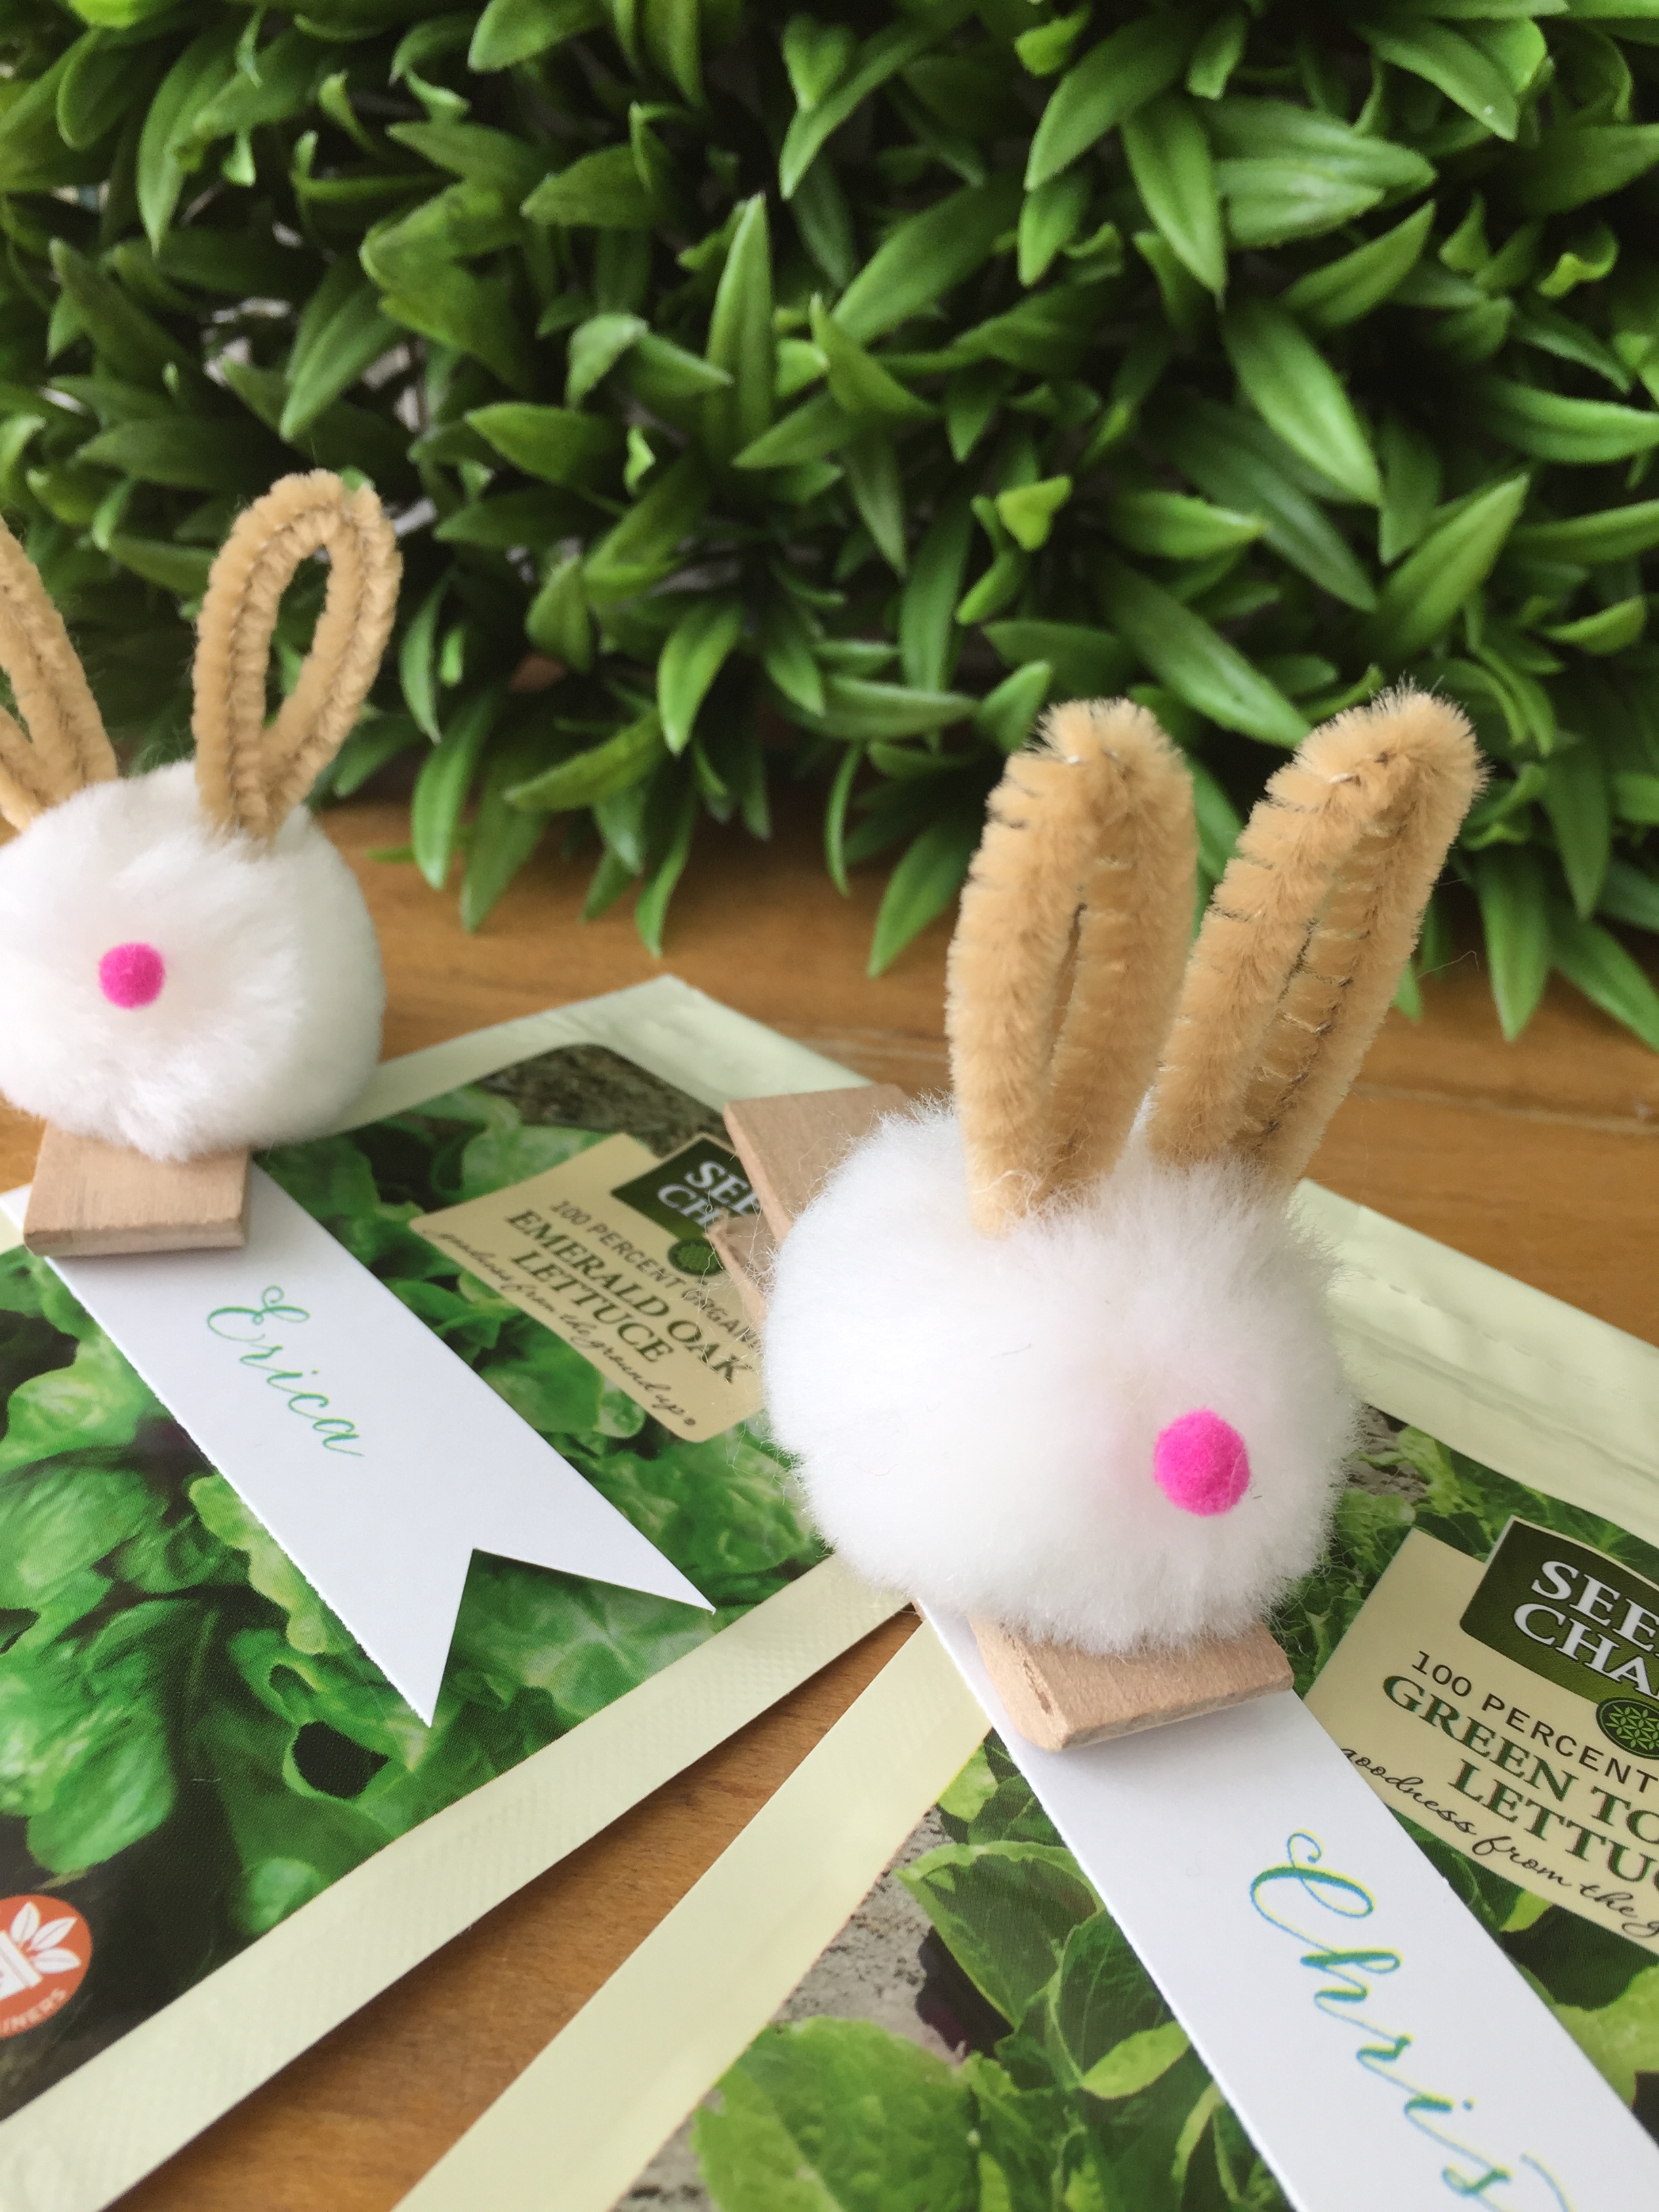
i love the organic look of these little gifts for my table!

use one or both…the fun of DIY is you can create and present them however you please!
make some”bunny” happy at your Easter table this year!
hippity hoppity DIY!
make sure to check Instagram tonight! you can get the link here on the blog. there will be so much DIY fun coming from my talented friends…you won’t want to miss the inspiration!

Anonymous
April 13
These are too cute. I love working with yarn. Need to try to make them.
Cristy
http://www.happyfamilyblog.com
Lori
April 13
Thank you Cristy!! they really are easy to make…and so fluffy!!
Jennifer ~ BellaGrey Designs
April 13
These are soooo adorable!!
Lori
April 13
Thanks so much Jennifer!! xoxo
Alison
April 13
Adorable, love this idea!
Lori
April 13
thanks so much Alison!! They were fun to make!
Nicole
April 14
I love these so much Lori! So adorable!!!
Lori
April 14
Thanks so much Nicole! XOXO